Restoring Outdoor Wood Furniture: Sand, Repair & Refinish
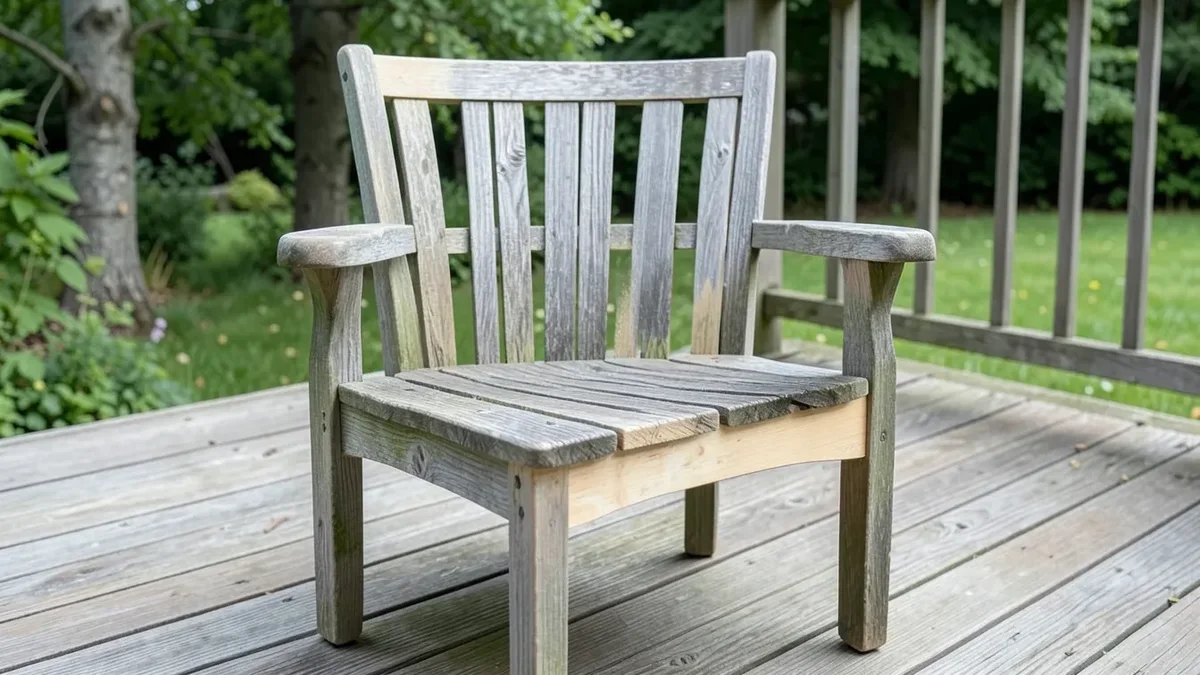
Restoring outdoor wood furniture goes beyond a wash: it means sanding weathered gray wood back to fresh grain, repairing any rot or loose joints before you cover them up, and refinishing with the right oil, stain, or paint for how the piece will actually be used. A piece that’s just dirty can be handled with soap and water or an oxygen-bleach scrub in about an hour. A piece that’s gone gray all over, has a wobbly joint, or feels soft in a spot needs this fuller process instead – and refinishing straight over a problem you haven’t fixed just traps it under the new coat until it fails again.
If your furniture is dirty but structurally sound – grime, mildew, or a light gray film that hasn’t gone all the way through – our guide to washing outdoor wood furniture covers the faster cleaning-only process, including why oxygen bleach beats chlorine bleach and the separate rules for teak. This guide is for pieces that need more: sanding, a rot check, tightening hardware, and a full refinish. If painting is specifically the step you’re stuck on, our painting guide goes deeper into primer and paint choices for wood, metal, and plastic than the refinish section below.
Step 1: Sand Weathered Gray Wood Back to Bare Grain
Outdoor wood turns gray through photo-oxidation: UV light breaks down lignin, the compound that binds wood fibers together and gives wood most of its original color, and rain then washes the broken-down fibers off the surface. That graying is usually only a few thousandths of an inch deep, but it has to come off before any new stain or oil will take evenly – a finish applied straight over grayed wood often looks blotchy within a season, because the degraded surface fibers don’t absorb finish the same way fresh wood does.
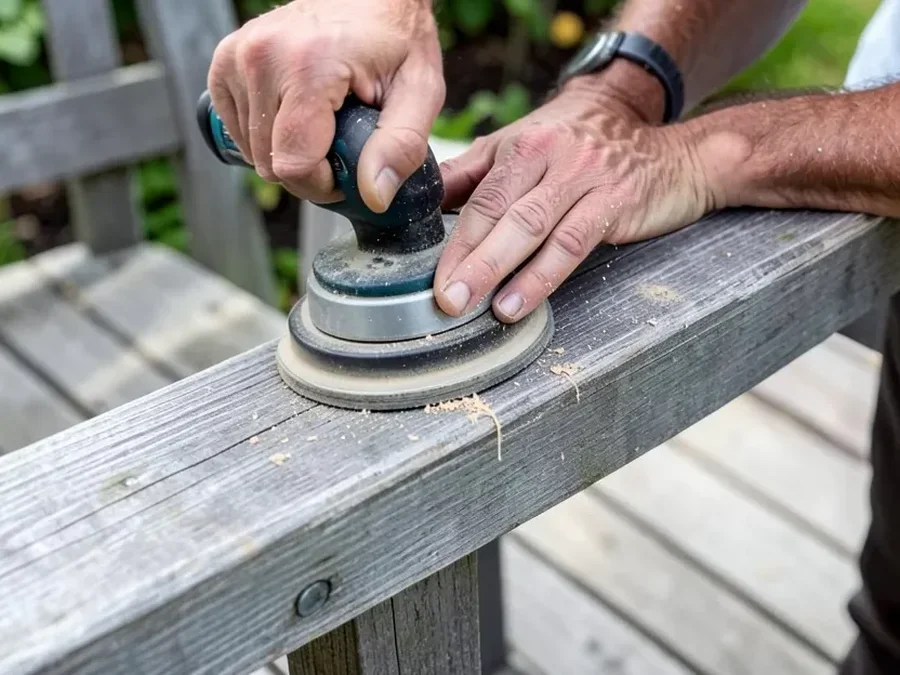
Work through the grits in order instead of jumping straight to fine sandpaper. Start around 80-grit to strip the gray layer and any old flaking finish, move to 120-grit to erase the scratches the 80-grit left behind, then finish at 220-grit for a smooth surface ready for oil or stain (go one step finer, to around 320-grit, before painting – paint shows sanding marks less forgivingly than a clear oil does). Sand with the grain, not across it: cross-grain scratches show up as pale lines once a finish goes on, because finish sits differently in a scratch that cuts across the wood fibers than one that runs with them. Wear a dust mask or respirator – furniture built before 1978 can carry lead-based finishes, and sanding dust from any finish is worth not breathing over the course of an afternoon.
Best Sanding Disc Kit For This Job
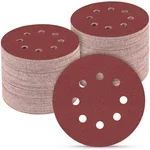 |
POTUINOM 165-Pc 5" Sanding Discs – $19.99 Covers the full 80 to 220-grit progression this guide walks through, all in one box, sized for a standard 5-inch random orbital sander.
|
A random orbital sander speeds this up dramatically over hand-sanding, especially on turned legs, curved arms, or slatted backs where a flat sanding block can’t reach evenly. Keep the sander moving in slow, overlapping passes rather than holding it still in one spot – a stationary orbital sander can burn a shallow dip into softer woods like pine within a few seconds. For carved details or tight inside corners the sander can’t reach, finish those spots by hand with a folded piece of sandpaper.
Step 2: Repair Structural Damage Before You Refinish
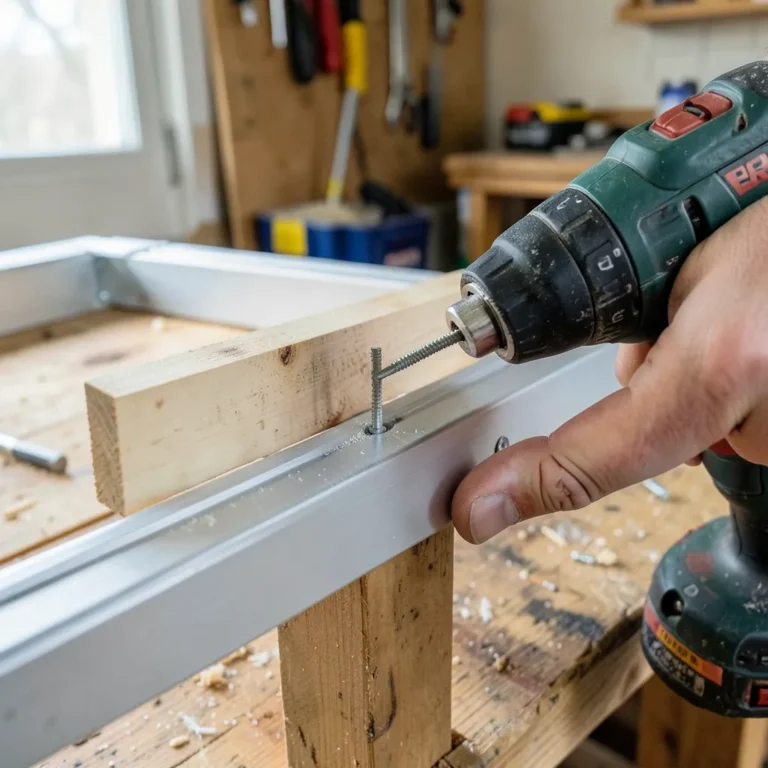
Wood furniture that’s sat outside for a few years almost always has loose joints, and it’s usually not from anyone bumping or dropping it. Wood absorbs moisture from humid air and releases it during dry spells, and that repeated swelling and shrinking works screws and bolts loose over multiple seasons even on furniture nobody has touched. Before you refinish anything, go over every joint, and re-tighten every visible bolt and screw with the appropriate driver or wrench. If a mortise-and-tenon or dowel joint has actually separated rather than just loosened its fasteners, clean out the old glue with a chisel or sandpaper, apply fresh exterior-rated wood glue, and clamp it until it cures before moving on.
Rot is a different problem from a loose joint, and it needs a different response. Press a screwdriver tip firmly into any suspect spot – the bottom of legs, stretchers, anywhere wood sits close to soil or holds standing water after rain. Sound wood resists the point; rotted wood is soft, crumbles, or lets the screwdriver sink in with light pressure. A rotted structural member – a leg, a stretcher, a seat rail carrying real weight – needs to be replaced, not patched with wood filler. Filler has no structural strength; packing it into a rotted leg just hides the damage under a fresh coat of finish until the leg fails under someone’s weight. Filler is the right call for a small non-structural gouge or an old screw hole, not for a load-bearing rot pocket.
Replacing a rotted leg or rail doesn’t require rebuilding the whole piece – most outdoor furniture uses standard dimensional lumber or a common profile that a local lumberyard can match or a woodworking shop can cut to size from the old part as a template. It takes longer than sanding and refinishing, but a structural repair done properly outlasts a filler patch by years.
Step 3: Refinish With Oil, Stain, or Paint
Which finish makes sense depends on the look and the maintenance you’re willing to keep up with, not just what was on the piece before:
- Oil (teak oil, tung oil, or a similar penetrating oil): soaks into the wood rather than sitting on top, keeps the most natural look, and is the easiest finish to touch up – a light reapplication once or twice a year keeps it looking fresh without any sanding first. It offers the least UV and moisture protection of the three, so it needs that regular upkeep.
- Stain plus an exterior sealer: adds color while still showing the wood grain, and holds up longer between coats than oil alone – typically one to two years before it needs a fresh coat, depending on sun exposure. A good middle option if you want more color than bare oiled wood but don’t want to hide the grain entirely.
- Paint: the most maintenance-heavy to apply since it needs a compatible primer and full cure time, but it also fully covers any old repairs, patches, or mismatched wood color, and holds up the longest before it needs attention again. For the primer and paint pairing specifics – and why ordinary interior paint fails outside within a season – see our full painting guide.
Beeswax is worth mentioning too, though it’s better suited to furniture that gets some shelter (a covered porch rather than open sun and rain) since it doesn’t hold up to repeated soaking the way oil or a sealed finish does – see our beeswax guide for when it’s the right call and when it isn’t. For furniture that’s beyond what sanding and a fresh finish can fix – split frames, extensive rot, a piece that’s more repair than restoration at this point – our wood furniture restorer guide covers when replacing individual parts stops making sense and starts costing more than a new piece.
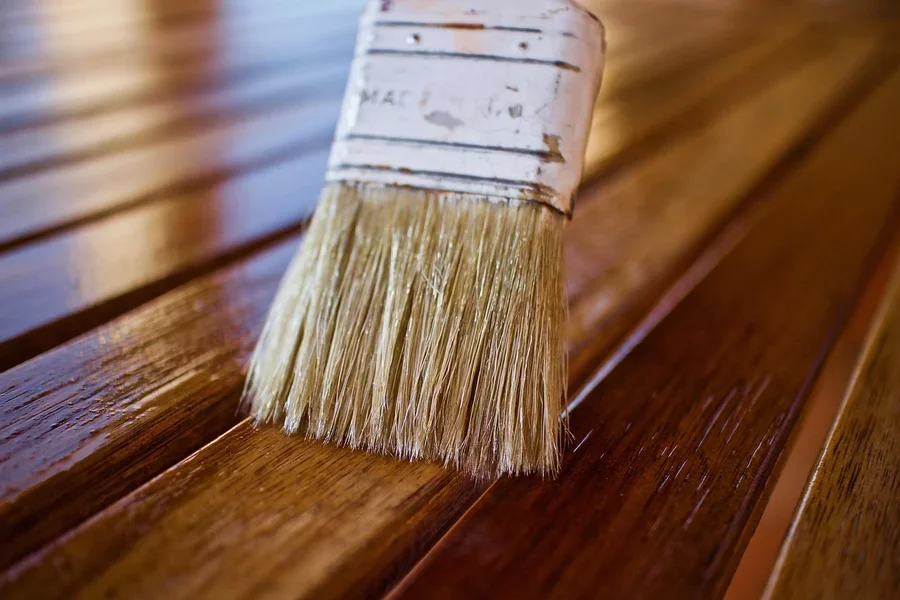
Whichever finish you pick, let the wood dry completely before applying it. A common mistake is resealing wood that still holds moisture from recent rain or from the cleaning step – that traps moisture under the new coat and can cause peeling, a milky or cloudy finish, or mold growing underneath within weeks. Give sanded wood at least 48 hours of dry weather before finishing, longer if it rained heavily beforehand or the wood still feels cool and damp to the touch.
Common Restoration Mistakes to Avoid
- Refinishing over a soft or rotted spot instead of checking for it first – a new finish hides rot from view but does nothing to stop it from spreading underneath.
- Resealing before the wood is fully dry, which traps moisture and causes peeling or a cloudy finish within weeks.
- Stopping at a fine grit without stripping the gray layer first, which leaves degraded surface fibers trapped under the new finish and causes blotchy, uneven absorption.
- Using wood filler on a structural rot pocket – filler has no load-bearing strength; a rotted leg or rail needs replacing, not filling.
- Skipping the hardware check – a joint that looks fine but has a loosened bolt underneath will keep working itself loose after the piece is refinished and back in use.
Frequently Asked Questions
How do I know if my furniture needs full restoration instead of just a wash?
If the discoloration is a gray film that lifts with soap and water or an oxygen-bleach scrub, a wash is enough. If the wood is gray all the way through, a joint flexes or wobbles, or a spot feels soft or spongy when you press on it, those need sanding, a structural repair, and a refinish – a wash alone won’t fix any of them.
Can I fix rotted wood furniture, or do I need to replace the piece?
Individual rotted parts – a leg, a stretcher, a seat rail – can usually be replaced with new lumber cut to match, without rebuilding the whole piece. Wood filler is fine for small non-structural gouges but has no strength for a load-bearing rot pocket. Whether replacing parts is worth it versus buying new furniture usually comes down to how much of the frame is affected and how much you value the specific piece.
What grit sandpaper should I use to restore outdoor wood furniture?
Start at 80-grit to strip the weathered gray layer and any old flaking finish, move to 120-grit to remove the 80-grit scratches, then finish at 220-grit before applying oil or stain. If you’re painting instead, sand to 320-grit for a smoother base, since paint shows sanding marks more than a clear finish does.
Should I use oil, stain, or paint to refinish restored outdoor furniture?
Oil gives the most natural look and is the easiest to touch up but needs reapplying once or twice a year. Stain with a sealer adds color while keeping the grain visible and lasts longer between coats. Paint takes the most prep work but fully covers old repairs or mismatched wood and holds up the longest before it needs attention again.
Conclusion
Restoring outdoor wood furniture is a bigger job than washing it, but it’s what actually fixes furniture that’s gone gray, developed a loose joint, or started to soften in a spot. Sand back to bare grain, check for and repair any rot or loose hardware before you cover it up, then refinish with oil, stain, or paint based on how much upkeep you want going forward. Done in that order, a piece that looked ready for the curb can come back for several more seasons outside.
Sponsored / affiliate links. As an Amazon Associate I earn from qualifying purchases. I may earn additional commission from eligible campaigns.