Ryobi Table Saw Extension Kit: Enhance Your Cutting Precision
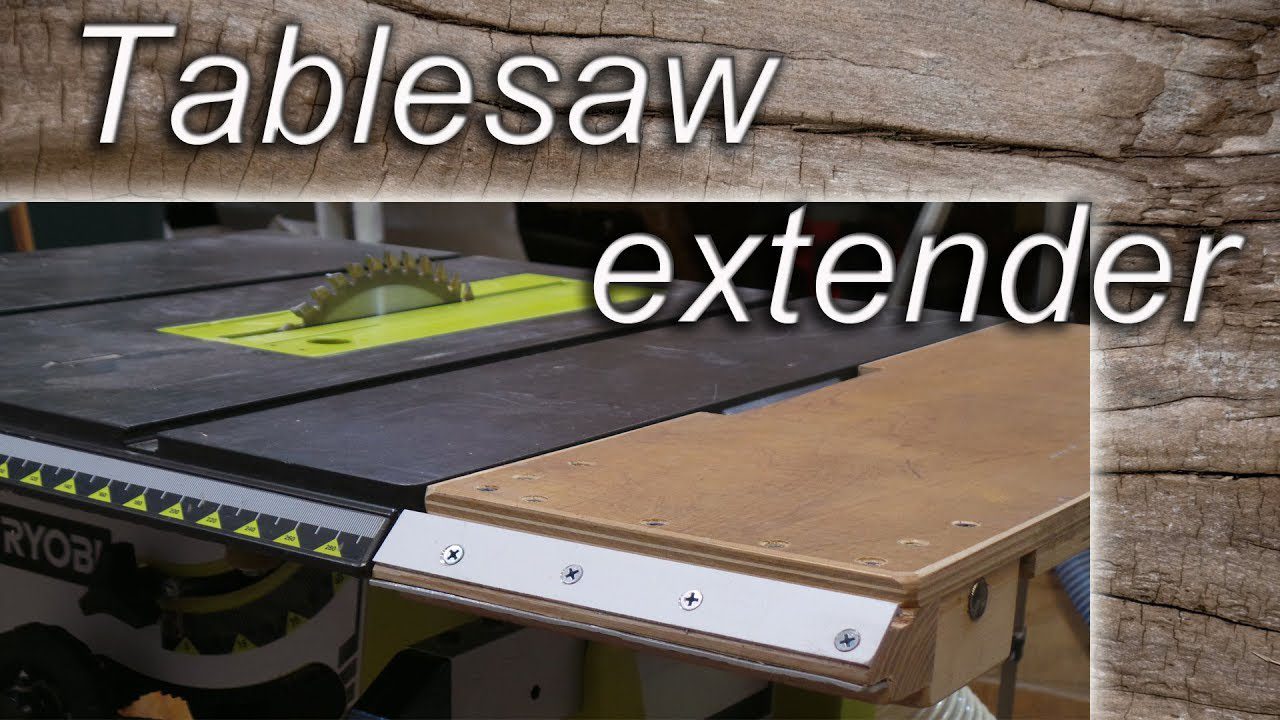
A Ryobi table saw extension kit adds a wing or table to one or both sides of the saw, extending the work surface and rip fence rails so you can support wider sheet goods and cut more accurately. Ryobi sells and services these as model-specific replacement parts rather than a single universal kit, so the biggest thing to get right before buying anything is matching the part to your exact saw model.
Here’s what the extension actually does, how to check fit before you buy, and how to install and align it once it arrives.
What the Extension Actually Adds
Genuine Replacement Right Extension Table
 |
Ryobi Right Extension Table – $99.57 A direct replacement part rather than a universal fit, which is exactly why checking your saw’s model before ordering matters.
|
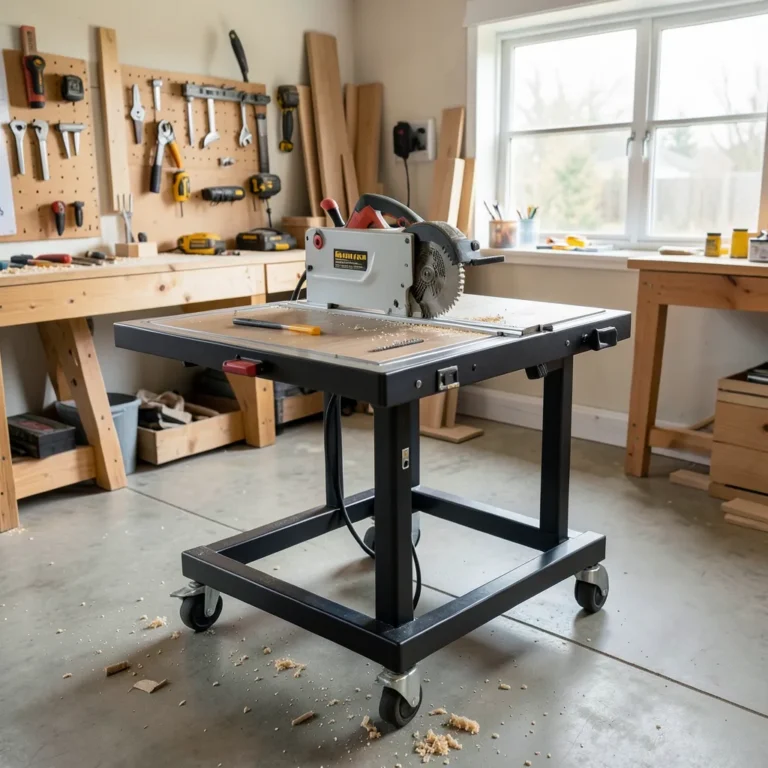
On a benchtop or portable table saw, the stock table surface is often too narrow to fully support a wide board or a full sheet of plywood during a rip cut. An extension table or wing bolts onto the side of the saw to widen that surface, and on many models the rip fence rails extend along with it, letting the fence travel further out for wider rip cuts. The combination of more surface area and a longer fence rail is what actually improves cut accuracy – a wide board that’s properly supported all the way through the cut tracks straighter than one hanging off the edge of an undersized table.
Check Your Exact Model Before Buying Anything
This is the step that causes the most frustration after the fact: Ryobi’s table saw extension tables and wings are sold as model-specific replacement parts, not a one-size-fits-all accessory. A table or bracket built for one Ryobi table saw generation often won’t bolt up to a different model’s frame. Before ordering, check your saw’s model number (usually on a label on the base or motor housing) against the part’s listed compatibility, and when in doubt, cross-reference the part number rather than just the “Ryobi” brand name.
If your specific extension wing isn’t available new, genuine replacement tables like the right-side extension table (part 089240035708) sold as an aftermarket replacement for compatible Ryobi 10″ table saws are a solid option – verify the part number against your saw’s manual or model plate before ordering, since “compatible with Ryobi” listings vary in how many models they actually fit.
Installing the Extension
- Unplug the saw before you do anything else.
- Lay out all the hardware and compare it against the included instructions or parts list – confirm nothing’s missing before you start bolting things down.
- Attach the extension bracket or table to the saw’s frame per the instructions, snugging bolts by hand first before fully tightening any of them – this makes small position adjustments possible before everything locks in place.
- Check the extension is level with the main table using a straightedge laid across both surfaces. Even a small step between the main table and the extension will catch material during a cut.
- Tighten all hardware fully once the extension sits flush and level.
- Re-check your rip fence alignment – extending the rails can shift how the fence reads against the scale, so verify it against an actual measurement rather than trusting the printed scale alone.
Getting the Most Out of the Added Surface
Once installed, re-check level and fence alignment periodically – the added leverage of a wider table means any looseness in the mounting hardware shows up as wobble at the far edge of the extension faster than it would on the main table alone. A quick straightedge check every few sessions catches this before it affects a cut.
For anything wider than the extension itself – full sheets of plywood, for instance – a set of independent roller stands or an outfeed table set at the same height as the saw is still worth having; an extension wing helps with rip capacity but doesn’t replace outfeed support for long cuts.
Maintenance
Keep the extension surface clean and free of dust buildup the same way you would the main table – a soft brush and a damp cloth (wrung out, not dripping, since water near the saw’s electronics is a real hazard) handle most of it. Check the mounting hardware for looseness every so often, especially if the saw gets moved around the shop, and re-verify the extension is still level with the main table after any time it’s been unbolted for storage or transport.
Frequently Asked Questions
What is a Ryobi table saw extension kit?
It’s a table, wing, or bracket that bolts onto the side of a Ryobi table saw to widen the work surface and extend the rip fence rails, giving you more support for wider boards and sheet goods.
How does the extension kit improve cutting?
By supporting more of the material during a rip cut, an extension reduces the chance of the workpiece tipping or wandering off the fence, which is what actually causes most inaccurate cuts on undersized table saw surfaces.
Is the Ryobi extension kit easy to install?
Most bolt-on extensions install with basic hand tools (a screwdriver and wrench) in under an hour, but getting the extension level with the main table takes a careful check with a straightedge – don’t skip that step even if the bolt-up itself goes quickly.
Can I use a Ryobi extension kit with another brand’s table saw?
Generally no – these parts are built to bolt to Ryobi’s specific frame dimensions and mounting points, and even different Ryobi table saw models aren’t always interchangeable with each other. Always check the part number against your exact saw model before buying.
Bottom Line
An extension table genuinely improves rip capacity and cut accuracy on a Ryobi table saw, but the fit is model-specific – confirm your exact saw model and the part’s compatibility before ordering, and take the time to get it level with the main table during installation.
Sponsored / affiliate links. As an Amazon Associate I earn from qualifying purchases. I may earn additional commission from eligible campaigns.