DIY Tool Rack: A Real Build Plan for Any Workspace
Tools scattered across a bench are a workflow problem, not just a mess, since every misplaced tool costs you time mid-project. Here’s a real plan for a rack that actually keeps them found, plus the faster pegboard route if a full build isn’t what your weekend calls for.
Pegboard vs. a Custom-Built Rack
Fastest Real Option
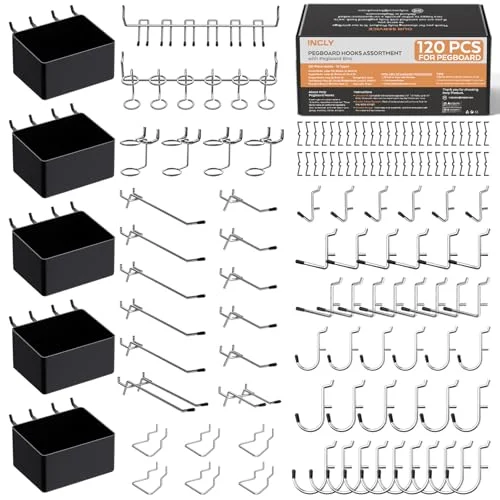 |
INCLY 120pc Pegboard Accessories Kit – $16.99 If you already have (or add) a pegboard panel, this hook assortment gets tools organized in an afternoon instead of a weekend build.
|
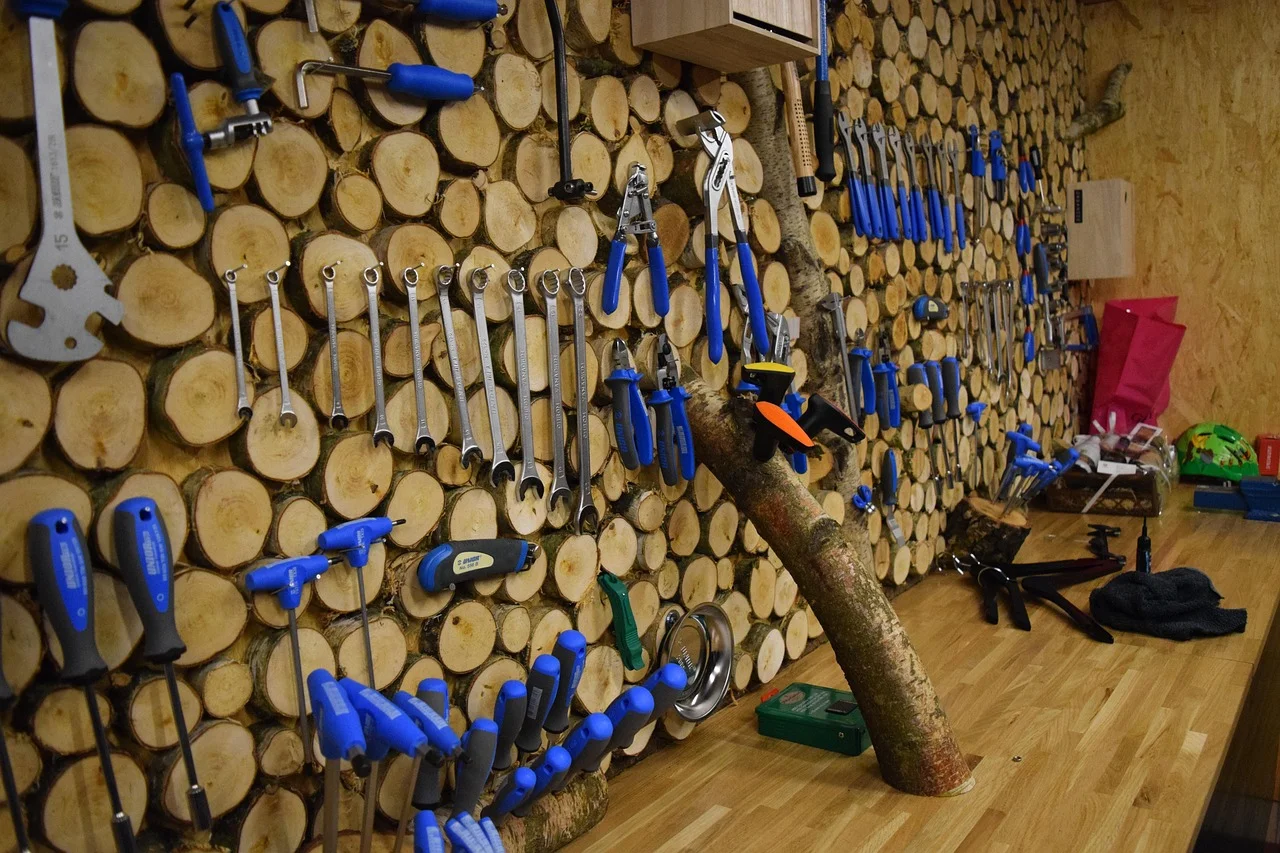
A pegboard with the right hooks solves tool storage faster than building a rack from scratch, and it’s genuinely the better choice for most home shops — a custom build is worth the extra time mainly when you have odd-shaped or oversized tools a standard pegboard hook can’t hold well, or you want built-in bins for small parts alongside the hanging tools. Neither option is wrong; match the choice to your actual tool collection rather than defaulting to the more involved build out of habit.
A Third Option: The French Cleat System
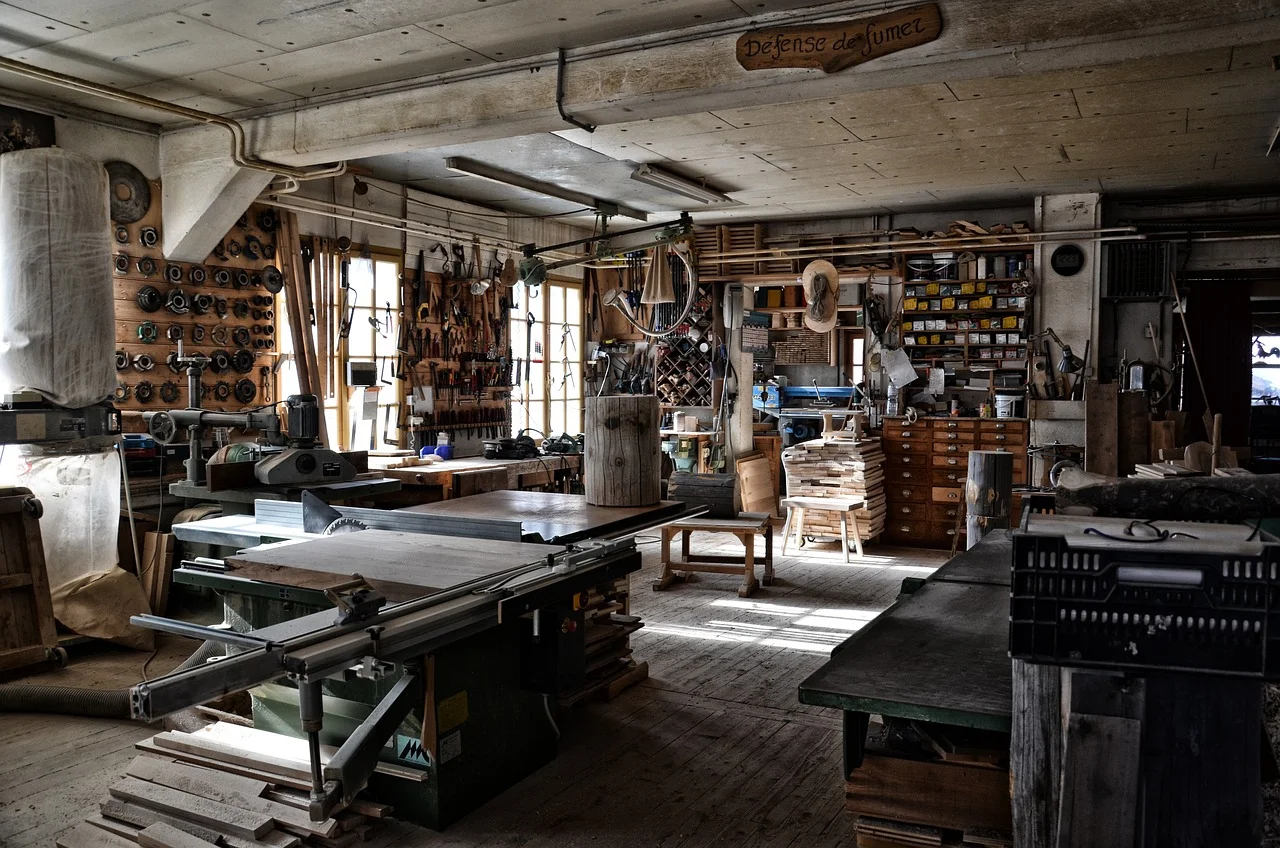
A French cleat wall is a genuinely different approach worth knowing about: instead of individual hooks, you mount a series of horizontal wooden strips (cleats) cut at a 45-degree angle across the wall, then build or buy matching cleat backing on the back of tool holders, bins, or shelves that hang and slide on those strips. The real advantage is flexibility — you can move an entire holder (not just a single tool) to a new spot in seconds without drilling new holes, which matters if your tool collection or workflow changes over time. The tradeoff is more upfront building: cutting the cleats accurately at a consistent angle, and building or buying cleat-backed holders for each tool group rather than just hanging a hook. For a shop that reorganizes often, a French cleat wall pays for that extra setup time; for a stable, rarely-changed tool collection, a pegboard or fixed rack is simpler to build and just as functional.
Planning a Custom Build
Inventory your tools by size and weight before sketching anything — heavy tools need real structural support, not the same light cleat that holds a screwdriver. Measure your available wall or floor space, and sketch where each tool goes before cutting a single piece; a rack designed around your actual tool list holds up better than one you improvise around as you build. Plywood is the standard material: strong enough for real tool weight and easy to cut to size. Solid wood works too, and steel is worth considering specifically for heavy power tools.
Weight Ratings: Don’t Guess
| Tool Category | Typical Weight | Support Needed |
|---|---|---|
| Hand tools (screwdrivers, wrenches) | Under 1 lb each | Standard pegboard hooks are plenty |
| Cordless drills/drivers | 2-5 lbs | Rated pegboard hook or a dedicated shelf |
| Corded power tools (circular saw, router) | 5-10 lbs | Shelf or heavy-duty bracket, not a hook |
| Large tools (miter saw, bench-mounted gear) | 20+ lbs | Dedicated stand or cabinet, not a wall rack at all |
Overloading a hook rated for hand tools is a real, common way a rack fails — the hook itself can be fine while the pegboard or wall anchor behind it isn’t rated for the actual weight now hanging on it. When in doubt, check the hook manufacturer’s stated weight rating rather than assuming “it looks sturdy enough.”
Magnetic Strips: A Good Complement, Not a Replacement
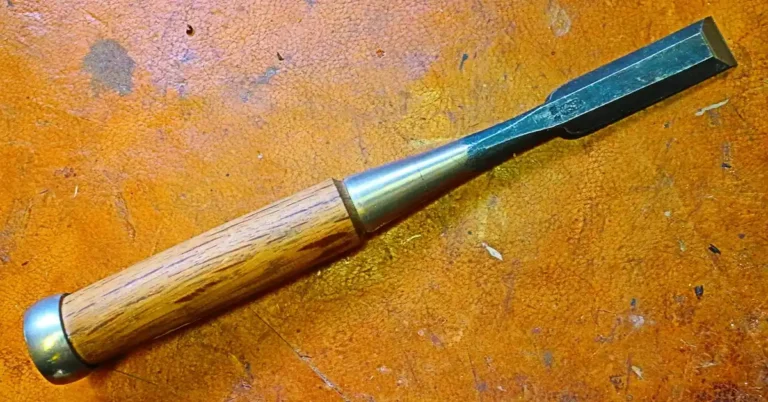
A magnetic tool strip mounted alongside a rack or pegboard is genuinely useful for a specific category: small ferrous metal tools like chisels, utility blades, and small wrenches that are awkward to hang on a hook. It gives you a fast, visible grab for these smaller items without dedicating a hook slot to each one. It doesn’t replace a full rack, though — larger or heavier tools will pull free of a magnetic strip over time or with any vibration nearby, and non-metal tools obviously won’t stick at all. Use it as a small addition for the awkward-to-hang items, not as your primary storage system.
Building It
- Cut your frame pieces to size, measuring twice before every cut.
- Assemble the frame with screws (not just nails) for anything holding real weight, checking it’s square and level as you go.
- Add hooks, cleats, or shelf supports at the spacing your tool inventory actually needs — not a generic even spacing.
- Mount to studs (use a stud finder) for a wall rack, or ensure a free-standing rack sits on a flat, stable surface with no wobble.
- Load tools gradually rather than all at once, checking stability as weight goes on — this is when a weak joint reveals itself, before it’s holding your full tool collection.
Layout That Actually Works
Group tools by function (all wrenches together, all screwdrivers together) rather than by how they happen to fit the space — this is the single biggest factor in whether you can find a tool quickly six months from now. Keep your most-used tools at eye level and within easy reach; save the top and bottom rows for occasional-use items. Labels help, but they’re a backup for a good grouping system, not a replacement for one. Some woodworkers trace a tool’s outline on the pegboard or backing where it hangs — a low-effort system that makes a missing tool obvious at a glance and doubles as a quick visual inventory check.
Wall Mounting vs. a Mobile Rack
A wall-mounted rack is the simpler build and frees up floor space, but it commits that wall to tool storage permanently and only works if you have a wall to spare near where you actually work. A mobile rack (built with locking casters) costs more effort to build well — it needs a sturdier base to handle being rolled around without racking or loosening joints — but it lets you bring your tools to the project instead of walking back and forth to a fixed wall. For a small shop or a garage that doubles as parking space, mobile is often worth the extra build complexity; for a dedicated, unchanging workshop, a wall rack is simpler and just as effective.
Common Mistakes to Avoid
- Even spacing regardless of tool size: a rack with identical gaps between every hook wastes space on small tools and crowds larger ones — space hooks to match the actual tools going there.
- Mounting into drywall alone: drywall anchors hold light decor, not tool weight over time — find studs for anything holding real weight.
- No plan for growth: a rack built to fit exactly your current tools leaves no room for the collection you’ll have in two years — build in some spare capacity from the start.
- Skipping the load test: a rack that looks solid empty can still flex or pull loose once real weight goes on — load gradually and check for movement before trusting it fully.
Maintaining It
Wipe the rack down periodically and clean tools before hanging them back up — grease and grime transfer to whatever they touch, including your hands the next time you grab that tool. Check screws and hooks periodically for looseness, especially on a rack holding heavier items, and fix anything loose before it fails under load rather than after.
Frequently Asked Questions
How do I organize tools without a toolbox?
Pegboards, magnetic strips, or wall-mounted racks all work well. Sort tools by type and function, and store small items like screws and bits in labeled bins or jars rather than loose.
What’s the best way to hang power tools?
Sturdy pegboard hooks rated for the tool’s actual weight, or a dedicated shelf for heavier corded tools that shouldn’t hang from a hook. Keep smaller accessories in labeled bins nearby rather than loose on the same hook.
Should I build a custom rack or buy a pegboard kit?
A pegboard kit is faster and works well for most home shops. Build a custom rack instead if you have oversized or oddly-shaped tools a standard hook can’t hold securely, or want integrated bins built into the design.
Conclusion
Whether you build custom, go with a French cleat wall, or start with a pegboard kit, the real difference between a rack that works and one that becomes clutter again in a month is the grouping logic behind it — organize by function, match hooks to actual tool weight, and keep your most-used tools within easy reach. Any of the three approaches holds up when built around those basics, and there’s no reason you can’t combine them: a pegboard for the bulk of your hand tools, a magnetic strip for the awkward small stuff, and a French cleat section reserved for anything you rearrange often.
Sponsored / affiliate links. As an Amazon Associate I earn from qualifying purchases. I may earn additional commission from eligible campaigns.