How to Make a Picture Frame: Rabbet Joint + Sizing Guide
A wood picture frame needs a rabbet — a 3/8-to-1/2-inch groove cut along the inside back edge — to hold the glass, mat, and backing; without it, nothing stays in place. Skip that step and even a perfectly mitered frame will rattle apart. This guide covers cutting an accurate rabbet, mitering corners to 45 degrees, choosing glass or acrylic, and the exact oversize allowance (add 1/16 inch) that keeps photos from binding.
Tools and Materials Needed
Best Picture Frame Clamp Pick
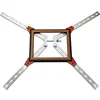
Rockler Self-Squaring Frame Corner Clamp Kit – $49.99
Pulls all four mitered corners square at once while the glue cures — solves the exact clamping problem in the Joining the Frame Corners step above, from 5×7 up to 26×30 frames.
- Best for: Squaring all 4 corners of a mitered frame in one setup
- Why we picked it: Self-squaring design matches the glue-up step covered above — no separate corner-by-corner clamping
- Main drawback: Overkill for a single small frame — better value if you’ll build more than one
Compare more picture frame clamp options
 Option 1 HORUSDY Band Clamp Strap Kit – $11.99
|
 Option 2 WETOLS 90-Degree Corner Clamp Set – $13.96
|
 Option 3 Feekoon Strap + Corner Clamp Combo – $23.99
|
As an Amazon Associate we earn from qualifying purchases.
You need a table saw or router (for the rabbet), a miter saw for the corner angles, and a square and tape measure for layout. Sandpaper, wood glue, and a set of corner clamps round out the basic kit.
| Basic Tools | Supplies Beyond Basics |
|---|---|
| Table saw or router | Wood glue |
| Miter saw | Paint or stain |
| Combination square | Picture hanging hardware |
| Tape measure | Corner or band clamps |
| Sandpaper (120 to 220 grit) | Glass or acrylic glazing |
Selecting the Right Wood
Pine is the easiest wood for a first frame — it cuts and sands fast and takes paint or stain evenly. Oak, cherry, and walnut cost more and cut slower, but hold a crisp rabbet edge and look better left unfinished.
| Type of Wood | Grain Pattern | Color |
|---|---|---|
| Pine | Fine grain, soft | Light yellow to pale brown |
| Oak | Open grain, strong | Light to medium brown |
| Cherry | Smooth grain, rich | Reddish-brown |
| Walnut | Dense grain, elegant | Dark brown to purple |
Standard Picture Frame Sizes
Match your frame to a standard print size and you skip custom-cutting mats and glass later. The most common sizes, smallest to largest, are listed below.
| Frame Size | Typical Use |
|---|---|
| 4×6 in. | Standard snapshot prints |
| 5×7 in. | Portraits, invitations |
| 8×10 in. | School photos, headshots |
| 11×14 in. | Wall art — the size where a photo starts reading as decor |
| 16×20 in. | Statement pieces, large prints |
Measuring and Cutting the Frame Pieces
Measure the longer side of your picture or mat, then add 1/16 inch to that number before you cut — this is the single most common mistake in DIY framing. Cut exactly to size and the photo binds or won’t seat flush in the rabbet.
For an 11×14 frame, rip your stock (a 1×4 board works for most builds) into strips about 1-1/2 inches wide, then set the miter saw to 45 degrees for the corner cuts. Wear safety goggles and take one clean pass per cut rather than forcing the blade.
| Measurement Tool | Cutting Tool |
|---|---|
| Tape measure | Miter saw |
| Combination square | Hand saw with miter box |
| Ruler | Utility knife (for cardboard mock-ups) |
“We size every frame 1/16 inch over the mat or photo, never exact. That small allowance is the difference between a photo that drops in flat and one that bows or jams against the rabbet.”
Cutting the Rabbet Joint
The rabbet is the L-shaped groove on the inside back edge of each frame piece — it is what actually holds your glass, mat, and backing board in place. Most standard glass and mat run 1/16 inch thick and foam-board backing runs about 3/16 inch, so cut the rabbet at least 3/8 inch deep; many woodworkers standardize on a 1/2-inch by 1/2-inch rabbet so one setup works for nearly any project.
- Set the depth: On a router table or table saw with a dado stack, set the cut to 1/2 inch deep and 1/2 inch wide, measured from the inside back edge of the board.
- Test on scrap first: Run a spare piece of the same stock through the setup and dry-fit a scrap of glass or mat board before cutting your actual frame pieces.
- Cut all four pieces: Run each frame piece rabbet-side down through the same setup so the depth and width stay identical on every piece.
- Square the corners: A router leaves rounded rabbet corners; square them with a sharp chisel so mat board seats flat instead of tenting at the joints.
Joining the Frame Corners
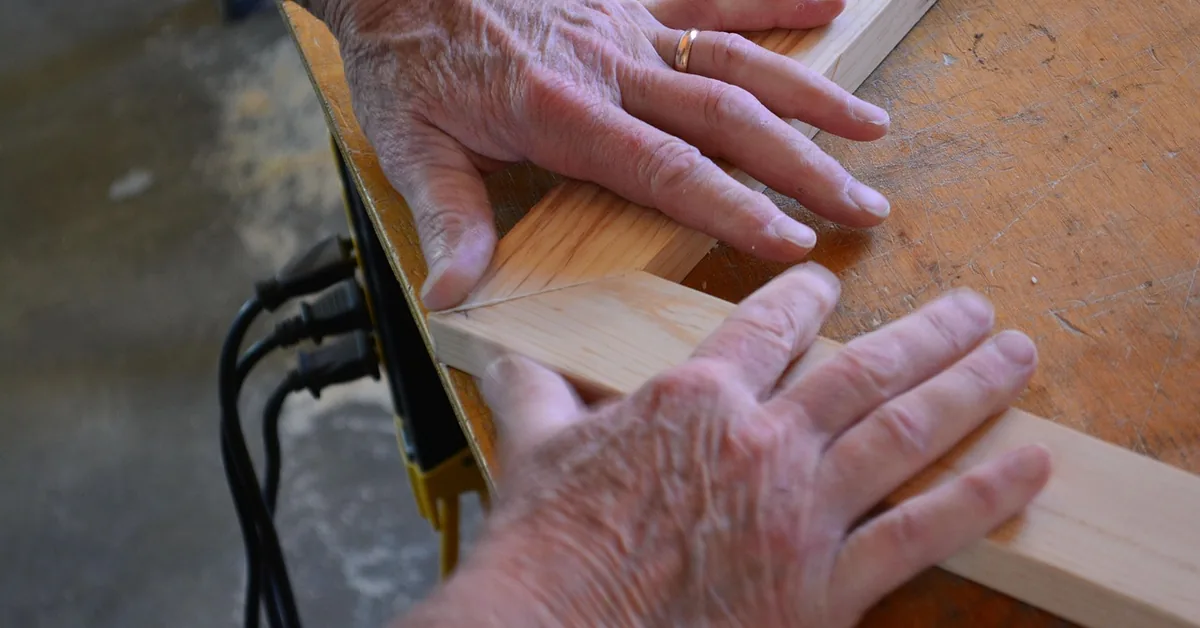
Once the rabbets are cut, dry-fit all four mitered corners before gluing anything. A simple glued miter joint is the standard for picture frames; add a spline or corrugated fastener across the back corner for extra strength on larger frames.
| Joint Type | Description | Best For |
|---|---|---|
| Butt joint | Two square-cut ends meet at 90 degrees. | Rustic or rough-sawn frames |
| Miter joint | Ends cut at 45 degrees to form a clean corner. | Standard picture frames |
| Splined miter | A thin spline glued into a slot across the mitered corner. | Larger or load-bearing frames |
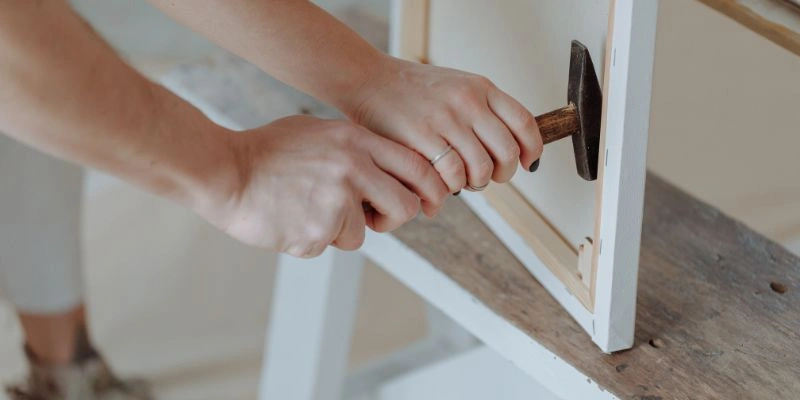
Apply wood glue to both mitered faces, clamp the corner square, and let it cure fully (check your glue’s label, but most need at least 30 minutes under clamp pressure) before moving to the next corner.
Choosing Glass or Acrylic Glazing
Standard glass scratches less but breaks easily; acrylic (plexiglass) weighs about half as much and won’t shatter, which matters for anything larger than 11×14. Neither material blocks UV light unless it’s specifically treated for it.
| Glazing | UV Protection | Best For |
|---|---|---|
| Standard glass | Minimal unless UV-coated | Small frames, low-traffic walls |
| UV-filtering glass | Up to ~99% with a conservation coating | Original art, valuable photos |
| Standard acrylic | About 66% | Large or wall-mounted frames (shatter-resistant) |
| Conservation acrylic | Up to ~99% | Large frames that also need UV protection |
📊 Standard clear acrylic blocks about 66% of UV light, while conservation-grade acrylic and UV-filtered glass block up to 99%. — Source: A&C Plastics / Acme Plastics glazing comparison data, 2026
Sanding and Finishing
Sand with the grain, working from 120 grit up to 220 for a smooth surface, then wipe away dust before finishing. Oil-based finishes bring out the richest color and hold up best; water-based finishes dry faster and clean up with just soap and water.
Mounting and Displaying Your Frame
Center the mat and photo in the rabbet, secure the backing with small brads or turn-buttons, and attach a sawtooth hanger or D-ring near the top third of the frame’s back for a level hang.
Common Mistakes to Avoid
- Cutting the picture to exact size instead of adding 1/16 inch — the photo binds in the rabbet and can buckle.
- Skipping the dry-fit — a 1-degree miter error compounds across four corners into a visible gap.
- Using a rabbet under 3/8 inch deep — glass, mat, and foam-board backing won’t all fit.
- Sanding across the grain — leaves scratches that show through stain even after a second sanding pass.
Frequently Asked Questions
How Do I Choose Wood For A Picture Frame?
Choosing the right wood is essential for your picture frame. Popular choices include pine, oak, or cherry for durability and aesthetics. Consider the weight of your picture and the desired finish. Softwoods are easier to work with, while hardwoods provide a more elegant look.
What Tools Are Needed For Making A Picture Frame?
You’ll need a miter saw, clamps, wood glue, and sandpaper, plus a router or table saw to cut the rabbet. A drill can be useful for adding hardware. A measuring tape and square ensure precise cuts.
How Can I Decorate My Picture Frame?
You can decorate your picture frame in various ways. Consider painting, staining, or adding embellishments like beads or ribbons. Decoupage with decorative paper can also add a unique touch. Personalizing your frame enhances its charm and reflects your style.
What Is The Best Finish For A Wooden Frame?
The best finish for a wooden frame depends on your preference. Options include polyurethane, lacquer, or wax for protection and shine. Choose a finish that complements the wood type and the surrounding decor. A clear finish enhances the wood’s natural beauty.
What Size Rabbet Do You Need For A Picture Frame?
Cut the rabbet at least 3/8 inch deep to fit standard glass, mat board, and foam-board backing together. Most woodworkers standardize on a 1/2-inch by 1/2-inch rabbet so one router setup works for nearly any frame size.
Should I Use Glass Or Acrylic For A Picture Frame?
Use glass for small frames on low-traffic walls, since it resists scratches better. Use acrylic for anything larger than 11×14 inches or anywhere it could get bumped — it weighs about half as much as glass and won’t shatter.
Conclusion
A picture frame comes down to three things done right: a rabbet deep enough to hold glass, mat, and backing; corners mitered at 45 degrees and clamped square; and a 1/16-inch oversize allowance so the photo seats flat. Get those three right and the wood species and finish are just style choices.
Sponsored / affiliate links. As an Amazon Associate I earn from qualifying purchases. I may earn additional commission from eligible campaigns.