Keepsake Box: How to Build One as a Gift
Build a keepsake box with a simple butt-jointed or rabbeted case, a fitted lid, and a soft-lined interior. For a gift, choose the size and style around the recipient’s keepsakes first, then build to that footprint. Get the design wrong and the box feels awkward, too small, or too plain to keep using. This guide covers design choices, beginner-friendly materials, joinery, hardware, and finishing.
What a keepsake box


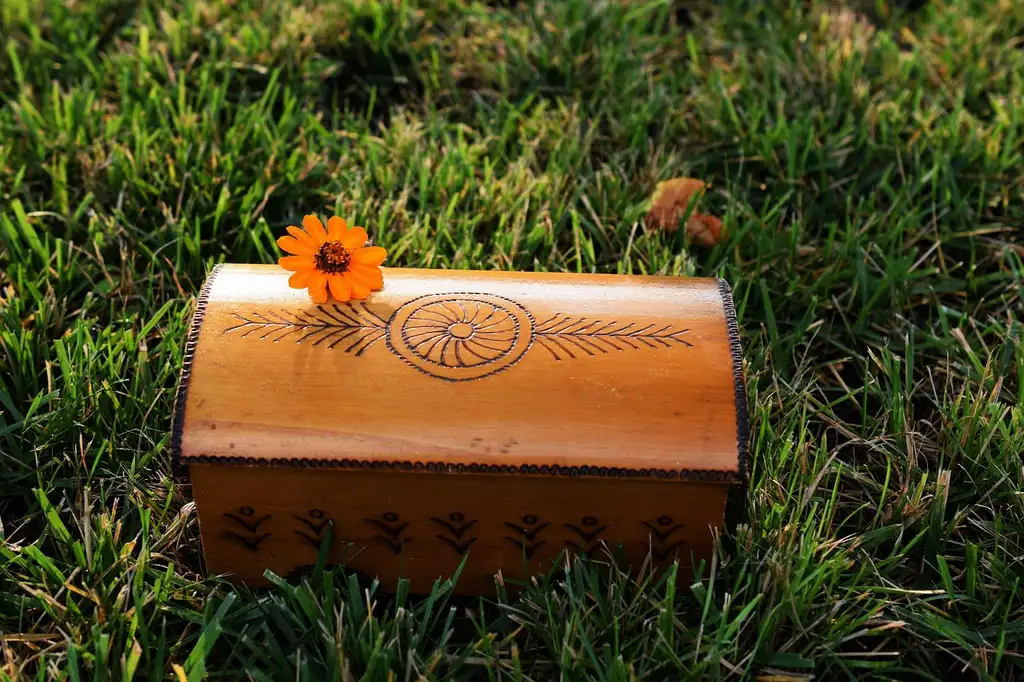
A keepsake box stores mementos from a special time, event, or person: photos, letters, jewelry, ticket stubs, pet tags, cuff links, shells, or small ceremony items. A good gift box feels specific to what it will hold, so the size, lid, and lining should match the keepsake instead of forcing everything into one generic shape.
That is why design comes first. A box for a wedding suite of letters can be shallow and wide, while a pet memorial box may need room for a collar, tag, and a small photo. A family keepsake box may need a divider or removable tray later, so leaving a little growth room can help.
Choose the right box for the recipient
Start with the recipient’s keepsake, then choose the simplest box style that fits it. A narrow jewelry box does not need the same depth as a memory box for cards or a pet memorial box for a collar and printed photo. The right shape makes the gift feel deliberate, not generic.
Pet memorial box
A pet keepsake box often holds a collar, tag, paw print, or a folded note. Choose a slightly deeper box with a secure lid and a soft interior. A magnetic closure can work, but hinges give a more traditional presentation and keep the lid aligned over time.
Jewelry or letter box
For jewelry, cuff links, rings, or folded letters, a shallower box is usually enough. A clean interior and a tight lid matter more than large capacity. Maple suits a brighter, cleaner look, while walnut or mahogany gives the gift a warmer tone.
Family keepsake box
For family keepsakes, photos, small documents, and holiday mementos, choose a box that can live on a shelf and open easily. This is the best place for engraving, a photo top, or a name plate. If the box may be passed around at gatherings, keep the edges comfortable and the lid simple.
Keepsake box decision table
| Recipient | Suggested internal dimensions | Best wood | Joinery choice | Closure type | Finish | One personalization idea | Avoid this if… |
|---|---|---|---|---|---|---|---|
| Pet memorial | 8 x 5 x 4 in. | Walnut | Butt joints with splines | Hinges with small stay magnets | Satin polyurethane | Engrave the pet’s name and date | you need a very light, painted look |
| Jewelry gift | 6 x 4 x 3 in. | Maple | Mitered corners with splines | Small hinges | Wax over a sealed surface | Laser or hand engraving on the lid | the wood must hide every edge line |
| Letter or card set | 10 x 6 x 3 in. | Cherry | Dovetails | Hinges | Satin urethane | Add a date and initials inside the lid | you want the fastest beginner build |
| Family keepsakes | 12 x 8 x 4 in. | Mahogany | Finger joints | Hinges with magnetic assist | Oil and wax | Photo top with a border frame | the box must stay very small and light |
What tools and lumber do you need?
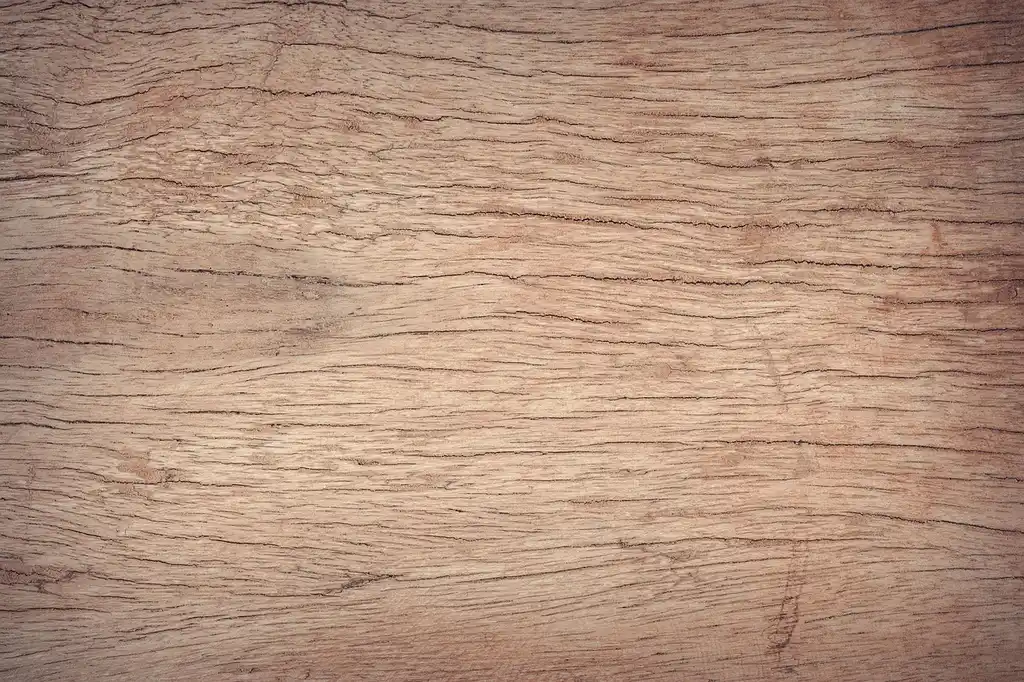
The best beginner path uses hardwood stock, basic measuring tools, and a simple cut list. A small keepsake box can be built from cherry, walnut, maple, or mahogany. If you want the simplest first project, pine is easier to cut and plane, but hardwood better resists dents and holds a gift-grade finish.
Best hardwood choices
Mahogany is one of the best woods for this purpose because it machines well and presents a calm grain. Cherry darkens over time and suits heirloom-style gifts. Walnut gives strong color contrast. Maple is lighter and clean-looking. For sides, 3/4-inch stock is a practical starting point because it feels solid without making the box bulky.
Wood movement matters because wood expands and contracts with humidity. One technical guide places indoor equilibrium moisture content around 6-8%, and hardwood tangential shrinkage can be 5-10%. A target under about 10% moisture content is a sensible goal for box stock when possible.
Basic shop tools
- Table saw for ripping sides and lid parts
- Band saw for resawing a lid or shaping details
- Drill for hinge screws and pilot holes
- Clamps, especially bar clamps or pipe clamps
- Square for checking corners and lid fit
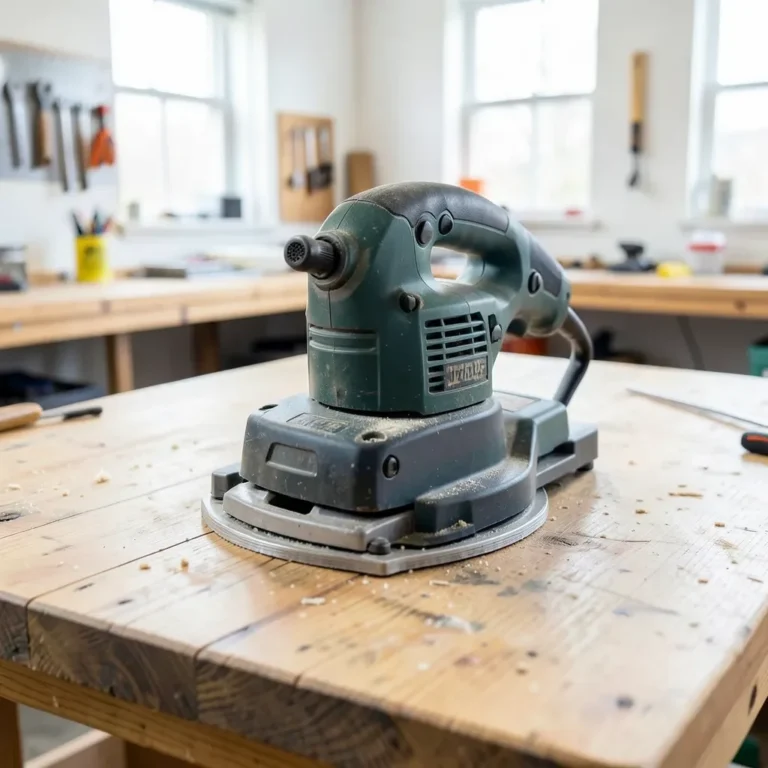
- Sander for smoothing faces and edges
Stock thickness and moisture target
A 1×4 board is actually 3 1/2 inches wide, which is useful when you want a box in the 3-inch-tall range without extra waste. One small wooden keepsake box project uses about 3-4 feet of a 1×4 board. That makes the project manageable, and it keeps cost and setup time low.
How do you size the box?
A good starting size is about 6 x 4 x 3 inches internally. That size fits a small gift box well and matches a precision plan for a 6 x 4 x 3 inch hardwood keepsake box. From there, scale up for cards, collars, or folded letters, or scale down for rings and earrings.
A simple 6 x 4 x 3-inch starting point
This size works because it is compact, easy to cut from common stock, and large enough for many common keepsakes. It also keeps the lid span short enough for beginner joinery. If you want the simplest gift outcome, this is the safest starting footprint.
Lid overhang and fit allowance
Plan a slight lid overhang so the top has visual separation from the case and minor sizing errors do not ruin the fit. Leave enough clearance that the lid does not scrape the sides during seasonal movement. A snug fit is good; a rubbing fit is not. If the box will live in a dry heated room, give the lid a touch more clearance.
When to scale up or down
Scale up when the keepsake is bulky, fragile, or likely to be added to later, such as family letters or a pet collar with tags. Scale down for rings, coins, or a few folded notes. A common first-timer mistake is choosing the object after the box is already cut; that usually leads to a box that looks overbuilt or undersized.
Joinery and assembly basics
For a beginner-friendly gift, butt joints are the easiest path, while mitered corners improve appearance if your cuts are accurate. Dovetails are strongest and most decorative, but they take more time and setup. Splines and finger joints sit between those options in strength and visual interest.
Butt joints versus mitered corners
Butt joints are simple, fast, and strong enough for a small box if you use glue and keep the stock square. Mitered corners hide end grain and look cleaner on gift pieces, but they depend on precise 45-degree cuts. End-grain glue weakness is one reason many builders add splines to reinforce mitered corners.
When to use splines, dovetails, or finger joints
Use splines when you want a cleaner miter with more strength and a visible accent line. Use dovetails when strength and tradition matter more than speed. Use finger joints if you want a bold pattern and are comfortable with repeatable cuts. For a first keepsake box, butt joints or mitered corners with splines are the most practical choices.
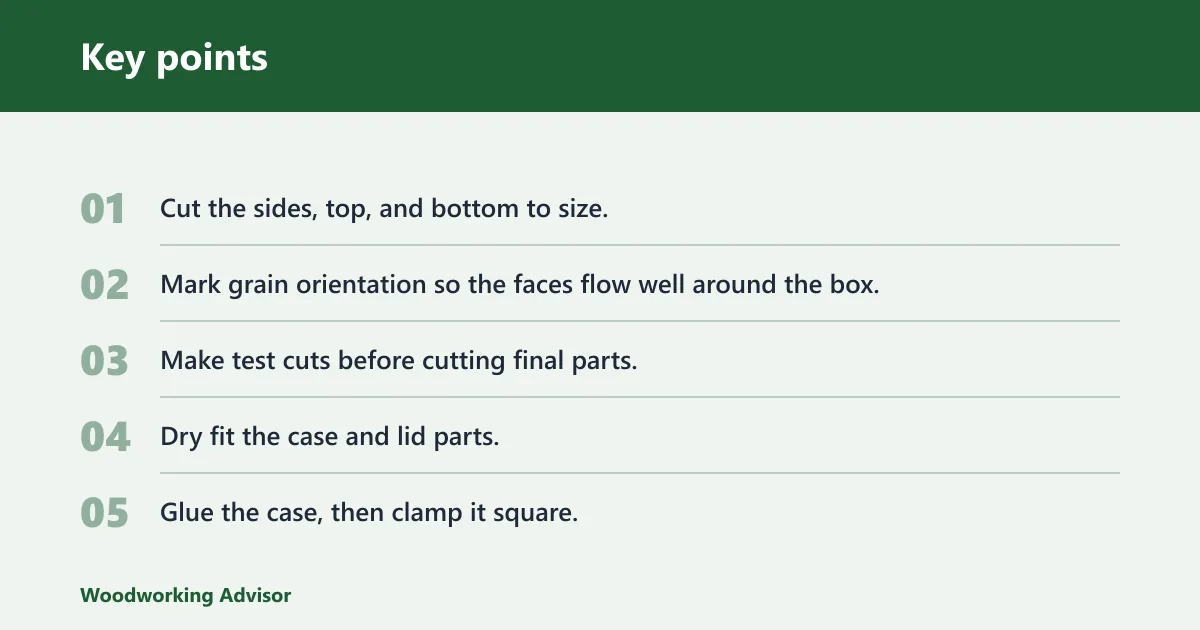
- Cut the sides, top, and bottom to size.
- Mark grain orientation so the faces flow well around the box.
- Make test cuts before cutting final parts.
- Dry fit the case and lid parts.
- Glue the case, then clamp it square.
- Check diagonals and clean glue squeeze-out before it hardens.
Dry fit matters because it shows whether the corners close cleanly and whether the lid blank tracks the case shape. A square case is much easier to finish cleanly than one that is slightly twisted. If the box is even a little out of square, the lid fit can become uneven after sanding and finish.
How do you build the lid and closure?
The lid should open smoothly, close without racking, and leave enough clearance for seasonal wood movement. Hinges are the most common choice for a gift keepsake box because they feel familiar and keep the lid aligned. Magnetic closure options are useful for a clean look, but they work best when the lid is already well fit.
Hinges and screw sizing
Small brass or black hinges are often a good fit for compact boxes. Use pilot holes and match the screw size to the hinge leaf thickness; Small hinge screws are often in the #4 to #6 range, depending on the hardware. If the screws are too long or the pilot holes are too small, the stock can split.
Magnetic closure options
Magnetic catches can keep the lid shut without visible hardware on the front edge. They suit a clean, modern look and work especially well on lightweight lids. Set the magnets so the lid closes firmly but does not need force, or the box may feel hard to open and may strain the hinge line.
Preventing lid binding
Lid binding usually comes from a tight fit, seasonal movement, or a case that is not square. Leave a small tolerance so the lid can move without scraping, and avoid sanding the fit so tightly that humidity changes cause sticking later. If the lid binds in one season, it will likely worsen in another.
Sand, finish, and personalize the gift
Sanding and finish decide whether the box feels refined or rough. A beginner should sand through 80-grit, 120-grit, and 220-grit paper, then choose a finish that fits the use. Polyurethane and urethane are commonly used for durable protection, while oil and wax create a softer look. A satin finish often suits gifts because it helps reduce glare.
80 to 220 grit sanding
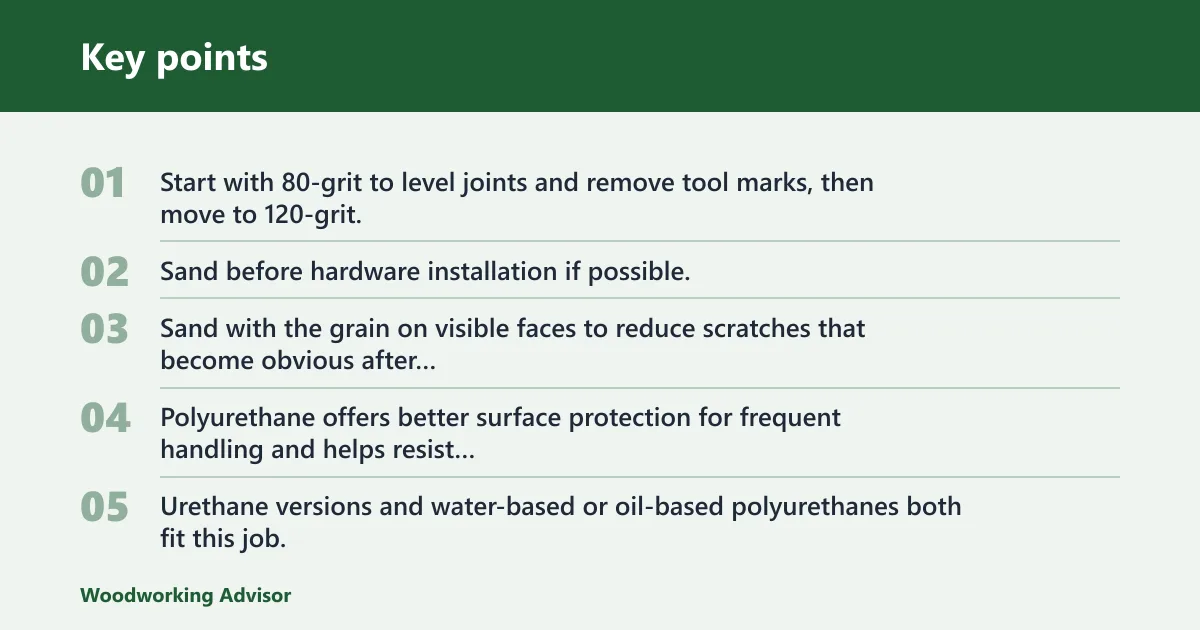
Sand before hardware installation if possible, and ease sharp edges so the box feels comfortable in hand. Sand with the grain on visible faces to reduce scratches that become obvious after finish goes on.
Polyurethane, oil, wax, or satin finish
Polyurethane offers better surface protection for frequent handling and helps resist stains from fingers or keepsakes with residue. Urethane versions and water-based or oil-based polyurethanes both fit this job, but the label matters more than the marketing language. Oil and wax are easier to apply, yet they offer less protection on a gift box that will be handled often.
Watch for failure cases. Glue squeeze-out can block finish absorption and leave pale spots if it is not removed before sanding. End grain at the lid edge can soak up more finish than the face grain, so seal it evenly. If you finish before the lid fit is settled, the extra film can make a close-fitting lid bind.
Engraving, photo tops, and holiday gifting
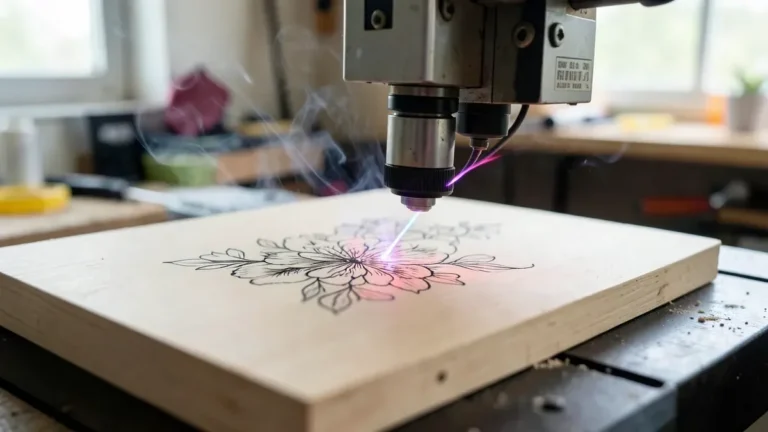
Personalization should match the recipient and the keepsake type. Engraving works well for names, dates, or a short message. A photo top suits family keepsake boxes and holiday gifting. For a pet memorial box, a name and date are often enough; for a wedding or anniversary gift, initials and the event date feel specific without crowding the lid.
Say your recipient is a parent who keeps old letters from holidays and birthdays. A 10 x 6 x 3 inch cherry box with a hinged lid, engraved initials, and a satin finish will feel more intentional than a plain storage box, and the larger footprint leaves room for envelopes without folding them tightly.
Suppose the gift is for a pet memorial and the keepsakes are a collar, tag, and a small photo. A walnut box around 8 x 5 x 4 inches with a soft-lined interior and a magnetic assist can hold those items neatly without looking oversized, while the darker wood gives the piece a calmer tone.
Build the case first, then fit the lid, then finish and personalize. The simplest build path uses basic measuring, cutting, gluing, and sanding. If you keep the design modest, the project stays beginner-friendly while still producing a gift that feels specific to the recipient.
1. Choose the recipient’s keepsakes and set the internal size.
2. Select stable hardwood stock under 10% moisture content when possible.
3. Cut the four sides, bottom, and lid blank.
4. Dry fit the case and check the corners with a square.
5. Glue and clamp the box, then let it cure fully.
6. Add hinges or magnets, then test the opening action.
7.
8. Apply finish, then add engraving, a photo top, or lining.
Compact time and cost snapshot
| Item | Typical share of the build | Notes |
|---|---|---|
| Wood | Largest material share | Cherry, walnut, maple, or mahogany; a small box may come from about 3-4 feet of a 1×4 board |
| Hardware | Small but important | Hinges, screws, and optional magnetic catch |
| Finish | Moderate | Polyurethane, urethane, oil, or wax |
| Consumables | Low to moderate | Sandpaper, glue, masking tape, and cleanup supplies |
A beginner should expect the most time to go into layout, sanding, and fitting the lid, not the glue-up itself. Keeping the design simple cuts the risk of rework and keeps the project close to a weekend-scale gift, especially if the finish is allowed to cure before wrapping.
Frequently asked questions
What is a keepsake box?
A keepsake box is a box for storing mementos from a special time, event, or person. It is commonly used for photos, letters, jewelry, pet items, and other small reminders. For a gift, the value comes from matching the size, wood, and details to the person who will receive it.
Sponsored / affiliate links. As an Amazon Associate I earn from qualifying purchases. I may earn additional commission from eligible campaigns.