Stair Gauges for Circular Saw: How They Work With a Framing Square
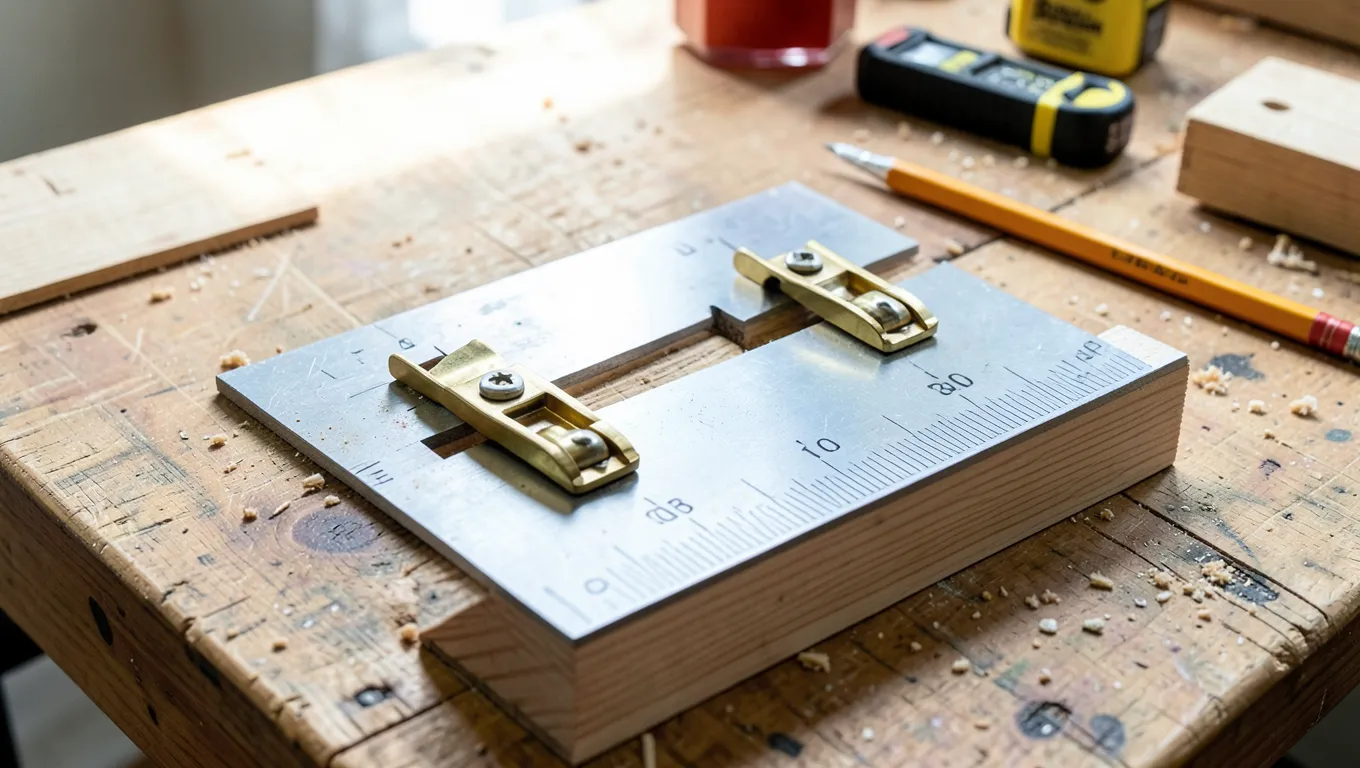
Stair gauges don’t clamp onto your circular saw at all — they clamp onto a framing square. That’s a mix-up worth clearing up first, because it changes how you actually use the tool. A stair gauge is a small brass or aluminum stop that locks onto the blade or tongue of a carpenter’s framing square at an exact measurement. Once both gauges are set, the square becomes a repeatable rise-and-run template: you slide it down the stringer board, trace the edge with a pencil, move it to the next step, and trace again. The circular saw only comes in after the layout lines are already marked — it just follows the lines you cut.
Get that sequence right and cutting a stair stringer stops being guesswork. Here’s how the gauges actually work, how to set them for your rise and run, and which ones hold their setting instead of slipping mid-job.
What a Stair Gauge Actually Is
Best Brass Stair Gauge Pair
 |
IRWIN Tools Stair Gauges, Brass (1794481) – $5.99 The exact type of gauge this guide is built around — solid brass, clamps onto a standard framing square’s blade and tongue.
|
A stair gauge is a small hexagonal or L-shaped fitting, usually solid brass or cast aluminum, with a knurled screw that tightens it onto the edge of a framing square. Most carpenters buy them in pairs: one gauge goes on the square’s body (the wider, longer arm, marked in inches for rise) and the other goes on the tongue (the narrower arm, marked for run). You set one gauge to your stair’s rise measurement and the other to the run, tighten both screws, and the square is now locked to that exact stair geometry until you loosen them again.
This matters because a 2×12 stringer typically needs six to fourteen identical notches cut into it, and even a 1/16-inch drift between notches shows up as a wobble in the finished staircase. Re-measuring by hand for every notch is where that drift creeps in. Gauges remove the re-measuring step entirely — you’re registering against a fixed stop, not eyeballing a tape measure fourteen times in a row.
How Stair Gauges Work With a Framing Square
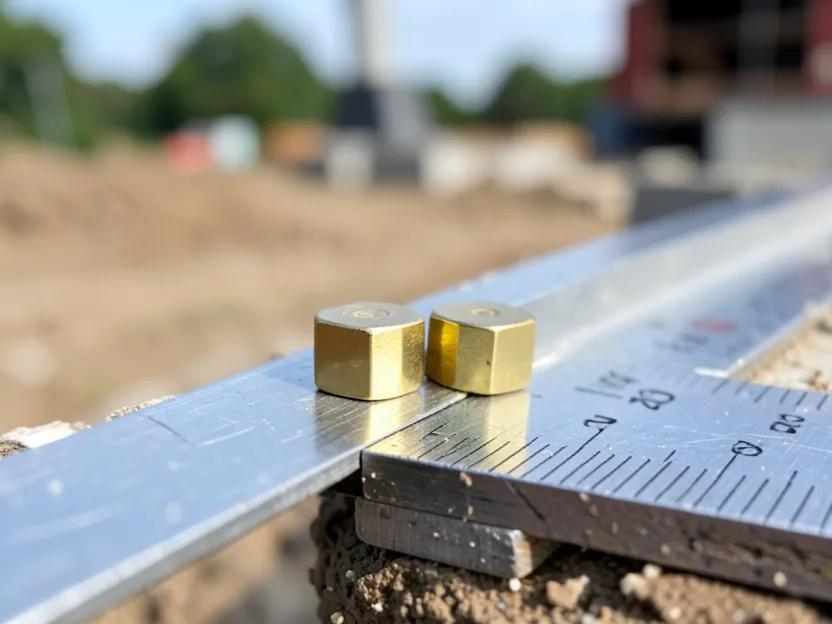
Start with your rise and run numbers. For most residential stairs, building code works out to roughly 7 to 7¾ inches of rise and 10 to 11 inches of run per step — check your local code before cutting, since exact limits vary. Set one gauge on the square’s body at your rise number, and the other gauge on the tongue at your run number. Both gauges should butt against the same edge of the stringer board so every step registers from the same reference line.
Lay the square across one end of the stringer board with both gauges touching the board’s top edge. Trace along the outside of the square with a pencil — that traces one rise line and one run line, forming the first “step” of the zigzag stringer pattern. Slide the square down until the gauges again touch the edge, right where your last run line ended, and trace again. Repeat for the full number of steps. The gauges are what make each repeat identical without re-measuring.
Step-by-Step: Marking a Stringer With Stair Gauges
- Calculate your total rise (floor to floor height) and divide by your target step height to get the number of steps and the exact rise per step.
- Set the rise gauge on the square’s body and the run gauge on the tongue, tightening each screw firmly by hand — not so tight you strip the screw, but tight enough that a firm bump against the board won’t shift it.
- Position the square at one end of the 2×12 stringer stock, gauges flush against the top edge of the board.
- Trace the rise line (vertical) and run line (horizontal) with a sharp pencil, keeping the point against the square the whole stroke.
- Slide the square down so the gauges land on the endpoint of the last run line, and repeat until you’ve marked every step.
- Mark the bottom cut line (accounting for the thickness of the first tread) and the top cut line before you pick up the saw.
- Cut the outside layout lines with the circular saw, then finish the inside corners of each notch with a handsaw or jigsaw — a circular saw’s round blade can’t complete a square inside corner without overcutting.
That last point trips up a lot of first-timers: plunging a circular saw all the way through both lines of a notch leaves a visible overcut in the corner, because the blade is round and the corner is square. Stop the saw cut right at the intersection and finish the last inch or two by hand. It’s the difference between a stringer that looks factory-made and one that looks hacked out.
Choosing the Right Stair Gauges
Material: Solid brass gauges (like the IRWIN pair below) resist corrosion and won’t mar the square’s finish, and they’re the standard choice among framing carpenters. Cast aluminum gauges are lighter and cheaper but strip their screw threads faster under repeated tightening.
Fit: Standard stair gauges fit the common 1/8-inch-thick body of most 24-inch aluminum and steel framing squares. If you’re using a thicker or non-standard square, check the gauge’s clamp opening before buying — a loose-fitting gauge is the single biggest cause of a stringer coming out with mismatched steps.
Fastening style: Most gauges use a simple knurled thumbscrew. A few premium versions add a secondary lock nut for jobs where the square gets bumped a lot — worth it on a job site, unnecessary for a one-off DIY staircase.
Common Mistakes and Troubleshooting
Steps come out slightly different sizes. This almost always traces back to one of two things: a gauge that loosened partway through marking (check both screws every few steps, not just at the start), or the square being flipped or read from the wrong edge partway through the job. Mark which face and edge you’re registering against before you start, and keep it consistent for every trace.
The gauge won’t sit flush against the board. Sawdust or a burr on the square’s edge is the usual culprit — wipe the edge down and check the gauge’s clamp jaw for debris. A gauge that’s bent from being dropped will never sit flush again; replace the pair rather than fighting it.
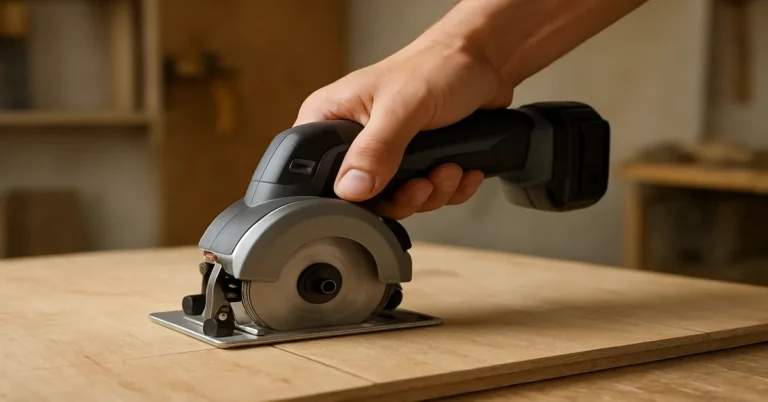
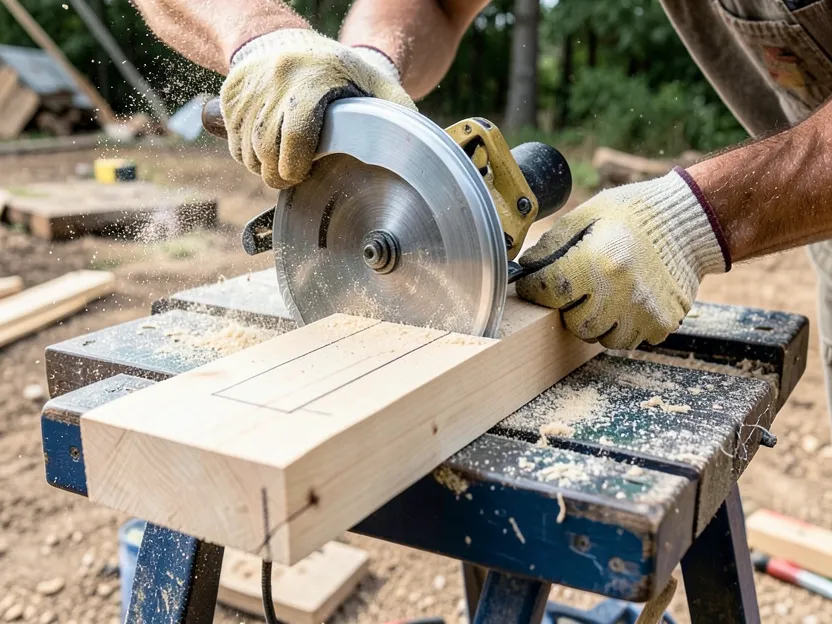
The blade wanders off the pencil line. This is a saw and technique issue, not a gauge issue — the gauges only control the layout lines, not the cut itself. Use a sharp carbide blade with enough teeth for a clean crosscut (24-40 tooth for framing lumber), let the saw’s baseplate ride flat on the board, and don’t force the feed rate.
Safety Notes
- Unplug or remove the battery from the saw any time you’re adjusting gauges or checking measurements near the blade.
- Clamp the stringer stock to sawhorses before cutting — a board that shifts mid-cut is the most common way a circular saw kicks back.
- Wear safety glasses; stair stringer cuts throw more sawdust and small offcuts than a straight rip cut.
- Finish inside corners with a handsaw or jigsaw rather than trying to muscle a circular saw into a corner it can’t physically complete.
Frequently Asked Questions
Do stair gauges attach to a circular saw?
No. Stair gauges clamp onto a carpenter’s framing square, not onto the saw. The square (with the gauges locked at your rise and run measurements) is used to trace layout lines onto the stringer board, and the circular saw simply cuts along those lines afterward.
What size framing square works with standard stair gauges?
Most stair gauges are sized for the standard 24-inch by 16-inch steel or aluminum framing square, which is the size used for stair and rafter layout in residential framing. Check the gauge’s clamp opening if you’re using a smaller combination square instead.
Can I cut an entire stair stringer notch with just a circular saw?
Not cleanly. A circular saw’s round blade will overcut the inside corner of each notch if you try to finish it there. Cut the two outside lines with the circular saw and finish the last inch or two of the inside corner with a handsaw or jigsaw for a clean, square notch.
Are brass or aluminum stair gauges better?
Solid brass gauges are the more durable choice — they resist corrosion, hold their thumbscrew threads longer under repeated tightening, and are what most professional framing carpenters use. Aluminum gauges are lighter and less expensive but wear out their threads faster with heavy use.
Set your rise and run once, lock the gauges down, and every notch you trace comes out identical — that consistency is the entire reason this fifty-cent piece of brass has outlasted every “smart” stair-layout gadget that’s tried to replace it.
Sponsored / affiliate links. As an Amazon Associate I earn from qualifying purchases. I may earn additional commission from eligible campaigns.