Wheels for a Miter Saw Stand: How to Add Locking Casters
A miter saw bolted to its stand is one of the heaviest things you’ll ever drag around a one-car garage or a job site. Wheel it wrong and that same stand can roll out from under a cut mid-swing, which is a real safety problem, not just an inconvenience. Adding wheels to a miter saw stand is a simple weekend upgrade, but the caster type, the mounting method, and how many wheels you actually lock down all matter more than the average “just screw on some casters” tutorial lets on. Here’s how to pick, size, and mount casters so the stand rolls when you want it to and stays completely still when you don’t.
Best Locking Casters for a Miter Saw Stand
Best Heavy-Duty Locking Caster Set
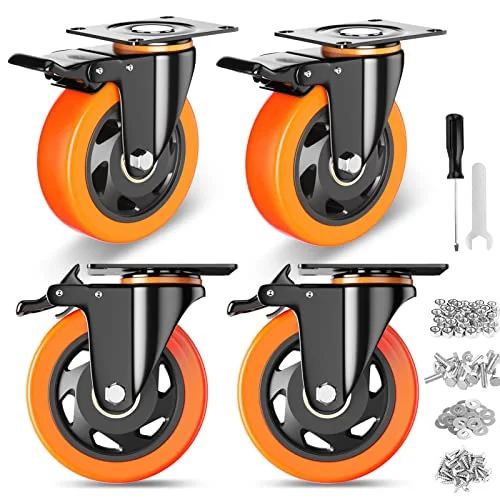 |
YUPEZOP 4″ Heavy Duty Locking Swivel Casters (Set of 4) – $25.89 A 2,200 lb-rated set (550 lbs per wheel) that’s sized for a loaded miter saw stand, not a light-duty furniture dolly.
|
Swivel vs. Fixed Casters: Which Configuration to Use
Two configurations show up on most shop-built and manufactured miter saw stands, and both are legitimate depending on how you actually move the thing around.
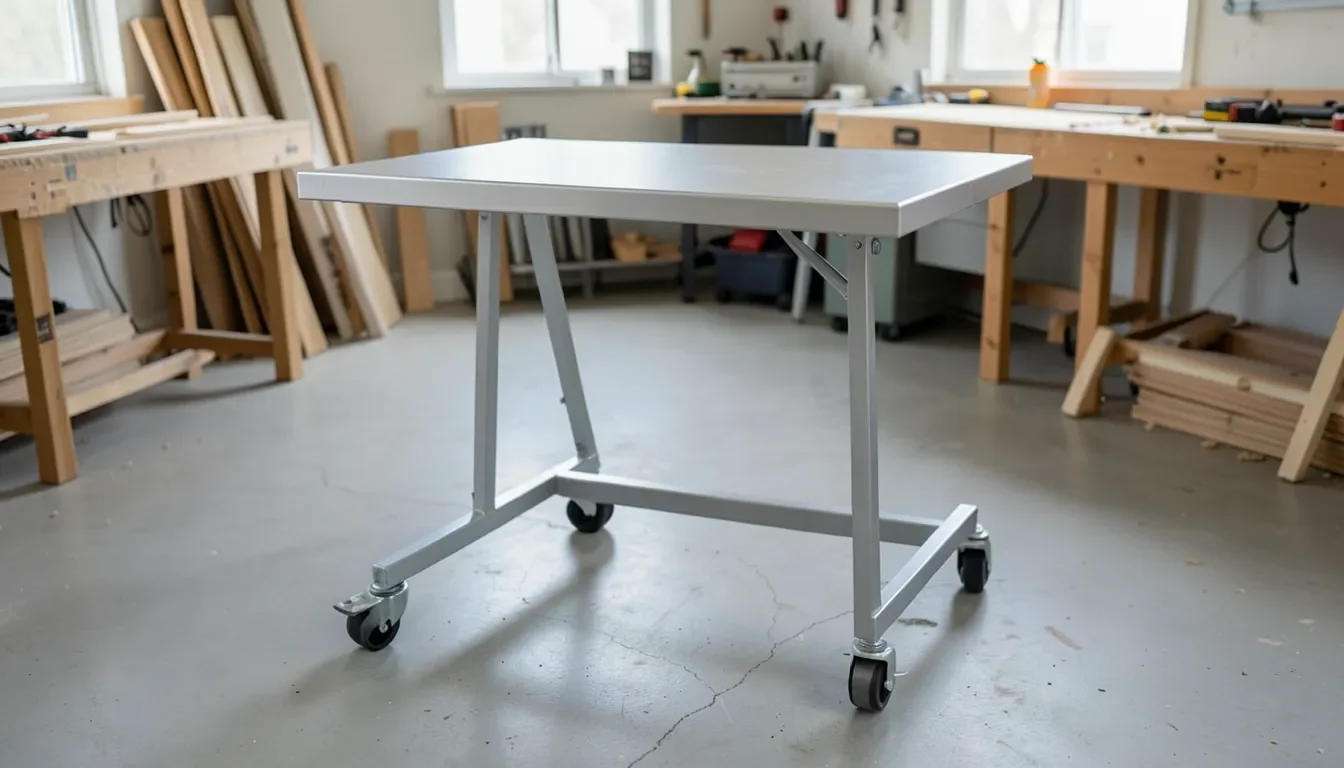
All-swivel, all-locking is the most common setup and the one most retrofit kits are sold for. Every corner pivots 360 degrees, so you can roll the stand straight, pivot it in a tight corner, or walk it sideways to line it up against a wall. It’s the more forgiving choice if you’re not sure yet how you’ll maneuver the stand, and it’s what most single-car-garage users end up wanting because floor space is usually the constraint, not travel distance.
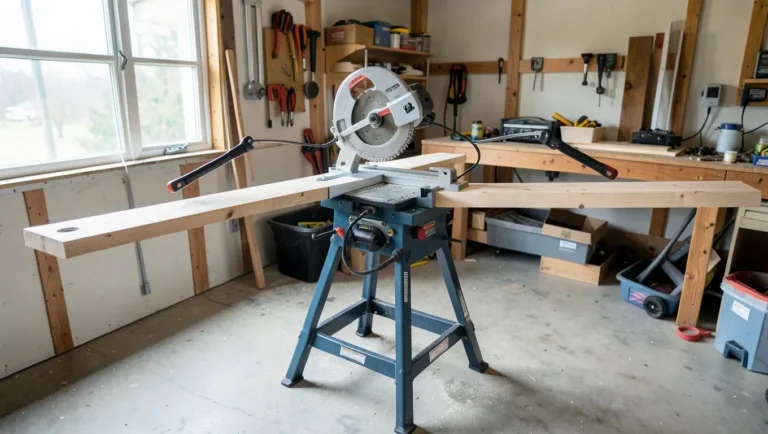
Swivel casters on one end and fixed (non-swivel) casters on the other is the setup you’ll see on longer stands, especially ones with outfeed wings that need to travel in a straight line without wandering. Fixed casters track true when pushed and don’t wobble side to side the way a full-swivel set can on an uneven concrete floor. The tradeoff is that you lose the ability to pivot from that end, so if the stand has to squeeze past obstacles or turn a corner, you’re steering entirely from the swivel end.
If your stand is a compact folding model under about 40 inches long, all-swivel-locking is almost always the better call. If it’s a longer shop-built station with wing extensions, ask yourself whether you push it in a straight line to one spot (fixed-plus-swivel is fine) or need to maneuver it around a cluttered shop (stick with all-swivel).
Locking Mechanisms: Why “Locking” Doesn’t Always Mean What You Think
Not every caster labeled “locking” locks the same thing, and this is where a lot of buyers get surprised after installation. There are three distinct lock types sold under that word:
- Wheel lock only – stops the wheel from spinning but leaves the swivel free. The stand can still be dragged sideways or pivoted even with the wheel locked, which isn’t enough for cutting.
- Swivel lock only – locks the caster’s rotation so it can’t pivot, but the wheel can still roll forward and back. Rare on its own, usually paired with a wheel lock.
- Total lock (dual lock) – a single brake that locks both the wheel rotation and the swivel at the same time. This is the only type that actually stops a loaded stand from shifting during a cut, and it’s what you want on at least the two casters nearest the operator, ideally all four.
Read the listing bullet points, not just the word “locking” in the title. If the description only mentions a foot pedal stopping the wheel, ask whether it also locks the swivel before you buy. An unlocked or partially locked stand shifting mid-cut is a genuine hazard, not a hypothetical one, especially on a bevel or compound cut where you’re already leaning into the workpiece.
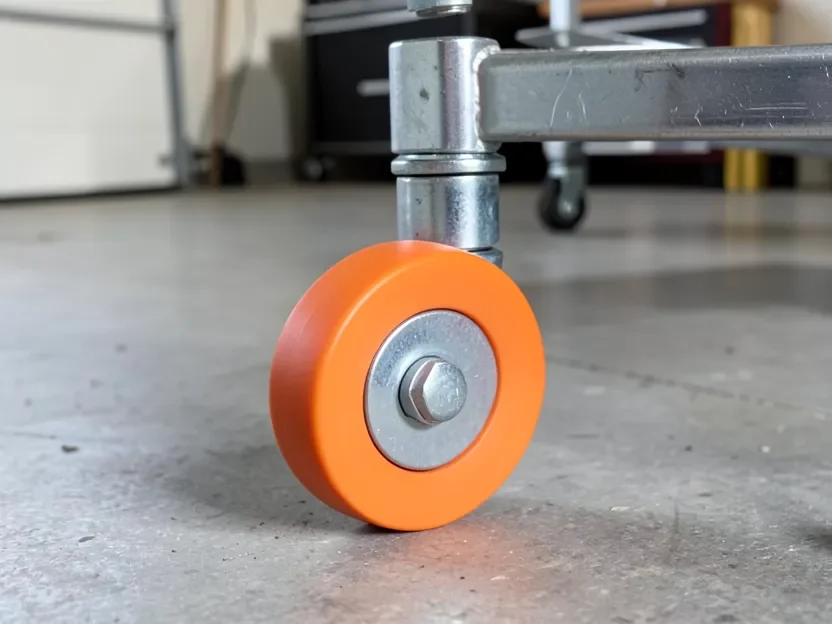
How Much Weight Your Casters Actually Need to Handle
Undersized casters are the most common mistake in a DIY caster retrofit, and it’s an easy one to make because the math looks fine on paper until you account for how the load is distributed and how it moves.
Start by adding up the real weight: the stand frame itself, the miter saw bolted to it (compact miter saws run in the 25-35 lb range, sliding compound miter saws are commonly 45-60+ lbs), and whatever workpiece is typically sitting on the table when you move it. Then look at whether the caster’s rated capacity is listed per set or per wheel – a “2,200 lb” rating for a set of four is 550 lbs per wheel, but that number assumes a perfectly even four-point load. In practice, a miter saw sitting off-center on one end of the table puts more weight on two casters than the other two, so don’t treat the full set rating as a guarantee that each individual wheel is only carrying its even share.
The other factor competitor guides tend to skip is dynamic versus static load. A caster’s stated capacity is usually a static rating – the load sitting still. Rolling over a door threshold, a cracked slab, or a stray offcut adds a momentary shock load well above the static number. Sizing up from the bare-minimum static calculation gives you margin for that, rather than picking the cheapest caster that just barely clears the math on paper.
Plate-Mount vs. Stem-Mount: Check Your Stand Before You Buy
This is the step most tutorials skip entirely, and it’s the reason a caster that looked right in the listing photos sometimes won’t actually bolt on. Casters come in two fundamentally different mounting styles, and they aren’t interchangeable.
Plate-mount casters have a flat rectangular top plate with four screw holes. They need a flat surface to sit against – the molded foot on a manufactured folding stand, or a flat wood block or plywood foot on a shop-built stand. This is what almost every DIY retrofit should be buying, because it works on both tubular metal legs (with a welded or bolted flat pad) and solid wood legs.
Stem-mount casters have a round post that presses or threads into a matching round socket drilled into the leg. They’re common on furniture and some pre-drilled manufactured stands, but they’re the wrong choice for retrofitting a shop-built stand unless you’re willing to drill a precisely sized round hole into solid leg stock – not a job most people want to take on with a hand drill.
Before ordering, look at the bottom of each leg. If it’s a flat foot (wood, molded plastic, or a welded steel plate), buy plate-mount. If there’s already a round socket or a threaded insert from the factory, match that stem size exactly rather than assuming any stem caster will fit – stem diameters vary between manufacturers.
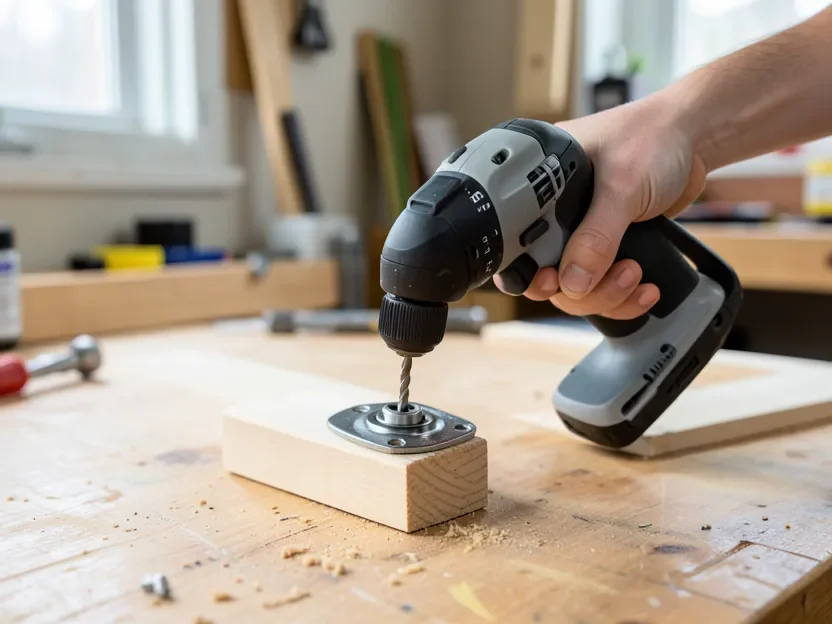
How to Install Casters on a Miter Saw Stand
Once you’ve confirmed plate-mount hardware fits your stand’s feet, the install itself is straightforward:
- Unplug the saw and, if possible, remove it from the stand before flipping the stand upside down – working on a saw-loaded stand balanced on its back is an easy way to rack the frame.
- Set each caster’s plate against the leg’s foot and mark the four screw holes with a pencil.
- Pilot-drill each mark on wood legs to avoid splitting the grain; skip this step on pre-punched metal feet.
- Use the hardware that comes with the caster set – most kits include both wood screws and machine bolts with nuts, matched to whether your leg is wood or metal.
- Tighten fully, then flip the stand upright and check that all four casters sit flat on the floor with no rock. A stand that rocks on three wheels needs a shim or a leg adjustment before it’s safe to use.
- Test the locks on every caster before putting the saw back on – press each brake and confirm the wheel and swivel both stop moving.
Safety Precautions for a Rolling Miter Saw Stand
A stand on wheels changes a few habits that are worth calling out directly. Never roll a stand with a workpiece balanced on it mid-cut – move it empty, position it where you want it, then lock the casters before loading material back on. Lock at least the two casters closest to where you stand while cutting, and lock all four whenever possible; a stand that can still swivel on two unlocked corners can shift sideways under lateral pressure even with the other two wheels braked. On an uneven garage floor, double-check the lock is fully engaged rather than just resting against the wheel, since a slight slope is enough for a wheel to creep out of a half-set brake over the course of several cuts.
If you’re using the swivel-one-end, fixed-other-end configuration, lock the swivel end first since that’s the end most likely to drift sideways.
Frequently Asked Questions
Do I need locking casters on all four corners of a miter saw stand?
Locking the two casters nearest the operator is the minimum for safe cutting, but locking all four is safer and only takes a few extra seconds. Total-lock casters on every corner remove any chance of the stand creeping sideways during a bevel or compound cut.
Can I put wheels on a miter saw stand that didn’t come with them?
Yes, as long as the legs have a flat foot for plate-mount casters or a matching round socket for stem-mount casters. Most shop-built stands and many manufactured folding stands can be retrofitted with plate-mount casters and basic hand tools.
How much weight capacity do I need for a miter saw stand’s casters?
Add the stand frame, the saw, and a typical workpiece, then choose a caster set rated well above that total rather than right at the minimum, since the static rating printed on most listings doesn’t account for uneven weight distribution or the shock load of rolling over thresholds and cracks.
Related Reading
If you’re building the stand itself rather than retrofitting an existing one, see our free miter saw table plans for skill-level-sorted build plans, or check our DIY portable miter saw stand guide for a stand designed around portability from the start.
Sponsored / affiliate links. As an Amazon Associate I earn from qualifying purchases. I may earn additional commission from eligible campaigns.