Wood Burning Brands Compared: TRUArt, Colwood & Weller
The best wood burning brands for pyrography are TRUArt, Razertip, and Colwood for variable-temperature control, and Walnut Hollow or Weller for affordable starter kits under $50. Buying a fixed-temperature toy-grade burner instead of a real variable-temperature pen is the most common reason beginners give up on the craft. This guide compares real brands, tools, wood types, and techniques so you can start with the right setup.
Introduction To Wood Burning
Best Beginner Wood Burning Kit Pick
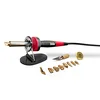
Weller 15-Piece 25W Woodburning Kit – $22.98
A real brand-name kit at the price point most beginners actually want to spend before committing to a $70+ variable-temp pen – 15 interchangeable wire tips cover the shading and line-work techniques covered below.
- Best for: beginners testing whether pyrography is a hobby worth investing further in
- Why we picked it: a known, reliable brand at a genuine starter price, not an unbranded off-market kit
- Main drawback: fixed heat output, so it won’t match a variable-temp pen for fine shading control
As an Amazon Associate we earn from qualifying purchases.
Wood burning, also known as pyrography (from the Greek for “fire” and “writing”), uses a heated tool to burn designs into wood. It’s an ancient decorative technique that today ranges from $15 hobby kits to $300+ professional dual-pen systems.
The Art Of Pyrography
- Wood Types: Softwoods and hardwoods can both be used, though results vary widely.
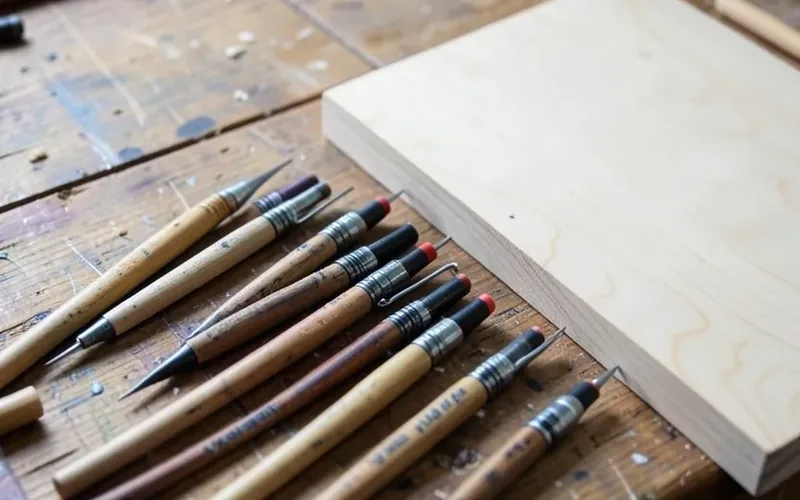
- Tools: Wire-tip pens, solid-tip burners, and (for branding) soldering irons.
- Techniques: Shading, line work, and stippling add depth to designs.
Top Wood Burning Tool Brands Compared
“Brand” matters more in pyrography than in most crafts, because temperature control and tip quality directly determine how much detail you can burn.
| Brand | Type | Best For | Approx. Price |
|---|---|---|---|
| Walnut Hollow (Versa-Tool) | Variable-temp, solid-tip | Beginners – reaches up to 950°F with interchangeable tips | $30-$50 |
| Weller | Fixed/dual-power, wire-tip kit | Budget starter kits with multiple tips included | $15-$25 |
| TRUArt (Stage 1/2) | Variable-temp, wire-tip | Hobbyists wanting fast tip recovery and fine detail | $70-$150 |
| Colwood (Super Pro II) | Dual-pen, replaceable-tip | Serious hobbyists running two tip styles at once | $150-$250 |
| Razertip | Professional dual-burner | Professionals needing precise, consistent heat at scale | $200-$350+ |
Fixed-temperature craft-store units (often sold as generic “wood burning kits”) work for simple projects, but they can’t match the temperature consistency of a variable-temp wire-tip pen once you’re doing detailed shading.
Why Choose Wood Burning?
- Unique Artwork: Every piece is one-of-a-kind.
- Accessible: A basic kit costs less than most other craft hobbies.
- Relaxing Hobby: Many find the repetitive motion meditative.
- Gift Potential: Handmade pieces make personal, low-cost gifts.
Selecting The Right Wood
Choosing the right wood is vital for successful pyrography. Different wood types burn at different rates and hold different levels of detail.
Types Of Wood For Burning
| Wood Type | Grain | Burning Properties |
|---|---|---|
| Basswood | Smooth | Burns evenly, easiest for beginners |
| Pine | Fine, resinous | Burns hot and smoky, uneven detail |
| Birch | Medium | Burns well, holds fine detail |
| Maple | Close | Hard, slower to burn, very detailed lines |
| Cedar | Coarse | Fragrant, burns quickly, less detail retention |
Basswood is the standard beginner choice for a reason – its even, closed grain takes detail without fighting the tool. Save pine and cedar for rustic, low-detail projects.
Preparing Wood For Pyrography
- Choose the right thickness: at least ¼ inch to avoid scorching through.
- Sand the surface: fine-grit sandpaper for a smooth finish.
- Clean the wood: remove dust and debris with a dry or barely damp cloth.
- Skip sealing before burning: sealers and finishes can gum up the tip and produce toxic fumes – seal only after burning is complete.
Essential Tools For Wood Burning
Beyond the pen itself, a few accessories make the difference between a frustrating first project and an enjoyable one.
What To Look For In A Wood Burning Tool
- Temperature control: a dial or digital setting, not just on/off, is what separates hobby-grade from toy-grade tools.
- Interchangeable tips: wire tips for shading and detail, solid tips for broader strokes.
- Ergonomic grip: matters more than it sounds – sessions often run 30+ minutes at a time.
Additional Accessories
- Stencils: for consistent, repeatable designs.
- Sandpaper: smooths the surface before burning.
- Protective gear: safety glasses and a respirator mask rated for smoke/particulates.
- Heat-resistant work mat: protects the workbench from stray heat.
Once burning is finished, a finishing oil seals and darkens the burned lines slightly for more contrast.
Mastering Basic Techniques
Shading And Texturing
- Cross-hatching: layered lines in different directions.
- Stippling: dots for a soft, shaded effect.
- Blending: gradual transition from dark to light by varying speed, not just pressure.
Always practice a new technique on scrap wood before attempting it on a finished piece.
Creating Lines And Dots
- Straight lines: steady speed, not pressure, creates clean lines.
- Curved lines: move your whole hand, not just your fingers.
- Dots: a brief, direct touch with the tip.
📊 Variable-temperature wood burning pens like the Walnut Hollow Versa-Tool reach up to 950°F – far hotter than a soldering iron, which is why heat-resistant surfaces and proper ventilation matter. Source: Bob Vila, “The Best Wood Burning Tools, Tested and Reviewed”
Safety Measures In Wood Burning
Workspace Ventilation
- Open a window or run an exhaust fan – burning wood releases smoke and fine particulates.
- Avoid working in small, sealed rooms for extended sessions.
- Keep flammable materials clear of the work area.
Handling The Tools Safely
- Wear safety glasses and, for extended sessions, a particulate mask.
- Rest the tool in its stand between uses – never lay a hot tip on the workbench directly.
- Let the tool cool fully before changing tips or storing it.
- Follow the manufacturer’s instructions for your specific brand and tip type.
Advanced Pyrography Techniques
Layering For Depth
Layering builds shadow and highlight by burning the same area multiple times at increasing heat, rather than trying to get the final tone in one pass.
- Start with a light burn: lower heat setting first.
- Build layers gradually: increase heat for darker tones on subsequent passes.
- Vary your tips: different tip shapes create different textures within the same piece.
Adding Color
| Method | Description |
|---|---|
| Watercolor | Water-based paints blend easily over burned lines |
| Colored pencils | Layer for richer, more controlled color |
| Wood stains | Keeps a natural finish while adding tone |
Seal the finished piece after coloring to protect it from fading and handling wear.
Finding Inspiration For Your Projects
Themes And Patterns
- Geometric shapes – simple to start with, forgiving of small mistakes.
- Floral designs – good practice for curved line control.
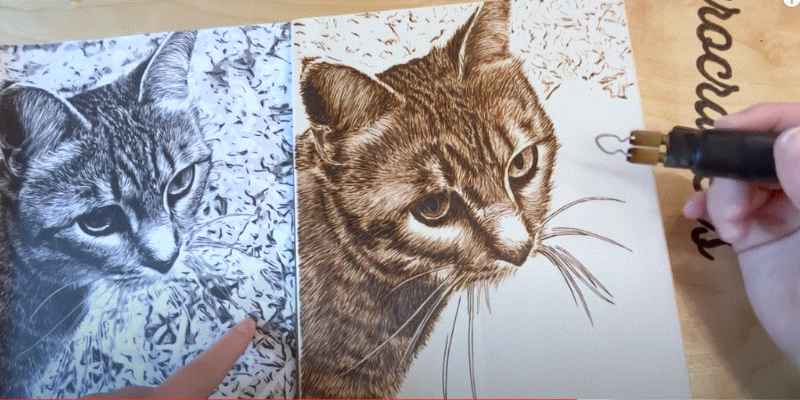
- Animals – test shading and texture skills.
- Mandalas and repeating patterns – build consistency across a large piece.
Nature-Inspired Designs
Landscapes, trees, and animal portraits remain the most common subjects in pyrography because wood’s warm tone naturally suits earth-toned, high-contrast imagery.
Showcasing And Selling Your Art
Creating A Portfolio
- High-quality images: clear, well-lit photos shot in natural light.
- Variety: show different styles and subjects, not just one repeated design.
- Process shots: a few work-in-progress images build buyer trust.
Where To Sell
- Etsy or similar marketplaces: lowest barrier to entry for handmade goods.
- Local craft fairs: direct feedback and immediate sales.
- Instagram: process videos of the burning itself perform well and build an audience.
“The biggest jump in quality for most beginners isn’t a better burner – it’s switching from a fixed-temperature toy kit to any pen with real variable heat control, because that’s what lets you actually shade instead of just outline.”
Frequently Asked Questions
What Are The Best Wood Burning Brands?
TRUArt, Razertip, and Colwood are the top-regarded brands for variable-temperature, wire-tip pyrography pens. Walnut Hollow and Weller make more affordable starter kits that still offer real interchangeable tips rather than a single fixed burner.
Do I Need An Expensive Wood Burning Tool To Start?
No. A $15-$25 kit from a known brand like Weller is enough to learn basic lines, dots, and shading. Upgrade to a variable-temperature pen once you know pyrography is a hobby you’ll stick with.
What Wood Is Best For Beginners?
Basswood. Its smooth, even, closed grain burns consistently and holds fine detail, which makes mistakes easier to spot and correct compared to resinous woods like pine.
Is Wood Burning Smoke Dangerous To Breathe?
In a well-ventilated space, occasional pyrography smoke exposure is low-risk, but the smoke does contain fine particulates. Use a window fan or exhaust fan during sessions, and consider a particulate mask for extended work.
Conclusion
The right wood burning brand depends on how serious you are about the craft: a $15-$25 Weller or Walnut Hollow kit is plenty to learn on, while TRUArt, Colwood, and Razertip earn their higher prices with real variable-temperature control once you’re ready to commit. Start with basswood, practice on scrap, and upgrade your tool only after you’ve burned through a few beginner projects.
Sponsored / affiliate links. As an Amazon Associate I earn from qualifying purchases. I may earn additional commission from eligible campaigns.