Wood Burning Kit at Michaels: Best Starter Sets (2026)
Shopping for a wood burning kit at Michaels and not sure which one to grab off the shelf? Here’s what Michaels actually stocks right now, what a good beginner kit needs, and the safety basics you need before the tool ever gets plugged in.
Pyrography (the technical name for wood burning) is one of the more forgiving crafts to pick up: no huge tool investment, no dedicated workshop, and results that look impressive within your first afternoon. Michaels is a natural first stop because it’s a physical store where you can actually see the tool in the box before buying, but its shelf selection is narrower than what you’ll find searching online, and it mixes a couple of genuinely different product tiers together. Below is what’s really there, how to tell the options apart, and a comparable pick if you’d rather order online.
Why Wood Burning Is a Great Beginner Hobby
Unlike painting or carving, wood burning builds an image with heat and time instead of pigment or removed material, which gives it a warmth and texture nothing else quite replicates. It’s genuinely low-cost to try: a basic tool, a few wood slices, and an evening is enough to find out if you like it. Most beginners are surprised by how quickly they get a recognizable result, even on their very first practice piece.
Best Online Alternative to Michaels’ Shelf Kit
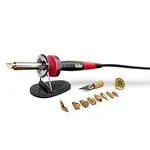 |
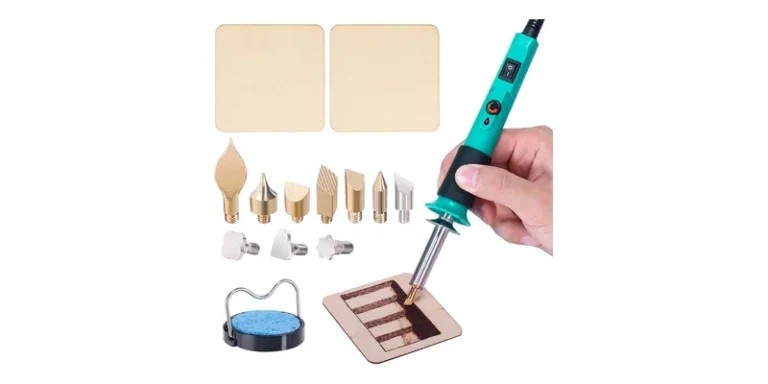
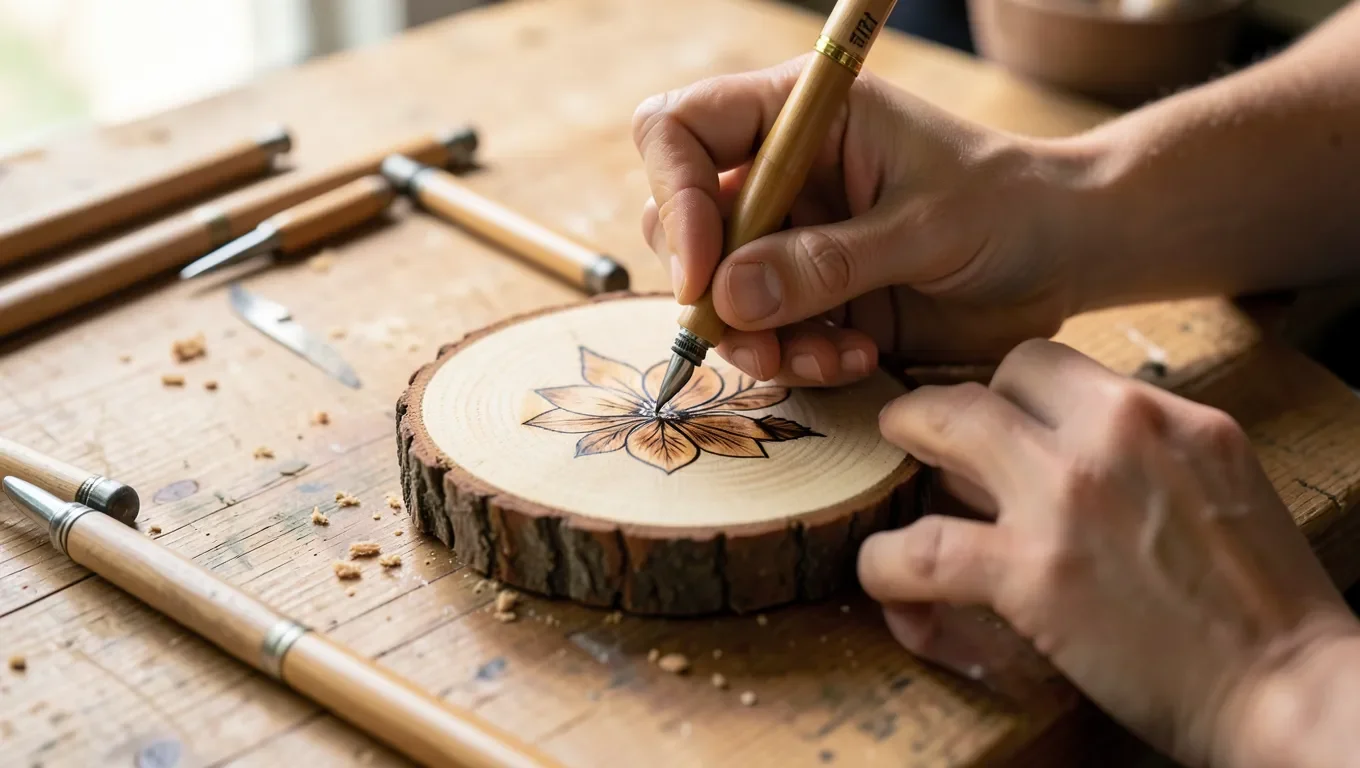
Weller Genuine 15 Piece Woodburning Kit (WLIWBK2512A) – $22.98 A dependable starter kit from an established tool brand, for when you’d rather order online than track down Michaels’ in-store Walnut Hollow line.
|
What Michaels Actually Sells for Wood Burning Right Now
Michaels’ wood burning shelf is really two different product tiers, and it’s worth knowing which one you’re looking at before you buy:
- Walnut Hollow’s Creative Woodburner line is the dedicated pyrography brand you’ll most often find carried in-store. The Creative Woodburning Craft Kit I (tool plus practice wood and basic tips) runs around $34, and the standalone Creative Woodburner tool is closer to $62. Walnut Hollow has made pyrography tools for decades, so this is the closest thing to a “real” hobbyist brand Michaels carries.
- Generic multi-tip kits sold through Michaels’ online marketplace (mostly third-party sellers, not exclusive to Michaels) make up most of the rest of the listings — 15-piece to 160-plus-piece sets with an adjustable-temperature pen, a pile of interchangeable tips, and sometimes stencils or extra craft supplies, priced anywhere from about $30 to $85 for a reasonable set (a few elaborate 100+ tip sets run well past $100). These are the same style of kit you’ll find under a dozen different brand names on general marketplaces — perfectly usable for a beginner, but not a Michaels-specific product.
Because Michaels’ own branded kits aren’t sold through Amazon, they don’t have an Amazon listing to link to here — if you want an equivalent to what’s on the Walnut Hollow shelf but prefer to order online, our pick below is a genuinely comparable option from another established tool brand, not a Michaels exclusive.
What to Look for in a Beginner Wood Burning Kit
You don’t need the most advanced tool on the shelf for your first kit. Focus on these basics instead:
- Adjustable temperature (nice to have, not mandatory): A dial lets you dial in heat for different woods and effects. Plenty of good beginner tools, including Weller’s entry kit, run at a single fixed wattage instead — it just means you control shading with speed and pressure rather than a temperature knob.
- A handful of real tips, not dozens of near-duplicates: A universal tip, a shading tip, and a fine-line tip cover almost everything a beginner project needs. Kits that advertise 100+ tips are mostly padding the same handful of shapes.
- A stay-cool handle: The tip reaches several hundred degrees within a minute or two of plugging in — the handle shouldn’t.
- An included stand: Non-negotiable. There should always be somewhere to rest the tool that isn’t your workbench or your hand.
- Quick-change tips: Push-in or twist-lock tips that don’t need a wrench, so you can switch mid-project without waiting for a full cool-down.
Safety First: These Tools Run Hot
This is a kid- and beginner-adjacent craft, which is exactly why the heat side of it deserves a straight explanation rather than a skipped paragraph. A wood burning tip typically runs 800°F or hotter at working temperature — well past the point where a brief touch causes a real burn, and hot enough to scorch fabric or paper almost instantly. None of that should scare you off the hobby; it just means a few habits are mandatory, not optional, from your very first session:
- Always work on a heat-resistant surface — a wood workbench or cutting board is fine, a plastic tablecloth or your lap is not.
- Use the tip stand every single time you set the tool down, even “just for a second.” A hot tip resting on bare wood or fabric can scorch or start smoldering before you notice.
- Work in a ventilated space. Burning wood produces smoke and fine particulates; an open window or a small fan clears it out. OSHA’s general guidance on workplace ventilation covers the same air-quality principles that apply at a home craft table.
- Never leave the tool plugged in and unattended while hot — not even to answer the door. Unplug it if you’re stepping away for more than a minute.
- Keep it away from kids and pets while it’s on, and let it cool fully on its stand — a couple of minutes unplugged — before anyone touches the tip or puts it away.
None of this is unique to expensive tools — a $25 Michaels starter kit gets just as hot as a $200 professional station, so the same precautions apply no matter which kit you buy.
Your First Wood Burning Project: Step by Step
- Choose forgiving wood. Basswood, poplar, or smooth pine burn evenly and are easy to find as pre-cut wood slices or plaques at Michaels. Make sure it’s fully dry — wet wood burns unevenly and can spit.
- Sketch or transfer your design. Freehand pencil works fine for simple shapes; for anything more detailed, print the design, flip it, and trace over graphite-side-down carbon paper to transfer it cleanly.
- Set up your station first. Ventilation, stand, and wood all in place before you plug in — not scrambled together after the tip is already hot.
- Warm up and test on scrap. Give the tool a minute or two to reach temperature, then practice lines, dots, and shading on a scrap piece before touching your actual project.
- Outline first, then shade. Trace your main lines with light, steady pressure using a universal or fine tip. Switch to a shading tip (or angle a universal tip) for gradients, working in light layered passes rather than one heavy pass.
- Cool down and finish. Unplug and let the tool cool fully on its stand. Brush off pencil residue, then seal the piece with a clear spray sealant or beeswax polish if it’ll get handled.
Common Wood Burning Techniques for Beginners
| Technique | What It Does | Best Tip | Beginner Tip |
|---|---|---|---|
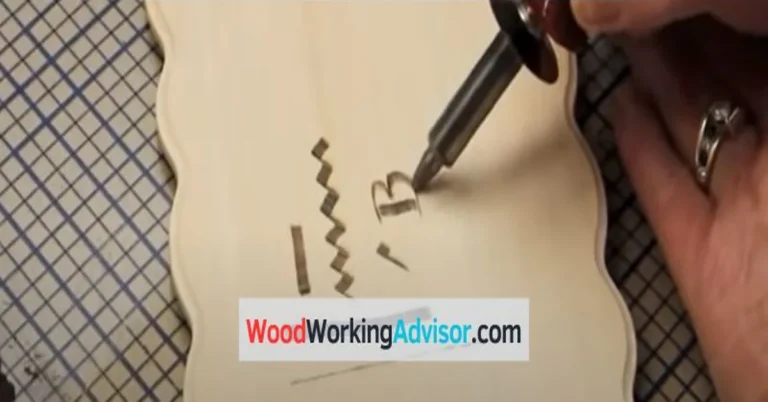
| Line work | Outlines and detail lines | Universal or writing tip | Steady speed and pressure beats going slow and shaky. |
| Shading | Smooth light-to-dark gradients | Shading tip or angled universal tip | Build up in light passes — you can always darken, you can’t lighten. |
| Stippling | Texture and shading via dot patterns | Ball tip or tip point | Even spacing matters more than dot size. |
| Texturing | Fur, grass, wood grain effects | Varies by texture | Practice on scrap wood before committing to the real piece. |
Best Wood Types for Practice
- Basswood — soft, fine-grained, and the most forgiving wood for burning; the default choice for most kits’ practice pieces.
- Poplar — similar workability to basswood with a slightly harder surface.
- Pine — affordable and widely available, but stronger grain lines can burn unevenly on detailed work.
- Birch — smoother and a bit harder than pine; needs slightly more heat control.
- Maple — tight grain, crisp results, but requires more patience. Save hardwoods like oak for after your first few projects.
Caring for Your Wood Burning Kit
A little upkeep keeps a cheap kit performing like a nicer one for years. Wipe carbon buildup off cooled tips with a brass brush or fine steel wool after each session — a damp cloth handles light residue. Check the cord and handle periodically for fraying or cracking, and retire the tool if you spot either. Store tips in their case rather than loose in a drawer, and keep the whole kit somewhere dry — humidity is what actually kills these tools over time, not the heat.
Frequently Asked Questions About Wood Burning Kits at Michaels
Are wood burning kits from Michaels good for beginners?
Yes. Michaels carries both Walnut Hollow’s dedicated pyrography line and a rotating selection of generic multi-tip kits, and either category works fine for a first kit. The Walnut Hollow line is the more established, purpose-built option if you want to stick with one brand.
What is the average price range for a beginner wood burning kit at Michaels?
Expect roughly $30 to $85 for a solid beginner set, whether it’s the Walnut Hollow Creative Woodburning Craft Kit I (around $34) or one of the generic multi-tip online-marketplace kits. Bare tool-only options and elaborate 100+ tip sets can run higher on either end.
Do I need special ventilation for wood burning at home?
Yes — always burn near an open window or with a fan running. Wood burning produces smoke and fine particulates, and OSHA’s general workplace ventilation guidance reflects the same air-quality principles that apply at a home craft table.
How many tips does a good starter wood burning kit need?
Three to five real tips cover almost every beginner project: a universal tip, a shading tip, and a fine-line or detail tip. Kits advertising 100+ tips are mostly repeating the same few shapes in different sizes.
How hot does a wood burning tool get?
Most tools run in the 800°F-plus range at the tip once warmed up — some adjustable models go from around 400°F up to 900°F+. That’s hot enough to cause a real burn instantly, which is why the tool stand, insulated handle, and unplug-when-not-in-use habits aren’t optional.
What kind of wood is best for practicing?
Basswood, poplar, or smooth pine. All three are soft, forgiving, and easy to find pre-cut into slices or plaques at craft stores, which makes them the standard practice choice bundled with most starter kits.
Bottom Line
If you want a purpose-built pyrography brand off the Michaels shelf, the Walnut Hollow Creative Woodburning line is the one to look for. If you’d rather order online and want a comparably reputable brand instead of an anonymous multi-tip set, our pick above covers the same basics for less. Either way, prioritize the stand and the safety habits over the tip count — a 5-tip kit used carefully will get you further than a 100-tip kit used carelessly. For a wider brand-by-brand comparison beyond what Michaels stocks in-store, see our full wood burning kit buying guide.
Sponsored / affiliate links. As an Amazon Associate I earn from qualifying purchases. I may earn additional commission from eligible campaigns.