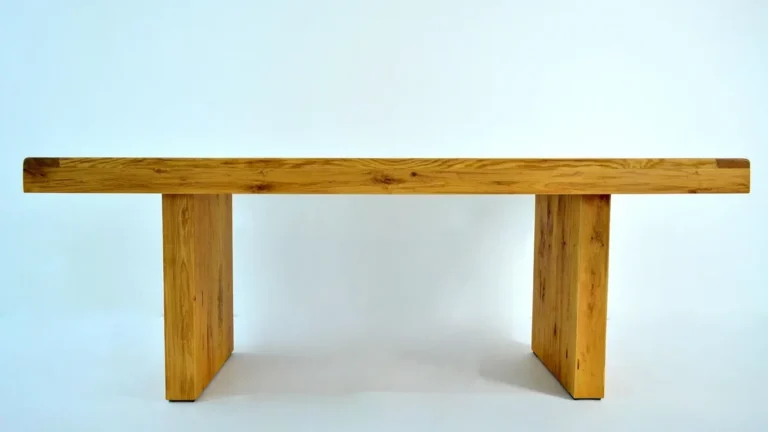
What Is the Best Way to Season Black Walnut Lumber?
For black walnut lumber, a practical seasoning method is to seal the ends soon after sawing, sticker-stack it under cover with steady airflow, air-dry it until it is around one-fifth moisture content, then finish in a kiln or dehumidifier kiln to a low moisture level for indoor work. Skip that workflow and walnut is much more likely to check, cup, stain, or dry too slowly to be worth milling. This guide explains which drying method to choose, how to stack and monitor walnut, and the moisture-content target that tells you it is ready to machine.
This guide is part of our Oak and walnut trees guide series.
What you’ll need before you start


- End-grain sealer such as a wax emulsion or Anchorseal, applied as soon as the lumber is milled
- Dry, straight stickers of uniform thickness, usually about 3/4 inch to 1 inch thick
- A flat base, level supports, and a covered stacking area with moving air
- Top weights, straps, or other stack restraint to help limit cup and twist
- A moisture meter with pin or pinless mode and a species setting or calibration method
- A notebook, board tags, or a checklist for date, thickness, and defect notes
What is the best way to season black walnut lumber?
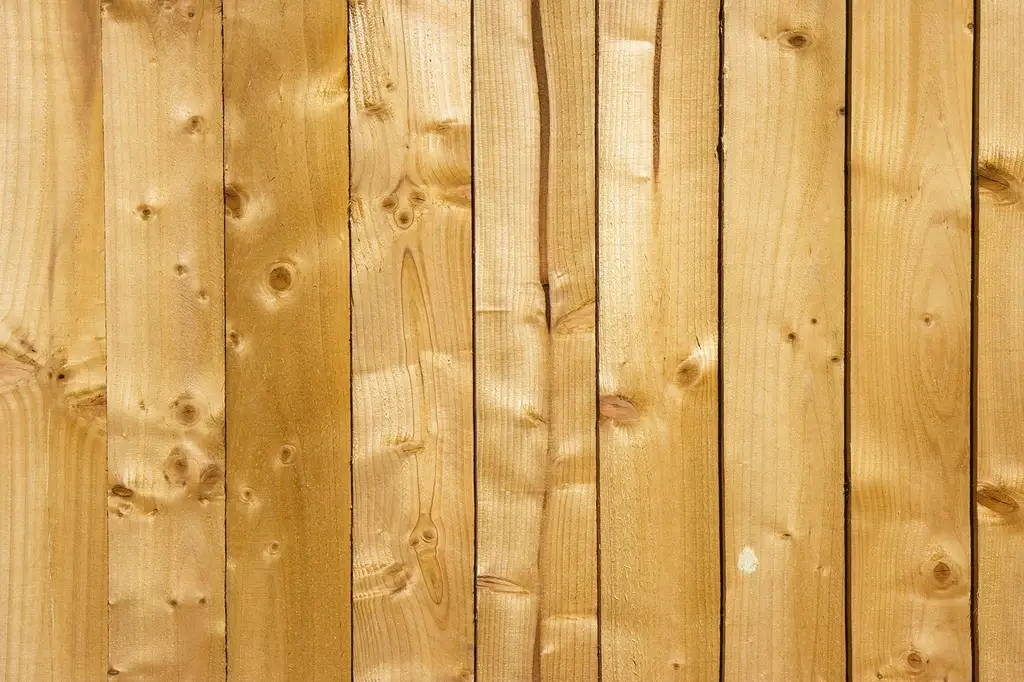
The best way is controlled drying, not waiting. Seal the ends, stack for even airflow, air-dry to the high teens or about 20% moisture content, then bring the lumber to final use moisture in a kiln or dehumidifier kiln. That sequence cuts checking, end splits, and internal stress.
Black walnut dries unevenly if you rush airflow, stacking, or kiln settings. It is especially prone to surface checking, end splits, cup, twist, sticker stain, and hidden core stress when moisture leaves too fast. The end-grain sealer is the first defensive step because exposed ends lose water fastest.
What you need to aim for
The practical goal is stable lumber at the right moisture content for the end use. For indoor furniture and joinery, that usually means a low single-digit to high single-digit moisture content after drying and before machining. For thicker stock or slabs meant for later finishing, a higher intermediate MC is acceptable during air-drying if the stack stays stable.
How do you season black walnut step by step?
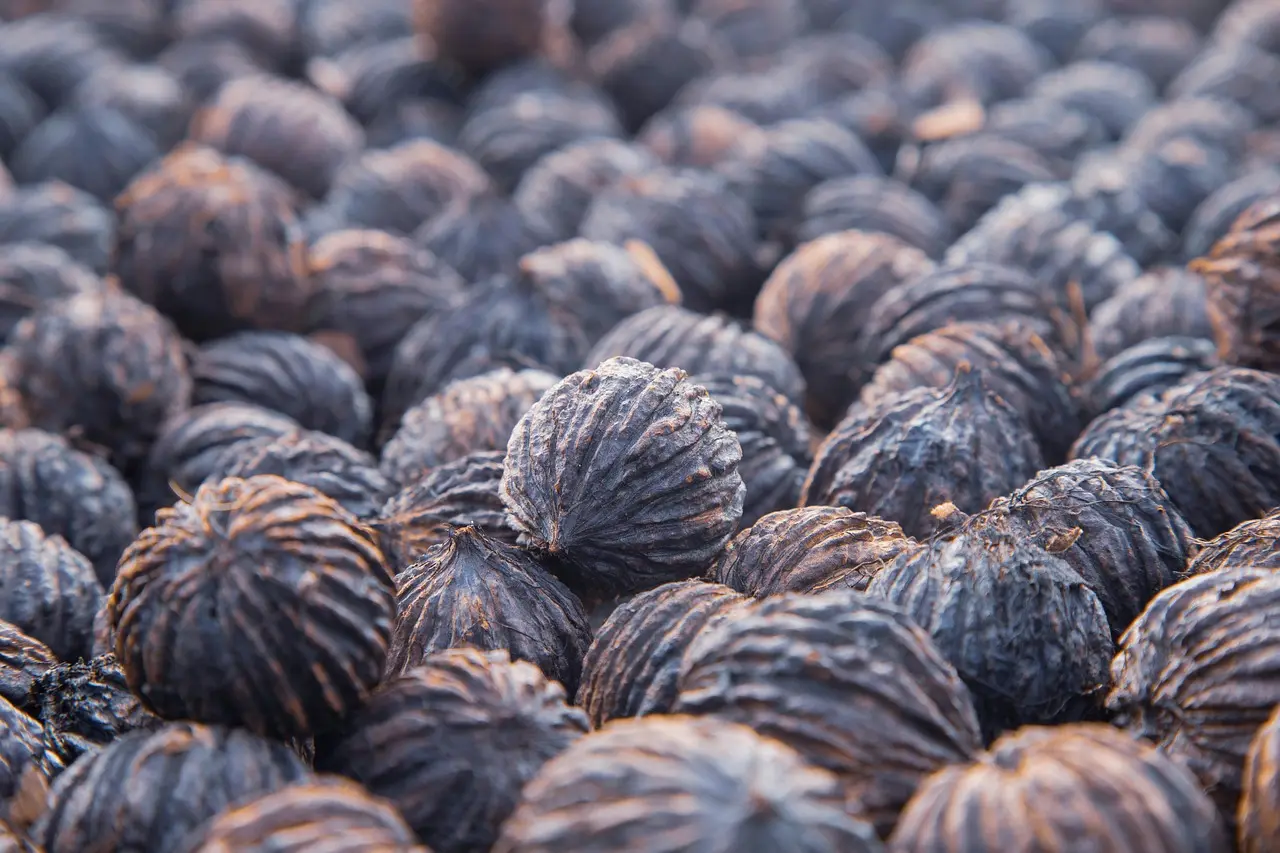
Seal fresh ends, stack flat with aligned stickers, keep the pile under cover with airflow, restrain the stack, monitor MC at several points, and only then move to kiln finishing if needed. Each step slows the moisture gradient that causes checking, cup, and stain. Walnut rewards patience more than speed.
- Seal all freshly cut ends right away with a wax emulsion sealer.
- Sort boards by thickness and stack them flat on a level base.
- Place stickers above one another on every layer so weight transfers straight down.
- Keep the pile under cover, out of direct rain and sun, with open sides for airflow.
- Apply top weight or straps to help keep boards flat as they dry.
- Check MC on multiple boards and at different locations in each board.
- Move partially dried stock to kiln finishing or a solar kiln only when it is ready for controlled drying.
- Confirm final MC before machining, joinery, or glue-up.
Why each step matters for walnut
Walnut loses moisture quickly through end grain, so unsealed ends split first. Uniform stickers keep boards from bowing between contact points. Weight or straps limit cup and warp. Multiple meter readings matter because walnut boards in the same pile can dry at different rates, especially if thickness varies.
Say your 8/4 live-edge slab has dry faces but a damp core. If you plane and join it too early, the core can shrink later and open up checks or glue joints. Suppose a 6/4 board shows 9% on one face and 13% near the center. It is not ready.
When should you air-dry, kiln-dry, or use a solar kiln?
Air-drying works well for boards and slabs when you have space and time. Kiln-drying is the faster finishing step after air-drying has already lowered the load into a safe range. A solar kiln sits between the two: faster and more controlled than open air, but less aggressive than a conventional kiln.
Air-drying
Use air-drying for most black walnut rough stock, especially thicker slabs and boards that are not urgent. Keep the pile shaded, well ventilated, and protected from rain. A common rule of thumb for hardwood lumber is about one year per inch to reach air-dry range, though walnut thickness, season, and local humidity can shift that a lot.
Kiln-drying
Use kiln-drying after the lumber has air-dried enough to avoid shell hardening. It gets stock to furniture MC faster, but aggressive schedules can trap moisture in the core and create case-hardening. That matters in walnut because hidden stress can show up later as warp or surface checks after machining.
Solar kiln
A solar kiln is a practical hybrid for small shops and sawmill owners. It gives more heat and control than open air, which shortens the wait, but it is still gentler than a hard kiln schedule. It works best after a solid air-dry start and careful loading by thickness.
How dry should black walnut be before woodworking?
For indoor furniture and joinery, black walnut should usually reach 6% to 8% MC before machining or assembly. MC is the moisture inside the wood. EMC, or equilibrium moisture content, is the moisture wood settles toward in a given environment. Your target MC should match the space where the finished piece will live.
Indoor homes often sit around 6% to 9% EMC depending on season and climate control. Shop-dry lumber that still reads above that range can move after milling. Outdoor storage is different: wood there may settle at a higher EMC, which is why you should not use storage dryness as a woodworking target.
How to measure moisture content correctly
Use a moisture meter on several boards, not just one. Pin meters measure between probes and can reach farther into thicker stock; pinless meters read a broader near-surface area and are faster for scanning. Set the species setting if your meter has one, or use the manufacturer’s calibration method before trusting the reading.
Check both faces and, for thicker stock, the core if your meter allows it. If readings differ by several points across the same board, keep drying. For final readiness, use the highest reliable reading from the load as your decision point.
Black walnut seasoning checklist by thickness

This checklist gives a practical timeline, not a promise. Thicker walnut needs more time, and slabs often need the longest air-dry period before kiln finishing. Use the thickness column, then follow the stop/continue checks for checking, cup, and sticker stain before moving ahead.
| Thickness | Air-dry start | Typical air-dry target before kiln finishing | Move on when | Stop / continue checks |
|---|---|---|---|---|
| 4/4 boards | Immediate end sealing and sticker stacking | About 20% MC | Weight loss slows and meter readings settle | Stop if checks lengthen or cup increases; continue if ends stay stable and stain is light |
| 6/4 boards | Immediate end sealing and sticker stacking | About 20% to 22% MC | Core and surface readings begin to converge | Stop if sticker stain appears or twist grows; continue if stack stays flat |
| 8/4 slabs | Immediate end sealing and restrained flat stacking | About 22% to 25% MC | Surface checks stop extending and the core starts to drop | Stop if shell hardening is suspected; continue only with slower, controlled drying |
How to use the checklist
Start by sealing the ends, then follow the air-dry target for the thickness you have. If a board shows active checking, rising cup, or sticker stain, keep it in the stack and correct the cause before moving it. If the load dries evenly, kiln finishing can start sooner.
A common first-timer mistake is stacking walnut slabs on damp stickers in a sunny driveway. The top face dries fast, the underside lags, and the board cups hard enough to fight flattening later. Another common failure is reading one board near the pile edge and assuming the whole load is ready.
How do you prevent checking and warping while drying walnut?
Prevent checking and warping by slowing moisture loss at the ends, keeping the stack flat, and avoiding harsh sun or direct heat. Walnut’s end grain dries far faster than its faces, so exposed ends crack first. Uneven support or rushed airflow then turns small defects into permanent movement.
Common mistakes
- Leaving end grain unsealed: seal immediately after milling to reduce end checking.
- Using wet or uneven stickers: use dry, straight stickers of equal thickness so boards do not telegraph into a wave.
- Stacking without restraint: add top weight or straps to limit cup and twist.
- Trusting the surface: a dry face can hide a wet core.
- Rushing kiln heat: aggressive schedules can cause case-hardening and hidden stress.
- Ignoring sticker stain: rotate airflow and keep stickers dry and clean.
If that didn’t work, try this next
- Move the stack to a shaded area with steady side ventilation.
- Replace any damp or warped stickers with dry, straight ones.
- Add more top weight or tighten straps across the pile.
- Slow the drying rate before rechecking MC and board shape.
Do I need to seal the ends of black walnut boards?
Yes. End sealing is worth doing on black walnut because the ends are where moisture leaves fastest and where checks usually start first. A wax emulsion sealer or similar end-grain coating applied immediately after milling reduces end splitting and gives the board a better chance of drying evenly.
Seal both ends and any fresh saw cuts, including trimmed slab ends and freshly ripped stock. If a board is already showing small checks, sealing will not reverse them, but it can slow further splitting. The sooner you coat the ends, the better the result.
How should walnut boards be stacked and stickered?
Stack walnut boards flat on a level base with stickers aligned from bottom to top. Use dry, straight stickers of equal thickness, usually spaced about 16 to 24 inches apart, with closer spacing on thinner or more flexible stock. Keep the pile covered, shaded, and open to moving air.
Alignment matters because misaligned stickers create pressure points that can leave a board wavy. Keep the first layer off the ground. Keep the top covered, but do not wrap the stack so tightly that moisture cannot leave. Good airflow around the sides matters more than direct sun.
What to watch for during stacking
Look for sticker stain, especially where walnut stays damp against the sticker faces. If stain appears, improve airflow and keep the pile drier from the top down. Keep stickers dry, clean, and consistent in thickness, because walnut will record every error in the stack.
When is black walnut ready for woodworking?
Black walnut is ready for woodworking when it matches the target MC for the space where the finished piece will live, usually 6% to 8% for indoor furniture and joinery. It is not ready just because the surface feels dry. Confirm with a moisture meter across several boards and several spots.
For final confidence, sample the load over more than one day if the readings are close to the limit. If one board is still high, keep the whole project in drying mode until the outlier settles or is set aside for a different use. That is the safest way to avoid late movement.
Final readiness rule
If the highest reliable reading is still above your target, keep drying. If the readings are stable, the boards stay flat, and no new checks are forming, the lumber is ready to machine. For a furniture shop, that is the point where black walnut becomes useful stock rather than drying inventory.
Frequently asked questions
How long does black walnut need to dry before use?
It depends on thickness, climate, and drying method. A common rule of thumb is about one year per inch for air-drying hardwood, but walnut slabs can take longer. Use thickness and moisture readings, not the calendar alone, before deciding it is ready for woodworking.
Should black walnut be air dried or kiln dried?
Both methods have a place. Air-drying is the safer first step for most stock, especially thicker boards and slabs. Kiln-drying is better as a finishing step once the load has dropped far enough, because it gets lumber to useable MC faster without the same risk as a hot start.
What moisture content should black walnut lumber reach before milling?
For indoor furniture and joinery, aim for 6% to 8% MC before milling, fitting, or glue-up. If the piece will live in a less controlled space, match the target to the expected EMC of that location. Check multiple boards so one dry face does not hide a wet core.
Sponsored / affiliate links. As an Amazon Associate I earn from qualifying purchases. I may earn additional commission from eligible campaigns.