Best Way to Remove Paint From Woodwork: Trim, Molding, and Baseboards
Woodwork – the baseboards, door casings, crown molding, and window trim built into a house – is a different job from stripping a flat tabletop or a dresser drawer. Most of it is milled with a raised or grooved profile, and a flat scraper or random-orbital sander will flatten those details the moment it catches an edge. The order that actually protects the profile is: confirm what you’re dealing with (including the age of the house), pick a stripping method suited to a raised profile rather than a flat panel, and save any sanding for the very end. Here’s how that plays out in practice, plus one safety check worth doing first if the trim could be original to the house.
Pick a Stripper Built for Detailed Profiles, Not Flat Panels
Best Citrus Stripper for Detailed Molding
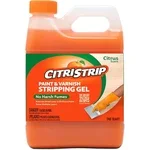 |
Citristrip Paint & Varnish Stripping Gel, 1 Quart – $21.90 A citrus-gel stripper thick enough to cling to a vertical door casing and stay wet long enough to soften multiple paint layers inside a carved profile.
|
Runny liquid strippers slide off a vertical door casing before they’ve had time to soften anything, which is why a gel or paste formula matters more on woodwork than it does on a flat tabletop laid horizontal on a bench. A citrus- or soy-based gel stays put on a vertical profile and keeps working for 20 to 30 minutes or longer without the strong fumes of an older methylene-chloride stripper, which is worth knowing about even though the EPA restricted consumer sales of methylene chloride strippers back in 2019. If you’re working on furniture instead of built-in trim, our guide to the best way to strip old paint from wood compares chemical strippers, heat guns, and sanding for that specific case.
Check for Lead Paint Before You Strip Anything
This is the one step worth doing before any of the methods below, not after: if the house was built before 1978, the paint on that trim could be lead-based. This isn’t a reason to treat every strip job as an emergency – the EPA’s own renovation rule doesn’t even apply to homeowners working on their own homes – but the underlying hazard is real and well documented by both the EPA and CDC: sanding or heat-gun work on lead paint throws off fine lead dust that’s dangerous to breathe or track through the house, especially around kids. A $10 lead test swab from a hardware store, dabbed on a scraped or sanded corner, answers the question in about 30 seconds. If it comes back positive, skip sanding and a high-heat gun entirely and lean on a chemical stripper with wet cleanup instead, since it keeps the paint bound in a gel rather than airborne as dust.
Chemical Stripper vs. Heat Gun on Trim and Molding
Once lead is ruled out (or handled with wet methods), the choice usually comes down to a gel stripper or a heat gun, and each has a real advantage on woodwork specifically.
Chemical Stripper: Best for Ornate or Multi-Layer Profiles
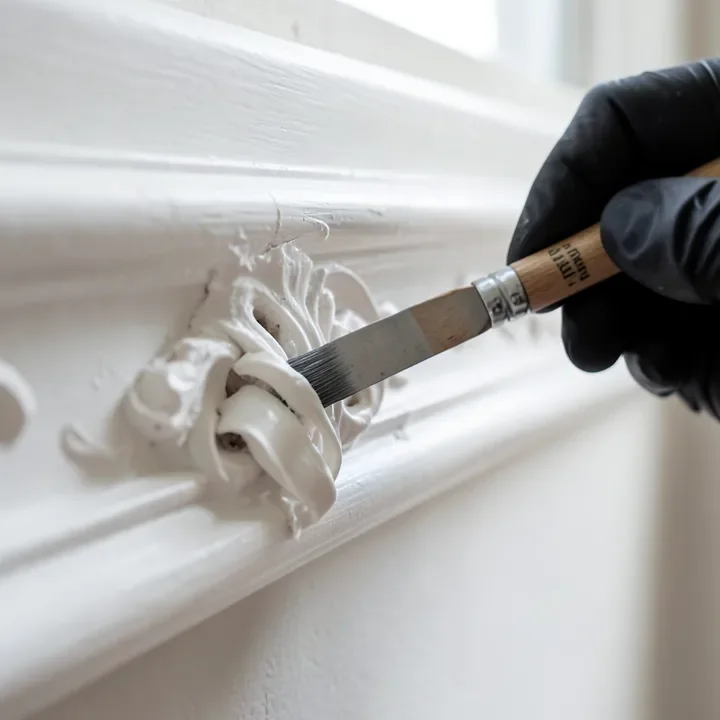
Brush the gel on thick, covering the full profile including the grooves, and let it sit for the label’s dwell time rather than checking every five minutes. Multiple old paint layers on a Victorian-era baseboard or a crown molding with a deep cove often need a longer dwell time, sometimes 30 to 45 minutes, than a single coat on a plain modern door casing. Because the paint softens rather than burns, this is also the safer default for a profile you’re not 100 percent sure is lead-free.
Heat Gun: Faster on Flatter Trim, but Real Scorch and Fire Risk
A heat gun softens paint almost instantly and works well on the flatter faces of wider casings and baseboard, but it carries a risk that’s easy to underestimate on trim specifically: the wood is thinner than a solid furniture leg, and old shellac or varnish underneath the paint can ignite if the gun lingers in one spot. Keep the nozzle moving constantly, stay several inches off the surface, and never park it in a corner or profile groove waiting for paint to bubble – that’s exactly the kind of concentrated heat that scorches trim or starts a fire behind the wall. For flat, wide surfaces like a plain door slab where a heat gun’s speed is more of an advantage and less of a risk, our guide to stripping paint with an infrared tool covers a gentler heat-based alternative with less scorch risk.
Getting Paint Out of Carved Details and Corners
This is where woodwork actually differs from a flat panel, and it’s the step most guides skip. Once the stripper has softened the paint, a plastic scraper only clears the flat, exposed faces of the profile – it can’t follow a cove, bead, or ogee curve without either missing the paint sitting in the groove or gouging the edge of the detail. A wooden dowel whittled to match the profile’s curve, a dental pick, or a stiff natural-bristle brush (not wire, which can scratch softwood) works the softened paint out of the groove itself. Work along the length of the molding rather than across it, and reapply stripper to any groove that still shows paint rather than trying to dig it out dry.
For corners where two pieces of molding meet at a miter, softened paint tends to pool rather than scrape cleanly. A small brass-bristle brush handles that buildup without marring the miter joint the way a metal scraper’s corner would.
Common Mistakes That Damage the Profile
A few habits carried over from stripping flat wood cause most of the damage on trim specifically:
- Sanding first instead of last. An orbital sander rounds over a crisp profile edge in seconds and can’t reach into a groove at all – save sanding for the final smoothing pass on flat faces only, after the bulk of the paint is already stripped chemically.
- Using a metal putty knife on a curved profile. A rigid metal edge gouges the high points of a cove or bead before it ever reaches the paint sitting in the low points. A flexible plastic scraper or the dowel-and-pick approach above follows the curve instead of cutting across it.
- Skipping the lead check because “it’s just trim.” Trim and molding are actually more likely than furniture to still carry their original paint, since they’re rarely refinished the way a piece of furniture might be.
- Letting stripper dry out mid-job on a long run of baseboard. Work in shorter sections you can realistically scrape within the dwell time, rather than coating an entire room’s baseboard at once and coming back to find the gel has skinned over.
After You Strip: Prepping Woodwork for Paint or a Clear Finish
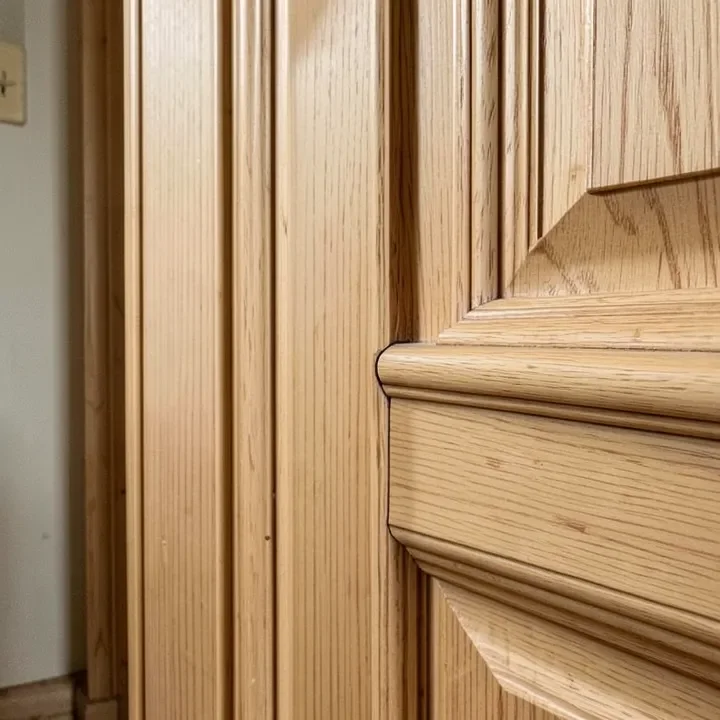
Once the profile is clear, wipe the wood down with mineral spirits or the neutralizer listed on the stripper’s label to stop it from continuing to soften anything underneath a new finish. Check the flat faces for dents, cracks, or old nail holes and fill them with a paintable wood filler before priming – filler goes on the flat faces only, since it won’t hold a crisp line inside a curved groove. Let everything dry fully, then hand-sand just the flat sections lightly with fine-grit paper to give a fresh coat of primer or clear finish something to grip. If you’re planning to leave the wood natural instead of repainting, a coat of shellac-based primer-sealer first prevents any leftover stripper residue from blotching a clear topcoat.
Frequently Asked Questions
Is It Safe to Strip Paint From Woodwork in an Older Home?
It’s safe with one check first: if the house predates 1978, test the paint for lead with a hardware-store swab before sanding or using a heat gun. A positive result doesn’t mean you can’t strip the trim – it means using a chemical stripper with wet cleanup instead of a method that creates airborne dust.
Should I Use a Chemical Stripper or a Heat Gun on Trim and Molding?
A gel chemical stripper is the safer default on ornate or multi-layer profiles because it softens paint without the scorch and fire risk of a heat gun catching thin trim wood. A heat gun works faster on flatter, wider surfaces like a plain door casing, but keep it moving constantly and never rest it in a groove or corner.
How Do I Get Paint Out of Carved Molding Details Without Damaging Them?
After the stripper softens the paint, use a dental pick, a whittled wooden dowel matched to the profile’s curve, or a stiff natural-bristle brush to work paint out of coves, beads, and corners. A flat metal scraper gouges the high points of a curved profile before it can reach paint sitting in the low points, so avoid it on anything but flat faces.
Do I Need to Sand After Stripping Paint From Woodwork?
Only lightly, and only on the flat faces of the profile. A quick hand-sand with fine-grit paper removes any leftover residue and gives primer or a clear finish something to grip. Sanding the grooves or curved details themselves isn’t necessary and risks rounding over the profile – the earlier detail-tool step should already have cleared those.
Conclusion
Woodwork strips differently than a flat panel because the profile itself is the thing worth protecting. Check for lead paint first if the house is old enough, reach for a gel stripper over a heat gun on anything ornate, and clear the grooves with a detail tool rather than a flat scraper. Handled in that order, the molding’s crisp edges survive the job as well as the paint comes off.
Sponsored / affiliate links. As an Amazon Associate I earn from qualifying purchases. I may earn additional commission from eligible campaigns.