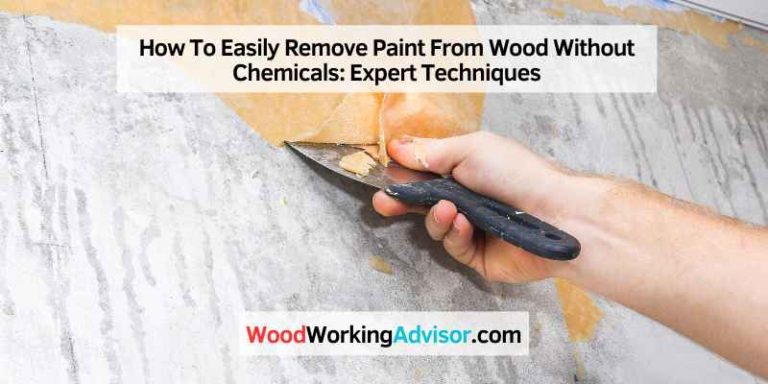
Best Way to Strip Old Paint From Wood: The Essential Guide
The best way to strip old paint from wood depends on your project. For thick layers, a chemical stripper is highly effective. A heat gun works quickly on flat surfaces but requires care. Sanding is ideal for thin coats or final finishing. Always test for lead paint on older pieces and prioritize safety with proper gear.
Have you ever found a beautiful old piece of wooden furniture, only to see it covered in layers of thick, chipped paint? It can feel like a treasure is hidden right in front of you. You know that gorgeous wood grain is underneath, just waiting to be revealed. But how do you get there without damaging the wood? It can seem like a big, messy job.
Don’t worry! Stripping paint from wood is easier than you think when you know the right steps. It’s one of the most rewarding DIY projects you can do. In this guide, I’ll walk you through everything, nice and simple. We will find the best method for you, so you can bring that beautiful wood back to life.
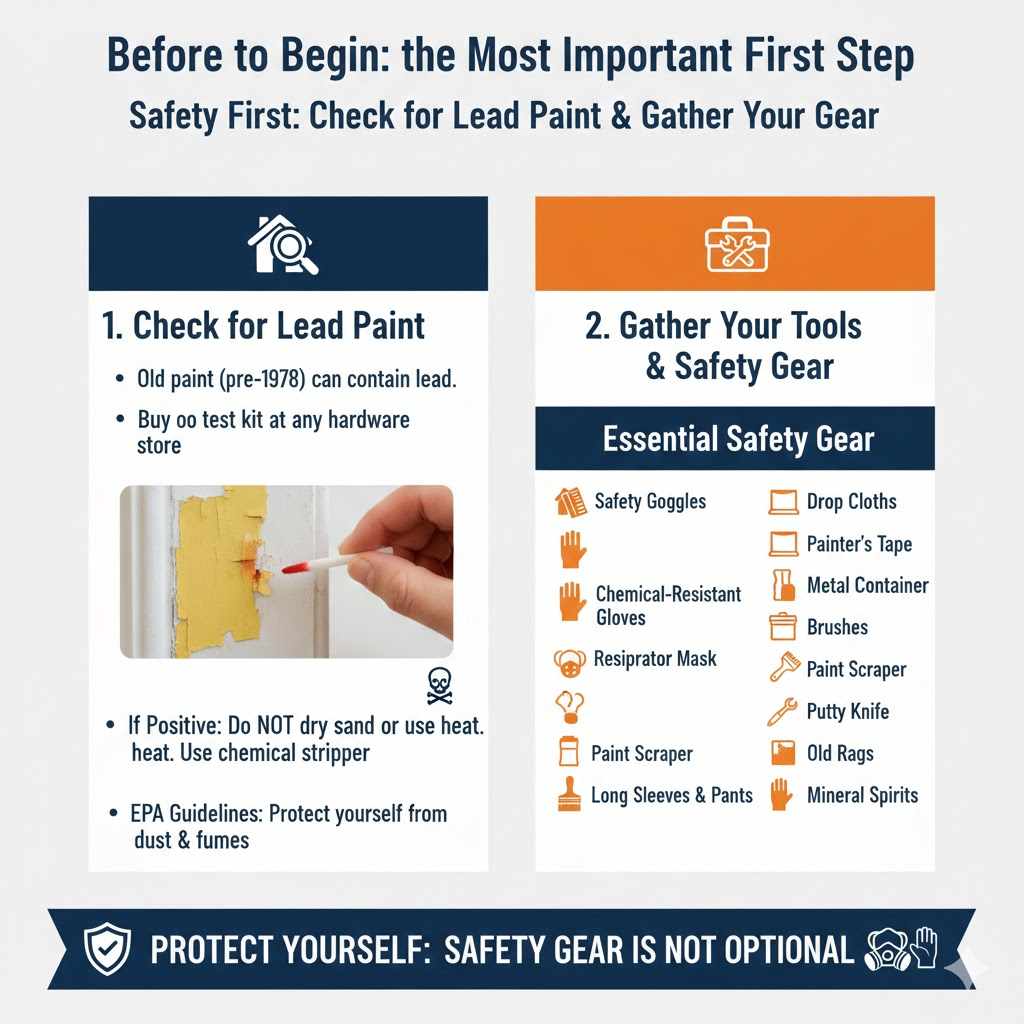
Before You Begin: The Most Important First Step
Before we touch any tools, we need to talk about safety. Old paint, especially in homes or on furniture made before 1978, can contain lead. Lead paint dust is harmful if you breathe it in. So, your very first job is to check for lead.
You can buy a simple lead paint test kit at any hardware store. It only takes a few minutes to use. Just follow the instructions on the package. If your test comes back positive, you need to be extra careful. The U.S. Environmental Protection Agency (EPA) has specific guidelines for safely handling lead paint. Do not dry sand or use a heat gun on lead paint, as this creates dangerous dust and fumes. For lead paint, a chemical stripper is often the safest choice.
Gather Your Tools and Safety Gear
Once you’ve checked for lead paint, it’s time to get your supplies ready. Having everything in one place makes the job go much smoother. Safety gear is not optional—it’s essential for protecting yourself.
Essential Safety Gear:
- Safety Goggles: Protect your eyes from chemical splashes and debris.
- Chemical-Resistant Gloves: Regular work gloves won’t do. You need thick gloves made for handling chemicals.
- Respirator Mask: A mask with an organic vapor cartridge is crucial when using chemical strippers or heat guns to protect your lungs from fumes. A simple dust mask is not enough.
- Long Sleeves and Pants: Cover your skin to prevent accidental contact with strippers.
General Supplies for Any Method:
- Drop cloths or plastic sheeting to protect your work area.
- Painter’s tape to protect areas you don’t want to strip.
- A metal or glass container for holding chemical stripper.
- Natural bristle paint brushes for applying stripper.
- A good quality paint scraper (both plastic and metal can be useful).
- Putty knife for smaller or detailed areas.
- Old rags or paper towels for cleanup.
- Mineral spirits or a recommended cleaner for neutralizing the wood after stripping.
Choosing Your Method: Three Great Ways to Strip Paint
There isn’t one single “best” way to strip paint from wood for every single project. The right choice depends on the type of wood, the number of paint layers, and your comfort level. Let’s look at the three main methods.
| Method | Best For | Mess Level | Speed | Difficulty |
|---|---|---|---|---|
| Chemical Stripper | Thick, multiple layers of paint; detailed or carved surfaces. | High (can be goopy) | Moderate (requires waiting time) | Beginner-friendly |
| Heat Gun | Flat surfaces with several layers of paint (non-lead). | Medium (peeled paint scraps) | Fast | Intermediate (risk of scorching) |
| Sanding | Thin layers of paint; final smoothing; slightly worn finishes. | High (lots of dust) | Slow | Beginner-friendly |
Method 1: Using Chemical Strippers
Chemical strippers are a popular choice because they do most of the hard work for you. They use chemicals to dissolve the paint, turning it into a soft, gooey layer that you can easily scrape off. This method is fantastic for furniture with detailed carvings or mouldings, where sanding would be very difficult.
Types of Chemical Paint Strippers
You will see a few different kinds at the store. Here is a simple breakdown:
- Solvent-Based: These are very effective and work quickly. They can remove almost any type of paint. However, they also produce strong fumes, so you must use them in a well-ventilated area with a proper respirator.
- Caustic-Based: These strippers use lye to break down the paint. They are also very effective but are harsh on the skin and can sometimes darken the wood. You must neutralize the wood surface after using them.
- Biochemical or “Eco-Friendly”: Made from plant-based materials like soy or citrus, these are much safer to use and have fewer fumes. They work well but often take longer to soften the paint, sometimes needing to sit for several hours. This is a great choice for beginners working indoors.
How to Use a Chemical Stripper: Step-by-Step
- Prep Your Area: Lay down drop cloths. Work outside or in a garage with the doors open. If you must work inside, open all the windows and use a fan to blow fumes away from you.
- Put On Your Safety Gear: Goggles, respirator, and chemical-resistant gloves are a must.
- Apply the Stripper: Pour some stripper into a metal or glass container. Use a cheap natural-bristle brush to apply a thick, even coat to the painted surface. Don’t brush it back and forth like you’re painting. Just lay it on thick and leave it.
- Wait Patiently: Check the product instructions for how long to wait. It could be anywhere from 20 minutes to several hours. You will see the paint start to bubble and wrinkle. This is a good sign!
- Scrape it Off: Once the paint looks very soft, use a paint scraper or putty knife to gently push the gooey paint off. For curved or detailed areas, you can use steel wool or a stiff brush. Be gentle to avoid gouging the wood.
- Reapply if Needed: If there are still stubborn paint patches, you may need to apply another coat of stripper to those areas and repeat the process.
- Clean and Neutralize: After all the paint is gone, you need to clean the wood. The stripper’s instructions will tell you what to use—often mineral spirits or soapy water. This step is important because it removes any leftover chemical residue that could interfere with your new finish.
- Let it Dry: Let the wood dry completely, usually for at least 24 hours, before doing anything else.
Method 2: Using a Heat Gun
A heat gun is like a very powerful hairdryer. It blows hot air that softens the paint, making it easy to scrape off. This method is fast and creates less mess than chemical strippers. It’s an excellent choice for large, flat surfaces like doors or tabletops. However, you must be careful not to scorch the wood or start a fire.
Safety First with Heat Guns
Heat guns get extremely hot! Never use them near flammable materials. Keep a fire extinguisher nearby just in case. And remember, never use a heat gun if you suspect lead paint, as the heat can release toxic fumes.
How to Use a Heat Gun: Step-by-Step
- Prep and Gear Up: Protect your work area and put on your safety gear. Heavy leather gloves are a good idea in addition to goggles and a respirator.
- Heat a Small Section: Hold the heat gun about 3-5 inches away from the surface. Keep the gun moving in a slow, steady motion over a small area. Do not hold it in one spot for too long, or you will burn the wood.
- Watch the Paint Bubble: In just a few seconds, you’ll see the paint start to wrinkle and bubble up. That’s your signal that it’s ready to be removed.
- Scrape Immediately: While holding the heat gun with one hand, use your other hand to scrape the softened paint off with a metal scraper. Keep the scraper moving just behind the heat gun. You will get into a nice rhythm.
- Work in Sections: Continue this process, working in small, manageable sections across the entire surface.
- Handle the Details: For tricky spots, you might need a smaller scraper or a hooked tool. Be extra careful not to burn detailed edges.
- Final Cleanup: Once all the paint is removed, let the wood cool down. There may be some small bits of paint left. You can remove these with a light sanding.
Method 3: Sanding
Sanding is the most straightforward method. It involves using sandpaper to physically wear away the paint. While sanding can remove paint, it’s often best used for projects with only a thin layer of paint or as a final step after using a chemical stripper or heat gun. It creates a lot of dust, so good ventilation and a dust mask are essential.
Choosing Your Sanding Tool
- Hand Sanding: Best for small projects, delicate details, or when you need a lot of control.
- Orbital Sander: This is a great all-around power sander for flat surfaces. It moves in small circles, reducing the chance of leaving big scratches in the wood.
- Detail Sander: This small, triangular sander is perfect for getting into tight corners and small areas.
How to Sand Off Paint: Step-by-Step
- Start with a Coarse Grit: To remove paint, you need to start with rough sandpaper. A coarse grit, like 60 or 80-grit, will cut through the paint more effectively.
- Sand with the Grain: Always sand in the same direction as the wood grain. Going against the grain will leave deep, visible scratches. Apply light, even pressure and let the sander do the work.
- Clear the Dust: As you work, dust will build up. Stop often to wipe the surface with a clean cloth or use a shop vacuum to clear it away. This helps you see your progress.
- Move to a Finer Grit: Once most of the paint is gone, switch to a medium-grit sandpaper (like 120-grit) to remove any remaining paint and to smooth out the scratches left by the coarse grit.
- Finish with a Fine Grit: Finally, go over the entire surface with a fine-grit sandpaper (like 180 or 220-grit). This will give you a beautiful, silky-smooth finish that’s ready for new paint or stain.
After Stripping: Preparing for a New Finish
Your job isn’t done once the paint is gone! To get that professional-looking result, you need to prep the wood properly.
- Clean the Surface: Wipe the wood down with a cloth dampened with mineral spirits to remove any dust or remaining residue.
- Inspect the Wood: Look for any small gouges or scratches from your scraper. You can fill these with a small amount of wood filler.
- Do a Final Light Sand: Give the entire piece a quick, light sanding with fine-grit (220-grit) sandpaper. This ensures the surface is perfectly smooth and ready to accept a new finish evenly.
- Wipe it Clean: Use a tack cloth or a clean, damp rag to wipe away every last bit of sanding dust. Now, your wood is ready for a fresh coat of paint, stain, or sealer!
Your Workshop Safety Checklist
Working on DIY projects is fun, but staying safe is the most important thing you can do in your workshop. The Occupational Safety and Health Administration (OSHA) has resources that even hobbyists can learn from. Here’s a simple safety checklist:
- Wear Your PPE: Always wear your safety glasses, gloves, and the right mask for the job.
- Ensure Good Ventilation: Open windows and doors. Use a fan. Fresh air is your best friend when working with chemicals or creating dust.
- Read Product Labels: Always read and follow the safety instructions on any product you use.
- Keep a Clean Workspace: A tidy space is a safe space. Clean up spills immediately and keep your floor clear of tripping hazards.
- Dispose of Waste Properly: Rags soaked in chemical stripper can sometimes be a fire hazard. Lay them flat to dry outside before disposing of them according to your local regulations.

Frequently Asked Questions (FAQ)
What is the easiest way to remove paint from wood?
For beginners, using a citrus-based or soy-based chemical stripper is often the easiest method. You apply it, wait for it to do the work, and then gently scrape the paint off. It requires patience but involves less risk of damaging the wood compared to a heat gun or aggressive sanding.
Can I use vinegar to strip paint from wood?
Vinegar can soften very old or thin layers of latex paint, but it is not a strong or reliable paint stripper for most projects. You would need to heat the vinegar and let it soak, and it likely wouldn’t work on oil-based or multiple layers of paint.
How do you strip paint from wood without chemicals?
A heat gun is a very effective way to strip paint without chemicals. It softens the paint for easy scraping. Another option is sanding, though it is more labor-intensive and dusty. Both methods are great non-chemical alternatives, but never use them if you suspect lead paint.
Will a pressure washer remove paint from wood?
Yes, a pressure washer can blast paint off wood, but it’s very risky for furniture or fine woodworking projects. The high pressure can easily damage, splinter, and gouge the wood surface, especially on softer woods. This method is better suited for outdoor fences or decks, and even then, it requires great care.
What should I do with the old paint I scrape off?
Let the gooey paint scraps dry completely on a drop cloth or piece of cardboard. If you tested for lead and it was negative, you can usually dispose of the dried paint chips in your regular household trash. If it contains lead, you must follow your local community’s hazardous waste disposal guidelines.
How can I remove paint from detailed, carved areas?
Chemical stripper is your best friend for detailed carvings. After the stripper has softened the paint, use tools like a dental pick, a stiff-bristle nylon brush, or coarse steel wool to gently scrub the paint out of the small crevices without damaging the details.
Is it better to strip or sand wood furniture?
It depends. If the furniture has many layers of paint or detailed carvings, stripping is much better. Sanding would take forever and ruin the details. If it has one thin coat of paint and flat surfaces, sanding might be faster. Often, the best results come from a combination: stripping to remove the bulk of the paint, followed by light sanding to smooth the surface for a new finish.
Conclusion: Your Beautiful Wood is Waiting
Stripping old paint is like unwrapping a gift. It takes a little time and effort, but the result is always worth it. Seeing that beautiful, natural wood grain reappear is one of the most satisfying moments in any DIY project. You’ve transformed something old and worn into something fresh and beautiful.
Remember to always start with a lead test, choose the method that fits your project, and make safety your top priority. Whether you use a chemical stripper for tricky details, a heat gun for flat surfaces, or sanding for a final smooth touch, you have the knowledge to do it right. Take your time, enjoy the process, and get ready to be proud of the amazing piece you’ve restored. Now, go find that hidden treasure in your garage or at the flea market—you know exactly what to do!