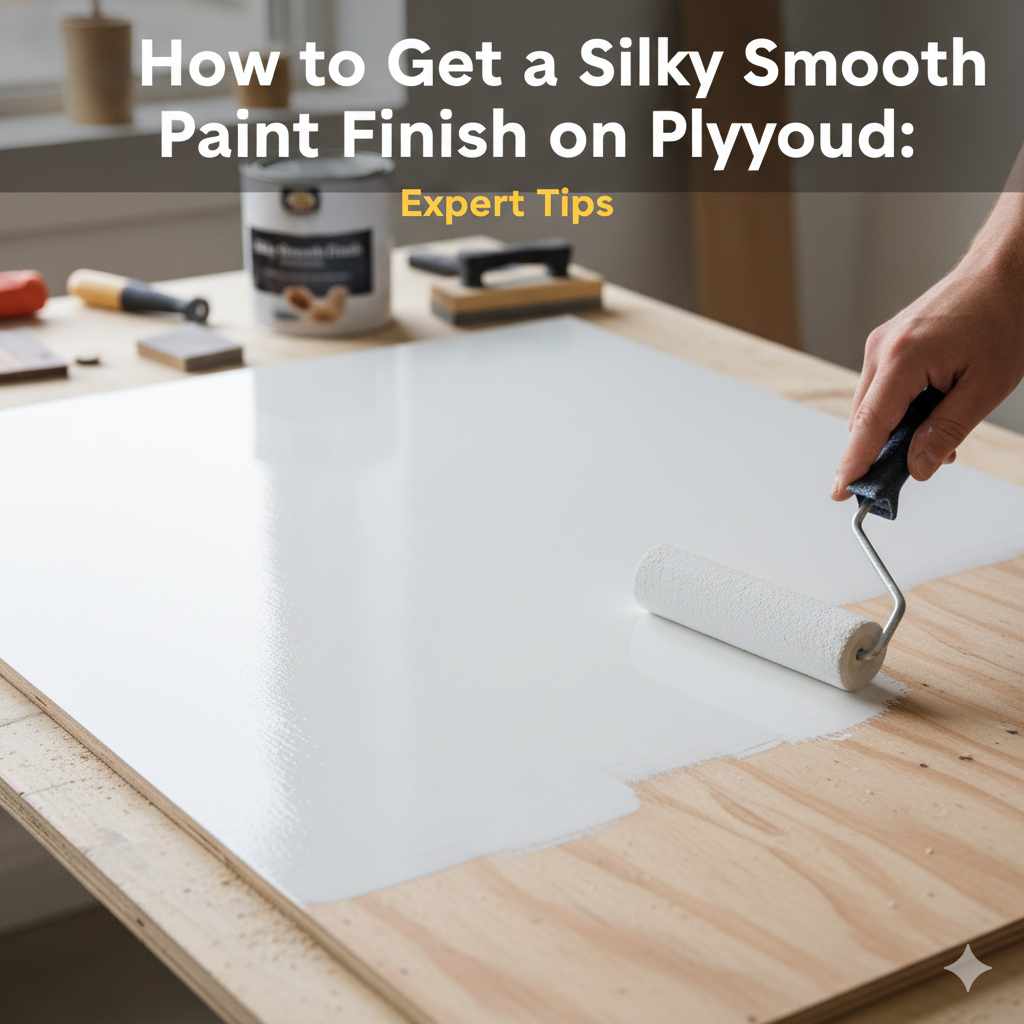
Silky Smooth Paint Finish on Plywood: The Grit-by-Grit Method
MDO (medium-density overlay) plywood takes paint smoother than birch or standard AC plywood because its resin-fiber face has no grain to telegraph through, but any grade can get a professional finish with the right prep. Skip the 120-220-320 sanding sequence or prime with the wrong product, and even three coats of paint will show every ridge underneath. This guide covers plywood grade selection, the exact sanding and priming sequence, and how to fix a finish that has already gone bumpy.
Insert your Affiliate Disclosure reusable block here.
Quick Answer
Sand progressively through 120, 220, and 320 grit, fill voids with wood filler, then apply two thin coats of primer and two to three thin coats of paint, sanding lightly with 320 grit between every coat. MDO or A/B-grade plywood needs the least prep to get there.
The Silky-Smooth Process, Step by Step
Best Smooth-Finish Roller Pick

PinStone 11-Pack 4" High-Density Foam Roller Kit
High-density foam covers lay down primer and paint with far less stipple texture than a standard nap roller.
- Best for: Cabinet doors, furniture panels, and other flat plywood surfaces
- Why we picked it: Concave foam edges cut down on drip and splatter while keeping the finish smooth
- Main drawback: Foam covers wear out faster than woven nap and aren’t reusable for many projects
Compare more smooth-finish supplies
 Option 1 4-Pack Sanding Sponge Set (120/220/320/400 Grit)
|
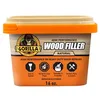 Option 2 Gorilla All Purpose Wood Filler, 16 oz
|
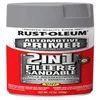 Option 3 Rust-Oleum Painter’s Touch 2X Sandable Spray Primer
|
As an Amazon Associate we earn from qualifying purchases.
- Pick the right plywood: Choose birch or MDO-grade plywood for the least grain show-through, or standard AC-grade if budget matters more than a flawless surface.
- Sand 120 to 320 grit: Start at 120 grit to knock down mill marks, move to 220 grit for the main pass, then finish with a 320-grit sanding sponge right before priming.
- Fill and re-sand: Press wood filler into pitted edges and screw holes with a putty knife, let it cure fully, then sand it flush with the same grit progression.
- Prime twice: Apply two thin coats of primer, sanding lightly with a 220-grit sponge between coats to knock down raised grain.
- Paint in thin coats: Apply two to three thin coats of paint with a fine-finish foam roller or brush, sanding lightly between each coat.
- Seal and buff: Once the final coat has cured, apply a thin clear sealant coat and buff gently with a soft cloth to even out the sheen.

Choosing the Right Plywood for a Smooth Finish
Plywood grade determines how much sanding a smooth finish actually needs. Sanded plywood graded A or B has fewer voids and a tighter face veneer than C/D-grade sheathing, which means less filler and fewer sanding passes before you ever open a can of primer.
MDO (medium-density overlay) plywood is the one grade built specifically for painting: its resin-impregnated fiber overlay has no visible wood grain, so it never telegraphs through paint the way birch or fir face veneer can. Birch plywood sands to a smoother surface than construction-grade fir but can still show faint grain under light-colored or glossy paint. If the project is cabinet doors or furniture panels where a flawless finish matters more than cost, MDO is worth the upcharge; for shelving or utility builds, standard A/B-grade plywood cut cleanly and sanded well gets you most of the way there.
| Plywood Grade | Grain Show-Through | Prep Needed | Best For |
|---|---|---|---|
| MDO (medium-density overlay) | None — resin overlay hides all grain | Minimal — light scuff-sand only | Cabinet doors, signs, painted furniture |
| Birch (A/B grade) | Slight, mainly under light colors or gloss sheens | Moderate — full 120-320 sequence | Furniture, shelving with a premium look |
| Standard AC-grade (fir) | Noticeable, especially with gloss paint | Heavy — filler plus extra primer coats | Utility builds, budget projects |
| MDF (common alternative) | None — not a veneer product | Minimal, but edges swell if not sealed | Flat panel doors, moldings |
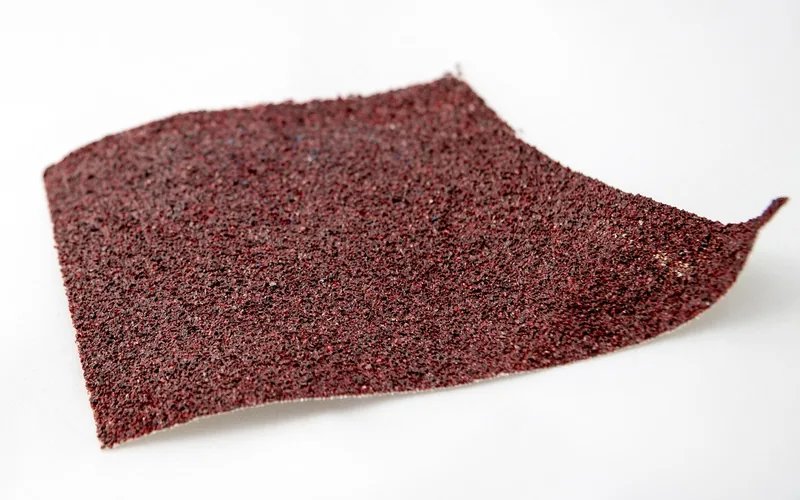
Preparing the Surface: Sand, Fill, Sand Again
Wipe the sheet down with a tack cloth or a barely damp rag before sanding — sanding over shop dust just grinds grit into the face veneer instead of smoothing it. Removing dust between passes matters as much as the sanding itself.
Start at 120 grit to knock down mill marks and raised fibers, move to 220 grit for the main pass, then finish with a 320-grit sanding sponge right before you open the primer. Skipping straight to 220 leaves swirl marks that 220 alone won’t erase; skipping the final 320 pass is the single most common reason a primed surface still feels gritty once it’s painted.
For pitted plywood edges or screw holes, press wood filler in with a plastic putty knife, let it cure fully — check the label, since most need a full 24 hours, not just the 30 minutes it takes to dry to the touch — then sand it flush with the same 220-320 progression.
“The last 320-grit pass is what actually makes a paint job feel silky, not the paint itself. Skip it and you can still feel every ridge from the 220-grit pass underneath, even three coats later.”
— Our team, from repeated plywood cabinet refinishing jobs
Priming: Why Two Thin Coats Beat One
Primer does three jobs a topcoat can’t: it seals the wood so paint doesn’t soak in unevenly, it bridges small surface imperfections, and it gives paint something more uniform to grip than raw wood. Plan on two coats — most primers are rated dry-to-recoat at three to six hours, and a single coat usually leaves thin or porous spots that show through as a blotchy sheen once painted.
Water-based primers raise the wood grain as they dry, which is why a freshly primed panel can feel bumpy even though it looked smooth wet. A quick pass with a 220-grit sanding sponge between coats knocks that texture back down before it gets sealed in under paint. Oil-based and shellac-based primers don’t raise grain the same way and seal knots and tannin bleed better, which makes them the better choice on fir-veneer or knotty plywood; water-based acrylic primers dry faster and are the easier choice for indoor furniture.
Selecting Paint and Sheen
Acrylic latex paint is the easiest choice for plywood — it dries fast, cleans up with water, and stays flexible enough to resist the hairline cracking that can show up along panel seams. Oil-based paint levels out slightly smoother and resists dings better, but it takes longer to cure and needs mineral spirits for cleanup. Spraying instead of rolling gets the flattest possible surface if the setup and ventilation are there for it; for most home shops, a fine-finish roller and the sanding sequence above gets you most of the way to a sprayed look.
Sheen affects how visible any remaining texture is: gloss and semi-gloss reflect light unevenly across even small imperfections, while satin and eggshell forgive minor texture while still wiping clean. If the prep work isn’t flawless, a satin sheen will hide more than a gloss topcoat will.
Painting Technique: Brush, Roller, or Spray
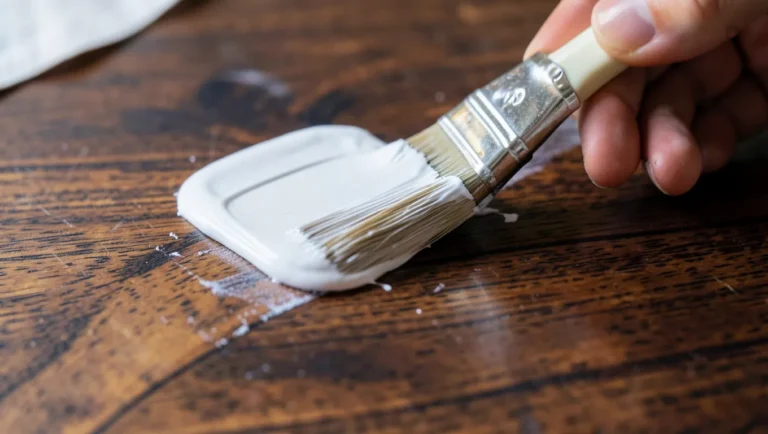
A fine-finish foam roller lays down paint with far less stipple texture than a standard nap roller, and a natural- or synthetic-bristle brush still beats both for cutting in edges and corners. Whichever tool you use, thin coats matter more than tool choice: two to three thin coats, each fully dry before the next, beat one thick coat every time — thick coats sag, trap brush marks, and take days longer to cure through.
Sand lightly with a 320-grit sponge between coats to knock down nap texture or brush marks, wiping away dust before the next coat goes on. If a drip shows up after the paint has dried, don’t sand it — shave it flush first with the edge of a single-edge razor blade, then touch up with a light 320-grit pass; sanding a still-soft drip just smears it wider instead of removing it.
Sealing and Buffing for a Lasting Shine
A clear water-based polyurethane or acrylic sealant adds scratch and moisture resistance once the paint has fully cured — apply it in the same thin, even coats as the paint itself, and give it the full cure time on the label before handling the piece roughly. Sealant doesn’t last forever; high-touch surfaces like tabletops or cabinet fronts benefit from a fresh coat every few years.
Buffing won’t make cured paint glossier on its own — what it actually does is remove dust nibs and the faint haze some sealants leave, and it evens out sheen across the panel. Once the sealant has fully cured, go over the surface with a soft microfiber cloth in light circles; a paste wax buffed in afterward adds the extra shine that buffing bare painted plywood by itself can’t.
Common Mistakes That Ruin a Smooth Finish (and How to Fix Them)
Over-Sanding Through the Veneer
Face veneer on plywood is often less than 1/32 inch thick, so aggressive sanding — especially anything coarser than 120 grit, or a random-orbit sander left in one spot too long — can cut straight through it and expose the core plies underneath. Once that happens, no amount of primer hides the texture change; the fix is wood filler feathered well past the damaged area, not more sanding.
Using the Wrong Primer for the Job
A primer that’s too thin won’t bridge grain or seal knots; one that’s too thick can crack or peel later. Test any new primer on an offcut first, and let it cure the full label time before sanding — sanding a primer that’s still soft just gums up the sandpaper and drags gouges through the coat instead of smoothing it.
Bumpy or Gritty Texture After Priming
This is almost always raised grain from a water-based primer, not a bad batch of paint. Sand the affected area with a 220-grit sponge until it feels smooth again, wipe off the dust, and the next coat should go on clean — this is normal on the first coat and gets less pronounced with each coat after that.
Orange-Peel Texture in the Paint
A pebbly, orange-peel-like texture usually means the paint went on too thick, in a room that was too hot or too dry, or with a roller nap too coarse for the paint’s viscosity. Thin the paint slightly per the can’s instructions, work in a cooler space if possible, and switch to a fine-finish foam roller or a finer-nap cover.
Maintenance: Keeping a Painted Plywood Surface Smooth
Dust dulls a painted finish faster than anything else — wipe it down with a barely damp microfiber cloth rather than a dry rag, which can grind grit into the paint. Skip ammonia-based or abrasive cleaners; a few drops of mild dish soap in water is enough for painted wood.
For chips or scratches, feather-sand the damaged spot with 220 grit, fill if needed, and re-prime and repaint just that area. Keep leftover paint from the original can so the repair color matches exactly — even the same paint code can shift slightly between batches.
Frequently Asked Questions
How To Paint Plywood So It Looks Smooth?
Sand the surface through 120, 220, and 320 grit, fill any pitted spots with wood filler, then apply two thin primer coats and two to three thin paint coats, sanding lightly with 320 grit between each coat. A clear sealant coat and a light buff finish it off.
How To Make Plywood Look Glossy?
Sand the primed surface smooth, then apply two to three thin coats of high-gloss paint or a gloss topcoat, sanding lightly with 320 grit between coats. A coat of paste wax buffed in with a soft cloth adds extra shine once the finish has fully cured.
What Paint Finish Is Best For Plywood?
Satin or semi-gloss works best for most plywood projects — both clean easily and forgive minor surface texture better than a full gloss sheen, which magnifies every imperfection underneath it. Reserve high-gloss for panels where the prep work is genuinely flawless.
How Many Coats Of Primer Does Plywood Need Before Painting?
Two coats, with a light 220-grit sanding pass between them. One coat alone usually leaves thin or porous spots that show through as an uneven, blotchy sheen once the topcoat goes on, especially over knots or end grain.
What Is The Best Plywood For A Painted Finish?
MDO (medium-density overlay) plywood takes paint the smoothest because its resin-fiber face has no visible grain to telegraph through. Birch A/B-grade plywood is the next best option for furniture and cabinets; standard AC-grade fir plywood works for utility projects but needs more filler and sanding to match the same result.
Why Does My Plywood Paint Look Bumpy After It Dries?
Almost always raised wood grain from a water-based primer or paint, not a defective product. Sand the bumpy area with a 220-grit sanding sponge until smooth, wipe away the dust, and the next coat will go on clean — this is normal on a first coat and fades with each additional coat.
Conclusion
A silky-smooth painted plywood surface comes down to grade selection and the 120-220-320 sanding sequence more than any specific paint brand. Pick MDO or A/B-grade plywood when the finish has to be flawless, sand and fill patiently, prime twice, and lay down thin coats with light sanding between each one. Skip a step and it will show; follow the sequence and the surface will feel like it came out of a shop, not off a workbench. Browse our full wood painting and priming guides for the next project.
Sponsored / affiliate links. As an Amazon Associate I earn from qualifying purchases. I may earn additional commission from eligible campaigns.