Best Way to Touch Up Wall Paint (Without a Visible Patch)
Clean the spot, repair and sand any damage, prime it, then apply thin coats of matching paint with the same tool (brush or roller) that made the original texture. The two details that separate an invisible repair from an obvious patch are priming every time and stopping the touch-up at a natural break – a corner, a trim line – instead of trying to blend it mid-wall.
Most touch-up guides walk through cleaning, priming, and applying paint, then stop there. Two things they usually leave out are exactly why some touch-ups still show up weeks later even when the color looks right at the time, and when a small patch is the wrong call entirely.
Why Touch-Ups Show Up Later Even When The Color Looked Right
Paint doesn’t finish changing the moment it feels dry. Most latex and acrylic paints continue to cure and their sheen continues to shift for up to about 30 days after application. A touch-up that matches perfectly the day you paint it can look slightly off a month later, once the original paint’s sheen has finished settling – not because your color match was wrong, but because the two areas were never going to finish curing on the same schedule. This is one reason painters recommend touching up sooner rather than later when a wall is still relatively new, and it’s also why a touch-up on paint that’s already years old is usually more forgiving – the surrounding paint has already fully cured and stopped shifting.
The other common failure mode is “flashing” – the patch reflecting light differently than the surrounding paint because of a sheen or texture mismatch, not a color mismatch. This is why sheen matters as much as color when you’re getting paint mixed, and why the applicator you use (brush vs. roller, and the roller’s nap thickness) needs to match how the wall was originally painted.
Best Roller For Matching Wall Texture
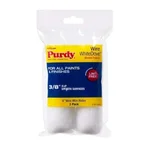 |
Purdy WhiteDove 4″ Mini Roller – $5.98 A 3/8-inch nap matches the light stipple texture most rolled walls have – using a brush or foam roller instead is a common reason touch-ups stand out.
|
What You’ll Need
- Matching paint – leftover from the original can if it’s still usable, or freshly color-matched from a paint chip.
- Primer – a small amount, especially over any patched spackle or bare wall.
- A small brush and/or a mini roller matching your wall’s original texture.
- Mild soap and a clean cloth or sponge for washing the area first.
- Spackle, a putty knife, and 220-grit sandpaper if you’re repairing a hole, dent, or deep scratch rather than just a scuff.
Matching Your Paint
If you have the original can, check it before assuming it’s usable: a thin layer of separated liquid on top is normal and just needs a thorough stir, but a lumpy or foul-smelling can has gone bad. Stir for several minutes, since the color pigment settles to the bottom over time and an under-mixed can will apply unevenly even if it looks fine in the can.
Without the original can, cut a small paint chip (about an inch square) from a hidden spot – behind furniture or inside a closet – and bring it to a paint store for a computer color match. Get the sheen matched at the same time, not just the color; a satin touch-up on an eggshell wall will show as clearly as a wrong color would. Skip paint sample pots for anything you want to match exactly – they’re often mixed from a different base than full-size cans and can differ slightly in both sheen and finish quality.
Repairing And Prepping The Spot
Wash the area with mild soap and water first; paint won’t bond well over accumulated dust or oils, even when they’re not visible. Let it dry fully. If you’re covering a simple scuff with no depth to it, you can skip straight to priming. For a hole, dent, or deep scratch, press spackle into the damage with a putty knife, scrape it flat, and let it dry completely – it’s fine to leave it very slightly proud of the surface since most spackle shrinks a little as it cures.
Sand the dried spackle smooth and flush, feathering the edges into the surrounding wall so there’s no ridge to telegraph through paint. If the home was built before 1978, treat sanding dust as a possible lead hazard rather than assuming it’s safe – the EPA’s renovation and repair guidance covers safe practices for exactly this situation.
Priming: The Step That’s Easy To Skip And Shouldn’t Be
Bare spackle and any sanded spot are more porous than painted wall, which means they absorb topcoat paint differently and flash as a dull or blotchy patch if you paint directly over them. A thin coat of primer, confined to just the repair area, seals that porosity and gives your paint a consistent surface to land on. Let it dry fully – typically 30 minutes to an hour, but check the can, since humidity and temperature both slow that down.
Applying The Paint
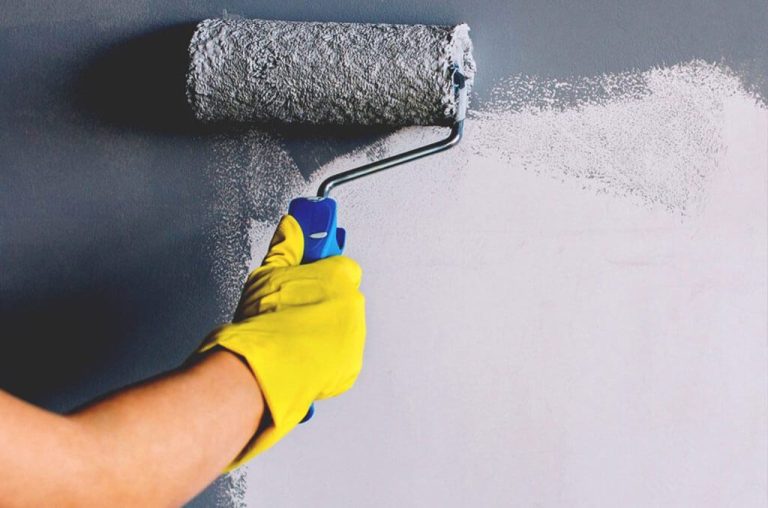
Match your applicator to the wall’s original texture: a stippled, slightly bumpy surface was rolled and needs a mini roller with a similar nap length, while a perfectly smooth surface (common on trim, doors, or a wall that was sprayed) calls for a quality brush instead. Stir the paint well again immediately before using it, and apply less than feels necessary – two thin coats consistently look better than one thick one, which tends to build a slightly raised edge that catches light.
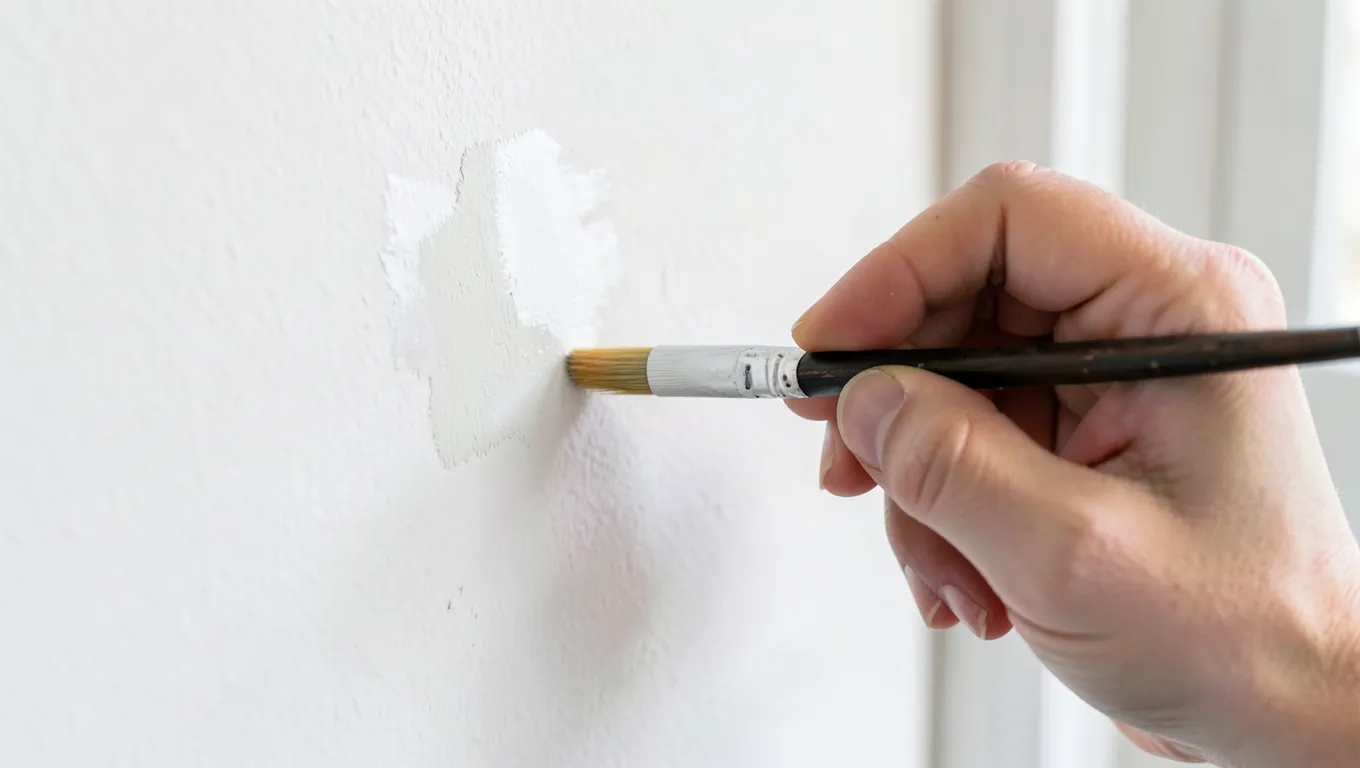
With a brush, dab paint onto the center of the primed spot and feather it outward with light strokes, lifting the brush at the end of each pass so the edge tapers rather than stopping abruptly. With a roller, lightly load it, roll over the primed area, then use a gentle press-and-lift motion at the edges to recreate the original stipple rather than leaving a sharply defined rolled rectangle. Let the first coat dry fully before judging it – it often still looks slightly visible at this stage, and a second thin coat is usually what actually makes it disappear.
When A Small Patch Isn’t The Answer
Skip the localized touch-up and paint the full wall, or at least a full section bounded by a natural break like a corner or ceiling line, when: the damage is more than a few inches across and hard to feather convincingly; there are enough small marks scattered across the wall that patching each one individually would take longer than one fresh coat; the finish is semi-gloss or high-gloss, which shows flashing far more readily than flat or eggshell; or the wall is a focal point that gets strong direct light, where even a decent blend tends to catch the eye. When in doubt, paint to the nearest natural stopping point rather than trying to feather a patch into the open middle of a wall – a repaint that ends at a corner reads as intentional, while a touch-up that fades out mid-wall almost always reads as a patch, no matter how well it’s blended.
Troubleshooting A Touch-Up That Didn’t Work
| Problem | Likely Cause | Fix |
|---|---|---|
| Flashing (patch looks shinier or duller) | Sheen mismatch, or paint applied without primer | Lightly sand, prime, and reapply with a properly sheen-matched paint |
| Visible raised edge | Paint applied too thickly | Let it cure fully, sand the edge lightly with 220-grit, and apply one very thin coat over it |
| Clearly wrong color | Poor match, often from an old or faded sample | Get a fresh color-matched sample from a current paint chip – there’s no reliable way to fix a bad match without redoing it |
| Visible brush or roller marks | Wrong applicator for the wall’s original texture | Sand the area smooth and reapply with the correct tool (roller for stippled walls, brush for smooth ones) |
Frequently Asked Questions
Do I Really Need Primer For A Small Touch-Up?
Yes, especially over spackle or any sanded spot. Unprimed patches are more porous than the surrounding painted wall, so they absorb topcoat paint unevenly and often flash as a dull or blotchy area. It’s a fast step that has an outsized effect on whether the repair actually disappears.
What If I Don’t Have The Original Paint Can?
Cut a small paint chip from a hidden area, like behind furniture or inside a closet, and take it to a paint store for a computer color match. Make sure they match the sheen as well as the color – a correct color in the wrong sheen will still stand out under certain light.
How Long Should I Wait Before The Touch-Up Fully Blends In?
It’s dry to the touch within an hour or so, but most latex paint keeps curing and its sheen keeps subtly shifting for up to about 30 days. Judge the final blend after a few days, not immediately, and avoid scrubbing the spot for at least two weeks while it fully hardens.
My Touch-Up Is Still Visible. What Went Wrong?
The usual culprits are a sheen mismatch, skipping primer, applying the paint too thickly, or using the wrong applicator for the wall’s texture (a brush on a rolled wall, for instance). Lightly sand the area, address whichever of those applies, and reapply – most touch-up failures trace back to one of these four causes.
Is It Okay To Use A Paint Sample Pot For Touch-Ups?
It’s riskier than a full-size can mixed to your exact formula. Sample pots are sometimes made from a different base and may not carry the same sheen as a full gallon or quart, which can introduce a subtle mismatch even when the color itself looks right on the swatch.
Conclusion
An invisible wall touch-up comes down to matching three things at once: color, sheen, and application technique. Prime every repair, use the same tool the wall was originally painted with, and know when a patch is the wrong call – stopping at a natural break in the wall beats trying to feather a repair into open space every time.