Black Stained Deck Ideas: Essential Designs
Black stained deck ideas offer a dramatic, modern, and sophisticated look, transforming your outdoor space into a stylish extension of your home. This guide covers essential designs, from simple elegance to unique accents, ensuring a beautiful, durable finish for beginners.
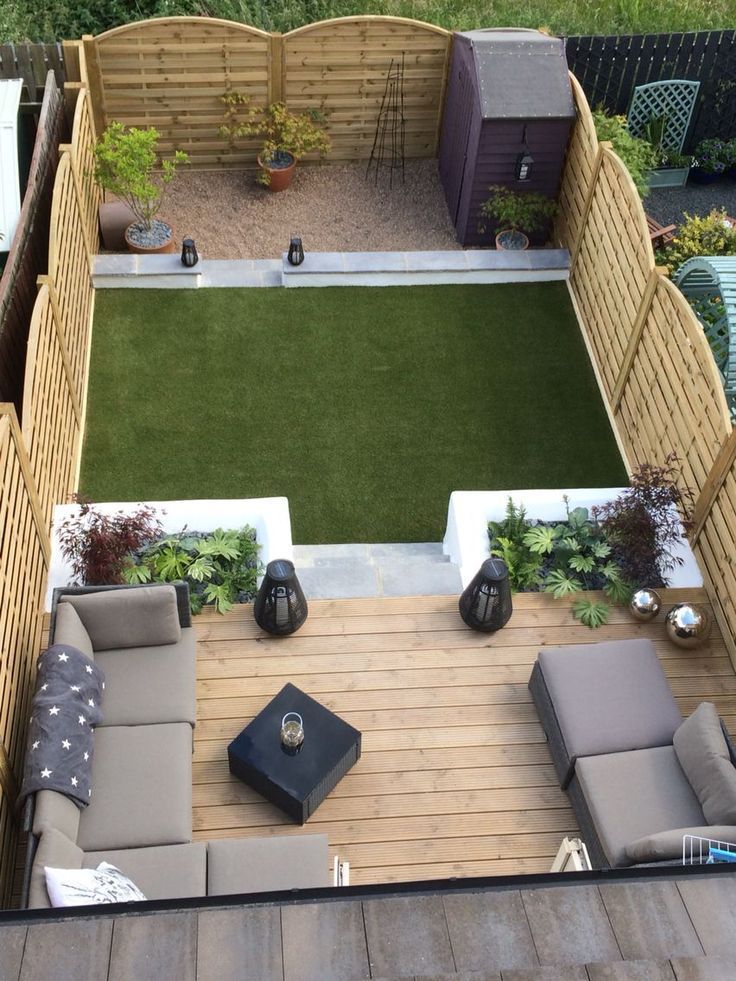
Tired of a deck that looks a little… blah? A dark, black stain can bring a whole new level of class and style to your outdoor living area. It’s a popular choice for a reason! It makes landscaping pop, furniture look sharp, and gives your home a modern edge. But where do you start with black stained deck ideas? Don’t worry, I’m here to guide you. This isn’t about complicated woodworking; it’s about simple steps to achieve a stunning look you’ll love. We’ll break down the best designs and how you can achieve them, even if you’re new to this.
Why Choose Black for Your Deck?
Black stain is more than just a color; it’s a statement. It offers a versatile foundation that complements a wide range of architectural styles and outdoor decor. Whether you have a modern minimalist home or a traditional craftsman, a black deck can surprisingly enhance its appeal. It provides a dramatic contrast that makes surrounding elements, like green plants or colorful cushions, stand out beautifully. Plus, strategically chosen black stains can even help hide minor imperfections and wear, giving your deck a refreshed look.
The Dramatic Appeal of Black
Black is inherently sophisticated and timeless. On a deck, it creates a sense of depth and luxury. Think of it like a classic black dress or a sleek black car – always in style, always making an impression. This deep hue can make your deck feel like a dedicated outdoor room, a cozy nook for relaxation or a chic space for entertaining.
Durability and Maintenance
While it might seem counterintuitive, darker stains can sometimes offer better UV protection than lighter ones, potentially extending the life of your deck. The pigment in the stain helps to shield the wood from the sun’s damaging rays. When it comes to maintenance, black stained decks are forgiving. Minor scuffs and dirt are less noticeable than on lighter colors, keeping your deck looking cleaner for longer between washes.
Versatility with Decor
One of the biggest advantages of a black stained deck is its incredible versatility. It acts as a neutral backdrop for virtually any color scheme or decorating style. Imagine vibrant outdoor cushions, a rustic wooden dining set, or sleek modern loungers – all of these will look stunning against the rich black canvas of your deck. This allows you the freedom to change your outdoor decor over the seasons or as your tastes evolve without needing to restain your deck.
Essential Black Stained Deck Design Ideas
Let’s dive into some fantastic ways to style your black stained deck. These ideas are designed to be achievable and provide maximum impact.
1. The Classic Solid Black
This is the most straightforward and impactful approach. A uniform, deep black stain covers the entire deck surface, railings, and even stairs. It’s bold, elegant, and incredibly versatile.
- Why it works: Creates a seamless, modern look.
- Best for: Homeowners who want a clean, minimalist aesthetic.
- Pro Tip: Ensure the stain is of high quality and applied evenly for a professional finish. Consider a semi-solid or solid stain for the best coverage and color depth.
2. Two-Tone Elegance
Introduce visual interest by using two different shades of black or a black stain paired with a contrasting color. A common approach is to stain the deck boards a deep black and the railings a slightly lighter charcoal or even a dark gray. Another option is to stain the main deck area black and use a contrasting color for the outer perimeter or stairs.
Example Combinations:
- Deck Boards: Deep Ebony Black
- Railings: Charcoal Gray
- Stairs: Solid Black
- Deck Boards: Matte Black
- Railings: Dark Walnut (for a subtle contrast)
- Posts: Solid Black
- Deck Boards: Blackened Oak
- Perimeter Decking: Black
- Risers: Black
This technique adds dimension and can highlight specific architectural features of your deck. For a beginner, painting or staining sections in a different shade can be a rewarding way to experiment with design.
3. Black with Natural Wood Accents
For a warmer, more organic feel, combine a black stained deck with unpainted or lightly stained natural wood elements. This could mean leaving a portion of the railing unstained, or perhaps the top cap of the railing. The contrast between the deep black and the warm wood tones is striking and inviting.
- How to do it: Stain the main deck boards and posts black. Leave the top railing cap or pickets in their natural wood finish, sealed with a clear protective coat.
- Effect: This adds a handcrafted, rustic charm that balances the modern feel of black.
4. Black with White or Contrasting Trim
This design offers a crisp, classic look that never goes out of style. Stain the deck boards and main structural elements (posts, railings) in a deep black, and then use white or a bold contrasting color for the trim pieces. This could be the edge of the deck, the stair stringers, or the decorative elements on the posts.
Why it’s great:
- Creates a defined, architectural look.
- Mimics the classic black and white aesthetic often seen in homes.
- Draws attention to the shape and lines of the deck.
Beginner Tip: Using painter’s tape diligently is key to achieving sharp lines between colors. For more on proper tape usage and achieving crisp paint lines, check out resources like This Old House’s guide on painting trim.
5. Stained Lattice or Skirting
Don’t forget the area beneath your deck! Staining the lattice or skirting boards black provides a seamless transition from the ground to your deck. This creates a more cohesive and finished appearance, hiding the underside of the deck and any storage you might have there.
- Benefit: Makes the entire outdoor space feel more intentional and polished.
- Application: Use the same black stain you used on the deck for a unified look.
6. Painted Black Deck Accents
While staining is generally preferred for wood decks to allow the grain to show, you can strategically use black paint for specific accents while staining the main deck surface. This could be for decorative elements, planters integrated into the deck, or even a unique pattern.
- Consider: High-quality exterior deck paint designed for durability.
- Safety First: Ensure good ventilation and follow manufacturer instructions for application and drying times.

Choosing the Right Black Stain
Not all black stains are created equal! The type of stain you choose will significantly impact the final look and durability. Here’s a breakdown:
Types of Deck Stains
Deck stains come in various opacities, each offering a different look and level of protection:
- Clear Sealers: Offer protection but no color. Not suitable for a black stain look.
- Toners: Add a slight hint of color and enhance wood grain. Too light for a deep black.
- Semi-Transparent Stains: Allow wood grain and texture to show through. Offer good color, but the wood will still be visible. A good option if you want a “hint” of black mixed with wood.
- Semi-Solid Stains: Hide most of the wood grain but still allow texture to be seen. Provide richer color and better protection than semi-transparent.
- Solid Stains: Look like paint, completely hiding the wood grain. Offer the most color saturation and best UV protection. This is often the best choice for achieving a true, deep black.
Understanding Black Shades
Black isn’t just black. You’ll find variations:
- Ebony Black: A deep, true black with no undertones.
- Charcoal: A dark gray with black undertones, offering a softer look than true black.
- Black Smoke/Black Oak: These often have subtle brown or gray undertones, adding a bit more depth and character.
- Matte vs. Glossy: Most deck stains come in matte or satin finishes. A matte finish typically looks more natural and sophisticated on a deck, while a glossier finish can be more prone to showing scuffs and can be slippery.
Key Considerations When Buying
- Durability: Look for stains with excellent UV protection and resistance to fading, mildew, and Algae.
- Water Repellency: The stain should effectively repel water to prevent wood rot and damage.
- Ease of Application: Some stains are self-priming and require fewer coats.
- VOC Content: Consider low-VOC (Volatile Organic Compound) options for a more environmentally friendly choice. For more on understanding VOCs in paints and stains, the South African Department of Environmental Affairs has helpful information.
DIY Application: Steps to a Flawless Black Stain
Applying stain to your deck is a rewarding DIY project. Following these steps will help you achieve a professional-looking finish.
Step 1: Preparation is Key!
This is the most crucial step for a lasting finish. Skipping this will lead to peeling, flaking, and a less-than-perfect look.
- Clear the Deck: Remove all furniture, planters, grills, and decor.
- Sweep Thoroughly: Get rid of loose debris, leaves, and dirt.
- Clean the Deck: Use a dedicated deck cleaner to remove grime, mildew, and old stain residue. Follow the product’s instructions carefully. For stubborn mold or mildew, a stiff brush may be needed.
- Rinse Well: Ensure all cleaning solution is rinsed off. Allow the deck to dry completely. This is vital! For tips on choosing the right cleaner, the This Old House guide is excellent.
- Sand (If Necessary): If there are rough spots, splinters, or old, peeling stain, lightly sand down the entire deck. Aim for a smooth surface. Sweep or vacuum away all dust.
- Repair: Fix any loose boards, popped nails, or damaged wood.
- Protect Surroundings: Use painter’s tape to protect any adjacent surfaces like siding, brick, or concrete. Cover plants nearby with drop cloths.
Step 2: Staining the Deck
Gather your tools and get ready to bring that beautiful black to life!
Essential Tools & Materials:
- Your chosen black deck stain
- Paintbrushes (for edges and details)
- Paint rollers with extension poles (for large surfaces)
- Stain pads or applicators (can be easier for beginners on flat surfaces)
- Trays or buckets for stain
- Stir sticks
- Drop cloths
- Lint-free rags (for wiping up drips)
- Ladder (if staining railings or posts)
Staining Process:
- Stir the Stain: Stir the stain thoroughly, and stir it often throughout the process. Don’t shake it, as this can create air bubbles.
- Start with Edges: Use a brush to apply stain to the edges of the deck boards, where they meet walls, and around any fixtures. You can also stain railings and posts at this stage if they are not a contrasting color.
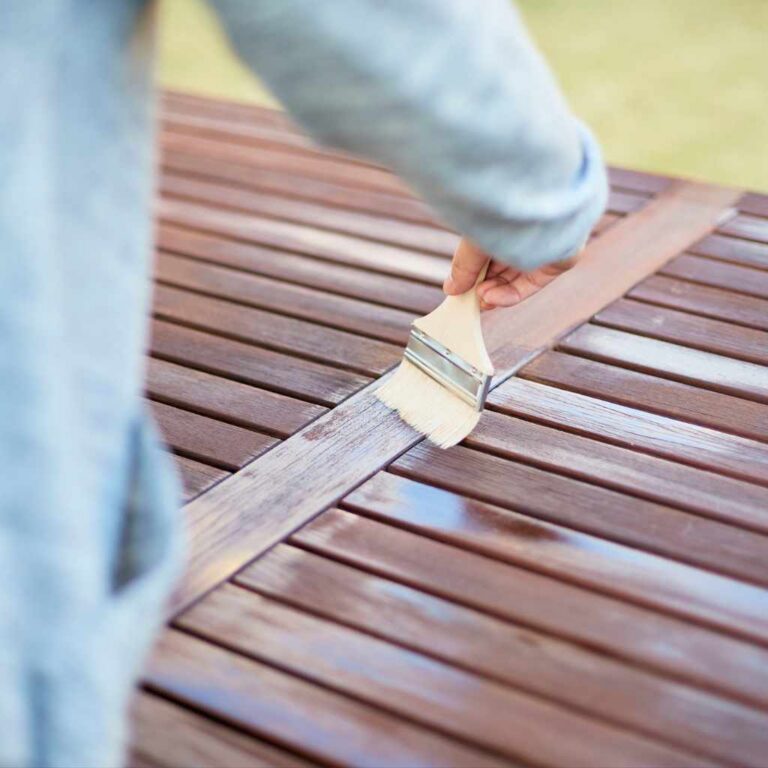
- Apply to Deck Boards: Work in small sections (about 3-4 boards wide at a time). Apply the stain using a roller, stain pad, or brush. Always work in the direction of the wood grain.
- Maintain a Wet Edge: Overlap your work slightly with the previous section to avoid lap marks. This means applying the new stain while the edge of the previous section is still wet.
- Back-brushing: If using a roller or pad, follow immediately with a brush (back-brushing) to even out the stain and ensure it’s worked into the wood grain. This helps prevent blotchiness.
- Wipe Excess: If the stain starts to look wet or puddly after a few minutes, wipe off the excess with a lint-free rag.
- Stairs and Railings: Apply the stain to railings, balusters, and stairs. Use brushes for detailed areas and rollers for larger surfaces.
- Drying Time: Allow the first coat to dry completely according to the manufacturer’s instructions. This can range from a few hours to 24 hours depending on the product and weather.
Step 3: Second Coat (If Needed)
For deep, rich black coverage, a second coat is often recommended, especially if you’re using a semi-solid or semi-transparent stain. Apply the second coat following the same procedures as the first. Ensure the first coat is fully dry before applying the second.
Important Note on Weather: Apply stain on a day with moderate temperatures (ideally between 50-80°F or 10-27°C) and no rain expected for at least 24-48 hours. Avoid direct, hot sunlight, which can cause the stain to dry too quickly and result in an uneven finish.
Table: Pros and Cons of Black Stained Decks
Here’s a quick look at the good and the not-so-good of choosing a black stain for your deck.
| Pros of Black Stained Decks | Cons of Black Stained Decks |
|---|---|
| Modern and sophisticated aesthetic | Can absorb more heat on sunny days, making it hotter underfoot |
| Excellent contrast for landscaping and outdoor furniture | Can show dust, pollen, and salt residue more prominently (though less than dark grays or blues) |
| Hides minor imperfections and wear well | Requires meticulous preparation for a smooth, uniform finish |
| Provides good UV protection, potentially prolonging wood life | May require more frequent washing to keep looking its best, especially in dusty areas |
| Versatile with various decor styles | Some very dark solid stains can peel if not applied correctly or if the underlying wood is not properly prepared. |
| Forgiving with minor scuffs and dirt | May require careful application to avoid applying too thickly, which can lead to a plastic-like film. |
Maintaining Your Black Stained Deck
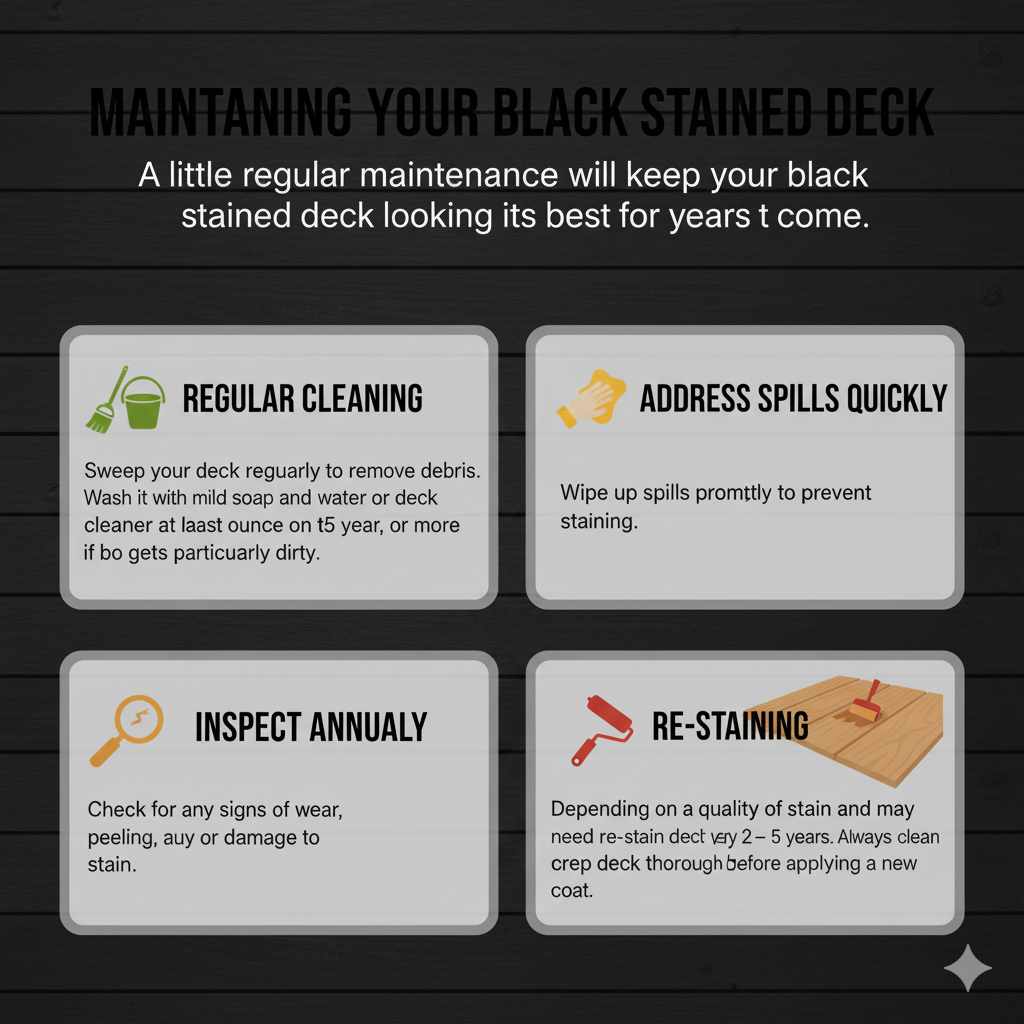
A little regular maintenance will keep your black stained deck looking its best for years to come.
- Regular Cleaning: Sweep your deck regularly to remove debris. Wash it with mild soap and water or a deck cleaner at least once a year, or more often if it gets particularly dirty.
- Address Spills Quickly: Wipe up spills promptly to prevent staining.
- Inspect Annually: Check for any signs of wear, peeling, or damage to the stain.
- Re-staining: Depending on the quality of the stain and your climate, you may need to re-stain your deck every 2-5 years. Always clean and prep the deck thoroughly before applying a new coat.
FAQ: Your Black Deck Staining Questions Answered
Here are some common questions beginners have about black stained decks.
Q1: Is black stain too dark for a deck that gets a lot of sun?
A1: Black stains absorb more heat than lighter colors. While they offer good UV protection, they can get hotter underfoot. Consider using a slightly lighter shade of black or charcoal, or ensure you have adequate shade in sunny areas. You can also mix in a small amount of a lighter shade if your stain allows for custom mixing, or apply a lighter color to the perimeter where you might sit barefoot more often.
Q2: Can I stain over an existing light-colored stain?
A2: Yes, typically you can stain over an existing stain. However, the deck must be thoroughly cleaned and prepped first. If the old stain is peeling or in poor condition, it will need to be removed. Always test a small, inconspicuous area first to see how the new black stain adheres and looks over the old color.