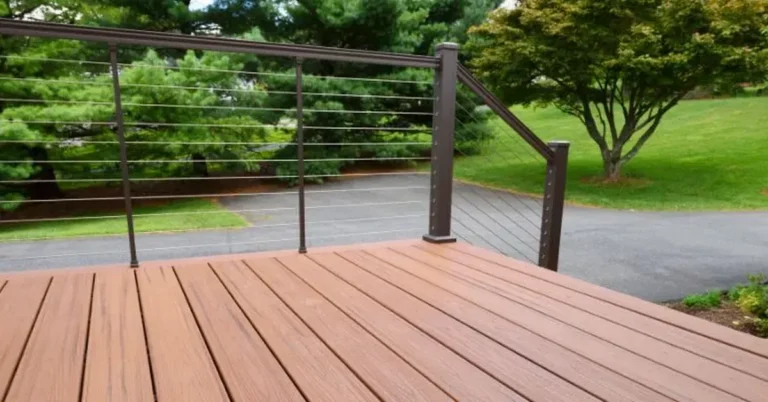
How to Stain a Wood Deck: Step-by-Step for a Lasting Finish
To stain a wood deck, clean it, let it dry until it passes a water test, sand only the rough spots, then apply one thin coat of penetrating stain with a roller or sprayer and back-brush it into the grain before it dries. The two things that decide whether the finish lasts are how dry the wood is when you start and how much stain you leave sitting on top of it.
Most peeling and blotchy decks are not caused by a bad stain. They come from staining damp boards, over-sanding, or piling on a second coat that the wood could not absorb. This guide walks through the full job in order, with the numbers and tests that tell you when to move to the next step. If you are still deciding which product to buy, start with our comparison of the best deck stain types and come back here for the application. Already have the deck prepped and want the stain-versus-sealer breakdown and re-coat timing across product types? See How to Apply Deck Stain and Sealer.
Tools and Materials for Staining a Deck
Best Wide-Deck Stain Applicator
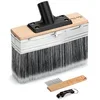 |
Bates 7.5 Inch Deck Stain Brush Applicator ($15.98) A wide, pole-mounted brush is the tool that makes the back-brushing step in this guide fast enough to keep a wet edge on a full deck.
|
You can stain a deck with a brush and a bucket, but the right kit turns a two-weekend job into a one-weekend job. Here is what each item is for.
| Item | What it does |
|---|---|
| Deck stain (penetrating) | The finish itself. Type and color are covered in our guide to the best deck stain. |
| Deck cleaner | Removes dirt, mildew, and graying. Oxygen-based (sodium percarbonate) cleaners are gentler on wood than chlorine bleach. |
| Wood brightener (oxalic acid) | Restores color after cleaning and neutralizes cleaner residue so the stain absorbs evenly. |
| Pressure washer or stiff deck brush | Lifts loosened grime. A brush and hose works on small or soft-wood decks. |
| Moisture meter (pin type) | Reads wood moisture directly. Below about 15 percent is the usual target before staining. |
| Roller, pump sprayer, or pad | Covers boards quickly. A roller or sprayer applies the stain, then a brush works it in. |
| Wide stain brush on a pole | Back-brushes stain into the grain from a standing position and cleans up edges and gaps. |
| 60 to 80 grit sandpaper or sanding pad | Smooths splinters and raised grain without closing the wood pores. |
| N95 respirator, gloves, safety glasses | Protects you from sanding dust, cleaner, and stain fumes. |
| Drop cloths and painter’s tape | Keeps stain off siding, plants, and hardware. |
Step 1: Inspect the Deck and Pick Your Day
Walk the whole deck first. Sink any popped nails or raised screws slightly below the surface, replace cracked or rotted boards, and tighten loose railing posts. If screws are stripped, our guide on removing stripped deck screws covers the easiest fixes.
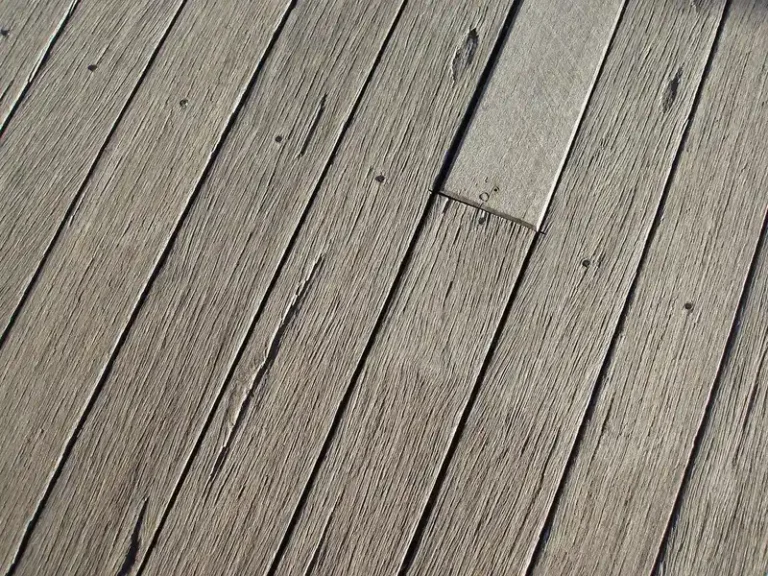
Then choose the weather. Most deck stains need air and surface temperatures of roughly 50 to 90 degrees Fahrenheit and no rain for at least 24 hours, but the exact window is printed on the can. Avoid staining boards that are baking in direct afternoon sun, because the stain dries before it can soak in and leaves lap marks. Work early or late, or follow the shade across the deck.
New pressure-treated lumber is a special case. It is often sold wet from the treatment process, and it can take anywhere from a few weeks to several months to dry enough to stain, depending on how it was dried and your climate. Do not count days. Use the readiness checks below.
| Test | Ready to stain | Not ready |
|---|---|---|
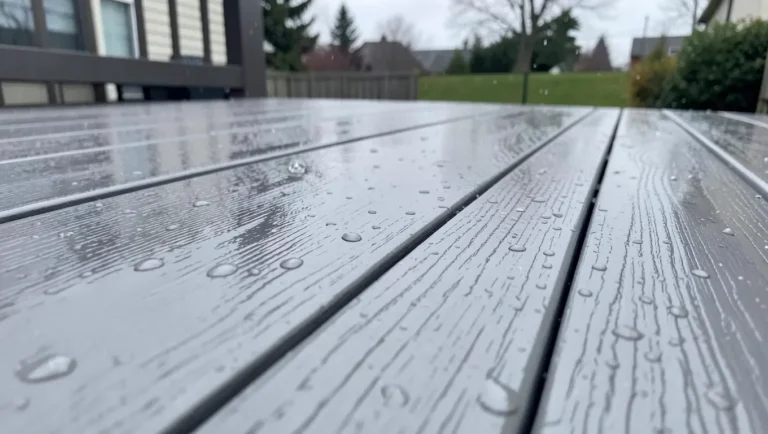
| Water test: sprinkle water on several boards | The water soaks in within about 10 minutes | The water beads up and sits on the surface |
| Moisture meter, several spots per board | Below about 15 percent | Above 15 percent, or readings vary widely between boards |
| Old finish check: scrape a spot with a putty knife | Bare wood or sound stain that is not lifting | Old stain peels in sheets, so it must be stripped first |
Step 2: Clean and Brighten the Wood
Sweep the deck, then clear the gaps between boards with a putty knife so debris does not stay trapped and hold moisture against the wood. Wet down nearby plants, and mix the deck cleaner exactly as the label directs. Apply it with a pump sprayer or a stiff brush, keep the surface wet for the labeled dwell time, and scrub any black mildew spots.
If you use a pressure washer, keep it gentle. As a rule of thumb, stay around 500 to 1,200 PSI for cedar and redwood and no more than about 1,500 PSI for treated pine, use a wide fan tip, and hold the wand 8 to 12 inches from the boards, moving with the grain. Too much pressure raises fuzzy fibers and gouges the softer springwood, which then needs sanding to fix.
After rinsing, apply a wood brightener if the boards look gray or blotchy. Oxalic acid brighteners restore the natural color and neutralize alkaline cleaner residue. Wear gloves and eye protection, and never mix cleaners with each other, especially bleach with acids or ammonia. Rinse thoroughly, then let the deck dry for 24 to 48 hours.
If the deck already has a failing solid stain or a film finish, cleaning will not be enough. It needs a stripper first, and our guide to wood stain removers explains which type works on which finish.
Step 3: Sand Only Where You Need To
The common advice to sand the whole deck smooth is a myth for penetrating stains. Wood stain soaks into open pores, and fine sanding burnishes the surface and closes them. A deck sanded to 150 grit can look pale and blotchy because it takes up less stain than the unsanded boards beside it.
- Sand splinters, raised grain, and rough patches with 60 to 80 grit, moving with the grain.
- Use a sanding pad or pole sander on railings and the tops of posts.
- Vacuum or sweep off all dust before staining, and wear an N95 respirator, since dust from treated lumber should not be inhaled.
Step 4: Apply the Stain
Stir the stain thoroughly and keep stirring during the job, because pigment settles quickly. Test the color on a hidden board or the underside of a rail first, since the same stain looks different on cedar, pine, and redwood.
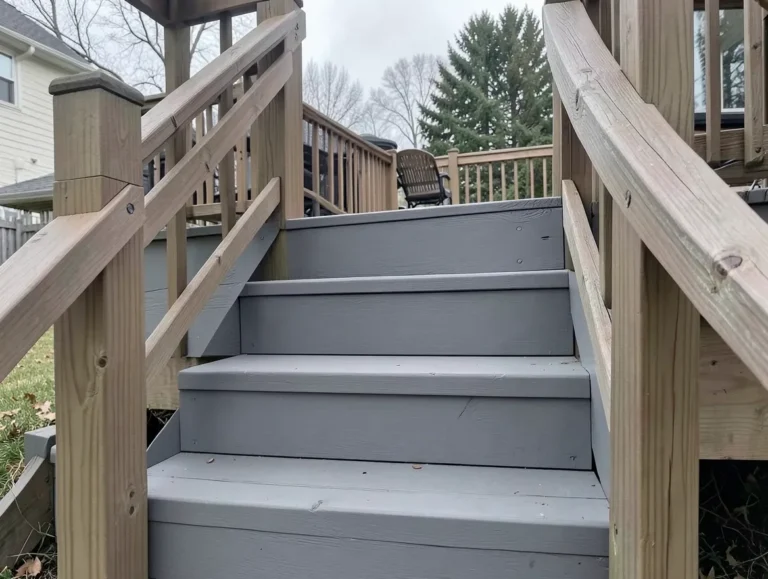
- Start with the railings, spindles, and steps, then do the deck floor, so drips do not land on finished boards.
- On the deck floor, start at the far corner and work back toward your exit, so you never have to walk on wet stain.
- Stain three or four boards at a time along their full length, from one end to the other. Stopping in the middle of a board is what creates lap marks.
- Apply the stain with a roller, sprayer, or pad, then back-brush right away to push it into the grain and lift puddles out of the gaps and knots.
- Do the edges and the spaces between boards with a smaller brush or pad.
Coverage varies with the wood and the stain, but a typical range is 150 to 300 square feet per gallon on smooth boards and less on rough or weathered wood. A quick example: a 12 by 16 foot deck is 192 square feet, so one coat needs roughly one gallon on smooth wood and closer to two on rough wood, plus extra for railings. Our page on how far a quart of stain goes has more coverage math.
The type of stain also decides how often you will be back. These are typical ranges, and decks in full sun sit at the low end.
| Stain type | Look | Typical time before recoating |
|---|---|---|
| Clear or toner | Shows all wood grain, little UV protection | About 1 year |
| Semi-transparent | Adds color, shows grain | About 2 to 3 years |
| Semi-solid | Hides some grain | About 3 to 4 years |
| Solid | Opaque, like thin paint | About 4 to 5 years or more, but can peel |
For a full comparison of when each type makes sense, see our page on deck stain versus sealer.
Step 5: Second Coat and Drying Time
This is the step most guides get wrong. Many penetrating stains are meant to go on as one coat, or as two coats applied wet-on-wet, meaning the second goes on while the first is still absorbing. A second full coat over a dry first coat has nothing to soak into, so it sits on top as a film. That film is what peels and turns glossy and sticky in foot-traffic areas.
- Read the can. If it says one coat, apply one.
- If it allows two coats, apply the second within the window on the label, before the first coat dries, and back-brush both.
- After the final coat, wipe up any standing puddles with a rag before they dry into a shiny, tacky patch.
- Keep furniture, grills, and pets off until the surface is fully dry, usually 24 to 48 hours.
Troubleshooting Common Staining Problems
| Problem | Likely cause | Fix |
|---|---|---|
| Blotchy or uneven color | Uneven moisture, over-sanded boards, or blotch-prone softwood such as pine | Clean and brighten, let dry fully, and apply a thin extra coat if the label allows. |
| Lap marks | Stopped mid-board or stained in hot sun | Restain full board lengths in the shade and blend within the wet edge. |
| Sticky or tacky surface | Too much stain left on top, or humid weather | Wipe with a rag dampened with mineral spirits for oil-based stains and give it more dry time. |
| Peeling or flaking | Stained damp wood, or built up a film with extra coats | Strip and sand the failing areas, then restain thin coats on dry wood. |
| Mildew returning | Shade, poor airflow, or debris in the gaps | Clean with an oxygen-based cleaner and trim back plants. |
If you have been considering a solid color instead, our guide to painting a treated wood deck covers that route.
Safety Tips
- Oily rags can catch fire. Rags soaked with oil-based stain can heat up as the oil dries and ignite on their own. Lay them flat outdoors on a non-combustible surface until they are stiff, or store them in a sealed metal container filled with water, and follow local disposal rules.
- Work with plenty of ventilation and wear a respirator rated for organic vapors when using solvent-based stain in enclosed spaces such as under-deck areas.
- Wear an N95 mask when sanding, gloves for cleaners and brighteners, and eye protection when spraying.
- Cover nearby plants and keep runoff from cleaners and stain out of storm drains.
How Often to Restain a Deck
Skip the calendar and use the splash test. Sprinkle water on a few boards. If it beads, the finish is still protecting the wood. If it soaks in within a few minutes, or the boards are turning gray, it is time to clean and recoat. High-traffic areas and sun-exposed boards wear first, so you can often spot-restain those areas. For general upkeep advice, our wood care and maintenance guide covers what to do between coats.
Frequently Asked Questions
Is it better to roll or brush deck stain?
Do both. Roll or spray the stain on to cover boards quickly, then go back over it with a brush or pad so the stain is worked into the grain and any puddles are lifted off. Brushing alone is slow on a large deck, and rolling alone leaves the stain sitting on the surface, where it tends to peel.
Do you have to sand a deck before staining?
Not always. A clean, dry deck with sound old stain usually needs no sanding at all. Sand only where you have splinters, raised grain, or leftover flaking finish, and stop at 60 to 80 grit, because finer grits burnish the wood and reduce how much stain it absorbs.
How long after pressure washing can you stain a deck?
Wait at least 24 to 48 hours in dry weather, and longer in cool or humid conditions. Confirm with a water test or a moisture meter reading below about 15 percent rather than trusting the calendar.
How long does deck stain take to dry?
Most penetrating deck stains are dry to the touch in about 24 hours and ready for light foot traffic soon after, but oil-based products and cool or humid weather can push that to 48 hours or more. Furniture should stay off until the surface is fully dry, and the can lists the exact times for your product.
Conclusion
Staining a wood deck comes down to sequence and dryness: clean, brighten, dry, sand lightly, apply a thin coat, and back-brush it in. Follow the readiness tests instead of a set number of days, resist the urge to add a heavy second coat, and the finish should last for years.
Sponsored / affiliate links. As an Amazon Associate I earn from qualifying purchases. I may earn additional commission from eligible campaigns.