Can You Apply Polycrylic With a Roller
Yes — a roller is actually the preferred way to apply Polycrylic on flat surfaces, faster and more even than a brush with far fewer visible strokes. The key is using the right roller (a high-density foam roller, not a fabric nap roller) and working in thin coats with a wet edge to avoid bubbles and lap marks.
Introduction To Polycrylic
Best For A Smooth, Lint-Free Polycrylic Coat
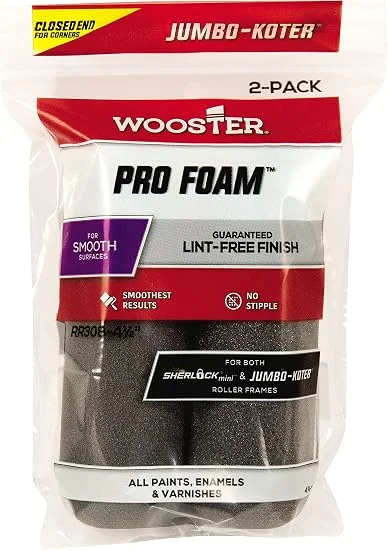 |
Wooster Pro Foam Mini Roller, 2-Pack – $7.19 A dense foam roller that lays down Polycrylic without the stippled texture a fabric nap roller leaves.
|
Polycrylic is a clear, water-based protective finish that dries fast, cleans up with soap and water, and has a low odor compared to oil-based polyurethane. It goes over bare wood, paint, or stain to protect the surface and preserve the look underneath, and it dries without yellowing over time — a real advantage over oil-based finishes on light or white-painted pieces. It’s made for indoor use on furniture, cabinets, and trim; it’s not rated for exterior exposure or bare metal, so stick to wood and painted wood surfaces for reliable results.
Choosing The Right Roller
A high-density foam roller is the standard recommendation for Polycrylic — it lays down a smooth, lint-free coat without the stippled texture a fabric roller can leave. If you prefer a fabric roller, use one with a very short nap (1/4 inch or less, labeled for smooth or semi-smooth surfaces); a thicker nap traps more finish and is more likely to leave texture or bubbles. Whichever you choose, make sure it’s clean and lint-free before you start — a dirty or shedding roller ruins an otherwise good application, and it’s worth testing on scrap material first.
Preparing The Surface
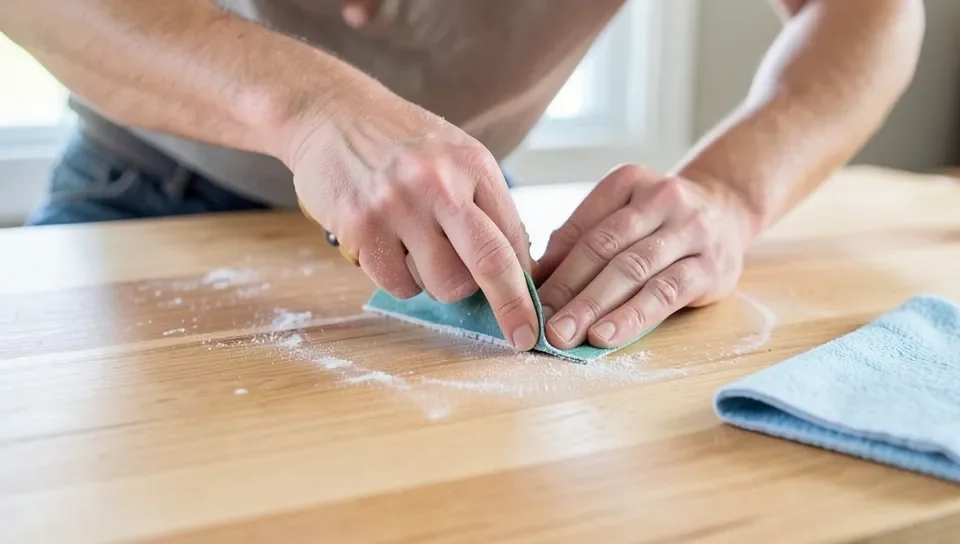
Wipe the surface clean of dust and dirt with a damp cloth, using mild soap on any sticky spots, then let it dry fully. If you’re sanding, start with a coarser grit to knock down rough spots and work up to a finer grit for smoothness, always sanding with the grain rather than against it. Wipe away all sanding dust with a tack cloth before opening the Polycrylic — any dust left on the surface gets sealed under the finish permanently.
Applying Polycrylic With A Roller
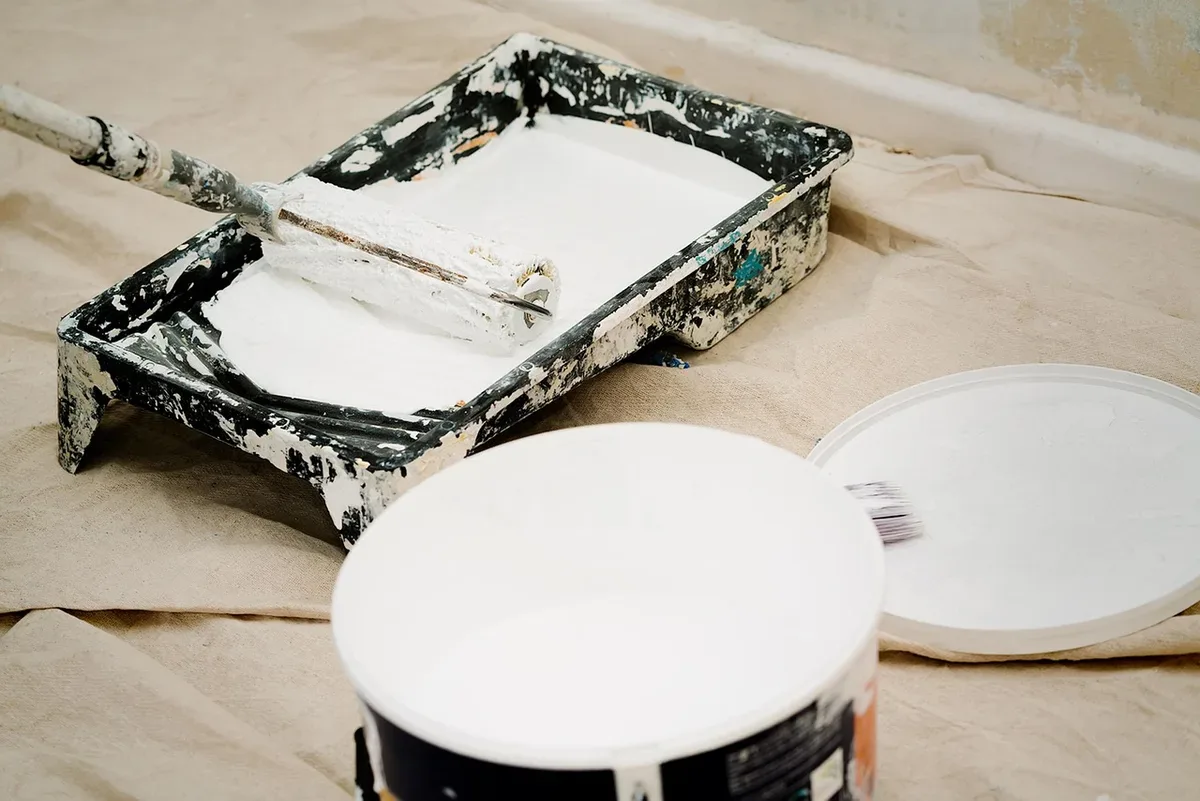
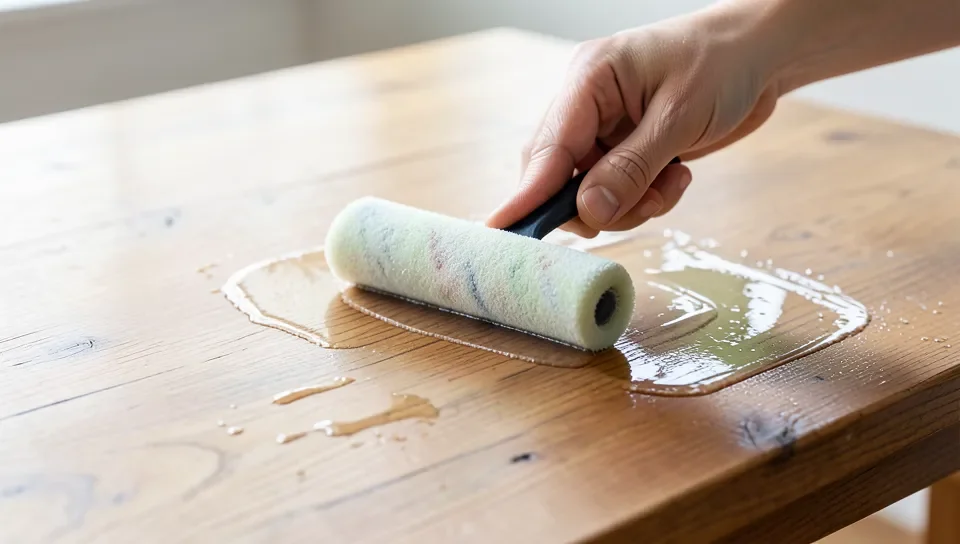
Stir the can gently rather than shaking it — shaking introduces air bubbles that end up in your finish. Pour a small amount into a tray, load the roller evenly, and roll off the excess before touching the surface. Apply in thin, even coats in one direction along the grain, working in manageable sections and keeping a wet edge so you’re always blending into finish that hasn’t started to set. Let each coat dry fully, then lightly sand with fine-grit sandpaper before the next coat — this is what gives multi-coat Polycrylic its smooth final feel, not skipping it to save time. Clean the roller with soap and water right after you finish.
Techniques For Smooth Application
Load the roller lightly and remove excess on the tray’s ramp before it touches the wood — an overloaded roller is the most common cause of drips and pooling. Roll with gentle, even pressure in long strokes, working in small sections so you can maintain a wet edge across the whole piece rather than racing to cover everything before it starts to tack up. If a bubble does form, resist the urge to go back over it immediately; let it dry, then lightly sand it out before the next coat.
Drying And Curing Process
Polycrylic dries to the touch in about 30 minutes to an hour and is typically ready for a recoat in about 2 hours, though good ventilation and airflow (a fan helps) speed this up. That’s dry, not cured — full cure, when the finish reaches its maximum hardness, takes about 2-3 weeks. Treat the piece gently during that window: light use is fine after the first day or so, but hold off on heavy use, stacking items, or aggressive cleaning until it’s fully cured. Keep the area dust-free while it dries, since airborne dust settles into a still-tacky finish easily.
Maintenance And Care
Rinse rollers immediately after use in warm, soapy water until the water runs clear, then dry and store them flat or hanging so the foam doesn’t develop a crease. For the finished surface, use coasters and mats under hot or wet items, dust weekly with a soft cloth, wipe up spills promptly, and avoid harsh or abrasive cleaners that can dull or scratch the finish over time.
Frequently Asked Questions
Can You Use A Roller For Polycrylic?
Yes — a roller is actually preferred over a brush for flat surfaces since it applies faster with fewer visible strokes. A high-density foam roller gives the smoothest, most lint-free result.
What Type Of Roller Should You Use For Polycrylic?
A high-density foam roller is the standard choice for a smooth, lint-free coat. If you use a fabric roller instead, pick one with a very short nap (1/4 inch or less) made for smooth surfaces — a thicker nap traps more finish and is more likely to leave texture.
How Do You Avoid Bubbles When Rolling Polycrylic?
Stir the can instead of shaking it, load the roller lightly, and roll with a gentle, even touch rather than pressing hard or overworking the same spot. If a bubble still forms, let it dry fully, then lightly sand it out before the next coat rather than trying to fix it while wet.
Can Polycrylic Be Applied On All Surfaces?
It’s made for bare wood, stained wood, and painted wood surfaces indoors — furniture, cabinets, and trim. It’s not rated for bare metal or exterior use; for those, use a product specifically designed for that surface and environment instead.
Conclusion
Applying Polycrylic with a roller is not just possible, it’s the better method for flat surfaces — use a high-density foam roller, thin even coats, a wet edge, and a light sanding between coats for the smoothest result. Give it real time to cure, not just dry, before putting it to hard use, and it’ll hold up well on furniture, cabinets, and trim for years.
Sponsored / affiliate links. As an Amazon Associate I earn from qualifying purchases. I may earn additional commission from eligible campaigns.