Can You Drill Out a Barrel Lock? Yes – Here’s the Safe Method
Yes – drilling is the standard way to open a barrel (pin tumbler) lock on your own toolbox, cabinet, shed, or bike lock when the key is lost or broken, and it’s the same destructive-entry method locksmiths use for ordinary lockouts. This guide is written for exactly that situation: a lock you own or have clear permission to open. Drilling out a lock on property that isn’t yours, or without the owner’s permission, isn’t a gray area – it’s property damage at best and burglary at worst, so everything below assumes you’re standing in front of your own hardware.
With that established, here’s what’s actually happening inside the lock, the tools that make this a 20-minute job instead of an hour of frustration, and the step-by-step drilling sequence.
What’s Inside a Barrel Lock
Best for Replacing What You Just Drilled Out
 |
Master Lock Pro Series Replacement Cylinder (2-Pack) – See Price on Amazon Once the old barrel lock is drilled and destroyed, this keyed-alike pair lets you rekey two locks to one key instead of juggling mismatched replacements.
|
“Barrel lock” describes the shape, not the mechanism – it’s a cylindrical housing, and most of them contain a standard pin tumbler mechanism. Inside are stacked pairs of pins (a key pin and a spring-loaded driver pin) sitting in chambers around the cylinder. A correctly cut key pushes each pair to exactly the right height so the gap between them lines up with the edge of the rotating plug – that gap is called the shear line, and it’s the single point every drilling method is aimed at.
Drilling works by physically destroying the pins along that line instead of lifting them correctly. Once the pins are gone, there’s nothing left to hold the plug from turning, and the lock opens – permanently disabled, not reset. That’s the tradeoff: it’s fast and doesn’t require picking skill, but the lock needs replacing afterward.
Tools You Actually Need
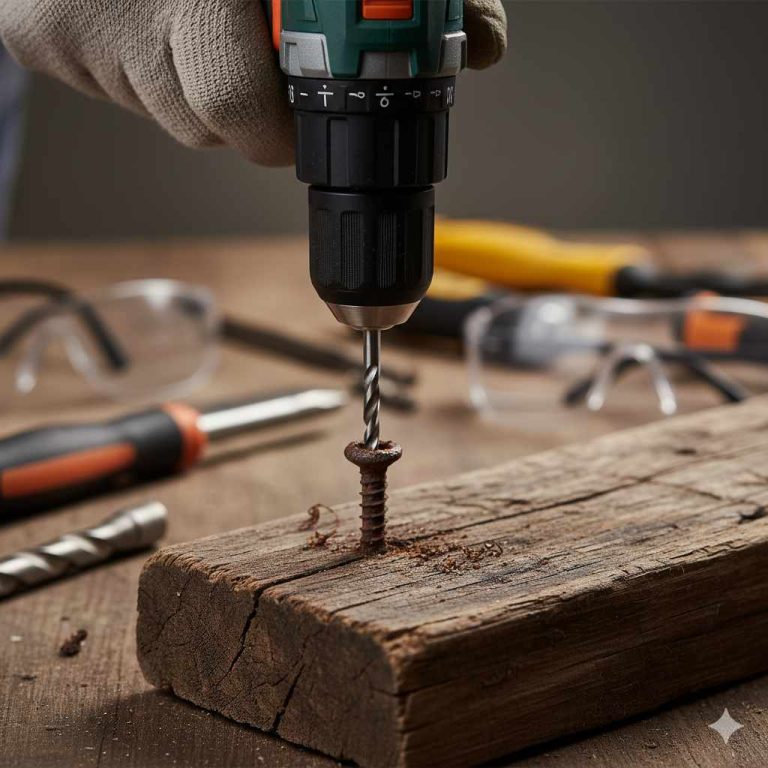
- Safety glasses – non-negotiable. Metal shavings come off the cylinder at odd angles once the bit bites in.
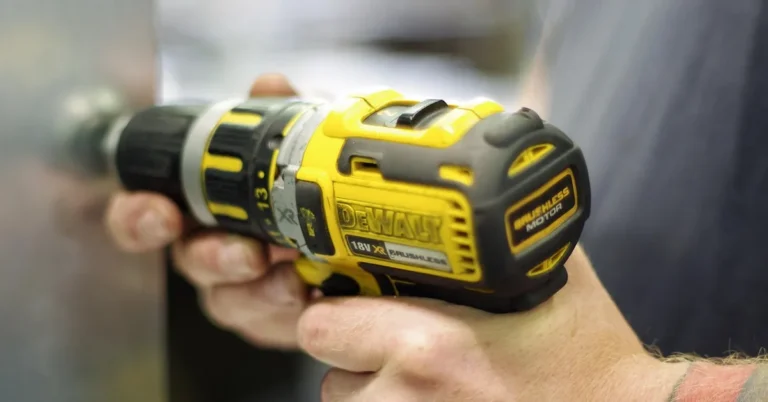
- A variable-speed power drill. A hand brace works in theory but takes far longer and makes it much harder to hold a steady angle on a small, curved target.
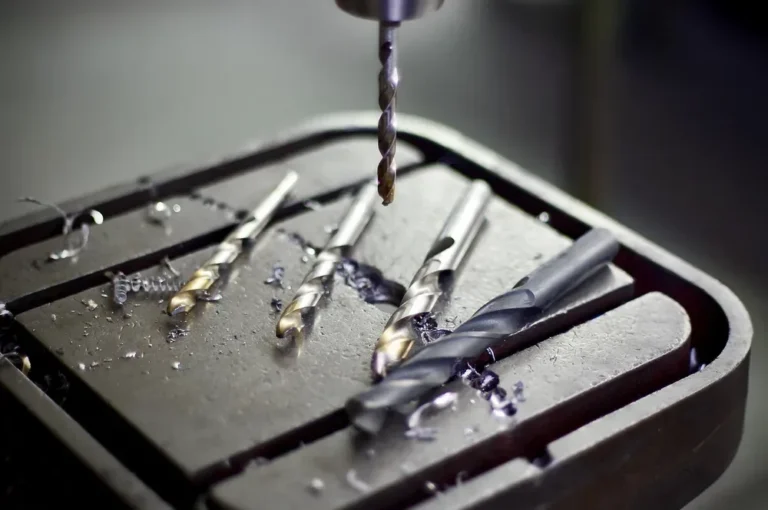
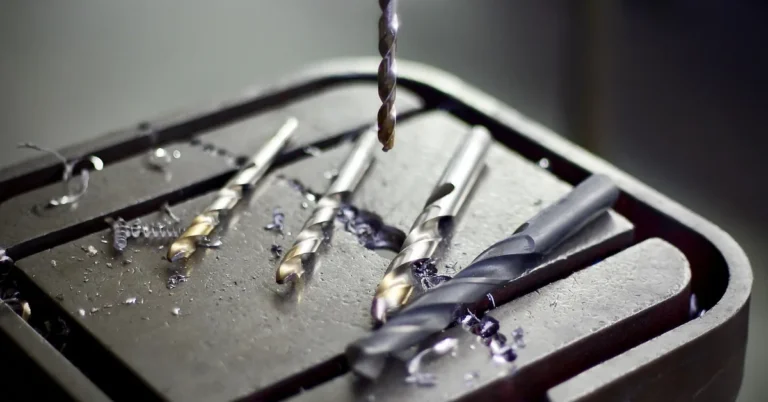
- Metal-rated drill bits in three sizes: something around 1/8 inch to start, then 3/16-1/4 inch, then 5/16-3/8 inch if needed. Cobalt or titanium-coated bits cut hardened cylinders noticeably faster than plain high-speed steel and are worth the few extra dollars for this job specifically.
- A center punch and hammer to keep the bit from wandering on the curved, polished face of the cylinder.
- Penetrating oil for a stiff or corroded lock, and pliers or vice grips for whatever’s left of the cylinder once it’s cleared.
Bit quality matters more here than in most drilling jobs. A cheap barrel padlock is usually soft brass or mild steel and drills easily with any bit. A bike lock or a “high-security” barrel lock often has a hardened steel insert specifically to resist drilling – a dull or wrong-type bit will just skate across the surface, generate heat, and go dull faster instead of cutting in.
Drilling It Out, Step by Step
Step 1: Secure the Item and Mark Your Spot
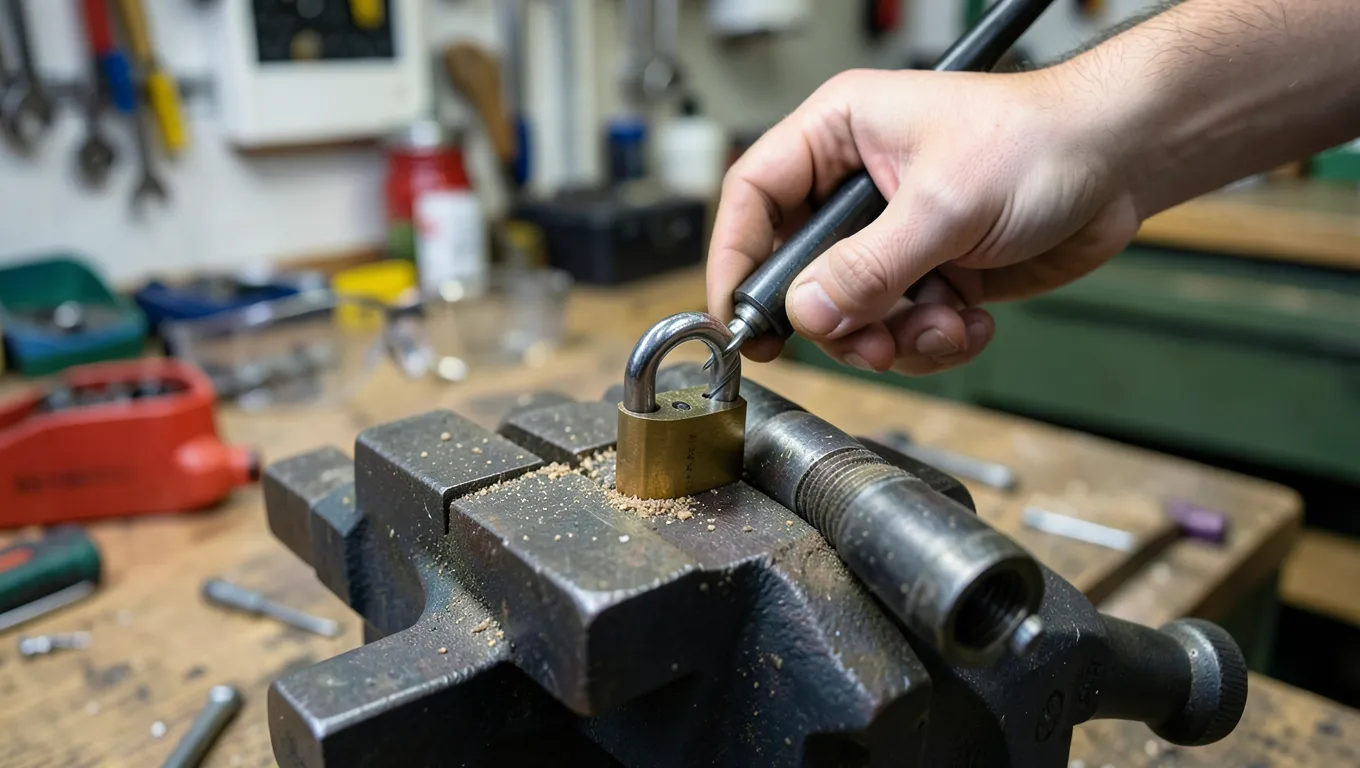
Clamp or brace whatever the lock is mounted to so it can’t shift while you’re drilling – a moving target is how bits break and skid across the surrounding material. Center-punch a small dimple directly above the keyway; this is what keeps a spinning bit from wandering off-target on the smooth, curved cylinder face the moment it touches metal.
Step 2: Start Small, Straight Into the Shear Line
Start with the smallest bit (around 1/8 inch), drilling straight into the punch mark at a slow, steady speed with firm, even pressure. You’re aiming through the pin chambers just above the keyway. Keep the drill perpendicular to the lock face – drilling at an angle is the most common reason a bit walks off target or breaks.
Step 3: Step Up in Bit Size
Once the small bit has gone through the depth of the pin chambers (roughly 1/2 to 3/4 inch into most standard cylinders), switch to the mid-size bit and repeat the same straight, centered pass. This clears out the remaining pin fragments and springs the first bit couldn’t fully take with it. For a stubborn or hardened cylinder, a final pass with the largest bit finishes clearing the core.
Step 4: Turn and Remove
Once resistance drops off noticeably, try turning the plug with a flathead screwdriver or pliers. If it rotates, the pins are cleared and the lock is open. If the cylinder is still seized, a few more seconds with the mid-size bit at a slightly different spot usually finishes the job.
If It’s a Disc-Detainer Lock, Not a Pin Tumbler
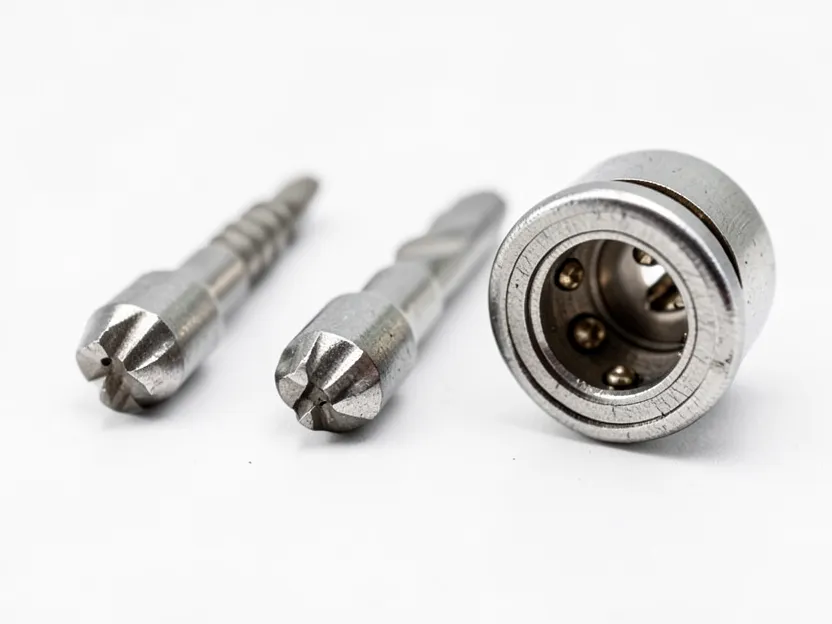
Not everything sold as a “barrel lock” uses pins. Disc-detainer locks – common on higher-security bike locks and some padlocks – use a stack of rotating discs and a sidebar instead of spring-loaded pins. Drilling the keyway on one of these does very little; the actual target is the sidebar location, which is a different spot on the cylinder and usually requires knowing the specific lock’s construction. If a lock resists the method above entirely and doesn’t loosen even after clearing what should be the pin depth, you may be dealing with a disc-detainer design, and it’s worth checking the manufacturer’s lock type before drilling further or damaging tools on the wrong spot.
After the Lock Is Open
Drilling destroys the lock – there’s no reassembling it into working order afterward. Once you’ve retrieved whatever the lock was securing, you’ll need a replacement cylinder or a whole new padlock/lock body. If you want to avoid carrying a different key for every lock around your shop or shed, a keyed-alike replacement cylinder lets you rekey several locks to a single key rather than replacing everything with mismatched hardware.
Frequently Asked Questions
Is it legal to drill out a barrel lock?
Yes, when it’s your own lock or you have the owner’s explicit permission. Drilling a lock on property that isn’t yours, without permission, is a separate matter entirely and can constitute vandalism or attempted burglary. This guide only applies to locks you have the right to open.
Will drilling damage the item the lock is attached to?
The lock itself will be destroyed, but the surrounding material usually isn’t, provided you keep the bit centered on the cylinder and drill straight rather than at an angle. Bracing or clamping the item so it can’t shift is what prevents most collateral scratches or slips.
What if the drill bit breaks off inside the lock?
It happens, usually from drilling at an angle or forcing a dull bit. A small broken-off tip can sometimes be worked around with a larger bit drilled alongside it. If it’s lodged deep and won’t budge, that’s the point to call a locksmith rather than keep forcing it, since a broken bit in a hardened cylinder is much harder to clear than the original lock was.
How deep do I need to drill?
Most standard barrel cylinders need about 1/2 to 3/4 inch of depth to clear the full pin stack. You’ll feel the resistance change noticeably once you’re through the last pin chamber – that drop in resistance, not a fixed measurement, is the real signal you’ve reached the shear line.
Sponsored / affiliate links. As an Amazon Associate I earn from qualifying purchases. I may earn additional commission from eligible campaigns.