Can You Drill Through Acrylic? Yes, Here’s How to Do It Without Cracking It
Yes, you can drill through acrylic cleanly, and you don’t need a specialty shop to do it. Acrylic (often sold under the brand name Plexiglas) softens at a much lower temperature than the metals or hardwoods most drill bits are designed for, so the real skill isn’t drilling harder, it’s drilling cooler and slower. Get the bit, the speed, and the backing support right, and a hole that would otherwise crack or gum up comes out clean on the first try.
Acrylic sheet starts to soften around 220–230°F (104–110°C), which is a temperature a standard twist bit spinning at full drill speed can generate in seconds through friction alone. That’s the entire problem in one sentence: heat, not hardness, is what cracks or melts acrylic during drilling. Once you understand that, every rule below makes sense as a way to manage heat, not just “a tip.”
Why Acrylic Melts and Cracks Under a Normal Drill Bit
Best Bit For Chip-Free Acrylic Holes
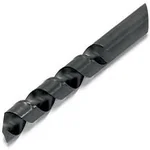 |
Source One Premium Drill Bits for Acrylic – $27.99 Hand-ground with a reduced rake angle specifically so it shears acrylic instead of gouging it, which is the single biggest factor in avoiding melted or cracked holes.
|
A standard wood or metal twist bit has an aggressive rake angle built to scoop material out fast. On wood or aluminum, that’s efficient. On acrylic, that same aggressive geometry pushes the material sideways instead of shearing it cleanly, which builds up friction heat right at the point of contact. Because acrylic is a thermoplastic, that localized heat doesn’t just warm the material, it turns the shavings gummy and re-welds them to the flutes of the bit. The bit then starts rubbing rather than cutting, heat climbs further, and you get either a melted, discolored hole or a sudden crack radiating out from the edge as internal stress releases.
Cracking has a second, unrelated cause worth knowing separately: unsupported material. Acrylic has almost no give compared to wood. If the sheet is only supported at its edges and you drill in the unsupported middle, the flex from drill pressure alone can start a stress fracture before the bit ever overheats. That’s why backing support (covered in the steps below) matters just as much as bit choice.
The One Tool Upgrade That Actually Matters: Your Drill Bit
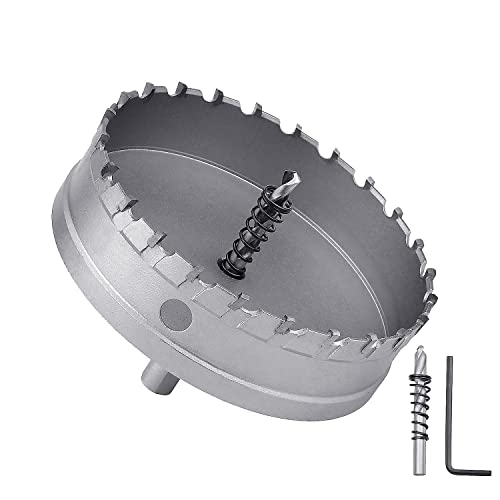
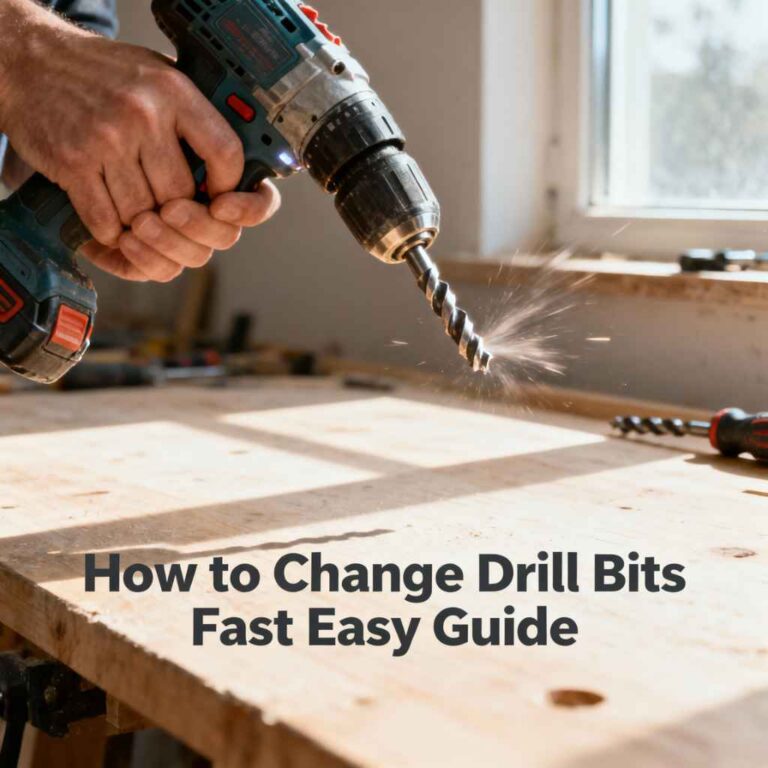
If you only change one thing from your normal drilling routine, change the bit. A dedicated plastic-point bit has a much shallower point angle (commonly 60° instead of the 118° standard on twist bits), so it slices a controlled shaving instead of chewing a wide bite. Brad-point woodworking bits are a solid second choice since their center spur keeps the bit from wandering on acrylic’s slick surface, though they still need the slow speed and light pressure described below. For holes larger than about 1/2 inch, a bi-metal hole saw run at low RPM outperforms both, provided you back it out every few seconds to clear debris.
- Specialty plastic-point bits: Shallow point angle, minimal heat, the correct default choice.
- Brad-point bits: Good backup, sharp center spur prevents wandering, still run slow.
- Bi-metal hole saws: Best option once you’re past roughly 1/2″ diameter.
- Standard twist bits: Usable only in a pinch, at the slowest speed your drill has, and only on scrap-tested setups.
Skip auger bits and masonry bits entirely. Both are designed to remove material aggressively rather than shear it, and on acrylic that translates almost every time into a cracked or blown-out hole.
Step-by-Step: Drilling a Clean Hole in Acrylic
1. Back the sheet with scrap
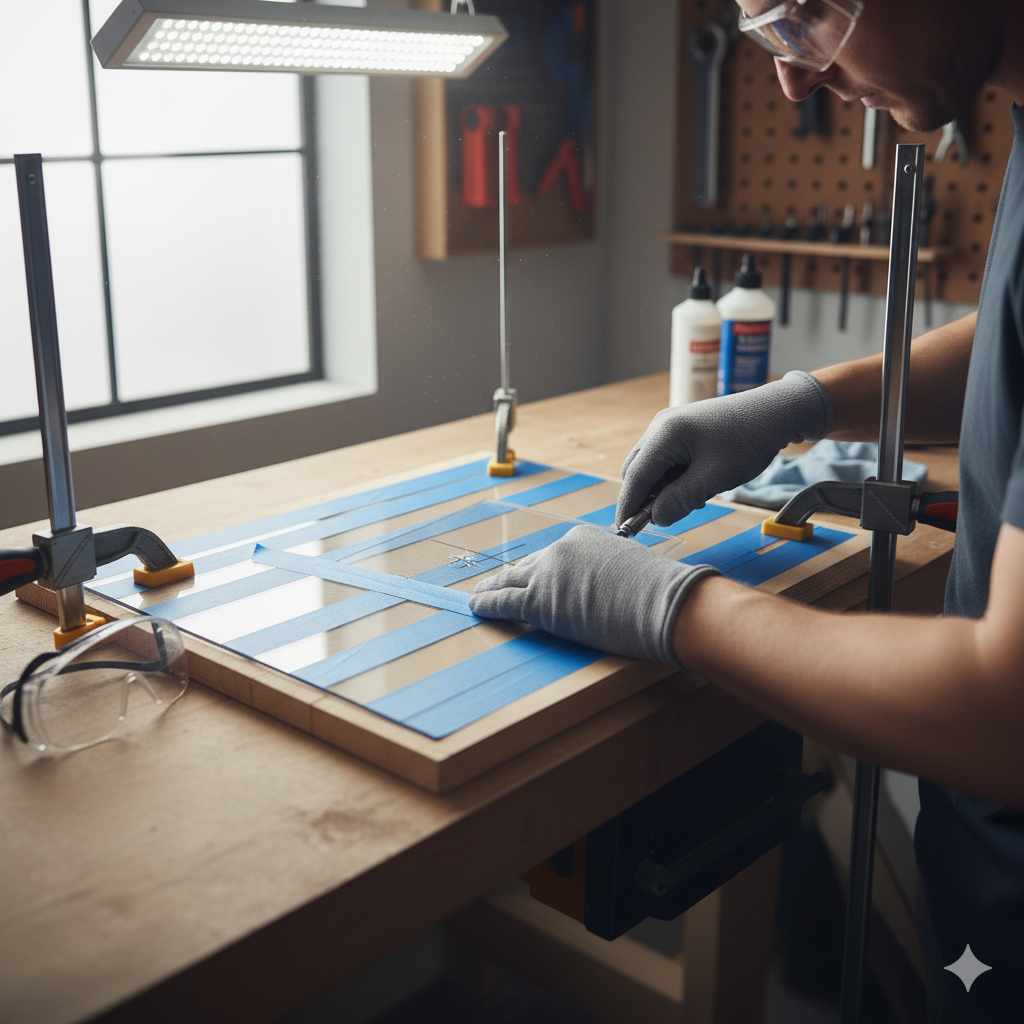
Lay the acrylic on a flat piece of scrap plywood or MDF before you mark anything. This does two jobs at once: it stops the sheet from flexing under drill pressure (the crack cause described above), and it gives the bit somewhere to exit into on the way through instead of blowing out the back face.
2. Mark and tape
Mark the hole center, then lay a strip of painter’s tape over the mark and re-mark on top of the tape. The tape does more than protect the glossy face from scratches, it gives the bit tip a slightly grippy surface to bite into instead of skating across polished acrylic.
3. Clamp it down
Hand-holding small offcuts is fine, but anything larger gets clamped to the bench, scrap backing and all. A shifting workpiece is one of the most common causes of a bit walking off the mark and cracking the edge of the hole as it catches.
4. Set the drill to slow speed, drill mode only
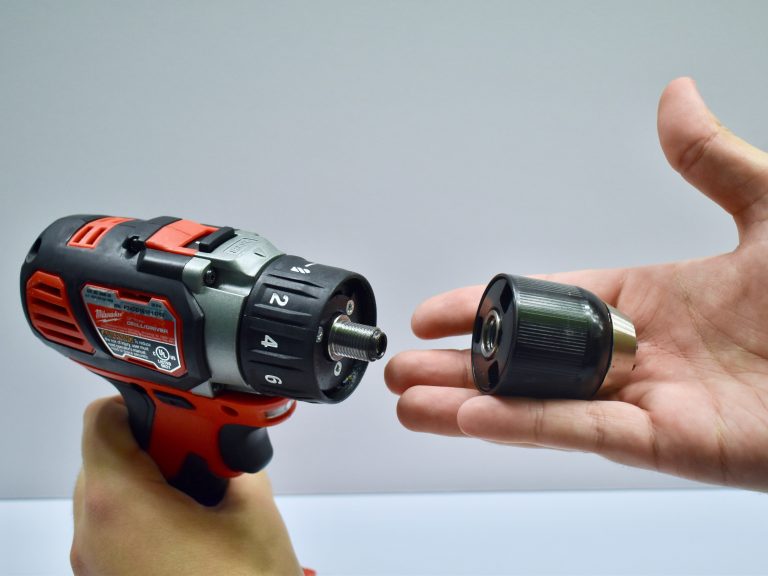
Confirm the drill is in plain rotary “drill” mode, not hammer or impact, since a single impact pulse can shatter acrylic outright. Dial the speed down as far as the trigger allows; you’re aiming for a controlled shear, not a fast bore.
5. Drill in short pecks
Feed the bit in a short distance, then withdraw it fully to clear shavings and let both the bit and the hole cool. This “peck drilling” rhythm is the single biggest defense against the melt-and-reweld cycle described earlier. If you see shavings turning stringy or gummy instead of coming off as small chips, that’s your signal to slow down and peck more frequently, not to push harder.
6. Ease off as the bit breaks through
Reduce pressure the moment you feel the bit start to break through the far side. This is where most avoidable blowout chips happen, right at the exit, because the last sliver of material has nothing behind it to resist the bit’s pull. On a drill press, you can stop just short of full penetration and finish the hole from the back side instead.
Drilling Several Holes Without Them Drifting Out of Alignment
For a single hole, a handheld drill with a steady hand is plenty. Once you need three, four, or a repeating pattern, small alignment errors start to compound. A drill press removes the guesswork because the bit travels on a fixed vertical axis every time. If you don’t have one, cut a template out of thin plywood or heavy cardstock, drill your pattern into that first, then clamp the template over the acrylic and use it to guide the bit. It costs you ten extra minutes and saves you a ruined sheet if a hole ends up out of position.
Fixing the Four Problems That Actually Show Up
Melting or gummed-up shavings almost always trace back to too much speed, too much pressure, or both. Drop the RPM, lighten your touch, and peck-drill so the bit gets a chance to shed heat between passes.
Cracking or chipping usually means the sheet wasn’t backed by scrap, or you drilled too close to an edge. Keep holes at least one to two hole-diameters away from any edge; closer than that and the thin margin of material can’t absorb the stress of the cut.
The bit wandering off your mark is almost always a bare, ungripped starting surface. A layer of painter’s tape over the mark, plus a sharp brad-point or plastic-point tip, solves this in nearly every case.
Rough, chattery hole edges point to a dull bit or the wrong bit type for the job. Swap to a sharp plastic-specific bit, keep the speed low, and if you’re worried about exit blowout, finish the last portion of the hole from the opposite face.
When It’s Not Worth Drilling At All
Sheet thinner than about 1/8 inch (3mm) is genuinely fragile under a drill regardless of technique; for that thickness, an adhesive mounting method or a laser/CNC cut is a better call than a hand drill. Any hole meant to bear real structural load, like a shelf bracket point or a load-bearing fastener, is also worth a second thought: a drilled hole in acrylic is a stress concentration point, and acrylic doesn’t flex and redistribute load the way wood does. For anything beyond decorative or light-duty fastening, a quick check with an engineer or fabricator is cheap insurance against a cracked panel later.
Drill Press or Handheld: Which Actually Matters Here
| Feature | Drill Press | Handheld Drill |
|---|---|---|
| Accuracy | Fixed vertical travel, consistent every hole | Depends entirely on a steady hand |
| Heat control | Easier to peck-drill with consistent light pressure | Harder to keep pressure light and even |
| Best for | Multiple holes, patterns, larger sheets | One-off holes, on-site work, small pieces |
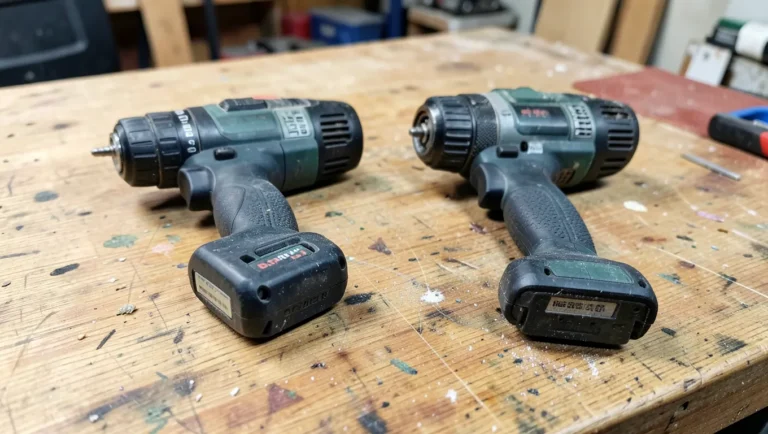
Neither tool is a hard requirement. A drill press makes consistency easier, but a handheld drill with a variable-speed trigger and a little patience gets identical results on a single hole.
Cast vs. Extruded Acrylic: Does It Change How You Drill?
Cast acrylic (poured into a mold and cured) tends to drill and machine more predictably because it has fewer internal stresses baked in during manufacturing. Extruded acrylic (pushed continuously through a die) is cheaper and more common in big-box hardware stores, but the extrusion process can leave residual internal stress that makes it marginally more prone to stress-cracking around a drilled hole. In practice, the same technique, slow speed, light pressure, backed support, sharp plastic bit, works for both. If you’re not sure which type you have, test your exact drill settings on an offcut first; a few seconds of testing is cheaper than a cracked sheet.
Frequently Asked Questions
What is the best drill bit for acrylic?
A specialty plastic-point bit with a shallow rake angle (commonly ground at 60°) is the best option, since it shears the material instead of gouging it. A sharp brad-point woodworking bit is a workable second choice.
Do you need to drill acrylic slowly?
Yes. Acrylic softens around 220–230°F, a temperature ordinary drilling friction can reach quickly at full speed. Slow, steady drilling with frequent pauses keeps heat from building up at the cut.
Can I use a regular metal drill bit on acrylic?
You can in a pinch, but it raises your risk of melting and cracking. If it’s all you have, use the sharpest bit available, the slowest speed your drill offers, minimal pressure, and test on scrap first.
How do I stop acrylic from cracking when I drill it?
Back the sheet fully with scrap wood so it can’t flex, keep holes at least one to two diameters from any edge, use light steady pressure, and peck-drill to manage heat rather than pushing straight through.
What size hole saw works for larger openings in acrylic?
A bi-metal hole saw rated for plastics handles anything roughly 1/2 inch and up. Run it at low RPM and withdraw it every few seconds to clear debris and let it cool.
Bottom Line
Drilling acrylic isn’t harder than drilling wood, it’s just governed by a different rule: manage heat and support the material, and the hole takes care of itself. A plastic-specific bit, a slow speed, scrap backing underneath, and a peck-drilling rhythm will get you a clean, crack-free hole on the first attempt, whether you’re building an enclosure, mounting hardware, or finishing a display piece.
Sponsored / affiliate links. As an Amazon Associate I earn from qualifying purchases. I may earn additional commission from eligible campaigns.