DIY Drill Bit Extension: The 1/4″ Hex Socket Adapter Method
A DIY drill bit extension works best when it’s built from a 1/4-inch hex quick-change bit holder mated to a 3/8-inch drive socket extension bar — not a length of rod and a hose clamp. Get the coupling wrong and the bit wobbles enough to blow out a screw hole or snap under torque. This guide covers the actual hex-to-socket build, how much wobble is normal past 6 inches, and when a $7 premade holder beats building one.
What You Need to Build a DIY Drill Bit Extension
Best Premade Bit Extension Pick
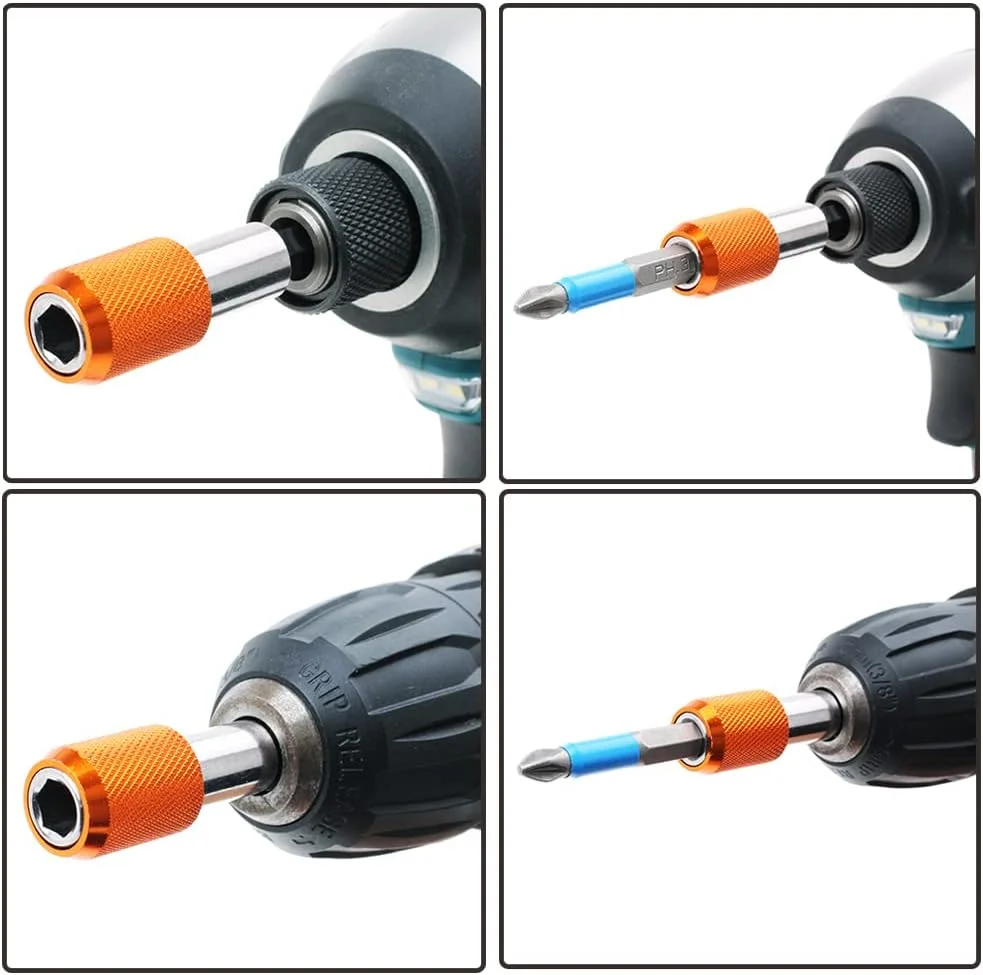 |
AUTOTOOLHOME Magnetic Quick-Change Bit Holder (2-Pack) – $6.99 A one-piece 2-3/8 inch hex bit holder with the same magnetic hold this guide’s DIY build relies on, machined as a single unit instead of two stacked parts — the exact joint that causes wobble in a hex-to-square DIY build.
|
The hex-to-socket method needs three parts you can find in most hardware stores or a socket set you already own: a 3/8-inch drive socket extension bar (3, 6, or 10 inches), a 1/4-inch hex-to-3/8-inch square drive adapter, and a 1/4-inch hex quick-change bit holder if your drill bit doesn’t already have a hex shank. Round-shank bits need one extra step — see the FAQ below for the epoxy method.
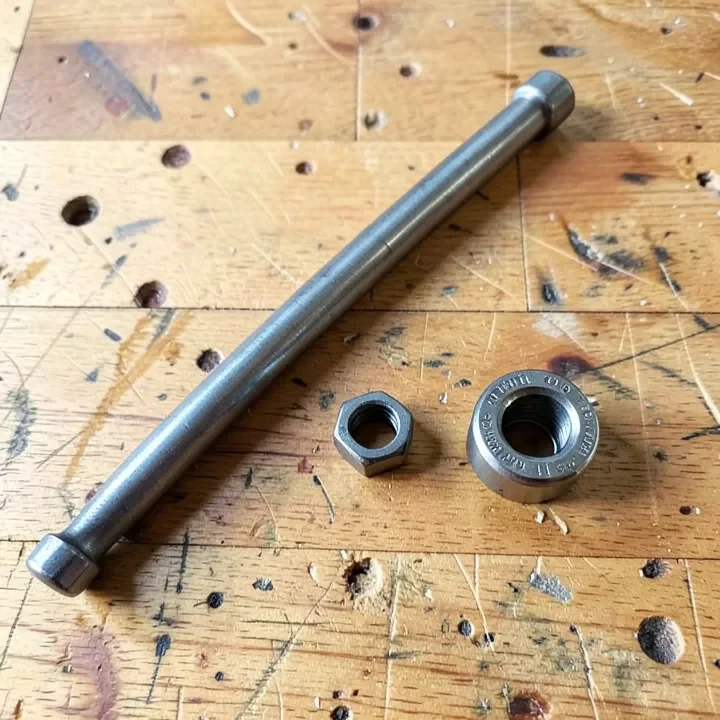
- 3/8-inch drive socket extension bar — the backbone of the extension; longer bars flex more, so pick the shortest length that reaches your work.
- 1/4-inch hex-to-square drive adapter — converts the socket extension’s square drive to the hex shank standard nearly all drill and driver bits use.
- Magnetic quick-change bit holder — only needed if your bit doesn’t already have a 1/4-inch hex shank; the magnet keeps steel bits seated without a set screw.
- Safety glasses and gloves — an unsecured bit at speed can eject; treat every extension as a projectile risk until it’s tested at low speed.
How to Build the Hex Socket Extension, Step by Step
This sequence takes about five minutes once the parts are in hand.
- Seat the adapter: Push the hex-to-square drive adapter into the socket extension’s square drive end until it clicks or seats fully — a loose seat here is the number one cause of wobble.
- Chuck the bit holder: If your bit has a hex shank, skip straight to step 3. If not, insert the magnetic bit holder into the adapter’s hex socket.
- Insert the drill bit: Push the bit’s hex shank fully into the holder’s magnetic collar until it seats — you should feel a definite stop, not a soft magnetic pull.
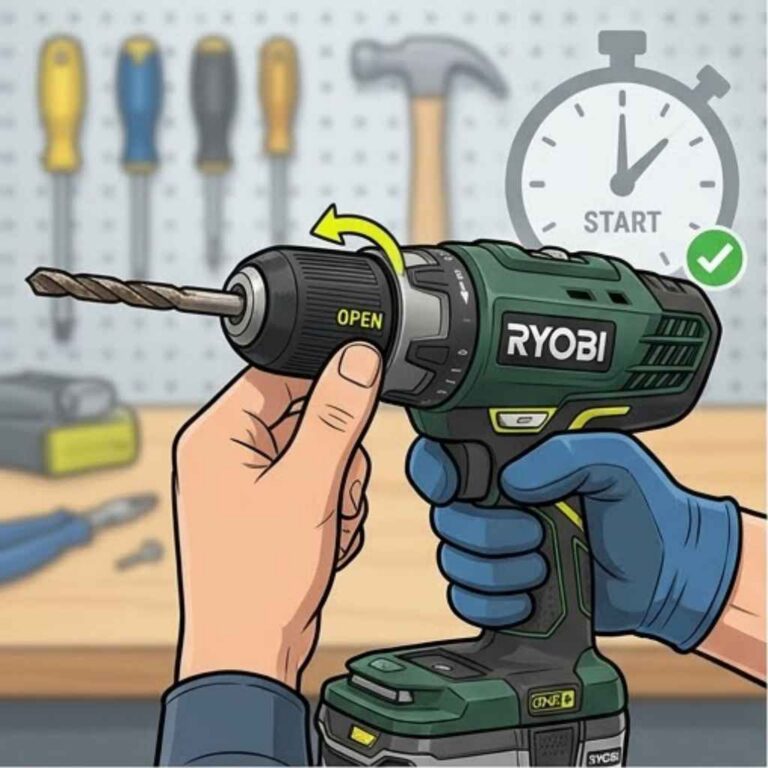
- Chuck the whole assembly: Clamp your drill’s chuck around the extension bar’s opposite end (the part that would normally go into a ratchet), tightening evenly on all three jaws.
- Test at low speed: Run the drill at its lowest speed setting for 10 seconds while watching the bit tip. Any visible wobble means a connection isn’t fully seated — stop and re-check every joint before drilling into material.
Skip the Build: Is a Premade Extension Worth Buying?
Once you price out a hex-to-square adapter and a socket extension bar separately, a premade magnetic quick-change bit holder is often the cheaper and more concentric option — it’s machined as one piece instead of two parts stacked together, which is exactly the joint that causes wobble in a DIY build.
How Much Wobble Is Normal at Longer Extension Lengths
Wobble (runout) comes from two places: play in the hex-to-square connection, and the natural flex of a long, thin bar under side-load. A 3-inch extension built tight enough to seat fully shows almost no visible runout at low speed. Push past 10–12 inches and even a well-built extension will show a slight wander at the tip — fine for pilot holes, risky for anything that needs to land in an exact spot, like a hinge screw or a pre-marked dowel hole.
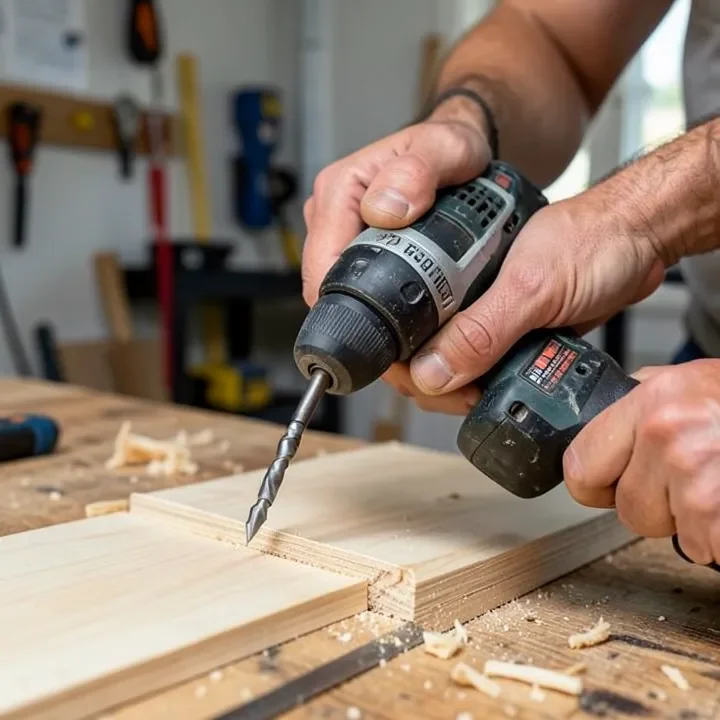
📊 1/4-inch hex is the ANSI-standard shank size used across nearly all quick-change bit holders, impact driver bits, and screwdriver bits — which is why a hex-based extension works with more of your existing bit collection than a proprietary rod system. Source: Mountz Torque, industrial bit holder specs
“In our shop, the extensions that fail are almost always the ones where the hex adapter wasn’t pushed in until it clicked — a half-seated connection looks fine sitting still but shakes loose the moment the drill hits resistance.”
Common Mistakes to Avoid
Mixing Incompatible Drive Sizes
A 1/4-inch drive extension forced onto a 3/8-inch adapter (or vice versa) with tape or a shim will slip under load. Match drive sizes exactly — there’s no safe workaround for a mismatched drive.
Skipping the Low-Speed Test
Going straight to full speed on an untested extension is how bits get ejected. Ten seconds at the lowest speed setting, watching the tip, catches nearly every loose-seat problem before it becomes a flying-bit problem.
Building Longer Than the Job Needs
A 10-inch extension for a job that only needs 4 inches of extra reach just adds wobble with no benefit. Match the extension length to the actual reach you need, not the longest bar in the socket set.
Where a Drill Bit Extension Actually Helps
Cabinet installers use extensions to sink screws inside a cabinet box where the drill body itself can’t fit past the face frame. On decks and furniture builds, an extension reaches through a pre-drilled pocket hole without having to reposition the whole workpiece. For electrical and plumbing rough-in work, a 10-inch extension can drill a pilot hole through a stud bay without cutting an access hole in drywall first.
Frequently Asked Questions
What Materials Work Best for a DIY Drill Bit Extension?
A 1/4-inch hex quick-change bit holder paired with a 3/8-inch drive socket extension bar makes the sturdiest DIY extension. Steel extension bars hold concentricity far better than plastic or brass rod, which flex and throw the bit off-center past 6 inches.
How Do I Attach a Drill Bit to a Socket Extension?
Fit a hex-to-square drive adapter into the socket extension’s square drive end, then chuck your drill bit’s hex shank into the adapter’s magnetic collar. For round-shank bits with no hex flat, drill a snug pilot hole into a short brass rod, epoxy the bit in with JB Weld, then chuck the rod into the adapter.
Can I Use a Drill Bit Extension on an Impact Driver?
Yes, as long as the extension and adapter are rated for impact use — look for “impact-rated” or chrome-vanadium/S2 steel in the listing. A standard chrome-plated socket extension not rated for impact can crack under the hammering action of an impact driver. See how impact drivers work if you’re unsure whether your tool is rated for it.
How Long Can a DIY Drill Bit Extension Be Before It Wobbles Too Much?
Keep the total extension under 12 inches. Runout increases with length because even a slightly loose hex-to-square connection amplifies at the tip — past 12 inches, most DIY builds wobble enough to blow out screw holes or wander off a marked drilling point.
Is It Cheaper to Build an Extension or Buy One?
Buying one is usually cheaper once you count parts. A premade magnetic quick-change bit holder runs about $7, while a hex-to-square adapter plus a socket extension bar bought separately often costs $10–$15 combined — building only wins if you already own the socket set.
Conclusion
A hex-to-socket drill bit extension built from a socket extension bar, a hex-to-square adapter, and a magnetic bit holder outperforms a rod-and-clamp build because it’s rigid where it counts — the connection nearest the bit. Keep it under 12 inches, test at low speed before committing to a real hole, and if the parts cost more than $7, a premade magnetic holder is usually the better buy.
Sponsored / affiliate links. As an Amazon Associate I earn from qualifying purchases. I may earn additional commission from eligible campaigns.