How to Cut Plexiglass on a Table Saw (No Cracking or Melting)
A table saw can cut plexiglass cleanly, but only with a high-tooth-count blade built for plastic and a slower feed rate than you’d use on wood – acrylic doesn’t tear along a grain line, it either cracks from an aggressive blade or melts and re-fuses behind a hot one. Get either variable wrong and you can crack a $30 sheet or jam the blade mid-cut. This guide covers what actually makes acrylic different from wood at the blade, how to set up the cut, and how to finish the edge afterward.
Why Plexiglass Cuts Differently Than Wood on a Table Saw
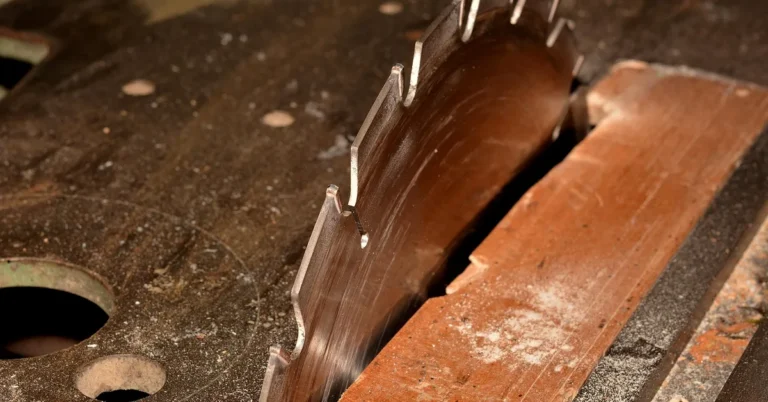
Plexiglass (acrylic, PMMA) is a rigid thermoplastic, not a fibrous material, so it doesn’t behave like wood under a spinning blade in either of the two ways that matter. First, it has no grain to guide a cut or absorb shock – a blade with an aggressive, positive hook angle (the kind that helps a wood blade bite into and rip through lumber fast) grabs rigid acrylic the same way, and that grab is what cracks or chips the sheet right at the cut line. Second, acrylic melts at a much lower temperature than the friction a table saw blade generates. Feed it too fast with the wrong blade and the heat at the cut doesn’t just soften the edge – it can melt the material enough that it re-fuses (“welds”) back together behind the blade before the kerf fully clears, binding the blade and sometimes kicking the sheet back.
That’s the core reason a table saw needs a different blade and a different feed rate for acrylic than for wood – it isn’t just “go slower and be careful,” it’s a genuinely different failure mode to design the cut around.
Woodworkers usually aren’t buying plexiglass as the finished product – they’re cutting it as a component of a wood project. The most common reasons a table saw ends up cutting acrylic in a woodworking shop: sight windows in a jig or sled fence, shop-made blade guards and dust-collection shields, torsion-box viewing panels, and display cases or vitrines built to show off a finished piece of furniture. If the acrylic panel needs to be fastened into a wood frame afterward, a clean, square, chip-free edge from the table saw also makes that step easier – a cracked or melted edge won’t seat flush.
Best Table Saw Blade Pick for Acrylic
 |
FOXBC 10-Inch 80-Tooth TCG Blade for Plastic & Non-Ferrous Cutting A triple-chip-grind carbide blade built specifically for acrylic, aluminum, and other non-ferrous materials instead of a general wood-cutting blade.
|
As an Amazon Associate we earn from qualifying purchases.
Choosing the Right Blade for Cutting Acrylic
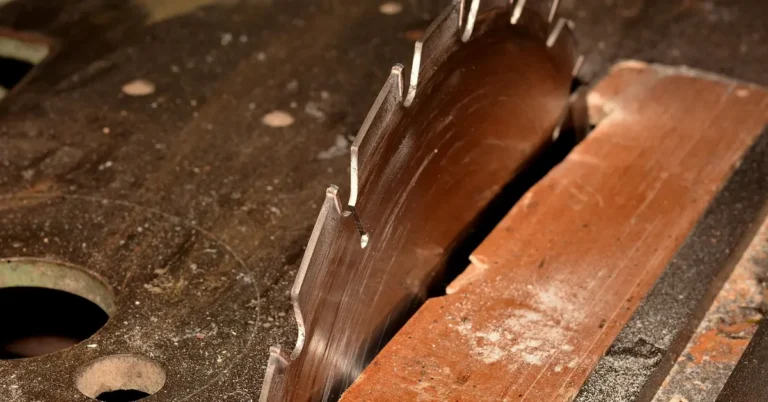
A standard 24- to 40-tooth combination wood blade has a positive hook angle designed to bite into wood fiber – that same bite grabs rigid acrylic and cracks it instead of shearing it cleanly. Look instead for a blade built for plastic and non-ferrous metal cutting: triple chip grind (TCG) tooth geometry, at least 80 teeth on a 10-inch blade, and a near-neutral to slightly negative hook angle (roughly 0° to -5°). The alternating flat-top and beveled TCG teeth shear the material at the edges of the kerf instead of ripping through the center of it, which is what keeps the cut from chipping.
Carbide tips matter here too – acrylic dulls a blade faster than softwood does, and a dull edge generates exactly the extra friction heat that causes melting. A blade rated for aluminum and other non-ferrous materials is usually the same profile you want for acrylic, since both call for a high tooth count and a shearing, low-heat cut rather than an aggressive ripping action.
Setting Up the Table Saw for the Cut
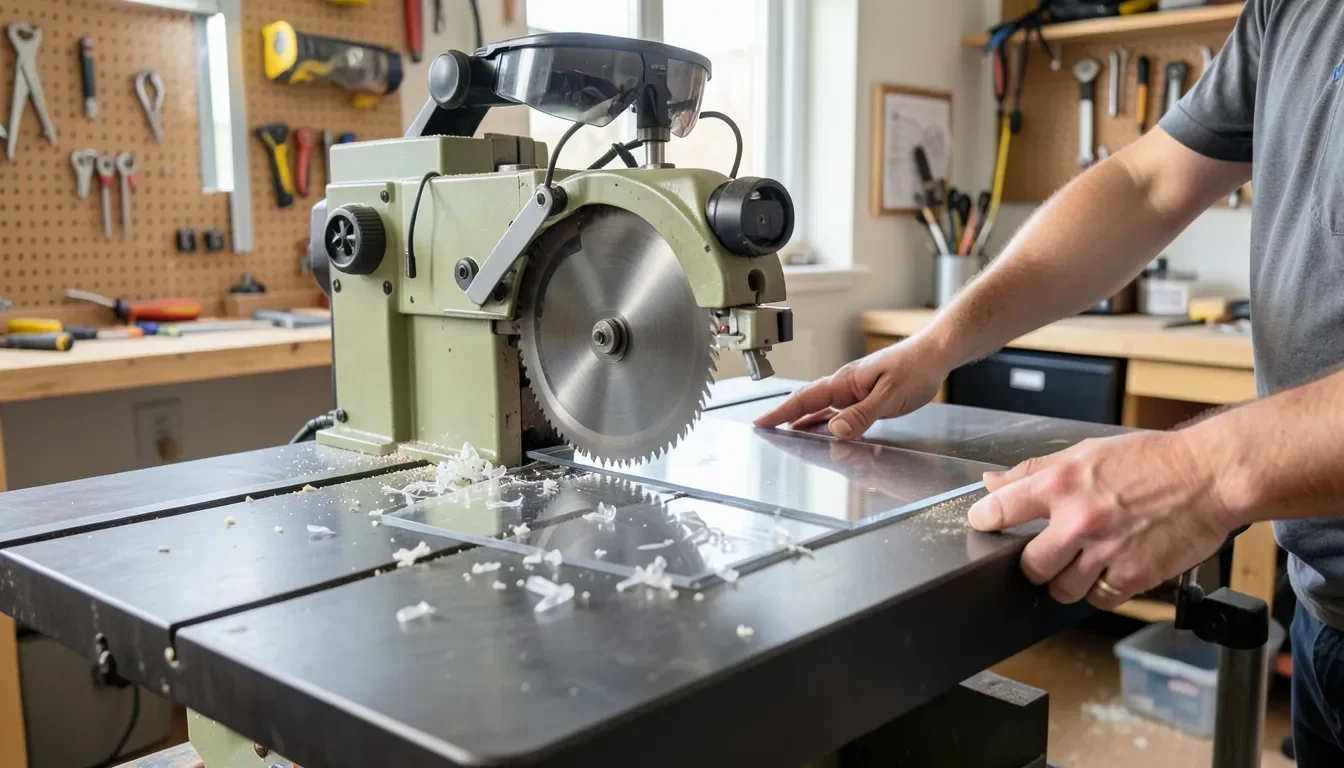
Once the right blade is installed, three setup details make the difference between a clean cut and a cracked or melted one:
- Blade height: Set the blade to protrude only about 1/8 inch above the top of the acrylic sheet. A lower blade height means more of each tooth is engaged in a shearing motion rather than a chopping one, which reduces chipping.
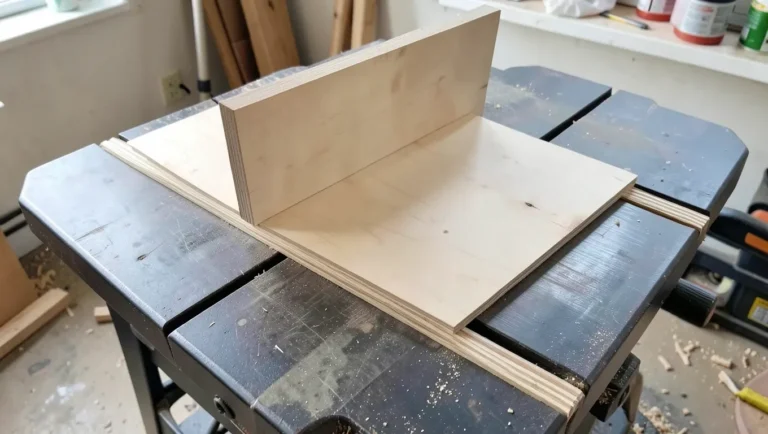
- Zero-clearance insert: A standard table saw throat plate has a wide slot around the blade that lets thin, brittle material flex and chip as it exits the cut. A zero-clearance insert supports the acrylic right up to the blade on both sides of the kerf.
- Protective film or masking tape: Leave the factory paper backing on if the sheet still has it, or run strips of masking tape along the cutting line. Either one gives the surface something to hold onto instead of chipping as the teeth exit.
Set the fence parallel to the blade with enough clearance for the sheet to pass without binding, and clamp or firmly hand-support the acrylic so it can’t lift or chatter mid-cut – a sheet that vibrates against the blade is far more likely to crack than one held flat and steady.
Step-by-Step: Cutting Plexiglass on a Table Saw
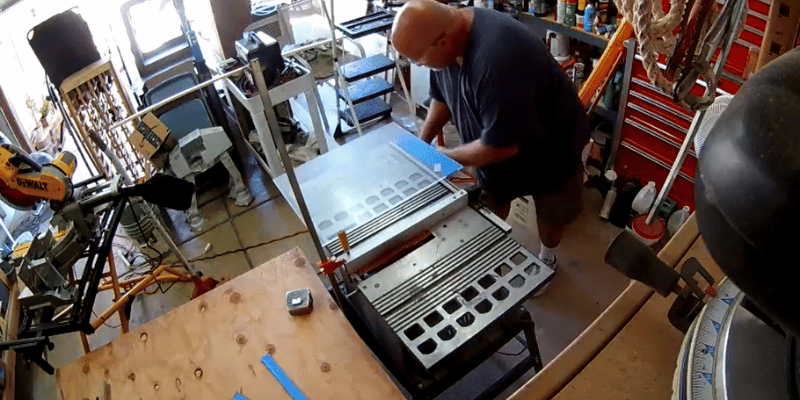
- Mark the line: Measure and mark the cut with a fine-tip marker directly on the masking tape or protective film, not the bare acrylic surface.
- Set the fence: Position the rip fence so the distance to the blade matches your marked width, and lock it down.
- Gear up: Put on safety glasses and, if you’re cutting more than a sheet or two, a dust mask – acrylic dust is fine and irritating even though it isn’t toxic in normal shop quantities.
- Start the cut slow: Turn on the saw and feed the sheet at roughly half the speed you’d use for plywood of the same thickness, keeping it flat against the table and tight to the fence.
- Keep the feed continuous: Don’t stop partway through – a paused blade sitting in the kerf generates heat in one spot and is the most common cause of melted, re-welded acrylic.
- Support the offcut: Have a hand or a roller stand ready to catch the cut piece as it separates so it doesn’t drop and crack against the saw table.
- Shut down and clear the table: Turn off the saw before reaching across it, then remove both pieces and brush away the plastic shavings before starting the next cut.
Cutting Curves and Angled Edges
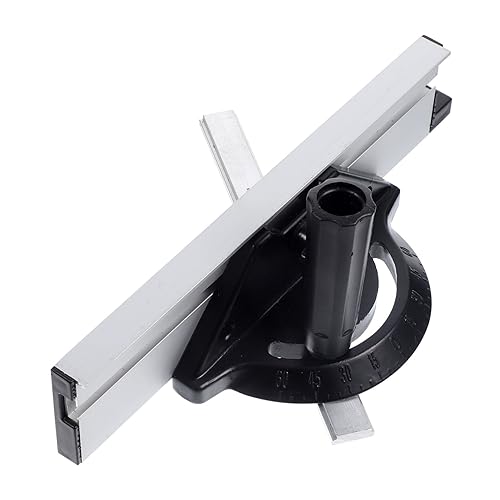
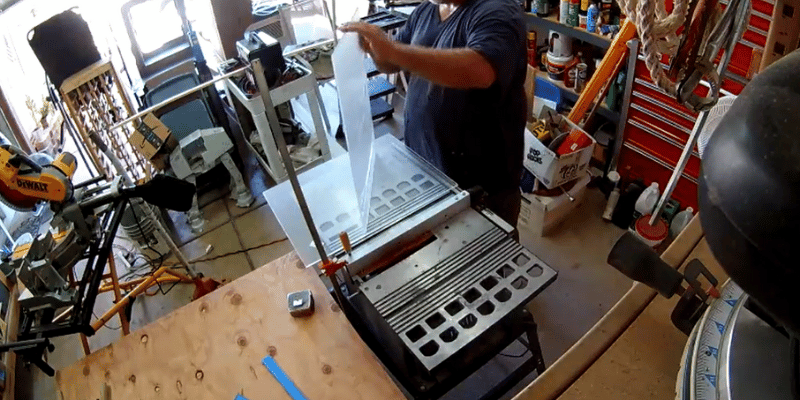
A table saw isn’t the ideal tool for tight curves – a bandsaw or jigsaw handles that better – but it can still manage gentle curves and angled edges with the right approach. For angled edges, tilt the blade or use the miter gauge exactly as you would with wood, but keep the same reduced feed rate and make sure the acrylic is fully supported against the miter gauge face so it can’t rock during the cut. For a shallow curve, a narrow-kerf blade and a shop-made curve-cutting guide clamped to the fence keeps the sheet tracking smoothly instead of twisting against the blade, which is what causes cracking on curved cuts specifically.
If you only need a single straight cut on thin sheet and don’t want to change blades on your table saw at all, scoring and snapping the sheet by hand or making the cut on a miter saw are both reasonable alternatives for a one-off cut.
Finishing the Cut Edge
Even a clean TCG-blade cut leaves a slightly frosted, saw-marked edge. Progressive wet-sanding (400, then 800, then 1000 grit) followed by a plastic polish removes the marks and restores clarity, working in circular motions and wiping away residue between grits.
For a glass-smooth, fully transparent edge without hand-sanding, cast acrylic (not extruded) can be flame polished: a propane torch or heat gun passed quickly and evenly along the cut edge melts a thin surface layer just enough to flow it smooth and clear. This has to be done outdoors or in a well-ventilated space, well away from sawdust and finishing chemicals, and the torch has to keep moving – lingering in one spot bubbles the plastic instead of polishing it. It’s a fast alternative to sanding for a display case or picture-frame edge that will actually be seen.
Handle the finished pieces with care afterward – wear gloves when moving larger cut sheets, since a fresh-cut acrylic edge can be sharp enough to scratch or nick skin, and store finished panels stood on edge with padding between them rather than stacked flat, which is how they pick up surface scratches before they even make it into the project.
Frequently Asked Questions
Can you cut plexiglass with a table saw?
Yes. A table saw cuts plexiglass cleanly as long as it’s fitted with a fine-tooth blade built for plastic or non-ferrous metal (80+ teeth, triple chip grind) instead of a standard wood blade, and you feed the sheet slower than you would lumber.
What blade should I use to cut acrylic on a table saw?
Use a carbide-tipped blade with at least 80 teeth on a 10-inch saw and a triple chip grind (TCG) tooth pattern with a near-neutral or slightly negative hook angle. This geometry shears the material instead of tearing into it the way a standard 24-40 tooth wood blade does.
Why does plexiglass crack when I cut it on a table saw?
Cracking usually comes from an aggressive positive-hook wood blade grabbing and lifting the rigid sheet, or from clamping/feeding it unevenly so the blade binds sideways instead of cutting straight through. Switching to a TCG plastic-cutting blade and keeping steady, even pressure resolves most cracking.
How do you stop plexiglass from melting on a table saw?
Slow your feed rate so the blade isn’t generating extra friction heat, and never pause mid-cut with the blade still touching the material – stopping lets heat build in one spot and the melted plastic can re-fuse behind the blade. A slower, continuous pass with a sharp fine-tooth blade keeps the cut cool enough that it won’t weld shut.
Can you flame polish a table-saw-cut edge?
Yes, but only on cast acrylic, not extruded – a propane torch or heat gun passed quickly and evenly along the cut edge melts a thin surface layer into a clear, glass-smooth finish in seconds. It has to be done outdoors or in a well-ventilated area away from sawdust, and overheating one spot will bubble the plastic instead of polishing it.
Cutting plexiglass on a table saw comes down to treating it as a different material, not a harder version of wood: the right TCG blade, a slower and continuous feed, and a zero-clearance insert prevent the two failure modes – cracking and melting – that ruin most first attempts. Once the setup is right, it’s a fast, accurate way to size acrylic panels for jigs, guards, and display cases without ever leaving the table saw.
Sponsored / affiliate links. As an Amazon Associate I earn from qualifying purchases. I may earn additional commission from eligible campaigns.