Can You Glue Oily Woods Like Teak or Ipe? Prep Methods
Yes, you can bond teak, ipe, and similar oily woods, but usually only after strong surface prep: fresh planing or sanding first, an acetone wipe second, and epoxy or polyurethane applied soon after prep. Skip that, and joints often creep, starve, or fail outdoors. This guide ranks the prep steps, matches adhesive choice to joint type, and gives a practical method for furniture, decking repairs, and exterior work.
This guide is part of our Wood glue essentials: types, uses, and cure times series.
Can you glue teak or ipe successfully?
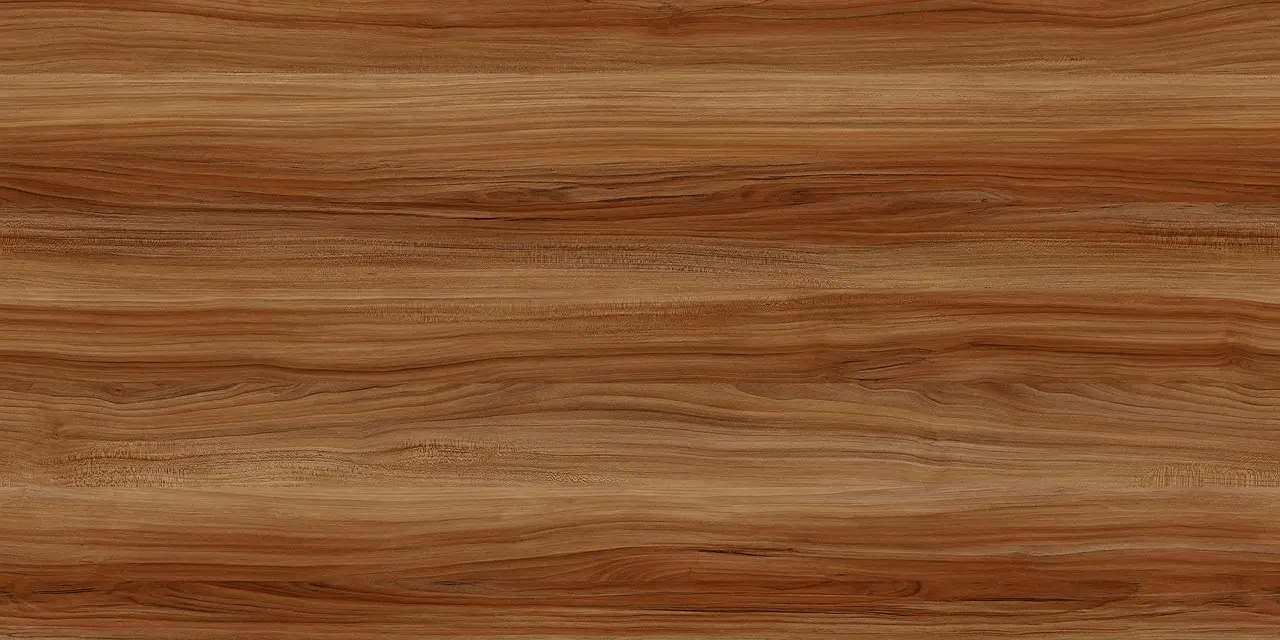


Yes, but these woods need a cleaner, fresher surface than pine or oak. Teak and ipe have natural extractives and oils that can weaken adhesion, and ipe is a very hard, dense, durable wood, so ordinary wood glue may fail on ipe without prep. The bond usually fails later from movement, moisture cycling, or oil migration, not right at clamp time.
Why these woods are different from shop-soft species
Teak is a common outdoor furniture species, and ipe is widely used for outdoor decking and furniture. Both can look stable and still be poor glue candidates if the surface has aged, been burned by dull cutters, or sat after machining. Freshly cut fibers bond better because they expose new wood instead of oxidized, oil-coated fibers.
What makes a bond fail after it looked fine
A joint can feel firm when it leaves the clamps and still fail later. The usual causes are glue starvation, oily resurfacing, weak squeeze-out that fooled the builder into thinking there was contact, and outdoor exposure that keeps wetting and drying the joint. If the adhesive line is thin, glossy, or patchy, treat that as a warning.
According to lumberpoint.com — Surface prep recommendation includes 60–80 grit sandpaper.
Which glue works best on oily hardwoods?
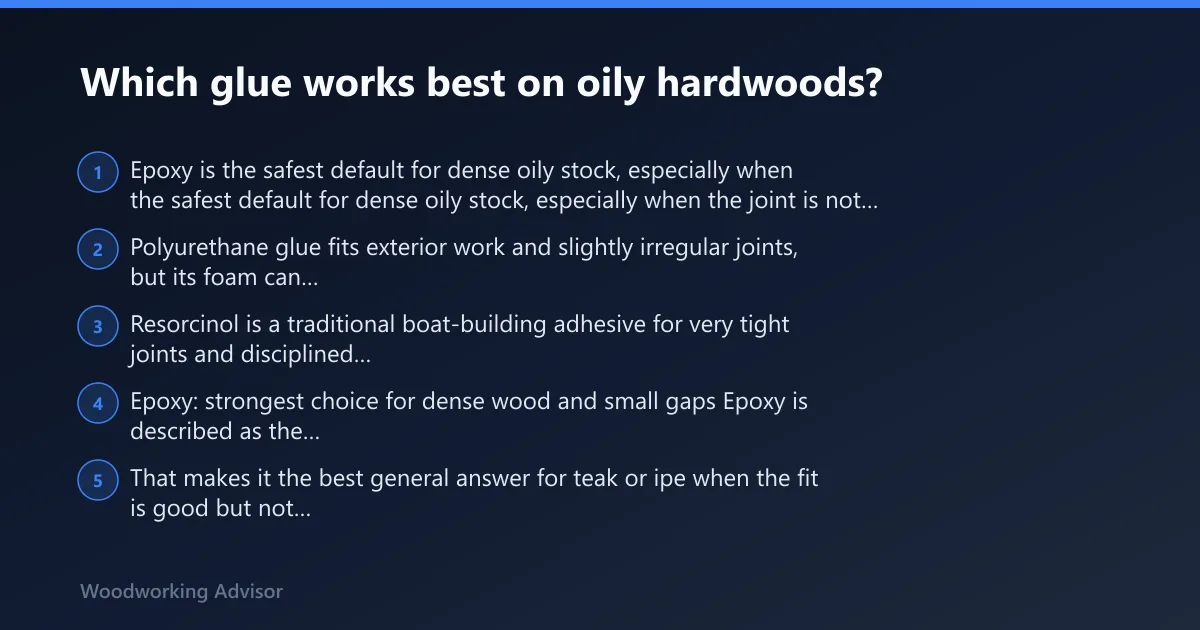
Epoxy is the safest default for dense oily stock, especially when the joint is not perfect. Polyurethane glue fits exterior work and slightly irregular joints, but its foam can foul a tight fit. Resorcinol is a traditional boat-building adhesive for very tight joints and disciplined clamping, but it is less forgiving than epoxy.
Epoxy: strongest choice for dense wood and small gaps
Epoxy is described as the strongest bond on dense woods and is resistant to water and outdoor conditions. That makes it the best general answer for teak or ipe when the fit is good but not flawless. It also fills small gaps better than PVA, which matters when a dense hardwood edge is a little uneven after machining.
Polyurethane glue: useful outdoors, but foam can hurt fit
Polyurethane glue expands slightly into pores and is suited to exterior applications. That helps when the surface is well prepared and the joint is not knife-tight. The downside is the foam: on a tight, accurate fit it can push parts out of line and leave cleanup in pores and edges.
Resorcinol: best for tight, marine-style joints
Resorcinol glue is framed as a traditional choice for boat building and is extremely durable and water-resistant. It wants very tight joints and careful clamp quality. Use it when the fit is excellent and the assembly behaves like marine joinery. If the joint has visible gaps, epoxy usually gives a better result.
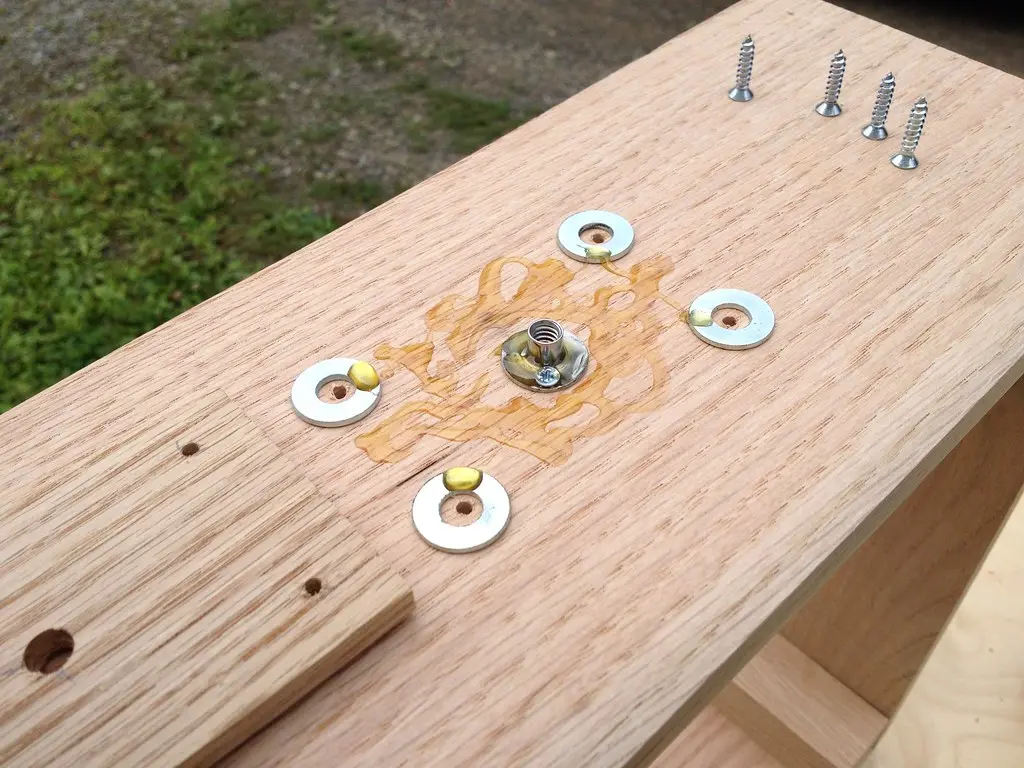
How do you prep oily wood before gluing?
Fresh sanding with 60–80 grit, then an acetone wipe, then immediate glue-up is the most reliable path. The clock starts after the wipe, because oils begin returning to the surface quickly. Dry-fit the joint before any solvent touches the parts, and remove dust from both mating faces before adhesive goes on.
Ranked prep sequence by reliability
- Fresh sanding or planing to expose new wood.
- Dust removal from both faces and edges.
- Acetone wipe on the bonding surfaces.
- Dry assembly to confirm fit and clamp layout.
- Immediate glue-up, then firm clamping.
Why sanding comes before solvent
Sandpaper grit 60-80 is the practical starting point because it opens the surface and removes the oxidized layer. Solvent alone only strips surface oil for a short window; it does not replace the missing wood fibers that adhesive can bite into. If sanding is skipped, acetone wipe-downs can leave the joint looking clean and still bond poorly.
Acetone wipe timing
The wipe should happen after sanding, not before, and the joint should be glued soon after. On oily species, waiting too long after solvent wipe lets new oils rise and dust settle back onto the face. A short, disciplined sequence matters more than soaking the surface or flooding it with solvent.
What clamping and cure time should you use?
Use firm clamping pressure on dense hardwoods, but stop short of crushing the joint. Over-clamping can starve the bond line, especially on hard, smooth species like teak and ipe. Dense stock also needs patience at cure time; do not rush release just because the squeeze-out looks hard on the edge.
How much clamp pressure is enough
Firm means the parts stay in full contact with no visible creep as the clamps come up. It does not mean squeezing until every trace of adhesive disappears. A starved joint can look neat and fail early, while a slightly visible glue line is often healthier than a dry, over-compressed one.
How long should glue cure on dense hardwoods?
Cure time should follow the adhesive you choose and the density of the stock. Dense hardwoods slow heat transfer and can hold solvent or moisture longer than softer lumber, so leave extra time before stressing the joint. Epoxy often needs the most patience, while polyurethane and resorcinol still need full cure before load or weather.
Failure signs to watch after clamping
- Glue-starved line with almost no visible adhesive at the seam.
- Oily resurfacing that leaves a dull, greasy sheen after wipe-down.
- Weak squeeze-out that beads instead of wetting both edges.
- Foam contamination from polyurethane in a tight fit.
- Bond failure after solvent wipe when assembly waited too long.
When should you add screws or other fasteners?
Add stainless steel screws or another mechanical aid when the joint will live outdoors, move with weather, or see shock load. Glue on its own can be risky on ipe and teak in exposed work. Fasteners are not a substitute for prep, but they give insurance when seasonal movement and moisture cycling keep pushing the joint.
Where screws make the most sense
Outdoor furniture frames, decking repairs, edge bands, and stressed corner joints benefit most. Stainless steel screws resist corrosion outdoors and can hold alignment while the adhesive cures and later ages. Hidden fastener systems also help when the joint must stay neat but still needs backup.
When glue should be only one part of the plan
If the joint is wide, exposed to rain, or hard to clamp evenly, treat glue as one layer of security. On high-risk exterior joints, adhesive plus stainless steel screws is often more durable than adhesive alone. That is especially true when the surface prep window was short or the fit was less than ideal.
Decision table: glue choice by project and exposure
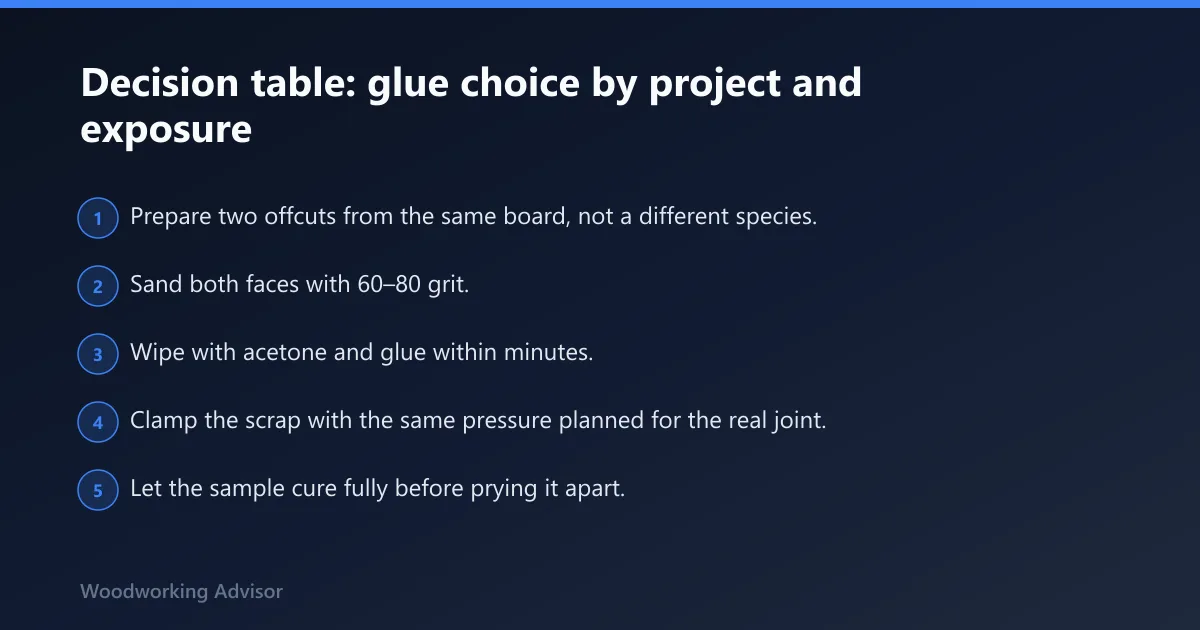
Use the joint, fit, and exposure level to choose the adhesive. This is the part most guides skip. A tight indoor repair does not deserve the same plan as a wet outdoor joint that will move through the seasons.
| Project type | Joint tightness | Exposure level | Best adhesive | Prep sequence | Notes |
|---|---|---|---|---|---|
| Indoor repair | Tight | Low moisture | Epoxy | Sand 60–80 grit, acetone wipe, dry-fit, immediate glue-up | Best when the fit is clean and you want gap fill without foam |
| Outdoor furniture | Moderate gap | Repeated wetting | Epoxy or polyurethane glue | Fresh sanding, acetone wipe, test fit, firm clamp, add stainless steel screws if stressed | Polyurethane can work, but watch foam-out in narrow seams |
| Decking or high-movement joint | Tight to moderate | High exposure | Epoxy with screws, or resorcinol if fit is excellent | Fresh sanding, acetone wipe, dry assembly, immediate fastening, firm clamp | Best for the harshest service; resorcinol demands very accurate fit |
| Boat-style or marine repair | Very tight | Constant wet risk | Resorcinol | Fresh sanding, acetone wipe, precise dry-fit, heavy but controlled clamping | Choose only when the joint is truly tight and well controlled |
Scrap-test checklist before committing
- Prepare two offcuts from the same board, not a different species.
- Sand both faces with 60–80 grit.
- Wipe with acetone and glue within minutes.
- Clamp the scrap with the same pressure planned for the real joint.
- Let the sample cure fully before prying it apart.
- Inspect whether wood fibers fail before the glue line.
- Repeat with the chosen fastener plan if the project is outdoors.
Photo notes for failure signs
When documenting a failed test, photograph the glue line close-up, the squeeze-out pattern, and the mating faces after separation. Look for shiny oily spots, dry patches in the center of the line, foam in the seam, and one face that looks clean while the other carries residue. Those clues tell more than a simple yes-or-no pull test.
Frequently asked questions
Can you glue teak wood successfully?
Yes, teak can be glued successfully when the surface is freshly sanded, wiped with acetone, and bonded quickly. It is still an oily hardwood, so the result depends more on prep and fit than on the label on the bottle. For outdoor furniture, epoxy is often the safer default.
Can you glue ipe wood or will it fail?
Ipe can be glued, but standard wood glue often fails on ipe without prep. Because it is one of the hardest, densest, and most durable woods, surface preparation and adhesive choice matter more than usual. Use epoxy for the broadest safety margin, and add screws on exposed or stressed joints.
What is the best glue for oily wood?
Epoxy is often the best all-around choice for oily wood because it bonds dense stock well, resists water, and fills small gaps better than PVA. Polyurethane works for exterior use when the fit is reasonable, while resorcinol fits very tight marine-style joints. Choose by joint type, not by habit.
Do you need to sand and acetone wipe teak before gluing?
Yes. Sanding with 60–80 grit opens the surface and removes the oxidized layer, and an acetone wipe removes surface oil before the bond goes together. The solvent step is temporary, so glue soon after wiping. Solvent alone is not enough if the wood has not been freshly cut or sanded.
Is epoxy better than polyurethane for oily hardwoods?
Often yes, especially for dense teak or ipe and for joints with small gaps. Epoxy is stronger on dense woods and less likely to be hurt by slight fit issues. Polyurethane can work outdoors, but its foam can push a tight joint out of line and make cleanup harder.
Sponsored / affiliate links. As an Amazon Associate I earn from qualifying purchases. I may earn additional commission from eligible campaigns.