Can You Glue Stained Wood? Prep That Makes It Last for Good
Yes, you can glue stained wood only if you remove finish from the glue line and expose bare wood; stain itself is usually the smaller problem, while varnish, oil, wax, and dust are what break the bond. Skip that prep and the joint will creep, pop open, or fail again under clamp pressure. This guide shows how to prep small repairs, how much finish to remove, and when to glue, pin, or replace the joint instead.
This guide is part of our Wood glue essentials: types, uses, and cure times series.
Why glue fails on stained wood
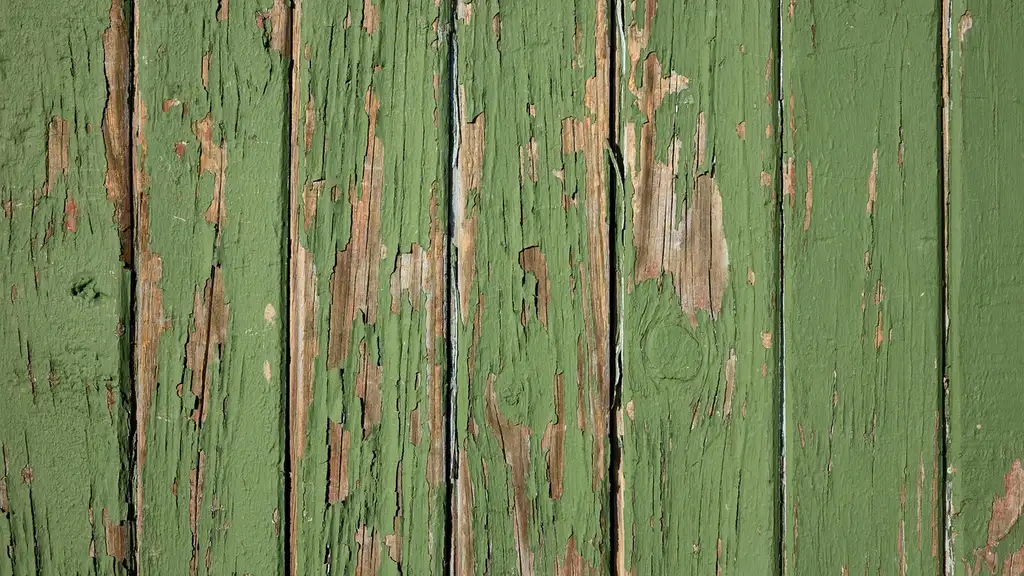


Glue bonds best to bare, porous wood, not to stain, varnish, wax, oil, or silicone. The failure point is usually contamination or a sealed surface at the glue line. Standard yellow carpenter’s glue is PVA/aliphatic resin, and it is strong in well-made joints only when it can soak into fresh fibers.
Heat makes this worse. Heat resistance means the glue line stays stable in service heat, but continuous heat includes sun through glass and warm kitchen corners, while intermittent heat is only a short burst. Under warmth and steady stress, a glue line can relax and open a gap. That shows up as creep, not liquefaction.
What you’ll need
- 120-, 150-, and 180-grit sandpaper
- Sharp scraper or chisel for finish removal at a narrow joint
- Small sanding block or detail sander
- Mineral spirits or denatured alcohol for solvent cleanup, matched to the finish
- Clean rags, cotton swabs, and a dry brush
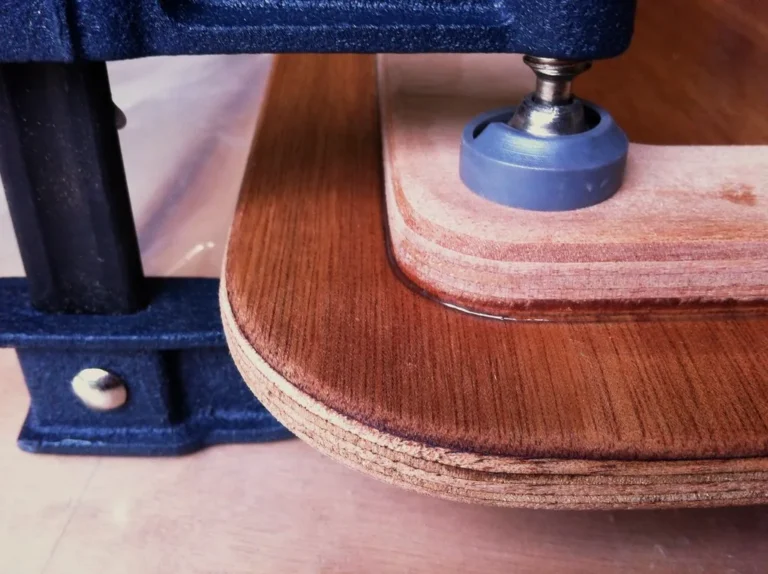
- Bar clamps or spring clamps
- Cauls for even pressure and alignment
- PVA/aliphatic resin glue, polyurethane glue, and epoxy
- Cleanup scraper or plastic putty knife
Can you glue stained wood without sanding it off?
Sometimes, yes, but only if the surface at the bond line is already bare enough for glue to bite. A solvent clean can be enough on a dusty shellac-like surface or when the problem is surface grime, not finish. If varnish, polyurethane, wax, or oil is present, sanding or scraping to fresh wood is the safer path.
If the joint is hidden and you can open it fully, expose clean fibers if possible. If the repair must stay visible, clean only the glue line and leave the rest of the finish intact. That is the better choice on furniture you do not want stripped.
Step 1: Diagnose the finish at the glue line
- Wipe the area with a dry rag and inspect the sheen.
- Rub a cotton swab with mineral spirits on a hidden spot.
- Watch for softening, smearing, or residue transfer.
- Choose the prep path that matches the finish, not the stain color.
Stain only
If the surface is only stained and unfinished, a light scuff to fresh fibers is usually enough. Use 120- to 150-grit and stop when clean wood appears along the bond line. PVA works well here because it can soak into porous wood.
Stain plus varnish or polyurethane
These finishes seal the fibers. Sand or scrape through the coating at the joint until the surface loses its gloss and feels more like bare wood. Do not trust a fuzzy scratch in the film; you need exposed fibers.
Waxed finish
Wax is a release agent. If needed, solvent-clean first, then scrape or sand to bare wood at the bond area. If wax has soaked into pores, the safest fix is more aggressive removal, because glue will not hold on waxy fibers.
Oily hardwood or silicone contamination
Oil and silicone need solvent cleanup before abrasion. Wipe, let it flash off, then sand fresh wood at the line. If the surface keeps fisheyeing or feeling greasy, keep cleaning before you add glue.
Veneer edge repair
Use the smallest possible prep zone. Lift only enough veneer to clean the glue line, then sand the mating edge lightly. Over-sanding burns through veneer fast, so stop as soon as the old adhesive and finish are gone.
Step 2: Expose fresh wood or clean the contamination
- Sand the bond area with 120- to 150-grit until bare fibers show.
- Use a scraper on narrow joints where sandpaper cannot reach.
- Vacuum or brush away dust before any solvent step.
- Wipe wax, oil, or polish with the right solvent on a fresh rag.
- Let the solvent dry completely before gluing.
When to stop sanding
Stop as soon as the surface is no longer glossy and a scratch test shows wood fibers instead of film. For a visible repair, keep the prep local. A clean glue line is better than stripping a whole panel and risking a color mismatch.
Step 3: Choose the right adhesive for the joint
PVA is often the go-to choice for bare wood-to-wood joints. Polyurethane glue is moisture-cure, has gap-filling tendencies, and can foam and push parts apart if clamping is sloppy. Epoxy is often considered when temperatures get too hot for typical wood glue, or when the joint has gaps or rough mating surfaces.
PVA for bare wood-to-wood joints
Choose this when the joint fits well and you can reach clean fibers on both sides. It is the standard carpenter’s glue, but it does not forgive wax, varnish, or an oily edge.
Polyurethane for imperfect fit and limited access
Use it when the joint is a little loose or you cannot get perfect clamping access. It still needs clean surfaces. Foam is not strength, and the expansion can lift a joint if you do not control pressure.
Epoxy for gaps, repairs, and harsher service
Use epoxy when the repair has voids, missing fibers, or a finished edge that cannot be fully stripped. It handles imperfect joints better than PVA, but surface prep still matters. Clean, roughened wood beats slick, contaminated wood every time.
Glue-line prep checklist and diagnosis table
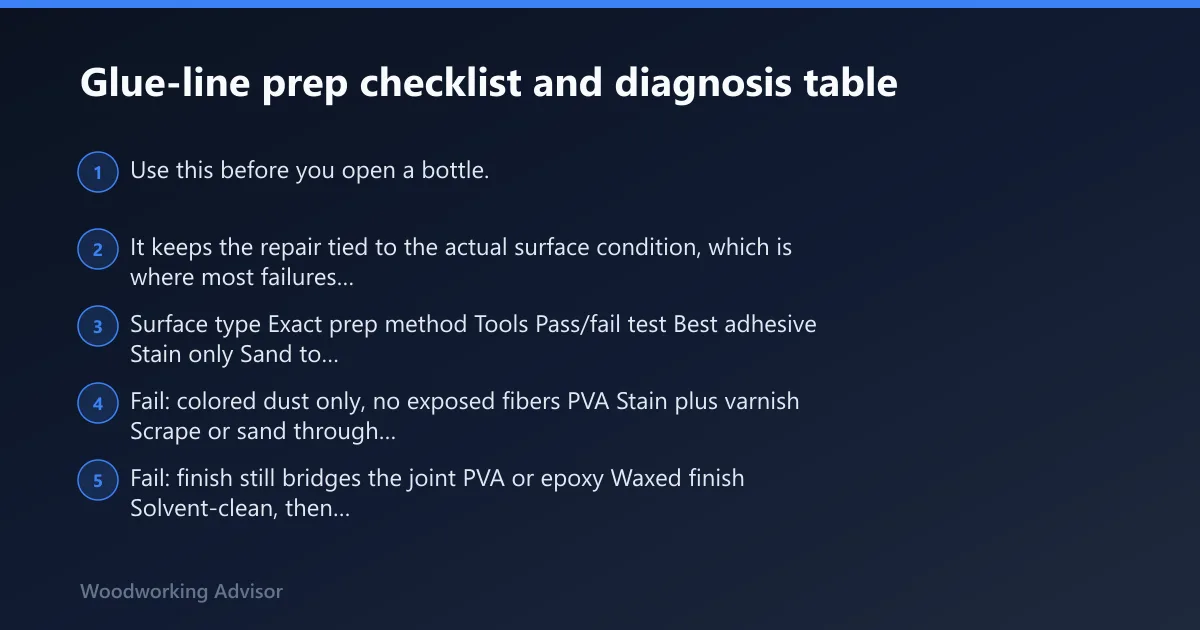
Use this before you open a bottle. It keeps the repair tied to the actual surface condition, which is where most failures start.
| Surface type | Exact prep method | Tools | Pass/fail test | Best adhesive |
|---|---|---|---|---|
| Stain only | Sand to bare fibers at the bond line with 120-150 grit | Sandpaper, block, vacuum | Pass: dull wood with no sheen. Fail: colored dust only, no exposed fibers | PVA |
| Stain plus varnish | Scrape or sand through the film until the glue area is bare wood | Scraper, 150 grit, rag | Pass: no gloss and no slick feel. Fail: finish still bridges the joint | PVA or epoxy |
| Waxed finish | Solvent-clean, then remove the waxed layer down to wood | Mineral spirits, rags, scraper | Pass: rag no longer picks up wax. Fail: surface still feels greasy | Epoxy |
| Oily hardwood | Solvent-clean, dry fully, then abrade to fresh wood | Denatured alcohol or mineral spirits, 120 grit | Pass: clean dust and no oil sheen. Fail: dark transfer on a clean rag | Epoxy |
| Veneer edge repair | Lift edge, remove old glue, lightly sand, then bond only the edge | Knife, scraper, fine sandpaper | Pass: edge closes without spring-back. Fail: visible contamination or lifted fibers | PVA or epoxy |
How do you repair a broken joint on stained furniture?
Open the joint fully, clean only the glue line, and keep the rest of the finish intact. If the fit is tight and the wood is exposed, use PVA. If the joint has chips, gaps, or a contaminated edge, switch to epoxy. Reassemble with cauls so the parts stay aligned while the adhesive cures.
- Remove old glue and loose finish from the break.
- Dry-fit the joint and mark the alignment.
- Prep the bond line with sanding or scraping.
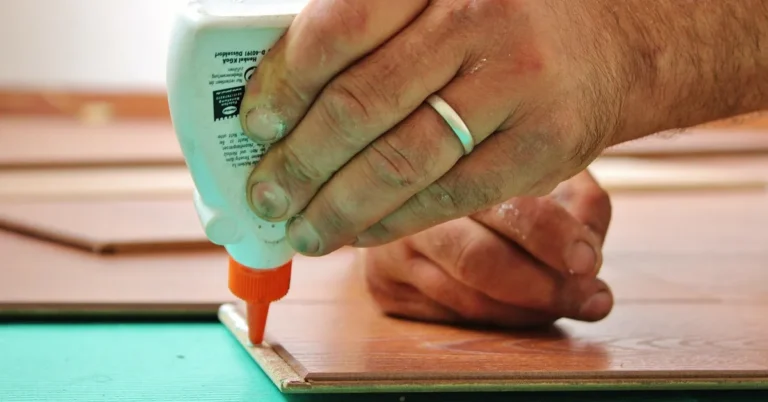
- Apply adhesive, close the joint, and clamp for steady pressure.
- Clean squeeze-out before it hardens.
What happens if you glue over wax or oil stain?
The bond usually fails at the contaminated layer. Wax and oil can act like a release film, so the glue may bond to the contaminant instead of the wood. The joint may feel strong at first, then open under load, heat, or a light bump. Solvent cleanup and fresh wood at the line are the real fix.
If that didn’t work, try this next: remove more finish at the glue line, then switch from PVA to epoxy if the joint still has gaps or softened edges. If the piece is valuable and the contamination is deep, a mechanical repair may be safer than another glue-up.
How long should glued stained wood be clamped?
Clamp until the joint is held in alignment and the adhesive has set enough not to shift. Too much pressure can starve the joint or squeeze out too much glue. The goal is steady contact, not crushing force. If the fit is loose, use cauls and dry-fit before you spread adhesive.
Warm, greasy kitchen air is a real-world heat source, so a repaired joint near a stove or sunny window needs extra care even after clamping. Heat-related glue failure often shows up as creep, which means the joint relaxes under load over time.
Common mistakes
- Gluing over wax or polish. Clean first, then abrade the bond line.
- Leaving a glossy finish at the edge. Sand or scrape until bare fibers show.
- Using too much clamp force. Hold alignment with steady pressure instead.
- Waiting too long after prep. Dust and skin oils ruin fresh wood fast.
- Choosing polyurethane as a cure-all. It still needs clean surfaces and careful clamping.
- Ignoring heat and load. A joint that looks fine can creep in a warm room or sunny window.
Prevention: When a visible piece is repaired, keep the prep zone small, dry-fit before glue, and seal the area only after the joint has cured fully. That avoids color damage and lowers the chance of a second failure.
Frequently asked questions
What is the best way to prep stained wood for glue?
Remove finish at the bond line, then clean the surface and dry-fit the joint. For a tight wood-to-wood repair, 120- to 150-grit is a practical starting point. If the joint is narrow, a scraper often does a cleaner job than sanding alone.
Will wood glue stick to polyurethane finish or varnish?
Not reliably. PVA needs bare, porous wood, and polyurethane or varnish blocks that contact. Sand or scrape through the film until the glue line is exposed. If you cannot get to fresh wood, epoxy is the better fallback for that repair.
Do I need to sand stained wood before gluing?
Yes, if any finish remains at the bond line. Sanding removes the sealed layer and exposes fibers that glue can bite. On a visible repair, keep the sanding local. Do not strip the whole panel unless the damage demands it.
What glue works best on finished wood edges?
Epoxy is usually the safer choice when the edge cannot be fully stripped and the fit is imperfect. It handles gaps better than PVA. If you can expose fresh wood on both sides, PVA is still the cleaner option for a tight repair.
Sponsored / affiliate links. As an Amazon Associate I earn from qualifying purchases. I may earn additional commission from eligible campaigns.