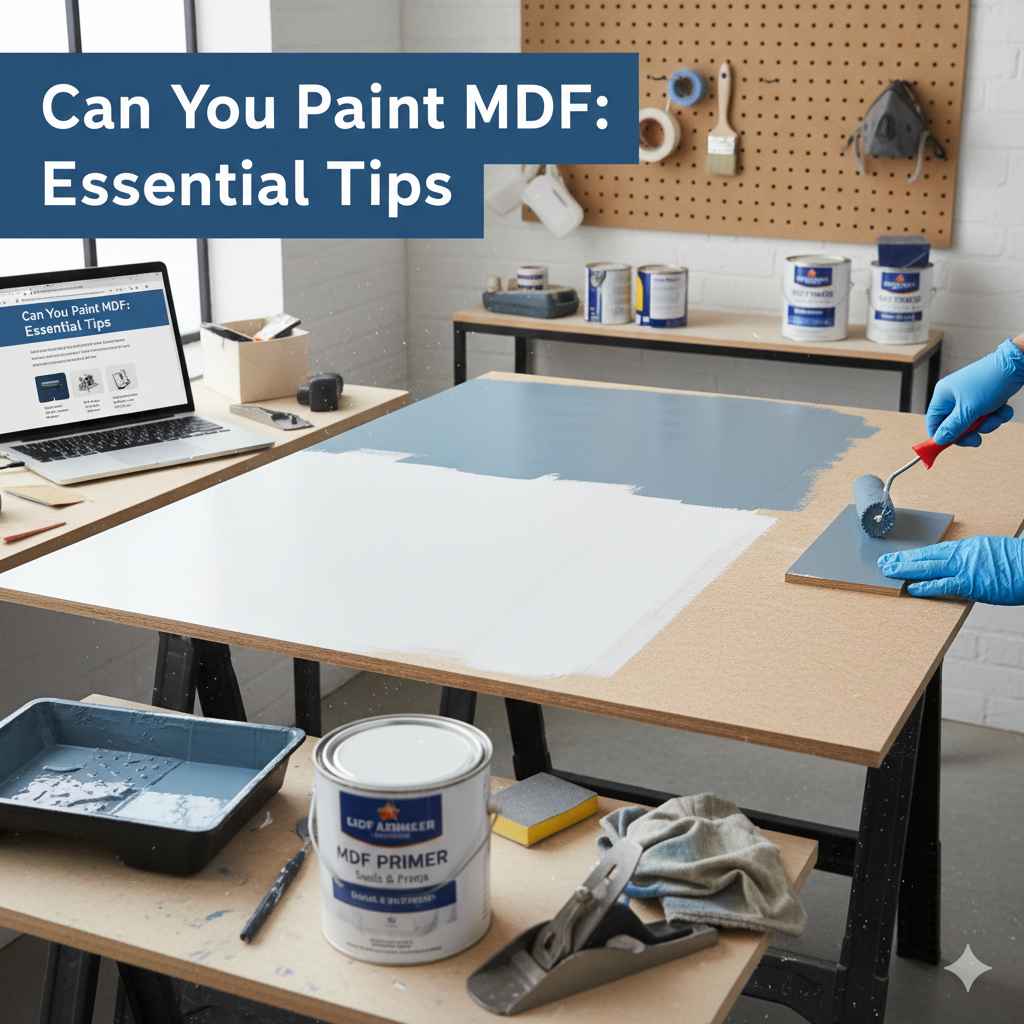
Can You Paint MDF: Essential Tips
Yes, you absolutely can paint MDF, and achieve a smooth, professional finish! With the right preparation and techniques, MDF is an excellent material for painted projects. This guide will walk you through everything you need to know to get fantastic results, turning your MDF pieces into works of art.
Have you ever looked at a sleek, painted piece of furniture or cabinetry and wondered what material it was made from? Often, it’s Medium Density Fibreboard, or MDF. It’s incredibly popular today for DIY projects and custom builds because it’s affordable, readily available, and provides a smooth surface. But a common question arises: “Can you paint MDF?” The answer is a resounding yes! However, painting MDF isn’t quite as straightforward as painting solid wood. It has unique properties that require a bit of special attention to get that flawless, factory-like finish everyone desires.
Don’t worry if you’re new to woodworking or painting. This guide simplifies the process. We’ll cover the best paints, essential preparation steps, and the exact techniques to ensure your painted MDF projects look professional and last for years. Get ready to transform your MDF projects from basic boards to beautiful, finished pieces!
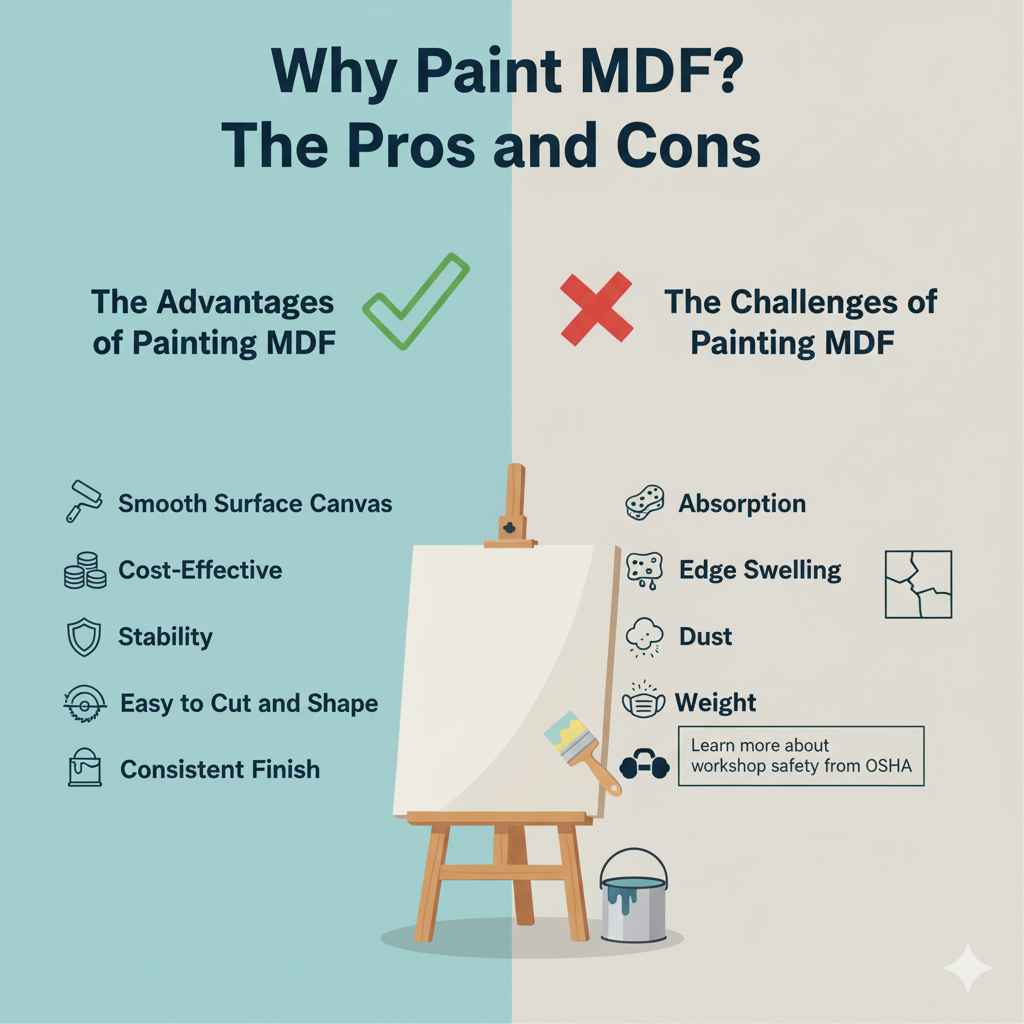
Why Paint MDF? The Pros and Cons
MDF is a fantastic choice for many projects, especially those intended for a painted finish. Understanding its advantages and slight disadvantages will help you decide if it’s the right material for your next endeavor.
The Advantages of Painting MDF
Smooth Surface Canvas: MDF is engineered to be perfectly smooth. Unlike solid wood, it doesn’t have a natural grain pattern, knots, or imperfections. This makes it an ideal surface for paint, allowing for a sleek, uniform look.
Cost-Effective: MDF is generally more affordable than solid wood, making it a budget-friendly option for larger projects or for those just starting out.
Stability: It’s less prone to warping or expanding with changes in humidity compared to some solid woods. This means your painted finish is less likely to crack due to the material itself moving.
Easy to Cut and Shape: MDF machines and cuts cleanly, allowing for precise edges and intricate designs that hold paint beautifully.
Consistent Finish: Because it’s uniform throughout, paint adheres evenly across the entire surface, giving a consistent color and texture.
The Challenges of Painting MDF
Absorption: MDF is highly porous. This means it can soak up paint like a sponge, leading to increased paint consumption and a potentially uneven finish if not properly sealed.
Edge Swelling: The edges of MDF are particularly absorbent and can swell if exposed to excessive moisture, like from primer or paint. This requires diligent sealing.
Dust: Cutting MDF creates very fine dust, which can be a respiratory irritant. Good ventilation and dust protection are crucial. You can learn more about workshop safety from the Occupational Safety and Health Administration (OSHA) on protecting your lungs.
Weight: MDF is quite dense and heavy, which can make handling larger pieces a bit more challenging.
Gather Your Supplies: What You’ll Need
Before you begin painting, gathering the right tools and materials will make the process much smoother and more enjoyable. Think of it like preparing your toolbox before a big building project!
Here’s a list of essentials:
MDF Boards: Your project material.
Primer: A high-quality, water-based or oil-based primer specifically designed for porous surfaces. This is non-negotiable for MDF!
Paint: Your chosen topcoat. Latex, acrylic, or oil-based paints all work well.
Sandpaper: Various grits (e.g., 120, 180, 220) for smoothing.
Sanding Block or Electric Sander: For efficient sanding.
Caulk: Paintable caulk for filling small gaps or seams.
Putty Knife or Spreader: For applying caulk and filler.
Clean Cloths or Tack Cloths: For wiping away dust.
Paint Brushes: High-quality synthetic brushes for water-based paints, natural bristles for oil-based.
Foam Rollers or High-Density Paint Rollers: For smooth, even application on larger areas.
Paint Tray or Bucket: To hold your primer and paint.
Safety Gear: Dust mask or respirator, safety glasses, gloves.
Drop Cloths: To protect your work area.
Wood Filler (Optional): For any deeper gouges or imperfections.
The Essential Steps: How to Paint MDF Like a Pro
Painting MDF involves a few more steps than painting wood, primarily focused on sealing its absorbent nature. Follow these steps carefully, and you’ll be amazed at the results.
Step 1: Prepare Your MDF Surface
This is the most crucial step for a professional finish.
Cleanliness is Key: Start by wiping down your MDF with a damp cloth to remove any dust or debris. Ensure it’s completely dry before proceeding.
Inspect for Imperfections: Look for any rough edges, small cracks, or dents.
Sand Lightly (If needed): If there are any minor rough spots from cutting or handling, lightly sand them with 120 or 180-grit sandpaper. Always sand in the direction of the “grain” (even though MDF has no true grain, this practice helps create a smoother surface).
Fill Any Gaps or Holes: Use a good quality paintable wood filler for any dents or imperfections. For seams where MDF panels meet, or around edges, apply a thin bead of paintable caulk. Smooth it out with a damp finger or a damp cloth to create a clean line. Allow the filler and caulk to dry completely according to the manufacturer’s instructions.
Step 2: Sand and Clean Again
Once your filler and caulk are dry, it’s time for another light sanding.
Gentle Smoothing: Lightly sand the filled areas and any rough spots with 220-grit sandpaper. The goal here is to make the filled areas flush with the rest of the surface, not to aggressively sand the entire piece.
Dust Removal: This is incredibly important! After sanding, use a vacuum with a brush attachment to remove most of the dust. Then, wipe the entire surface thoroughly with a slightly damp cloth, followed by a dry cloth. For a truly dust-free surface, a tack cloth is excellent.
Step 3: Apply a High-Quality Primer
This is where you tackle MDF’s thirstiness! A good primer is your best friend here.
Choose the Right Primer: Use a high-quality, water-based or oil-based primer. For MDF, a good shellac-based primer or a high-solids water-based primer is often recommended because they effectively seal the porous material. Some brands specifically market primers for MDF.
Apply the First Coat: Apply a generous, even coat of primer. Pay special attention to the edges and any cut edges, as these are the most absorbent. Use a good quality brush or roller.
Let it Dry: Allow the primer to dry completely as per the manufacturer’s instructions. This usually takes at least an hour or two.
Sand After Priming (Crucial!): Once the primer is dry, lightly sand the entire surface with fine-grit sandpaper (220-grit). This will knock down any raised grain that the primer may have caused and create an ultra-smooth surface for your paint.
Clean Off Dust: Again, thoroughly clean off all the dust with a vacuum, damp cloth, and finally a tack cloth.
This two-coat priming process is often necessary for MDF. Some experts recommend applying a second coat of primer after the first sanding.
Step 4: Apply the First Coat of Paint
Now for the color!
Choose Your Paint Type: Latex, acrylic, or oil-based paints are all good choices. For durability and a smooth finish, semi-gloss or satin sheens tend to hide imperfections better than matte finishes.
Apply Evenly: Using a good quality brush or roller, apply your first coat of paint. Work in smooth, consistent strokes. If using a roller, use light pressure to avoid creating too much texture. For edges and details, use a brush.
Avoid Over-Working: Try not to overwork the paint, which can lead to brush marks or an uneven texture.
Let it Dry Completely: Allow the first coat of paint to dry thoroughly. This is essential before sanding or applying another coat.
Step 5: Sand and Clean (Again!)
Yes, more sanding! This intermediate sanding is what really elevates the finish.
Light Sanding: Once the first coat of paint is fully dry, give the entire piece a very light sanding with extra-fine grit sandpaper (220-grit or higher). The aim is simply to smooth out any minor imperfections or dust nibs that may have settled. You don’t want to sand through the paint.
Clean Thoroughly: Remove all dust meticulously with a vacuum, then a tack cloth or a clean, dry microfiber cloth.
Step 6: Apply Additional Coats of Paint
Build up your finish gradually for the best results.
Apply Second Coat: Apply a second coat of paint, following the same technique as the first.
Repeat if Necessary: Depending on the paint color and coverage, you might need a third coat for complete opacity and a rich color.
Intermediate Sanding: After each coat of paint (before the final coat), repeat the light sanding and thorough cleaning process. This is the secret to a glass-smooth finish.
Step 7: The Final Coat and Curing
Apply the Final Coat: Apply your last coat of paint without sanding beforehand. Let it dry fully.
Curing Time: While paint is dry to the touch relatively quickly, it takes time to fully cure and reach its maximum hardness and durability – often several days to a couple of weeks. Be gentle with your newly painted MDF during this period. Avoid heavy use or cleaning with harsh chemicals.
Best Types of Paint and Primer for MDF
Choosing the right primer and paint is critical for achieving a durable and smooth finish on MDF. Different types offer varying levels of sealing and adhesion.
Primers for MDF:
Shellac-Based Primers: These are excellent for sealing MDF, especially the edges. They dry fast and create a very hard, moisture-resistant barrier. They are also great for blocking stains. Look for brands like Zinsser B-I-N.
Oil-Based Primers: These offer good adhesion and sealing properties. They are a bit more durable than latex but can take longer to dry and might require mineral spirits for cleanup.
High-Quality Water-Based (Latex/Acrylic) Primers: Many modern water-based primers are formulated to seal porous surfaces effectively. Look for those advertised as “high-hide” or specifically for “problem surfaces.” They are easier to clean up and have lower VOCs (Volatile Organic Compounds).
Paints for MDF:
Acrylic Latex Paint: This is the most popular choice for DIYers. It’s durable, available in a vast array of colors, easy to clean up with water, and has low VOCs. For painted MDF, a satin, semi-gloss, or gloss finish is often preferred as they are more durable and easier to clean than matte finishes.
Oil-Based Enamel Paint: These paints create a very hard, durable, and smooth finish, similar to what you see on professional cabinetry. However, they have strong fumes, slower drying times, and require mineral spirits for cleanup.
Lacquer or Water-Based Lacquers: If you have access to a spray setup and are comfortable with it, lacquers offer a very hard, smooth, and fast-drying finish. However, they require specialized equipment and safety precautions.
Pro Tip: For a particularly durable finish, consider using a high-quality cabinet-grade paint. These are formulated for high-traffic surfaces and are very forgiving to clean.
Troubleshooting Common MDF Painting Problems
Even with the best intentions, you might run into a few bumps in the road. Here are some common issues and how to fix them:
Problem: Paint is soaking in, and the finish looks uneven.
Cause: Insufficient priming. MDF is very porous.
Solution: You need more primer! Sand down the uneven areas until smooth, re-prime (ensure you use a good quality primer and cover all surfaces and edges thoroughly), and let it dry completely before painting again. You might need two or even three coats of primer before painting.
Problem: The edges of the MDF are swelling or getting fuzzy.
Cause: Too much moisture from primer or paint, especially on the cut edges.
Solution: Seal the edges thoroughly with primer first. Apply primer only to the edges and let it soak in. You may need multiple coats just on the edges. When painting, apply thin, even coats rather than one thick, wet coat. If swelling occurs, let it dry completely, then sand the affected area smooth before proceeding.
Problem: Brush marks are visible.
Cause: Paint being applied too thickly, or using the wrong brush/roller.
Solution: Use a high-quality brush or roller designed for the type of paint you’re using. Apply paint in consistent, thin coats. For a smoother finish, consider using a foam roller for large areas and laying off the final stroke with a good quality brush in one direction. You can also lightly sand between coats to smooth out imperfections.
Problem: The paint finish isn’t as smooth as you’d hoped.
Cause: Insufficient sanding between primer and paint coats, or between paint coats.
Solution: This is where patience pays off! Ensure you are lightly sanding with fine-grit sandpaper (220 or higher) between every primer and paint coat. Crucially, clean off all dust meticulously after each sanding. A tack cloth is your best friend here.
What Grit Sandpaper to Use for MDF?
The grit of sandpaper you use depends on the stage of the project:
Initial Smoothing (after cutting, before priming): 120-180 grit
Sanding after Filler/Caulk: 180-220 grit
Sanding between Primer and Paint Coats: 220-320 grit (very lightly!)
Sanding between Paint Coats: 220-400 grit (very lightly!)
Always sand lightly and don’t try to remove too much material. The goal is to smooth, not resurface.
Caring for Your Painted MDF Projects
Once your masterpiece is complete, proper care will ensure it stays beautiful for years.
Gentle Cleaning: Use a soft, damp cloth to clean surfaces. For tougher grime, use a mild soap and water solution, then wipe dry.
Avoid Harsh Chemicals: Harsh cleaners, abrasive pads, or solvents can damage the paint finish.
Protect from Moisture: While sealed, MDF is not waterproof. Avoid prolonged exposure to excessive moisture.
* Be Mindful of Impact: While the paint cures, the MDF itself can still gouge or dent under severe impact. Use caution in high-traffic areas.

Conclusion
So, can you paint MDF? Absolutely, and with these tips, you can achieve a finish that rivals professional work. By paying close attention to surface preparation, using the right primer and paint, and employing light sanding between coats, you unlock MDF’s potential as a beautiful canvas.
Remember, the key lies in sealing that porous material effectively and building up your finish smoothly and patiently. Each step, from that initial clean wipe-down to the final, gentle sanding, brings you closer to a flawless result. Don’t be intimidated by the extra steps; they are what transform a humble piece of MDF into a stunning, durable part of your home decor.
Now you have the knowledge and the confidence to tackle your next painted MDF project. Grab your supplies, set up your workspace safely, and get ready to create something amazing. You’ve got this!
Frequently Asked Questions (FAQ)
Q1: Do I really need to prime MDF before painting?
A1: Yes, absolutely! MDF is very porous and will soak up paint like a sponge without primer. Priming seals the surface, prevents excessive paint absorption, ensures even color, and helps the paint adhere properly for a smooth, durable finish.
Q2: Can I use regular house paint on MDF?
A2: Yes, you can use most types of regular house paint, such as latex or acrylic. However, for the best durability and finish on MDF, consider using paints formulated for cabinets or trim, which are often harder and more resistant to wear and tear. Always use a good quality primer first.
Q3: How many coats of primer and paint should I use on MDF?
A3: For primer, one thorough coat might suffice on some surfaces, but two coats are often recommended for MDF, especially on the edges, to ensure complete sealing. For paint, two to three coats are usually necessary to achieve full, even coverage and a rich color, especially if you’re painting over a dark surface or using a lighter color.
Q4: Will painting MDF prevent it from swelling if it gets slightly wet?
A4: Painting and priming MDF will make it much more resistant to moisture. However, MDF is not waterproof. If it’s exposed to significant moisture or prolonged dampness, it can still swell. Proper sealing with primer and paint helps protect it from minor spills and humidity, but it’s best to keep it away from very wet environments.