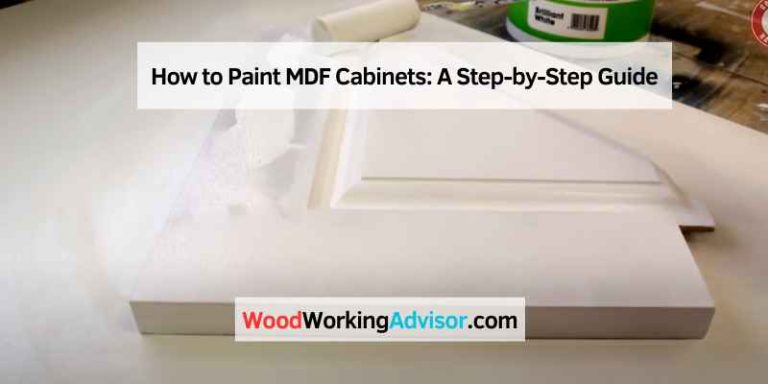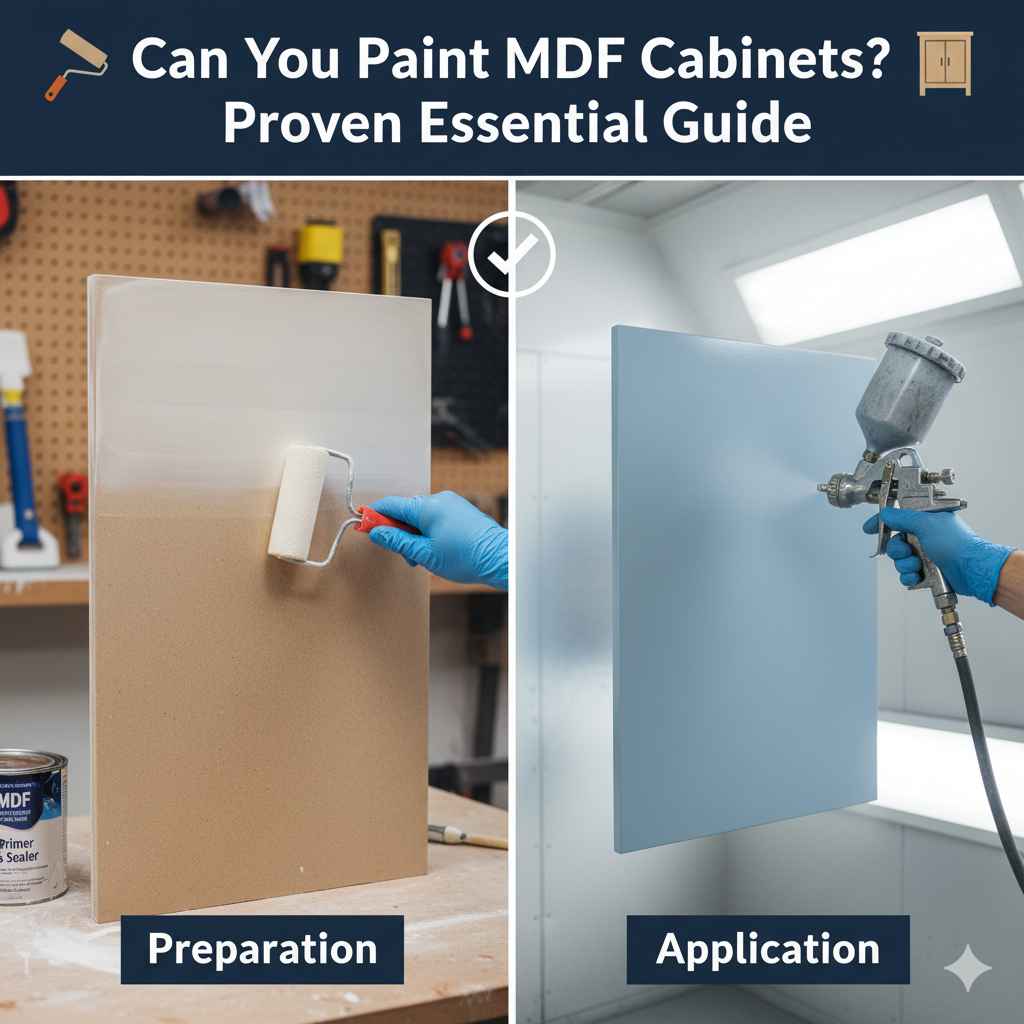
Can You Paint MDF Cabinets? Proven Essential Guide
Yes, you absolutely can paint MDF cabinets! With the right preparation and technique, MDF can be transformed into a beautiful, durable, and refreshed cabinet surface that looks professionally done. This guide will walk you through every step with simple instructions.
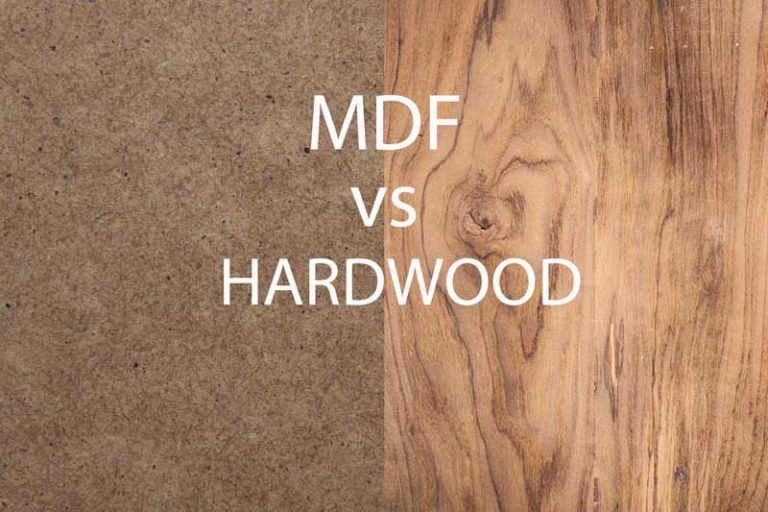
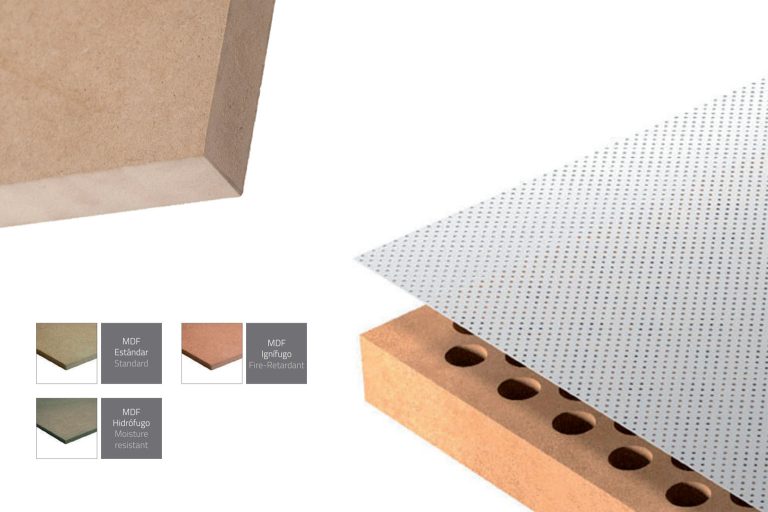
Cabinet makeovers can seem daunting, especially when you’re unsure about the material. MDF (Medium-Density Fiberboard) is a popular choice for cabinets, but many DIYers wonder if it’s paintable. The good news is, yes, it is! With a few key steps, you can give your MDF cabinets a stunning new look. You might be hesitant, thinking it will be too tricky or might not turn out well. But don’t worry! I’m here to show you exactly how to get smooth, professional-looking results, making your cabinets look brand new without breaking the bank. Let’s get started on this rewarding DIY project!
Why Paint MDF Cabinets?
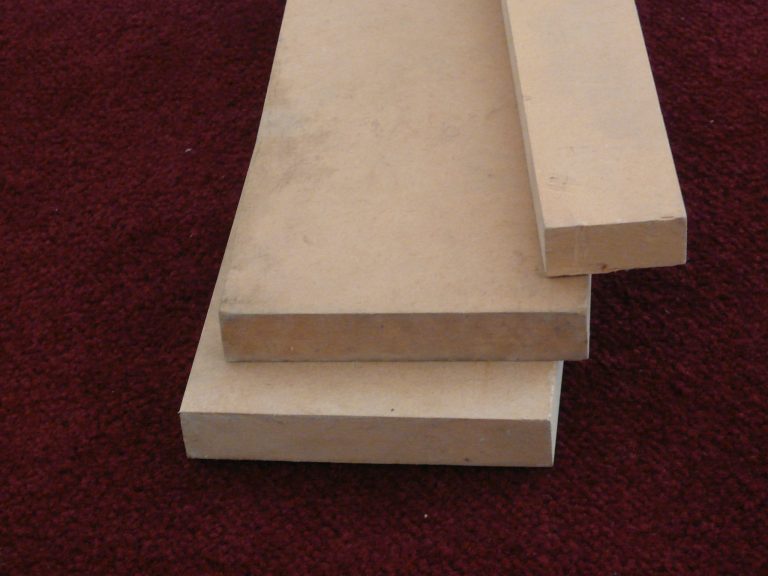
MDF is a fantastic material for cabinets. It’s stable, consistent, and doesn’t warp like solid wood can. Plus, it’s often more affordable. However, its factory finish might not always match your home’s style, or it might be showing signs of wear. Painting is a budget-friendly way to:
- Update your kitchen or bathroom style: Change from an outdated look to a modern, farmhouse, or your desired aesthetic.
- Refresh worn cabinets: Cover up scratches, scuffs, and faded finishes.
- Save money: Avoid the cost of replacing entire cabinets.
- Achieve a custom look: Choose any color to perfectly match your decor.
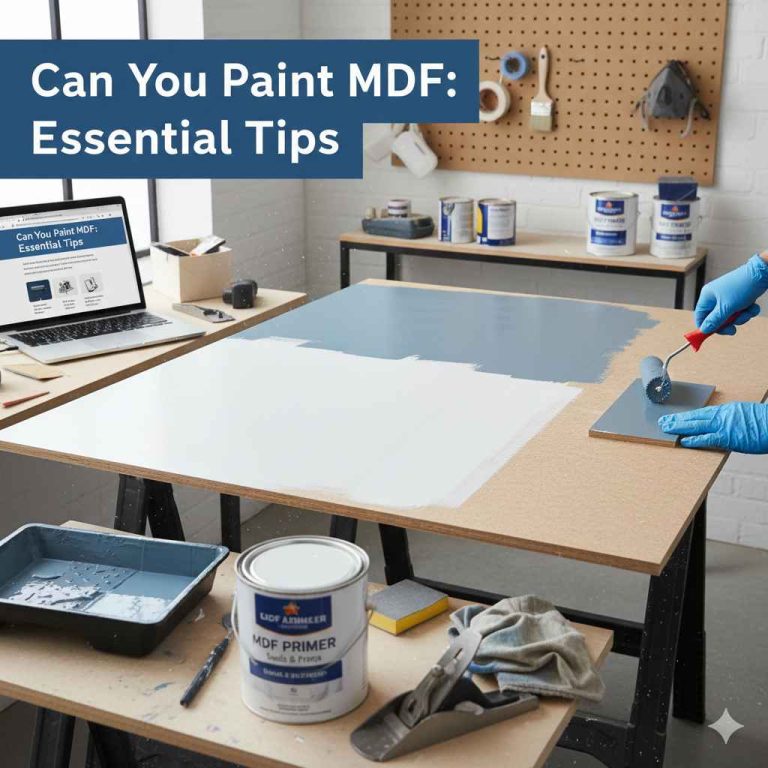
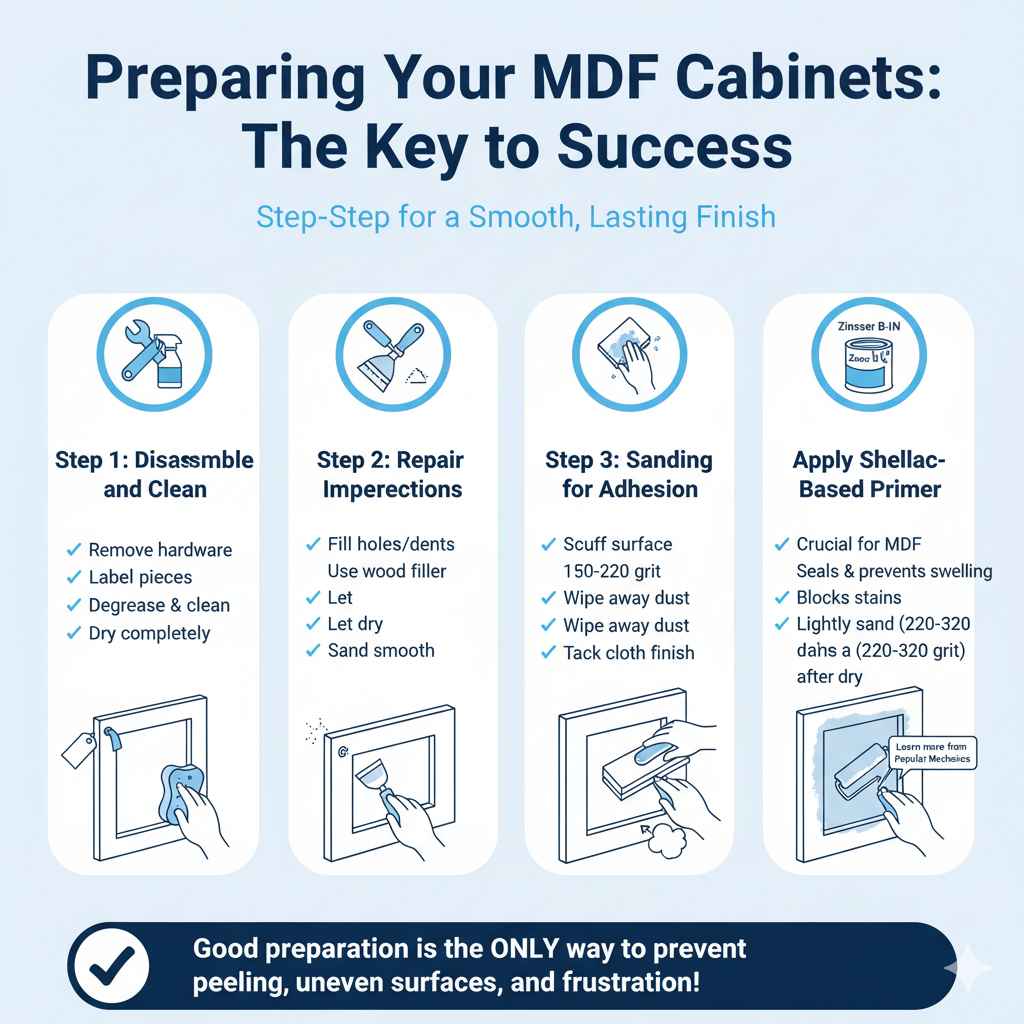
Preparing Your MDF Cabinets: The Key to Success
This is the most crucial step. Good preparation ensures your paint adheres properly and gives you a smooth, lasting finish. Skipping this can lead to peeling, uneven surfaces, and frustration. We’ll go through it step-by-step.
Step 1: Disassemble and Clean
Start by removing all the cabinet doors and drawers from their frames. Take off any hardware like hinges, knobs, and handles. This ensures you get a clean, even coat of paint everywhere. Don’t forget to label which door or drawer goes where, especially if they aren’t all identical.
Next, give everything a thorough cleaning. Use a degreaser or a mild soap and water solution to remove any grease, dirt, or grime. Kitchen cabinets can accumulate a lot of cooking grease, which paint won’t stick to. Rinse well with clean water and allow everything to dry completely.
Step 2: Repair Imperfections
Inspect your MDF cabinets for any damage. Fill any holes, dents, or gouges with an appropriate wood filler designed for MDF or composite materials. For larger damage, you might consider a spackling compound. Apply the filler according to the product’s instructions, letting it dry completely. Once dry, sand the filled areas smooth to be flush with the surrounding surface.
Step 3: Sanding for Adhesion
Even if your cabinets are in good condition, sanding is essential to create a surface that paint can grip onto. Use a fine-grit sandpaper, around 150-220 grit. You don’t need to remove the existing finish, just scuff it up. Sand all surfaces you plan to paint: doors, drawer fronts, and cabinet frames. If you plan to use a bonding primer, heavy sanding might not be as critical, but a light scuff is always a good idea for better adhesion.
After sanding, wipe down all surfaces with a damp cloth or tack cloth to remove all dust. Dust is the enemy of a smooth paint finish!
Step 4: Apply Shellac-Based Primer
This is where MDF really needs special attention. MDF is porous, and water-based primers can cause it to swell and leave a fuzzy texture. A shellac-based primer is highly recommended for MDF. It seals the material, prevents swelling, blocks stains, and provides an excellent surface for paint to adhere to. Brands like Zinsser B-I-N are excellent choices. You can learn more about primer types from resources like Popular Mechanics.
Apply a thin, even coat of the shellac-based primer. Let it dry completely according to the manufacturer’s instructions. Once dry, lightly sand the primed surfaces with a fine-grit sandpaper (220-320 grit) to smooth out any imperfections or raised grain. Wipe away all dust.
Choosing the Right Paint for Your MDF Cabinets
The type of paint you choose significantly impacts the durability and finish of your cabinets. For cabinets, you want something that is durable, washable, and provides a smooth finish.
Recommended Paint Types
- Cabinet Paint: These are specifically formulated for cabinets, offering excellent durability, a smooth finish, and often self-leveling properties. Many are tints of enamel paints.
- Water-Based Enamels (Acrylic Latices): High-quality acrylic latex enamels are a great choice. Look for satin, semi-gloss, or gloss finishes, as these are more durable and easier to clean than matte finishes. They offer good coverage and are easier to clean up than oil-based paints.
- Oil-Based Enamels: These provide an extremely hard, durable finish and level out beautifully for a smooth appearance. However, they have strong fumes, require mineral spirits for cleanup, and can yellow over time.
Paint Finish
The sheen of your paint affects both durability and aesthetics:
- Satin: Offers a soft sheen, hides imperfections well, and is moderately durable and easy to clean. A good all-around choice.
- Semi-Gloss: Provides a noticeable sheen, is very durable, and wipes clean easily. It’s a popular choice for kitchen and bathroom cabinets.
- Gloss: The most reflective and durable finish. It highlights every imperfection but is extremely easy to clean. Best for a high-shine, modern look if surfaces are perfect.
For MDF, a satin or semi-gloss enamel paint is usually the sweet spot for a balance of durability, cleanability, and unforgiving nature regarding surface imperfections.
The Painting Process: Step-by-Step
Now for the fun part – applying the paint! Patience and thin coats are key to a professional look.
Step 1: Apply the First Coat of Paint
Stir your paint thoroughly. Avoid shaking, which can create air bubbles. Apply a thin, even coat of your chosen paint. You can use a high-quality synthetic bristle brush for edges and details, and a foam roller or a small microfiber roller for the larger, flat surfaces. Rollers generally provide a smoother, more even finish on larger areas.
Work in sections, maintaining a wet edge to avoid lap marks. If painting cabinet doors, avoid overworking the paint, which can cause drips and unevenness. Let the first coat dry completely according to the paint manufacturer’s recommendations.
Step 2: Sand and Clean (Again!)
Once the first coat is dry, it’s time for another light sanding. Use a very fine-grit sandpaper (e.g., 320-400 grit) or a sanding sponge. This step smooths out any imperfections, dust nibs, or slight texture that may have appeared. The goal is a silky-smooth surface.
After sanding, thoroughly clean all surfaces with a damp cloth or tack cloth to remove all sanding dust. This ensures the next coat adheres well and remains smooth.
Step 3: Apply Subsequent Coats
Apply a second thin, even coat of paint, using the same technique as the first. Allow it to dry completely. After the second coat, examine your work for any areas that might need a touch-up or a third coat. Most projects benefit from at least two coats, but sometimes three are necessary for full coverage and depth of color, especially with lighter colors over a darker primer or original finish.
Repeat the light sanding and cleaning process between each coat. Patience here will pay off immensely in the final result.
Step 4: Reassemble
Once the final coat of paint is completely dry and cured (this can take several days to a week, check your paint can for specifics), it’s time to reassemble. Reattach the hinges, knobs, and handles. Carefully rehang the doors and reinstall the drawers.
Pros and Cons of Painting MDF Cabinets
Like any project, painting MDF cabinets has its advantages and disadvantages. Understanding these can help you decide if it’s the right project for you.
| Pros | Cons |
|---|---|
| Affordable: Significantly cheaper than replacing cabinets. | Surface Imperfections: MDF is not perfectly flat and can show imperfections under a glossy finish. |
| Updated Look: Transforms the appearance of dated cabinets. | Edgewear: Edges can be more prone to chipping if not properly sealed and painted. |
| Customizable: Allows for any color or finish to match decor. | Requires Thorough Prep: Improper preparation leads to peeling and a poor finish. |
| Durable Finish: With the right paint and prep, can be very durable and washable. | Time-Consuming: Proper preparation and multiple thin coats require patience. |
| DIY Friendly: Achievable for beginners with clear instructions. | Susceptible to Water Damage: If not properly sealed, MDF can swell when exposed to moisture for extended periods. |
Essential Tools and Materials Checklist
Gathering everything you need before you start will make the process smooth and efficient. Here’s a checklist to help you out:
Materials:
- Cabinet-safe cleaner/degreaser
- Wood filler (if needed)
- Fine-grit sandpaper (150-220 grit for initial sanding, 320-400 grit for between coats)
- Tack cloths or damp rags
- Shellac-based primer (e.g., Zinsser B-I-N)
- Cabinet paint (satin or semi-gloss enamel)
- Painter’s tape (optional, for protecting surrounding areas)
Tools:
- Screwdriver (for removing hardware)
- Sanding block or orbital sander (optional, for larger surfaces)
- High-quality synthetic bristle brushes
- Foam rollers or small microfiber rollers
- Paint tray
- Drop cloths
- Safety glasses
- Dust mask
- Gloves
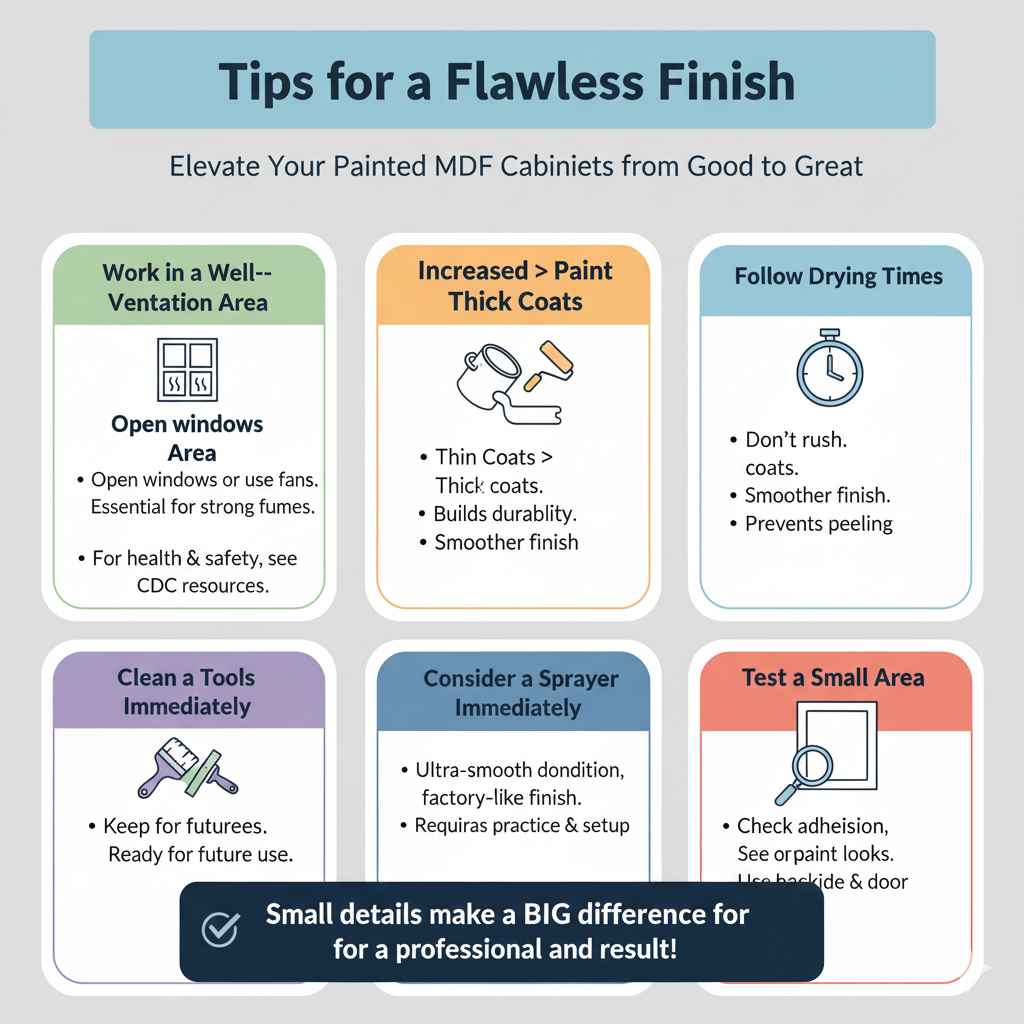
Tips for a Flawless Finish
Beyond the steps, a few extra tips can elevate your painted MDF cabinets from good to great:
- Work in a well-ventilated area: Especially important when using primers and paints with strong fumes. Open windows or use fans. For health and safety, ensure you understand ventilation best practices; the CDC provides excellent resources on indoor air quality.
- Thin coats are better than thick coats: Multiple thin coats build up a more durable and smoother finish than one or two heavy coats.
- Follow drying times: Don’t rush the drying process between coats. This is critical for proper adhesion and preventing issues.
- Clean your tools immediately: Clean brushes and rollers right after use to keep them in good condition for future projects.
- Consider a sprayer: For an ultra-smooth, factory-like finish, a paint sprayer can be a fantastic option, but it requires more practice and setup.
- Test a small area: If you’re unsure about the adhesion or how the paint will look, test it on the backside of a door or an inconspicuous area first.
Frequently Asked Questions (FAQ)
Q1: Will painting MDF cause it to swell?
MDF can swell if it absorbs too much moisture. Using a shellac-based primer is key, as it seals the MDF and prevents moisture from the paint from being absorbed. Applying paint in thin coats also minimizes moisture exposure.
Q2: What is the best primer for MDF cabinets before painting?
A shellac-based primer is highly recommended. It offers superior adhesion, stain blocking, and seals the porous surface of MDF effectively without causing it to swell, unlike some water-based primers.
Q3: Can I use spray paint on MDF cabinets?
Yes, you can use spray paint, but it requires careful prep and thin, even coats. A spray primer designed for furniture or laminate is a good start. For the best results and durability, a high-quality enamel paint applied with a sprayer (like an HVLP sprayer) or with brush/roller is often preferred.
Q4: How many coats of paint do I need for MDF cabinets?
Typically, two to three thin coats of paint are recommended. This ensures full coverage, durability, and a smooth finish. Always allow each coat to dry thoroughly and lightly sand between coats.
Q5: How long does it take to paint MDF cabinets?
The actual painting might take a day or two, but the entire process, including disassembly, cleaning, prep, priming, painting, and drying/curing, can take anywhere from several days to a week or more, depending on drying times and the number of coats.
Q6: Can I paint over the existing finish on my MDF cabinets?
Yes. Provided the existing finish is clean, intact, and lightly scuffed (sanded), you can paint over it. The crucial steps are thorough cleaning, proper priming (especially with a shellac-based primer), and using good quality paint.
Conclusion: Your Beautifully Painted MDF Cabinets Await!
Painting MDF cabinets is a rewarding project that can dramatically update your home’s look without a huge expense. By following these detailed steps, especially focusing on preparation, priming with a shellac-based primer, and applying thin, even coats of quality paint, you can achieve professional-looking results. Remember, patience is your best tool here. Take your time with each stage, from cleaning and sanding to the final coat. You’ll be amazed at how fresh and new your cabinets will look. So gather your supplies, clear your workspace, and get ready to transform your kitchen or bathroom with your own beautifully painted MDF cabinets!