How to Make MDF Look Like Wood (Realistic Wood Grain)
MDF’s flat, grain-free surface is usually treated as a limitation, but it’s actually a blank canvas for a faux wood-grain finish. Here’s the real technique that makes it convincing, not just painted.
The Real Technique: Base Coat, Glaze, and a Graining Tool
The Actual Tool That Makes This Work
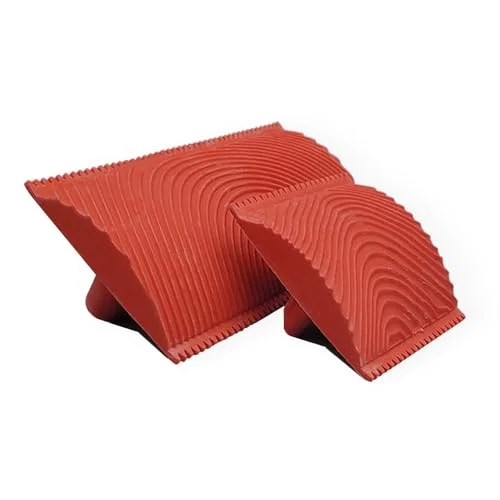 |
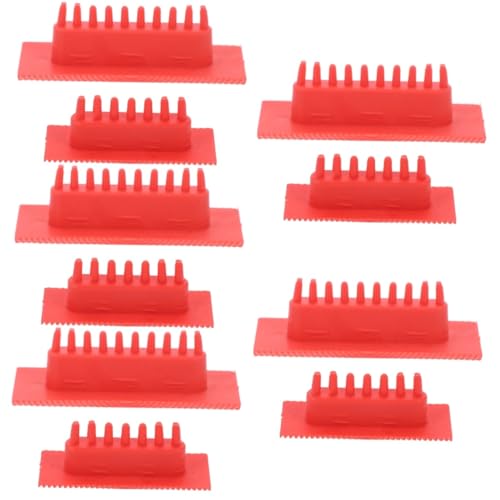
Retique It Wood Grain Tool Set (3″ & 6″) – $19.99 A brush alone can’t reproduce a convincing grain pattern — this rubber rocker tool is what actually pulls the wavy, realistic lines through a wet glaze coat.
|
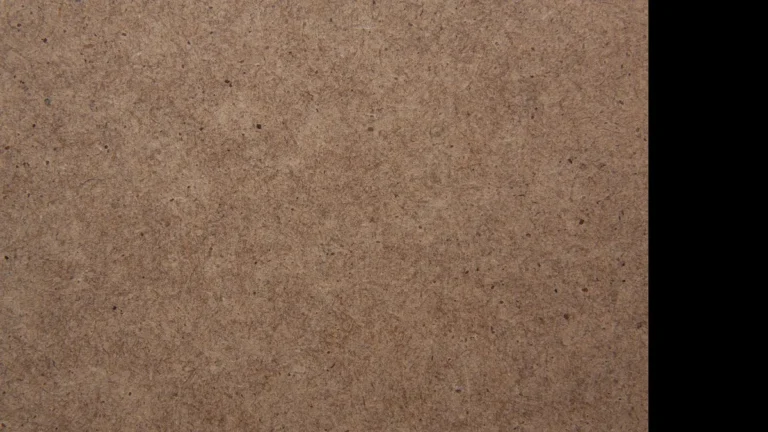
MDF can convincingly look like real wood, but painting a wood-tone color on flat isn’t enough — the actual grain pattern comes from dragging a rubber wood-graining tool through a wet glaze layer over a base coat, which is what creates the wavy lines and depth that read as real wood grain. MDF’s smooth, dense surface (it has no natural grain of its own) is actually an advantage here: it gives you a perfectly even canvas to apply a faux grain pattern to, without any of wood’s own real grain competing with what you’re painting on.
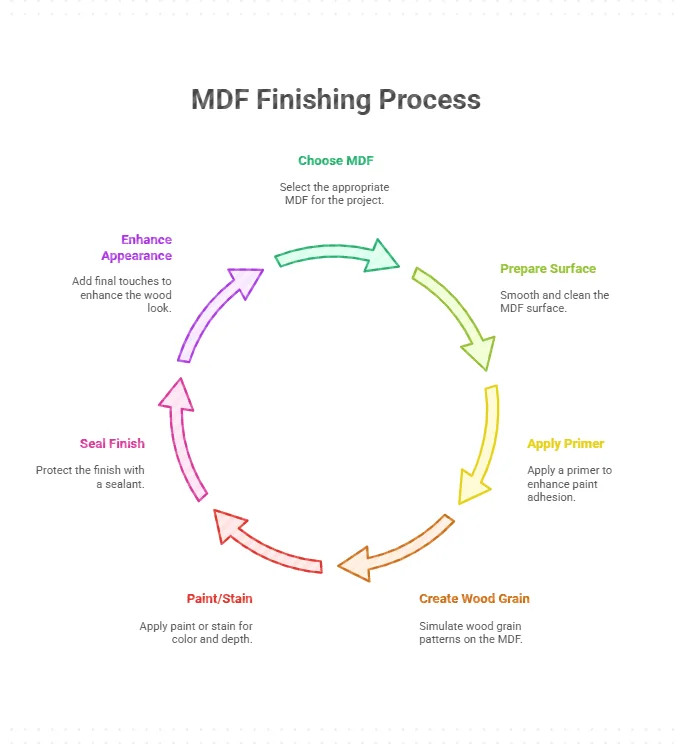
Prep the Surface
- Sand with coarse-grit sandpaper to knock down any rough spots or mill marks, then switch to fine-grit for a smooth final surface.
- Wipe away all dust with a damp cloth, then a tack cloth for the fine particles a damp cloth misses — leftover dust shows up as texture under the finish.
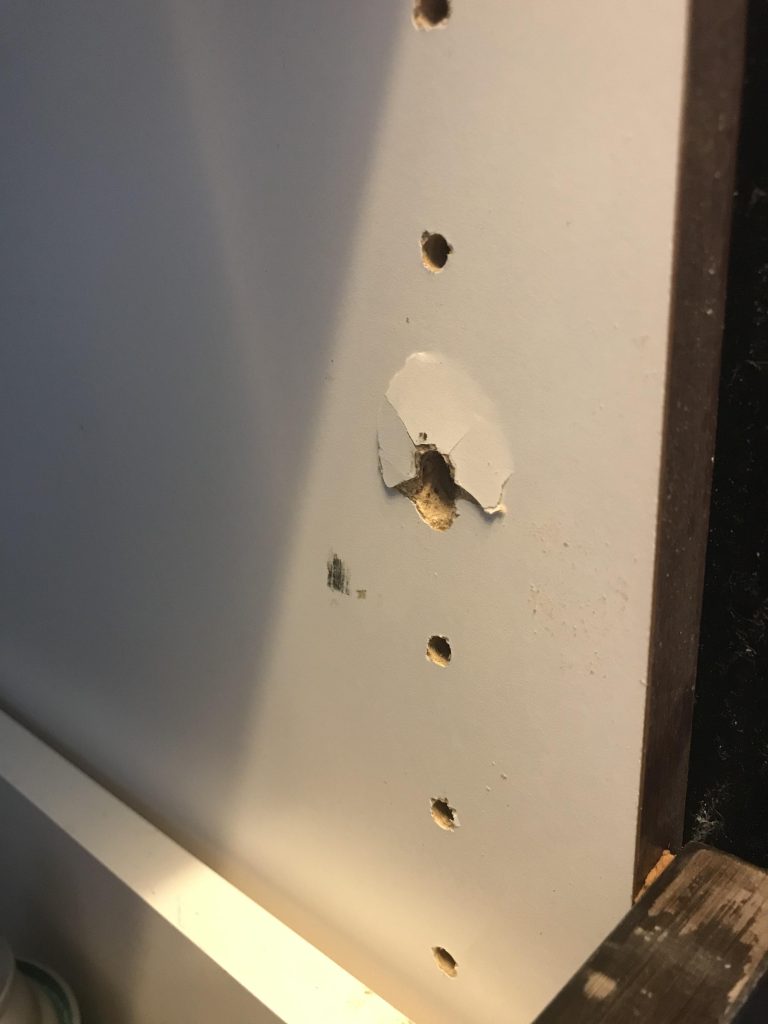
- Apply a primer labeled for wood or MDF specifically in thin, even coats, letting each dry fully. A good primer fills the tiny surface pores MDF has and gives the paint something consistent to grip — skipping it is the most common reason a finish looks patchy.
Creating the Wood Grain Pattern
Paint a solid base coat in your target wood tone and let it dry completely. Mix a glaze in a contrasting, slightly darker shade and apply it over the base coat while it stays workable. Drag the wood-graining tool through the wet glaze in a rocking, wave-like motion — the rocking action is what produces the arched grain-line pattern, not a straight pull. Practice on a scrap piece of MDF first; the pressure and rocking speed both change the pattern significantly, and it’s much cheaper to get the feel for it before working on your actual project.
For extra realism, add a second, even darker glaze afterward with a fine brush, painting thin lines that follow the same direction as the grain you just created, then soften everything with a dry brush to blend the layers together. This second pass is what pushes the result from “faux finish” toward “looks like an actual board.”
Choosing Colors
Pick a base tone that matches the real wood species you’re imitating — warm tans and browns for oak or maple, deeper reddish-browns for cherry or mahogany. Always test your color combination on a scrap piece first; wood-tone stains and glazes read differently once they’re dry than they do wet in the container.
Sealing the Finish
Once the glaze work is fully dry, seal it with 2-3 thin coats of polyurethane (durable, glossy) or an acrylic sealant (dries faster, easy application), letting each coat cure before the next. This protective layer is what actually determines how long the finish holds up to daily handling and cleaning — the grain painting underneath is purely cosmetic and has no durability of its own.
Common Mistakes to Avoid
- Skipping or rushing primer: leads to a patchy, uneven base that no amount of glaze work can fix later.
- Using a cheap brush for the base coat: leaves visible brush streaks that read as “painted,” not “wood.”
- Applying glaze too thick: the graining tool can’t drag through it cleanly, and the pattern comes out muddy instead of crisp.
- Not testing on scrap first: both color and graining-tool technique look different in practice than in your head — always test before committing to the real piece.
Frequently Asked Questions
Can MDF really be made to look like real wood?
Yes, convincingly, using a base coat plus a glaze layer worked with a rubber wood-graining tool to create realistic grain lines, then sealed with a protective topcoat. A flat paint color alone won’t look like wood; the graining tool step is what makes the difference.
What primer should I use on MDF before painting it to look like wood?
A primer specifically labeled for wood or MDF. It seals MDF’s porous edges and surface, giving the paint and glaze a consistent, even base to grip instead of soaking in unevenly.
How do you create the wood grain pattern on MDF trim?
Paint a base coat, apply a darker glaze while the base is dry, then drag a rubber wood-graining tool through the wet glaze in a rocking motion to create arched grain lines. Practice on scrap MDF first to get a feel for the pressure and speed.
Conclusion
Making MDF look like real wood comes down to three real steps: prime and sand it properly, use a graining tool through a wet glaze to build actual grain lines rather than just a flat color, and seal the result. Skip the graining tool and it reads as painted; do all three and it genuinely passes for real wood.
Sponsored / affiliate links. As an Amazon Associate I earn from qualifying purchases. I may earn additional commission from eligible campaigns.