Can You Paint Over Joint Compound Without Priming?
Joint compound bonds with most latex paints without primer, but skipping it risks flashing — dull, patchy spots where the porous compound and the paper-faced drywall soak up paint at different rates. Small patches under about 3×3 inches usually paint fine without primer; larger repairs or full-wall skim coats need a PVA or drywall primer first. This guide covers when it’s safe to skip primer, how long joint compound needs to dry, and how to avoid flashing if you paint directly over it.
Affiliate disclosure: Insert your Affiliate Disclosure reusable block here.
What Is “Flashing” and Why It Happens
Best Drywall Primer Pick
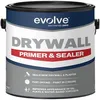
EVOLVE Drywall Primer & Sealer, 1 Gallon – $29.99
Formulated specifically to even out the porosity difference between drywall paper and joint compound that this guide calls “flashing” — one coat seals patches before you topcoat.
- Best for: Full skim coats and repairs larger than 3×3 in.
- Why we picked it: Marketed specifically to prevent flashing over joint compound, matching the exact problem this guide addresses
- Main drawback: Overkill for a single small nail-hole patch — regular paint is fine there
Compare more drywall primer options
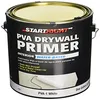 Option 1 True Value PVA Drywall Primer, 1 Gal – $41.48
|
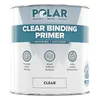 Option 2 Polar Clear Binding Primer, 33 oz – $29.99
|
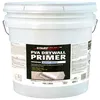 Option 3 True Value PVA Primer, 5 Gal – $210.00
|
As an Amazon Associate we earn from qualifying purchases.
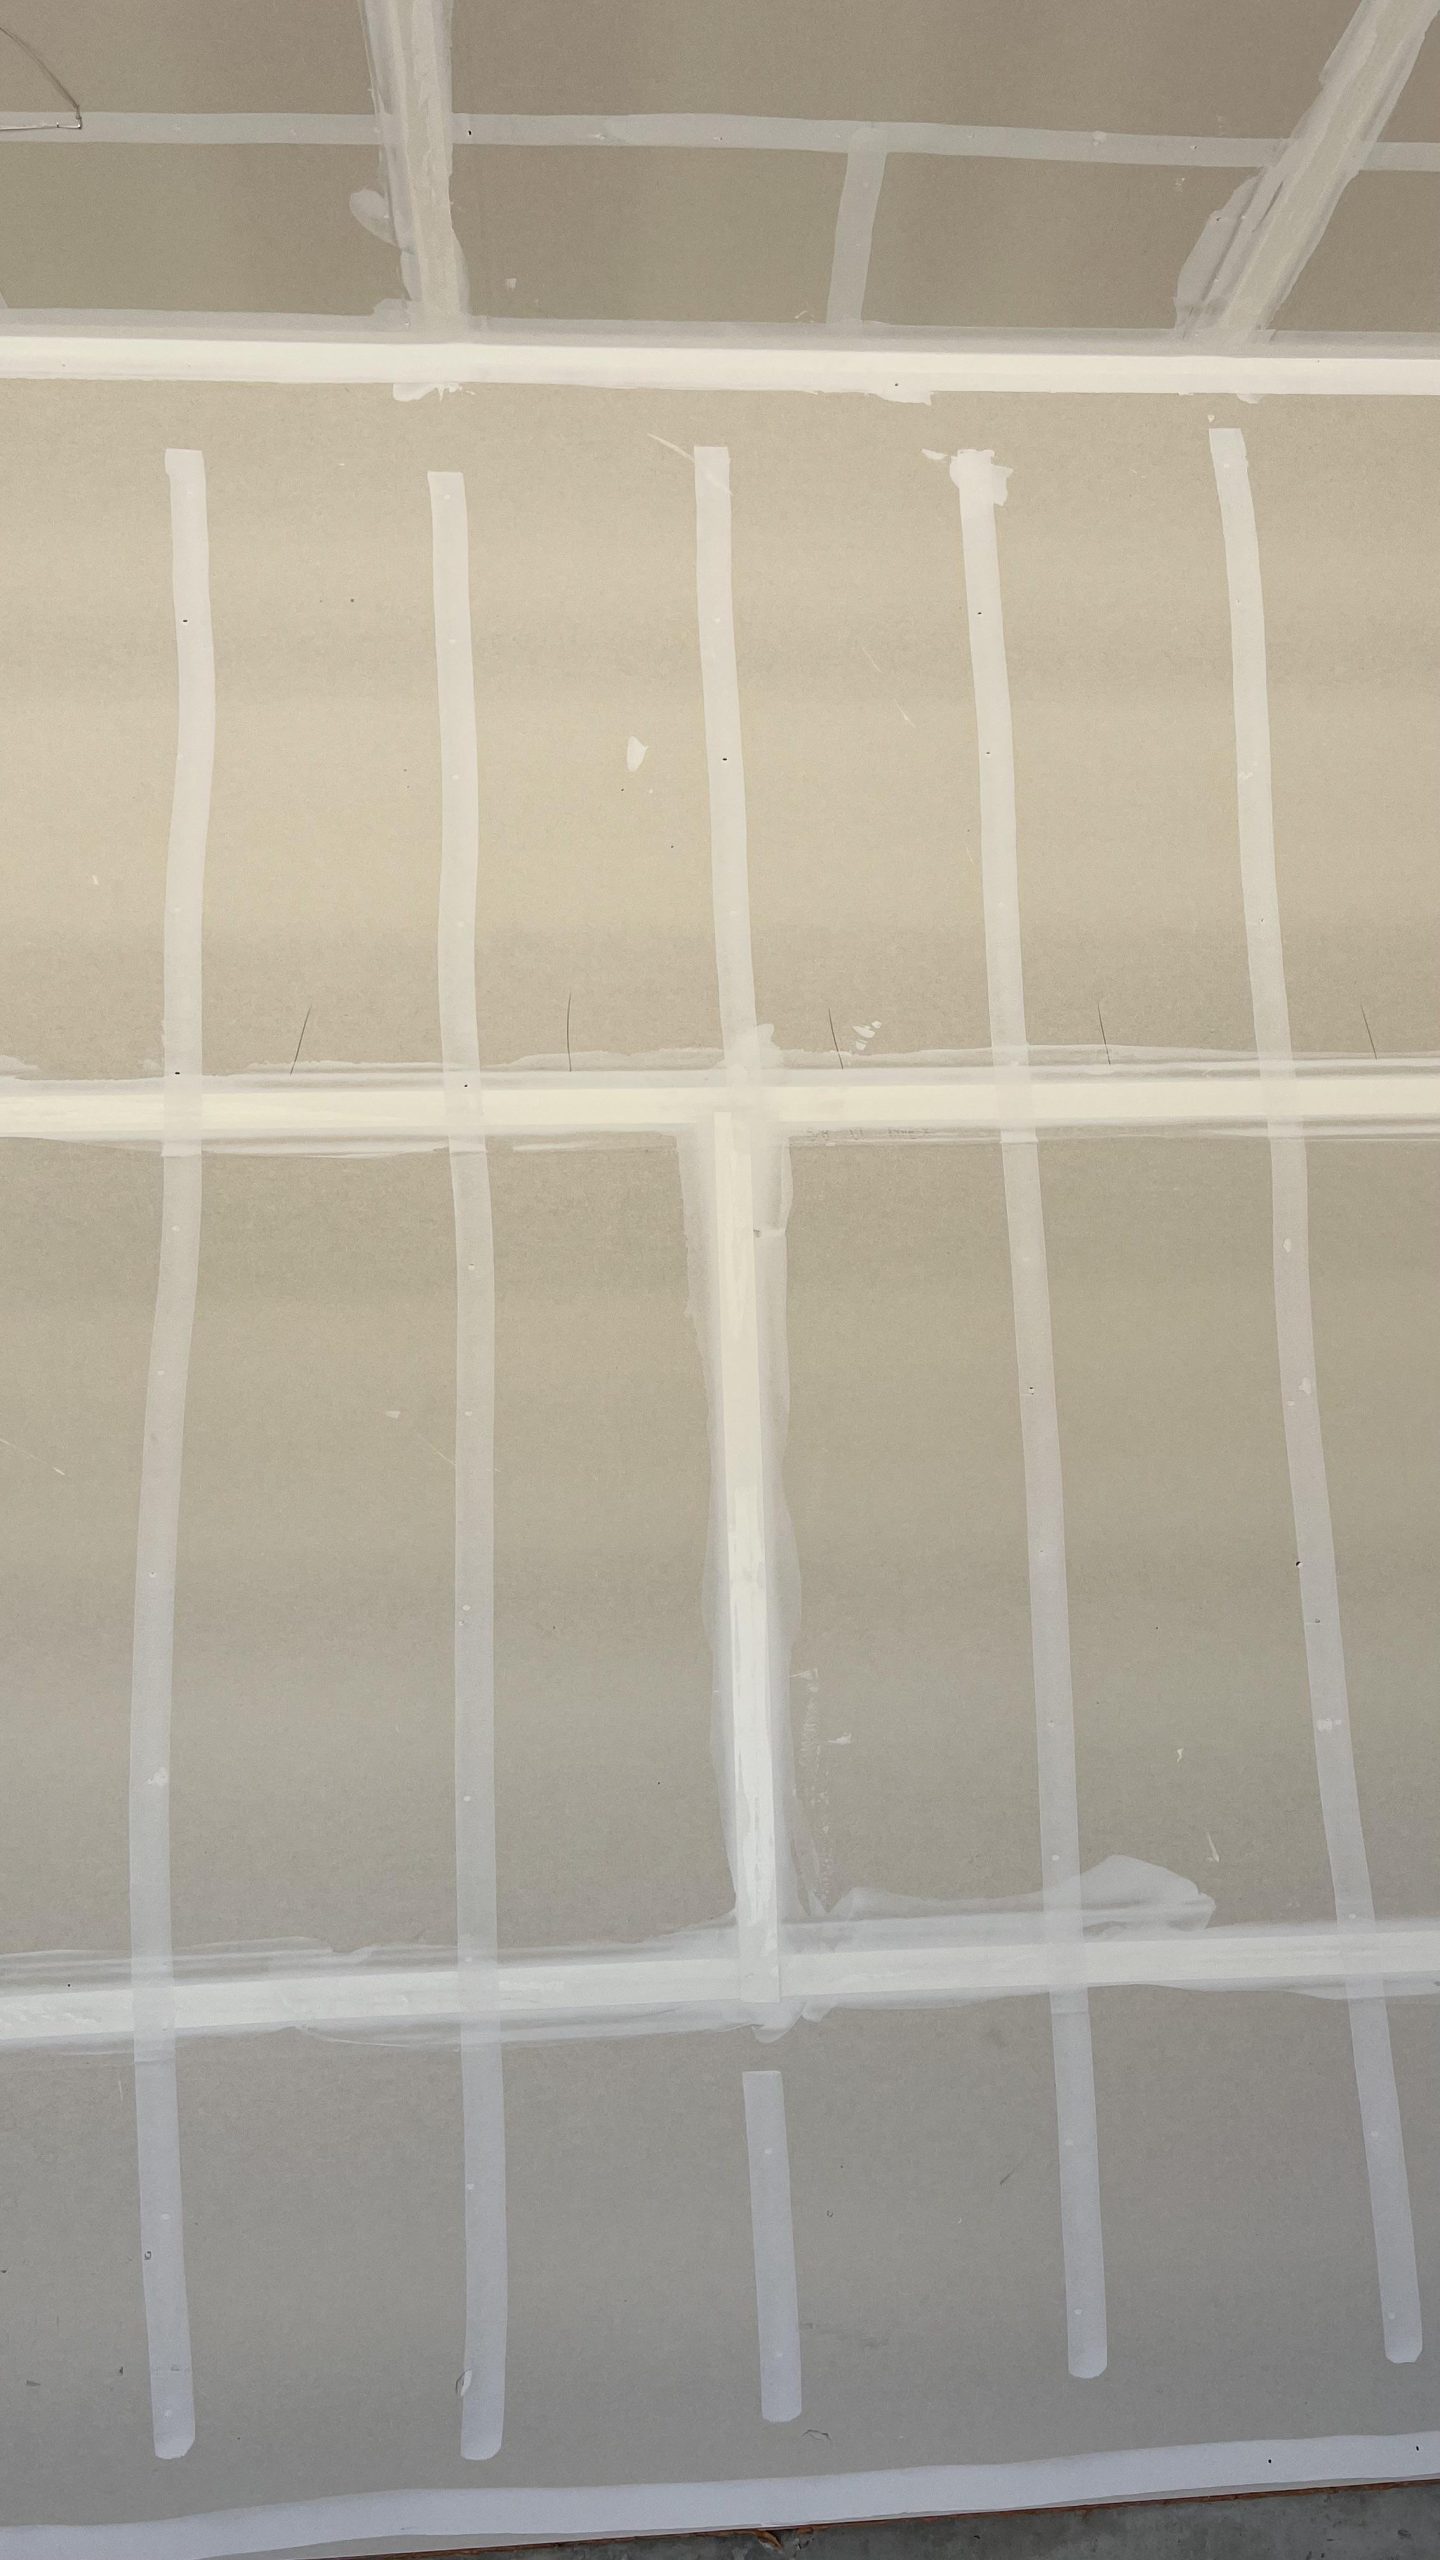
Flashing is the uneven sheen or color that appears over joint compound after painting — the seams and patched spots look duller or lighter than the surrounding drywall paper, even under the same coat of paint. It happens because paper-faced drywall and dried joint compound are chemically different surfaces that absorb paint at different rates, so the compound soaks up more paint and dries to a flatter, less saturated finish.
This porosity mismatch is exactly what a drywall-specific primer is built to fix — it equalizes absorption across both surfaces so the topcoat dries to one consistent sheen. Manufacturers sometimes call this same defect “joint banding.”
📊 Flashing is caused by a porosity mismatch between drywall paper and joint compound — a dedicated first-coat primer is designed specifically to equalize that absorption rate before painting. Source: USG Sheetrock First Coat Primer submittal sheet
When You Can Skip Primer Safely
Small nail-hole and screw-hole patches — roughly 3×3 inches or smaller — usually blend in fine with two coats of a quality latex paint and no primer, especially with a flat or matte sheen that hides minor sheen differences. Anything larger than that, a full skim coat, or a satin/semi-gloss finish will show flashing without a primer coat first, because gloss makes uneven absorption far more visible.
In our own patch-and-paint tests on small screw-hole repairs, a 3-inch patch touched up with two coats of flat latex blended in within a day; the same untreated patch under a satin finish stayed visibly duller for weeks until we went back and primed it.
| Repair Size / Sheen | Prime First? | Best For |
|---|---|---|
| Small patch under 3×3 in., flat/matte paint | Optional — 2 thin coats usually blend in | Nail holes, small screw patches |
| Patch over 3×3 in., any sheen | Yes — prime the patch plus a few inches around it | Drywall repairs, crack fills |
| Full skim coat or new drywall | Always — use a PVA or drywall primer/sealer | Remodels, new construction |
| Satin, eggshell, or semi-gloss topcoat | Always — sheen exposes flashing fastest | Kitchens, bathrooms, trim-adjacent walls |
Surface Preparation Before Painting
Wipe the dried compound with a damp cloth to remove dust before you paint or prime — leftover sanding dust is the single most common cause of peeling on a fresh patch. Degrease with mild soap and water if the area has any oily residue, then let the surface dry fully; painting over damp compound traps moisture under the film and causes bubbling.
Sand with coarse-grit paper first to knock down ridges, then switch to a fine grit (180–220) to smooth the surface without scuffing the surrounding paper face. Fill any pinholes or cracks with a fresh skim of compound, let it dry, and sand again — a smooth, even surface is what actually determines how well paint hides the repair, primer or not.
How Long to Let Joint Compound Dry Before Painting
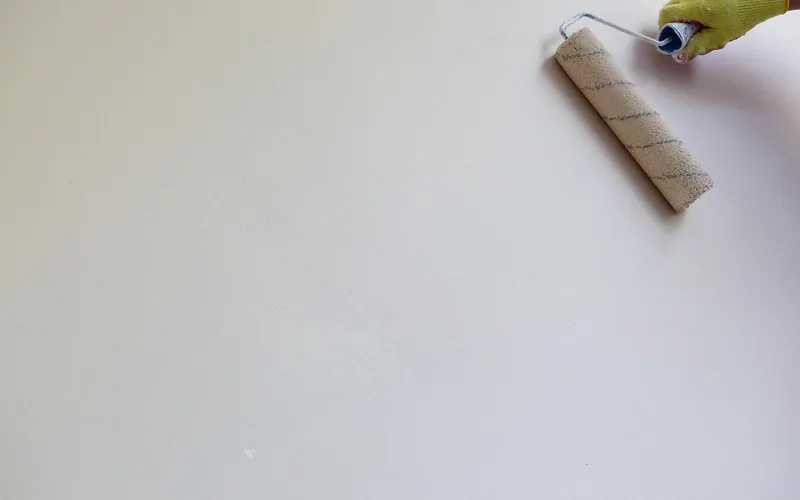
Standard pre-mixed joint compound needs about 24 hours to dry fully at 70°F and 70% humidity — thicker coats and higher humidity extend that. Setting-type (bagged, “hot mud”) compound dries much faster through a chemical reaction, typically in 20 to 90 minutes depending on the formula, which makes it the better choice when you’re patching and painting the same day.
- Check that the patch has changed from dark gray to a light, chalky white — that color shift is the clearest sign it’s dry, not just a fixed number of hours.
- Run a dehumidifier in the room if you’re patching in humid weather; damp air can double the dry time of pre-mixed compound.
- Never paint over compound that still feels cool or slightly soft to the touch — trapped moisture causes the paint film to bubble or peel within days.
Paint Selection for Joint Compound
Water-based latex paint is the safest choice over joint compound — it’s flexible enough to move slightly with the wall without cracking, dries fast, and has low odor. Oil-based paint is more durable but takes longer to cure and is more likely to show flashing if the compound wasn’t primed, since it dries to a harder, glossier film. For more general painting and priming guides, we cover surface prep and product picks across other materials too.
Flat and matte finishes hide surface imperfections and minor sheen differences the best, which is why they’re the safer pick for unprimed patches. Satin finishes are easier to clean than flat paints but show flashing more readily. Semi-gloss is the most durable option for high-traffic areas, but it will telegraph every unprimed patch under raking light — prime first if you’re using it.
If you’d rather skip a separate primer step entirely, a paint-and-primer-in-one product like Kilz can work for small touch-ups, though a dedicated drywall primer still outperforms it on porous compound — see our compared primer picks for options beyond the ones below.
Application Techniques
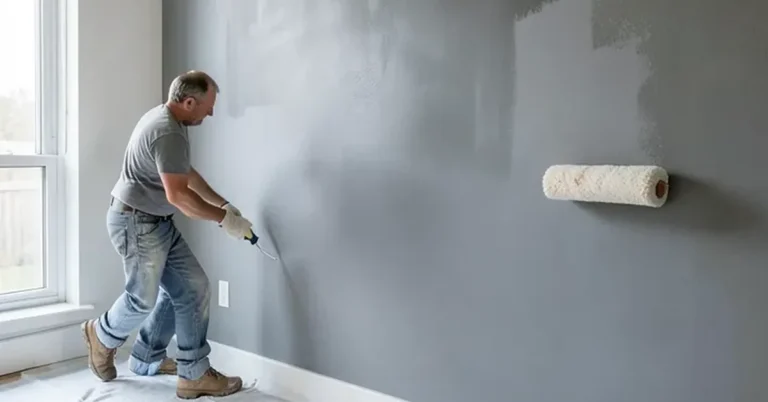
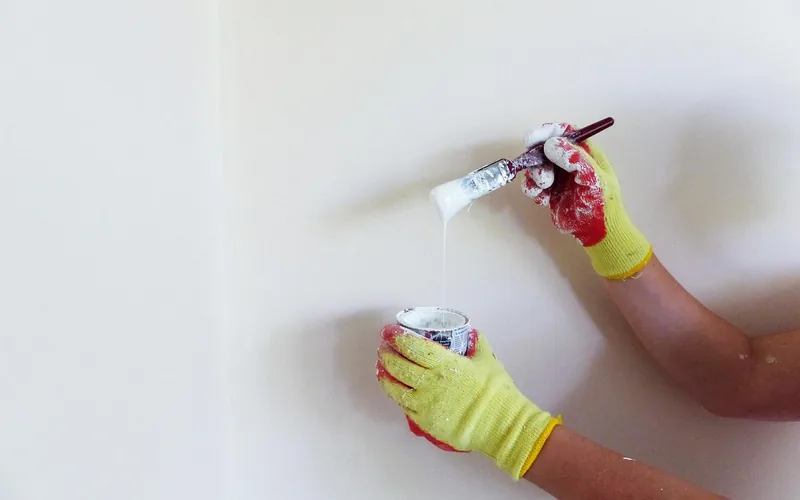
Use a brush for edges, corners, and small patches, and a roller for anything larger — rollers spread paint faster and leave a more even texture over a repair than a brush does. Apply two thin coats rather than one thick one: thin coats dry faster, resist cracking, and build coverage more evenly over joint compound’s flatter texture.
- Prime the patch (if needed): Roll or brush primer 2–3 inches past the edge of the compound so the transition blends into the surrounding wall.
- Let the primer dry: Wait at least 1 hour, or per the product label, before topcoating.
- Apply the first coat of paint: Use light, even strokes in one direction to avoid roller marks.
- Let the first coat dry fully: Check the label — most latex paints need 2–4 hours between coats.
- Apply a second coat: This is what actually evens out any remaining flashing on an unprimed patch.
Avoiding Common Mistakes
Painting over dust or residue is the most common cause of peeling — always wipe the surface clean first, and address any existing peeling paint nearby before adding a new coat. A rough, unsanded patch will crack under the paint film even with primer, so sand it smooth before you pick up a brush.
Mix your paint thoroughly before use — an unmixed can leads to color drift between coats that’s easy to mistake for flashing. Test a small hidden area first and let it dry fully, since wet paint color can look noticeably different from the cured, dry color. Cold or very humid conditions slow drying and can trap moisture under the film, so paint in moderate, stable temperatures whenever the project allows it.
“The patches that flash the worst are almost always the ones we rushed — painted the same afternoon the mud went on. Give pre-mixed compound its full 24 hours, even when it looks dry on the surface.”
Frequently Asked Questions
Do you need to put primer over joint compound before painting?
Not always. Small patches under about 3×3 inches usually paint fine with two coats of flat latex and no primer. Anything larger, a full skim coat, or a satin/semi-gloss topcoat needs a PVA or drywall primer first to prevent flashing.
What happens if you paint over drywall mud without primer?
The paint absorbs unevenly into the compound, causing patchy, duller spots called flashing where the repair sits noticeably lighter or flatter than the surrounding wall. On small patches under flat paint this is often invisible; on larger areas or glossier sheens it’s usually visible under raking light.
How long should joint compound dry before you paint over it?
Pre-mixed joint compound needs about 24 hours at 70°F and normal humidity. Setting-type (“hot mud”) compound dries in 20 to 90 minutes through a chemical reaction, making it the faster option for same-day patch-and-paint jobs. Judge readiness by color — dry compound turns from dark gray to chalky white.
Can you touch up small joint compound patches without primer?
Yes, for patches under roughly 3×3 inches. Sand the patch smooth, wipe away dust, and apply two thin coats of the same sheen and color as the surrounding wall. Larger repairs are more likely to flash without a primer coat first.
What’s the difference between spot-priming and priming the whole wall?
Spot-priming covers just the patch plus a few inches of surrounding wall, which is enough for isolated repairs. Whole-wall priming is needed after a full skim coat or when several patches are close enough together that spot-priming would leave visible sheen boundaries between primed and unprimed areas.
Conclusion
You can paint directly over joint compound without primer for small patches, but flashing — the uneven, patchy look caused by mismatched absorption between paper and compound — is the real risk on anything bigger. Let the compound dry fully, sand it smooth, and prime any repair larger than a few inches or covered in a glossier paint. That one extra step is what separates a repair you can’t find later from one that stands out under every light in the room.
Sponsored / affiliate links. As an Amazon Associate I earn from qualifying purchases. I may earn additional commission from eligible campaigns.