Can You Sand Shellac? Unlock the Smooth Finish Secrets!
Yes, you can sand shellac. Sanding helps create a smooth surface for finishing.
Shellac is a versatile wood finish that enhances the natural beauty of the wood grain. Known for its quick drying time and ease of application, shellac is a popular choice among woodworkers and DIY enthusiasts. Sanding shellac can improve the finish, making it smoother and more visually appealing.
Use fine-grit sandpaper to avoid damaging the surface. After sanding, ensure to clean the area to remove dust before applying additional coats. Understanding the proper techniques for sanding shellac can elevate your woodworking projects, creating a professional look. This guide will help you navigate the best practices for achieving a flawless finish on your shellacked surfaces.
The Basics Of Shellac
Shellac is a natural resin. It comes from the secretions of the lac bug. This substance is often used as a wood finish.
Properties of Shellac include its quick drying time. It provides a beautiful shine and rich color. Shellac is also easy to apply and repair.
It is non-toxic and safe for food contact. This makes it popular for finishing items like furniture and musical instruments.
Shellac is sensitive to heat and moisture. It can soften in high temperatures. Care should be taken when using heat sources nearby.
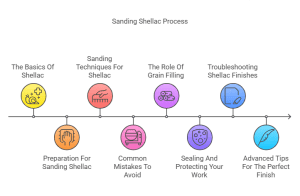
Preparation For Sanding Shellac
Proper preparation is key for sanding shellac. Start by choosing the right sandpaper. Use fine-grit sandpaper, like 220-grit or higher. This helps avoid scratches on the surface. Avoid coarse sandpaper, as it may damage the finish.
Next, set up your workspace. Ensure the area is clean and well-lit. Remove any dust or debris before starting. Having a dust mask and safety goggles is important for protection. Make sure you have good ventilation in the room.
Finally, keep your tools handy. A sanding block or sponge can help maintain even pressure. Follow these steps for a successful sanding process.
Sanding Techniques For Shellac
Manual sanding of shellac requires patience and care. Use fine-grit sandpaper for best results. Start with 320-grit and move to 400-grit. Always sand in the direction of the grain. This prevents scratches on the surface.
Keep the sandpaper clean to avoid clogging. Change it often for a smooth finish. A sanding block can help maintain even pressure. Test on a scrap piece first to check the effect.
Using power sanders can speed up the process. Choose a random orbital sander for even results. Set it to a low speed to avoid damage. Always use a fine-grit disc for sanding shellac.
Move the sander slowly and keep it flat. Avoid staying in one spot too long. Check your progress frequently to ensure even sanding.
Common Mistakes To Avoid
Many people make the mistake of applying too much pressure while sanding shellac. This can lead to uneven surfaces. Light, gentle strokes work best. This approach helps maintain a smooth finish.
Skipping grit progressions is another common error. Start with a coarser grit to remove imperfections. Gradually move to finer grits for a polished look. Each step is important for achieving the best results.
The Role Of Grain Filling
Grain filling is essential for a smooth finish. It helps to fill tiny holes in wood. This makes the surface even and attractive. Proper grain filling improves the look of shellac finishes.
Choosing the right grain filler can make a big difference. Select a filler that matches your wood type. Water-based fillers are easy to clean and dry quickly. Oil-based fillers offer durability but take longer to dry.
Test the filler on a small area first. This ensures it works well with your shellac. Always follow the manufacturer’s instructions for the best results.
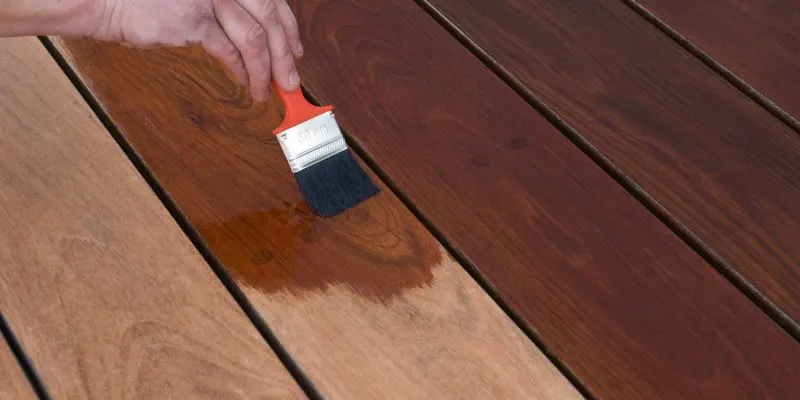
Sealing And Protecting Your Work
Choosing the right top coat is important for your project. A good top coat protects your work. Options include polyurethane, lacquer, and water-based finishes. Each has its own benefits and drawbacks.
Application tips help achieve a durable finish. Always sand lightly between coats. This creates a smooth surface. Use a fine grit sandpaper for best results. After sanding, clean off any dust. This ensures proper adhesion of the next coat.
Let each coat dry completely before applying another. Follow the manufacturer’s instructions for drying times. Apply thin layers for an even finish. Thick layers can lead to runs and drips.
Troubleshooting Shellac Finishes
Shellac finishes can have bubbles and runs. To fix these issues, gently sand the area. Use a fine-grit sandpaper to avoid damage. Always sand lightly until the surface feels smooth. Clean the dust off with a soft cloth.
For uneven surfaces, apply a thin coat of shellac. Let it dry completely before checking. If the problem persists, repeat the process. Patience is key when fixing shellac finishes.
| Issue | Solution |
|---|---|
| Bubbles | Sand the area gently and clean dust. |
| Runs | Sand lightly and apply new shellac. |
| Uneven Surfaces | Apply thin coats and let dry fully. |
Advanced Tips For The Perfect Finish
Wet sanding shellac helps create a smooth finish. Use fine-grit sandpaper, like 400 or 600 grit. Wet the sandpaper before using it. This method reduces dust and prevents scratches. Always work in circular motions for an even surface.
Polishing for a high gloss is the final step. Start with a polishing compound designed for shellac. Apply it gently with a soft cloth. Buff the surface until a shiny finish appears. This step enhances the beauty of your project.
Remember to let the shellac cure fully before sanding or polishing. Patience leads to the best results.
Frequently Asked Questions
Can You Sand Shellac After It Dries?
Yes, you can sand shellac after it fully dries. It’s important to allow sufficient drying time, usually around 30 minutes to an hour. Use fine-grit sandpaper to avoid damaging the finish. Sanding helps create a smoother surface for additional coats, enhancing the overall appearance.
What Grit Sandpaper Is Best For Shellac?
For sanding shellac, fine-grit sandpaper works best, typically between 220 to 320 grit. This prevents scratches and ensures a smooth finish. Sand gently and evenly, applying minimal pressure. Always check for dust and debris before applying additional coats to achieve optimal results.
How Long Should You Wait To Sand Shellac?
You should wait about 30 minutes to an hour to sand shellac. This time allows the shellac to dry thoroughly. However, drying times may vary based on humidity and temperature. Always test a small area first to ensure it’s ready for sanding.
Can You Apply Shellac Over Sanded Surfaces?
Yes, you can apply shellac over sanded surfaces. Sanding creates better adhesion for the new coat. Make sure to clean off any dust or debris after sanding. This ensures a smooth and even application, resulting in a more professional-looking finish.
Conclusion
Sanding shellac is a viable option for achieving a smooth finish. Proper technique ensures you don’t damage the underlying layers. Always use fine-grit sandpaper and work gently. This process enhances the overall look of your project. With patience, you can elevate your woodworking to a professional level.
Happy sanding!