How to Tile a Wooden Floor (Without It Cracking Later)
You can tile a wooden floor, but only if the subfloor is rigid enough — any flex in the boards will crack your grout or tiles within a year.
The fix is proper prep: check for deflection, add backer board, and use a flexible thinset rated for wood substrates. Here’s the process step by step.
Preparation Steps
BEST TILE LEVELING SYSTEM
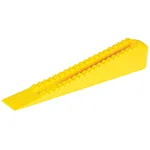 |
QEP LASH Tile Leveling Wedges (300-Pack) – $29.97 Keeps every tile edge flush across a wood subfloor, where slight deflection makes lippage worse than it is on concrete.
|
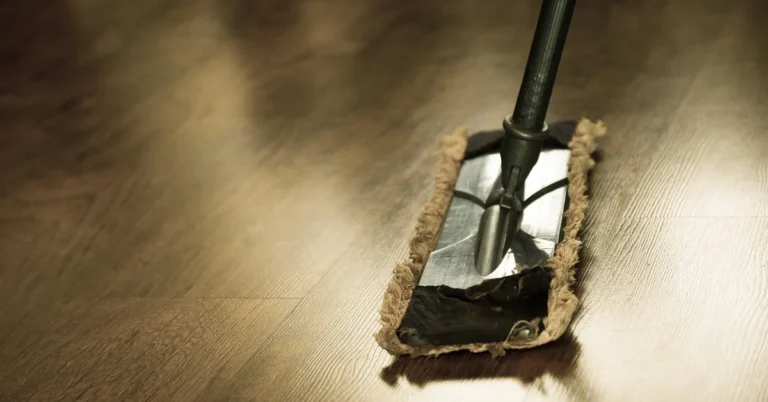
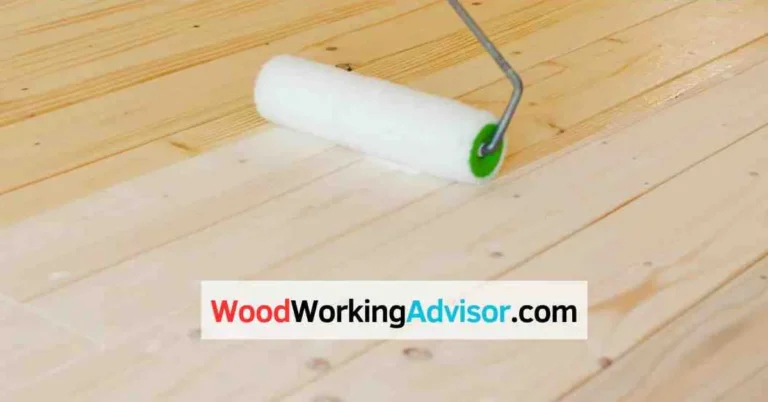
Start by vacuuming the floor thoroughly, then wipe it down with a damp cloth to pull up any remaining dust – dust trapped under thinset is one of the most common causes of a tile that debonds within the first year. If you’re tiling over bare wood rather than backer board, a latex-modified primer helps the thinset key into the surface, but it doesn’t substitute for the backer board itself; skipping straight to primer-then-tile over plywood is exactly the shortcut that leads to cracked grout lines.
Gather Tools and Materials
You’ll need a 1/4-inch or 3/8-inch notched trowel (the notch size should match your tile size and adhesive manufacturer’s spec), tile spacers, a wet tile saw or manual snap cutter, a rubber mallet, and a 4-foot level to confirm the floor stays flat across the room rather than just locally. Round out the kit with grout, a grout float, a large sponge, and two buckets – one for mixing, one for rinse water, so you’re not contaminating fresh thinset with grout residue.
Safety Before You Start
Wear safety glasses any time you’re cutting tile, and a dust mask if you’re cutting dry (a wet saw cuts this risk dramatically by keeping silica dust down). Walk the floor first and press on every board with your foot – any noticeable flex or a creak under load means that section needs reinforcement before backer board goes down, not after. Ventilate the room if you’re using a solvent-based primer; most modern latex primers don’t require it, but check the label.
Credit: www.homedepot.com
Assessing The Floor
Start by checking the wooden floor for any damage or uneven areas. Make sure it’s clean and dry before tiling. This ensures a smooth and durable tile installation.
Check Floor Condition
Ensure the wooden floor is stable. No loose or creaky boards. Fix any issues first. Clean the surface. Remove dust and dirt. A clean surface is key.
Level The Surface
Check for high or low spots. Use a level tool. High spots need sanding down. Low spots need filling. Use a floor leveling compound. Follow the instructions on the package. Let it dry completely. Now, the floor is ready for tiling.
Choosing The Right Tiles
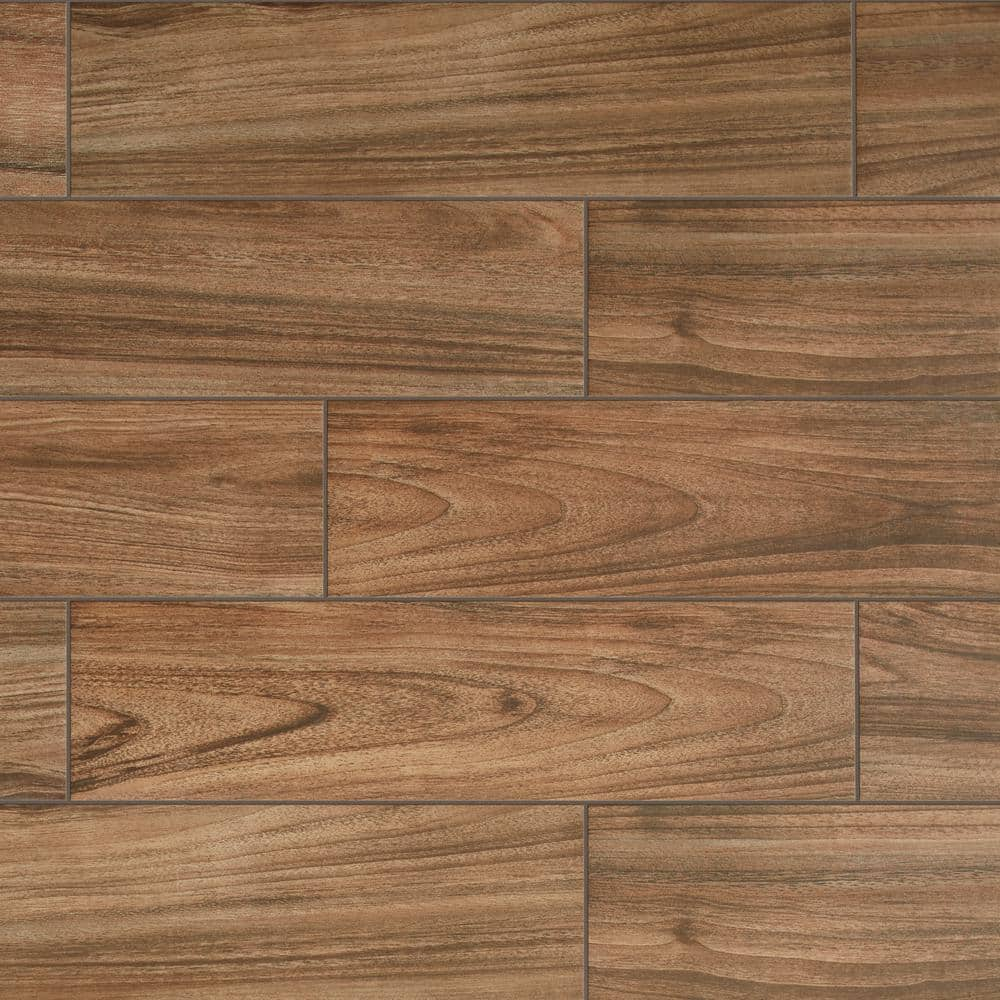
On a wood subfloor specifically, weight and flexibility matter as much as looks – porcelain’s low water absorption (under 0.5%) and higher density make it the standard choice, since it resists the hairline cracking that a more brittle tile develops over a subfloor that has any residual flex. Ceramic works too and costs less, but it’s more prone to chipping and cracking under the same movement porcelain shrugs off. Natural stone (marble, travertine, slate) looks the part but is both heavier – a real consideration on upper floors where load capacity matters – and more porous, requiring periodic sealing that porcelain never needs.
Sizing and Layout Choices
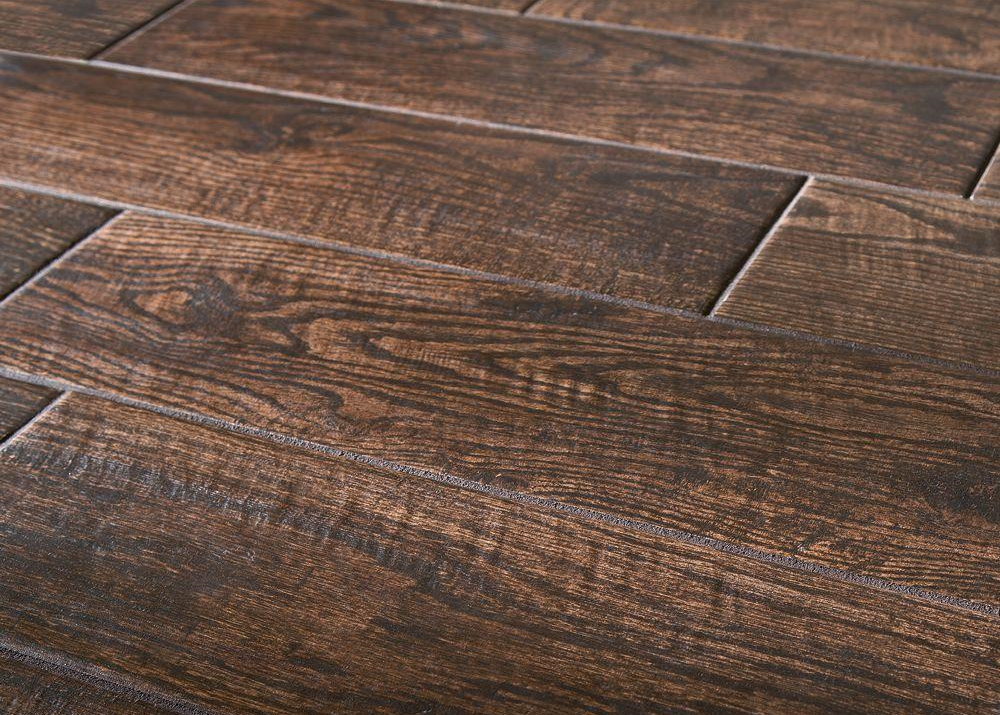
Larger format tiles (12×24 inches and up) mean fewer grout lines, which is actually an advantage over wood subfloors since grout lines are where cracking shows up first – fewer lines means fewer places for that stress to surface. The tradeoff is that larger tiles are less forgiving of any remaining unevenness in the subfloor, since a rigid slab bridging a low spot is more likely to crack than several smaller tiles that can each settle independently. Light-colored porcelain in a matte finish also does a better job hiding the fine grout-line stress cracking that can eventually appear on wood subfloors than a dark, glossy tile will.
Measuring And Planning Layout
Measure length by width for total square footage, then add 10% for cuts and waste (15% if you’re laying tile on a diagonal, since diagonal cuts waste more material) – running short mid-job and needing a second dye lot of tile is a common and avoidable headache. Measure alcoves, closets, and irregular corners separately and add them in rather than trying to eyeball an odd-shaped room from one overall measurement.
Snap chalk lines marking the room’s center in both directions, then dry-lay a full row of tile with spacers along each line before any adhesive goes down. This is where you catch a layout that leaves a sliver of tile less than 2 inches wide against a wall – shifting the starting line half a tile width usually fixes it and avoids an awkward, fragile cut piece at the room’s edge.
Applying Adhesive
Use a polymer-modified thinset rated for wood substrates specifically – not standard unmodified thinset, which doesn’t flex enough to handle the minor seasonal movement a wood subfloor still has even over rigid backer board. This distinction is the single most common shortcut that leads to cracked grout a year or two after installation.
Mixing the Thinset
Mix powder into water (not the reverse – adding powder to water gives more consistent hydration) using a margin trowel or paddle mixer on a drill, aiming for a peanut-butter consistency that holds a stiff peak without slumping. Let it slake for 5 to 10 minutes per the bag instructions, then remix briefly before use – skipping the slake time is a common cause of a weaker bond, since it gives the polymer additives time to fully activate.
Spreading and Combing
Work in sections you can tile within 15-20 minutes (thinset skins over and loses grab faster than it looks), spreading with the trowel’s flat edge first to fill any minor low spots, then combing at a consistent 45-degree angle with the notched edge to leave uniform ridges. Back-butter large-format tiles (a thin skim coat of thinset on the tile itself, in addition to the floor) to maximize contact and minimize the voids underneath that eventually become hollow-sounding, cracked tiles.
Laying The Tiles
Start at your chalk-line intersection, not a wall corner – working from the center out keeps the layout balanced on both sides and lets you push any awkward cut tiles to less visible edges. Set each tile with a slight twisting motion as you press it down, which helps seat it into the thinset ridges and collapse air pockets, then tap it level with a rubber mallet.
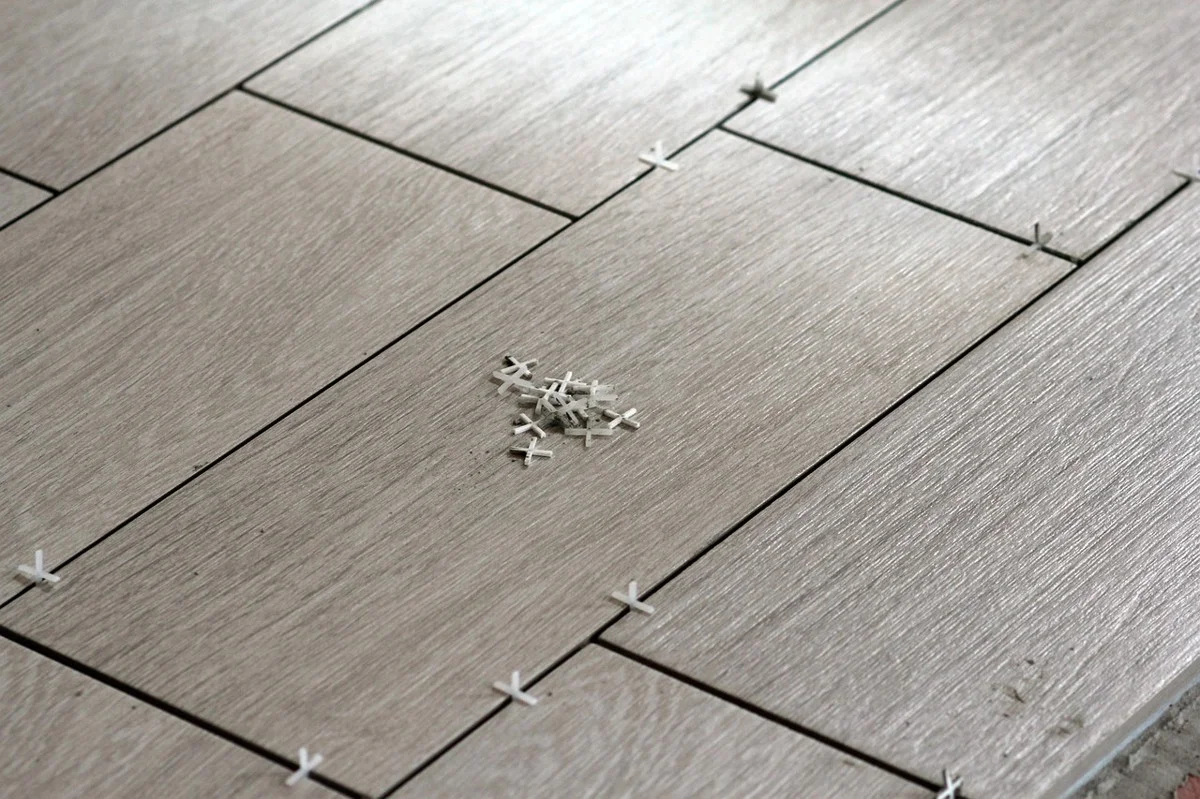
Tile-leveling wedges or clips (rather than plastic spacers alone) are worth the small extra cost on a wood subfloor specifically, since any slight deflection between joists makes lippage – one tile edge sitting proud of its neighbor – more likely than on a concrete slab, and lippage is one of the first places grout cracks. Check every few tiles with a level laid across multiple pieces, not just each tile individually, since a gradual slope across five tiles can look fine tile-by-tile and still be badly out of plane overall.
Cutting And Fitting Tiles
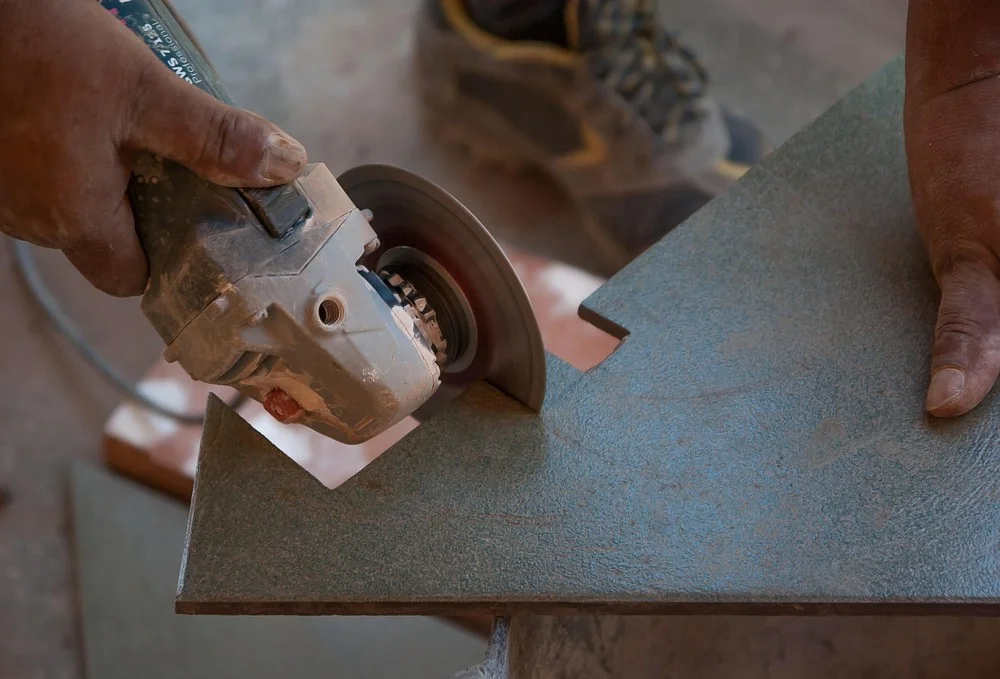
Measure each edge and corner space individually rather than assuming they match – walls are rarely perfectly square, and a cut sized for one edge often doesn’t fit the opposite one. Mark the cut line with a china marker or grease pencil (shows up better on tile than regular pencil), and use a wet tile saw for porcelain specifically – a manual snap cutter works fine on ceramic but tends to chip porcelain’s harder, denser body along the cut edge.
Dry-fit every cut piece before committing adhesive – a 1/16-inch-off cut is much easier to fix before it’s set in thinset than after. Back-butter cut edge pieces the same as field tiles, seat them with spacers or wedges matching the rest of the floor, and let the full installation cure per the thinset manufacturer’s schedule (typically 24-48 hours) before grouting, walking on it, or moving furniture back in – grouting too early is a common cause of grout that cracks along the joint almost immediately.
Grouting And Finishing
Choose a flexible, polymer-modified grout for a wood-subfloor installation – the same reasoning as the thinset applies here, since standard rigid grout is more likely to crack along the joint as the floor makes its normal small seasonal movements. Sanded grout works for joints 1/8 inch and wider; unsanded grout for anything narrower, since sand in a thin joint tends to scratch softer tile glazes.
Applying the Grout
Hold the rubber float at roughly 45 degrees and work it diagonally across the joints, never parallel to them – a diagonal pass packs grout fully into the joint instead of dragging across the top and skipping gaps. Work one manageable section at a time, since grout begins setting up within 15-20 minutes and gets progressively harder to clean off the tile face the longer it sits.
Cleaning and Sealing
Wipe with a barely-damp sponge in a diagonal motion, rinsing frequently in clean water – a sponge that’s too wet pulls grout back out of the joint, while one that’s too dry just smears haze across the tile face. After the initial wipe-down, expect a light haze to appear as the grout cures over the next few hours; buff it off with a dry microfiber cloth once it’s fully dry. Let grout cure fully (usually 48-72 hours per the product label) before applying a penetrating grout sealer, which is what actually keeps moisture and stains from working into the porous grout line over the years ahead.
Credit: carlaaston.com
Frequently Asked Questions
How Do I Prepare A Wooden Floor For Tiling?
To prepare a wooden floor for tiling, first clean and level the surface. Use a primer to ensure proper adhesion. Install a cement backer board to provide a stable base.
What Type Of Tiles Are Best For Wooden Floors?
Porcelain and ceramic tiles are best for wooden floors. They are durable, moisture-resistant, and come in various designs.
Can I Tile Directly Over A Wooden Floor?
No, you shouldn’t tile directly over a wooden floor. Always use a cement backer board to create a stable, moisture-resistant surface for tiling.
What Adhesive Should I Use For Tiling On Wood?
Use a flexible, polymer-modified thin-set mortar. It accommodates the natural movement of wood and ensures strong tile adhesion.
Conclusion
The whole process comes down to two decisions that determine whether the floor lasts: confirming the subfloor is rigid enough before you start (backer board over solid, deflection-free framing, not tile straight onto bare boards), and using flexible, polymer-modified thinset and grout rated for wood substrates rather than standard rigid products meant for concrete slabs. Get those two things right and the layout, cutting, and finishing steps are just careful, methodical work.
Rushing the cure times between steps – tiling before backer board is set, grouting before thinset cures, walking on fresh grout – is where most DIY tile jobs on wood floors start cracking within the first year. Respect the wait times on each product label and the floor should hold up for a decade or more.
Sponsored / affiliate links. As an Amazon Associate I earn from qualifying purchases. I may earn additional commission from eligible campaigns.