Mahogany Wood Grain Filler: Best Picks & How to Apply It
Mahogany wood grain filler packs paste into the wood’s open pores — GoodFilla and Old Masters are the two most-recommended brands, but oil-based and water-based formulas cure at very different speeds. Skip filling and the pores stay visible under any topcoat, even glossy polyurethane. This guide covers which filler to buy, the 2:1 filler-to-stain mix ratio pros use for color matching, and how long to wait before sanding.
Quick Answer
Use a water-based filler like GoodFilla Mahogany if you want the color already matched, or an oil-based filler like Old Masters mixed 2 parts filler to 1 part stain if you want to control the tone yourself. Spread it across the grain with a putty knife, let it set 5–15 minutes, then wipe off the excess before it fully hardens.
The Beauty Of Mahogany
Best Mahogany Grain Filler Pick
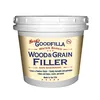
GoodFilla Water-Based Wood & Grain Filler, Mahogany, 1 Quart
A trowel-ready gel pre-tinted to mahogany, so there’s no stain to mix in before you start.
- Best for: Furniture-size projects where you want the color already matched to mahogany
- Why we picked it: No thinning or stain-mixing — spread it, let it set, wipe the excess
- Main drawback: Only comes in the mahogany tint, so it won’t work for color-matching a different reddish wood
Compare more mahogany grain filler options
 Option 1 Goodfilla Mahogany Wood & Grain Filler, 8oz
|
 Option 2 Timbermate Mahogany Hardwood Wood Filler, 8 oz
|
 Option 3 Aqua Coat Clear Water-Based Grain Filler Gel, 16 oz
|
As an Amazon Associate we earn from qualifying purchases.
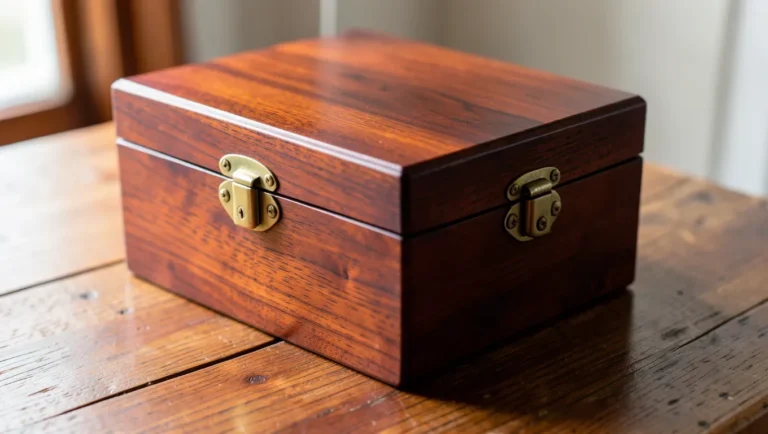
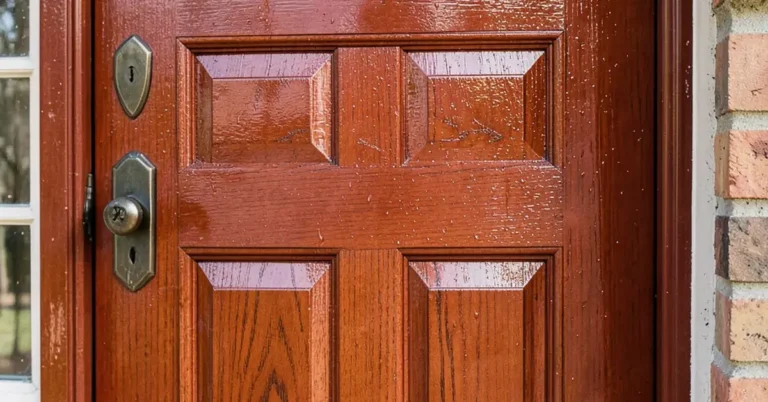
Mahogany’s grain is what makes it worth the extra finishing step: a warm, reddish-brown hue with a straight, fine texture that occasionally shows a wavy ribbon figure. Filling that grain properly is what turns a good-looking board into a glass-smooth, professional finish.
Characteristics Of Mahogany Wood
Mahogany wood possesses unique features that set it apart:
- Color: Deep reddish-brown, often darkening with age.
- Grain: Straight and fine, with occasional wavy patterns.
- Durability: Resistant to rot and insects.
- Workability: Easy to cut, sand, and finish.
- Stability: Minimal shrinkage or warping.
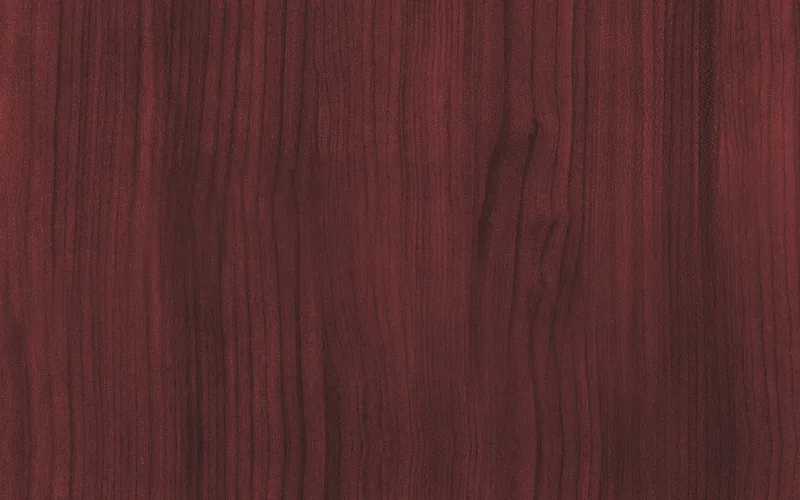
| Characteristic | Description |
|---|---|
| Color | Rich reddish-brown |
| Grain | Straight with occasional waves |
| Durability | Resistant to rot and pests |
Benefits Of A Smooth Finish
A smooth finish enhances the beauty of mahogany. Here are key benefits:
- Visual Appeal: A smooth surface highlights the wood grain.
- Protection: Prevents moisture and dirt from damaging the wood.
- Ease of Cleaning: Smooth surfaces are easier to wipe down.
- Improved Longevity: A well-finished surface lasts longer.
A high-quality grain filler fills in the pores and imperfections that would otherwise trap dust and telegraph through a topcoat, so the wood’s natural beauty shows through instead.
Why Use Grain Filler?
Grain filler packs the open pores in mahogany so the surface reads as flat and smooth once a topcoat goes on. Without it, a glossy finish just pools slightly over every pore and shows it as a tiny dimple.
The Role Of Grain Filler In Woodworking
Grain filler plays a vital role in woodworking. Here are some key benefits:
- Smooth Finish: Grain filler provides a sleek look.
- Improved Stain Absorption: Filler helps stains penetrate evenly.
- Enhanced Durability: Filler protects wood from damage.
- Minimized Dust: Filler reduces dust collection in grain.
Is Grain Filler Necessary For Mahogany?
Not always. Grain filling is an aesthetic choice, not a structural one — mahogany’s pores are smaller than oak’s, so it usually needs only one coat of filler where oak often needs two. If you’re after a satin or hand-rubbed oil look, many woodworkers skip filler entirely and let the open grain show. Fill it if you want a glass-smooth, high-gloss finish on a tabletop, guitar body, or piano-style surface; skip it for a more rustic, hand-finished look.
Grain Filler Vs. Wood Putty: What’s The Difference?
They’re not the same product. Wood putty is a thick, dough-like filler meant for patching nail holes, gouges, and structural gaps — it’s applied in a small dab and doesn’t spread. Grain filler is thinner, closer to pancake-batter consistency, and is worked across the entire surface with a squeegee or putty knife to fill the wood’s natural pores, not repair damage. Using putty where you need grain filler leaves a patchy, uneven surface once stained.
How The Leading Mahogany Fillers Compare
| Filler | Base | Set / Full Dry | Best For |
|---|---|---|---|
| GoodFilla Mahogany | Water-based, pre-tinted | ~30–60 min set | No-mix, color already matched |
| Old Masters Woodgrain Filler | Oil-based, mixed 2:1 with stain | 5–15 min set / 4 hrs dry | Large surfaces, custom color |
| Timbermate Mahogany | Water-based powder | Mix-as-needed | Small repairs, touch-ups |
| Aqua Coat Clear | Water-based, clear | Fast-drying | Undecided stain color |
Color Matching Tips
Getting the right color match is essential. Here are some tips to help:
- Test on Scraps: Use scrap wood to test color.
- Consider Stains: Use stains to enhance color.
- Check Under Light: Observe color in natural light.
- Mix Filler: Blend fillers for custom shades, or use a clear filler if you haven’t committed to a final stain yet.
Preparation For Application
Preparing your mahogany surface ensures a smooth finish. Proper preparation enhances the effectiveness of the wood grain filler. Follow these steps for the best results.
Surface Cleaning Essentials
Cleaning the surface is vital. Dust and dirt can ruin your finish. Use these steps to clean effectively:
- Gather your materials: a clean cloth, mild soap, and water.
- Dampen the cloth with soapy water.
- Wipe the mahogany surface thoroughly.
- Rinse the cloth and wipe again with clean water.
- Allow the surface to dry completely.
Sanding Techniques For Mahogany
Sanding prepares the wood for the grain filler. It smooths imperfections and opens the wood grain. Follow these sanding tips:
- Choose the right sandpaper. Use 120-grit for initial sanding.
- Sand in the direction of the grain. This prevents scratches.
- Use a sanding block for flat areas. It helps maintain even pressure.
- Finish with 220-grit sandpaper for a smooth surface.
- Clean the dust off before applying the filler.
A clean, sanded surface allows the grain filler to adhere properly and is what makes the difference between a patchy result and a flawless one.
Applying Mahogany Wood Grain Filler
Applying mahogany wood grain filler smooths out imperfections and enriches the wood’s natural color. A proper application ensures a stunning finish.
Step-by-step Application Process
- Gather Your Materials: mahogany wood grain filler, a putty knife or plastic scraper, 220-grit sandpaper, a clean cloth or burlap rag, and (for oil-based filler) an oil-based stain to mix in.
- Prepare the Surface: Ensure the wood surface is clean and dry. Remove any dust or debris.
- Mix If Needed: For oil-based filler like Old Masters, stir in wood stain at a 2:1 ratio (2 parts filler to 1 part stain) for a matched tone. Water-based, pre-tinted fillers like GoodFilla skip this step entirely.
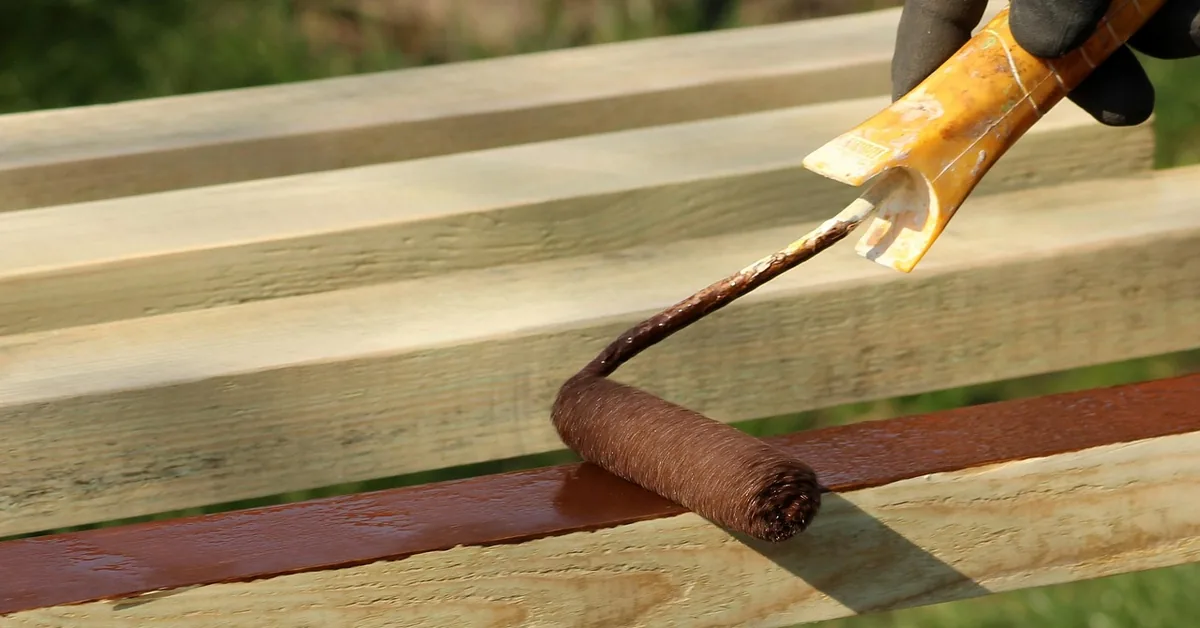
- Apply the Filler: Use the putty knife or scraper to spread the filler into the grain, working across the grain first so it packs into the pores.
- Let It Set: Give it 5–15 minutes, then wipe off the excess with a burlap rag working across the grain, finishing with a light wipe along the grain to avoid streaks.
- Allow to Dry: Let the filler dry fully per the manufacturer’s instructions before sanding.
- Sand Smooth: Once dry, sand lightly to avoid damaging the wood.
- Finish Up: Wipe away dust with a clean cloth. Apply your desired topcoat, like stain or varnish.
Common Mistakes To Avoid
| Mistake | Description |
|---|---|
| Skipping Surface Prep | Always clean and dry the wood before applying filler. |
| Over-applying Filler | Too much filler can create a lumpy surface. |
| Wiping Off Too Late | Waiting past the 5–15 minute set window makes excess filler hard to remove without gouging the pores. |
| Ignoring Drying Time | Follow the recommended drying time for best results. |
| Not Sanding Properly | Sand lightly to maintain the wood’s integrity. |
Drying And Curing Time
Drying and curing are two different things. Drying is the filler losing its wet sheen and becoming workable for sanding; curing is the filler fully hardening so it won’t react with a topcoat. Rushing the cure is the most common reason a topcoat looks cloudy or never fully hardens over filled areas.
📊 Old Masters’ oil-based filler sets in 5–15 minutes, dries fully in about 4 hours, and needs 16 hours before a lacquer topcoat — one quart covers roughly 125 sq ft. Source: Old Masters product specifications.
Ideal Conditions For Drying
Creating the right environment for drying is crucial. Here are some ideal conditions:
- Temperature: Maintain a temperature between 65°F and 75°F.
- Humidity: Keep humidity levels below 50%.
- Airflow: Ensure good air circulation around the project.
Avoid damp or cold areas, and keep the piece out of direct sunlight, which can dry the surface faster than the filler underneath and cause cracking.
How To Test For Complete Curing
- Press your finger gently on the filler.
- Check for any stickiness or soft spots.
- Wait an additional 24 hours if needed.
Fully cured filler will look uniform in color. A light sanding also reveals any soft areas before they cause problems under a topcoat.
Sanding After Filler Application
Sanding after the filler dries removes the excess sitting on top of the wood and levels the surface for finishing. Achieving a flawless surface requires the right techniques and tools.
Achieving The Ultimate Smoothness
- Wait for the filler to dry completely. This may take several hours.
- Inspect the surface for any raised grains or uneven areas.
- Start sanding with a coarse grit sandpaper (80-120 grit).
- Gradually move to finer grits (up to 220 grit).
- Sand in the direction of the wood grain for best results.
Use light pressure to avoid damaging the wood. Check the surface frequently to ensure it feels smooth.
Best Sanding Tools And Practices
| Tool | Description |
|---|---|
| Orbital Sander | Great for large areas. Provides a smooth finish. |
| Hand Sanding Block | Good for edges and corners. Offers more control. |
| Sanding Sponge | Flexible and conforms to curves. Ideal for detailed work. |
Follow these best practices for effective sanding:
- Keep your workspace clean. Dust can scratch the surface.
- Wear a mask to avoid inhaling dust.
- Use a vacuum or a damp cloth to remove dust between sanding.
- Check your work often for smoothness.
Final Touches And Finishes
Applying the right finish enhances the beauty of mahogany wood. A smooth, polished look adds depth and richness. Choosing the right topcoat protects the wood and highlights its grain. For the full range of stains, sealers, and topcoats, see our complete mahogany finishing guide — this section covers just the final topcoat choice once your grain filler is sanded smooth.
Choosing The Right Topcoat
Selecting a topcoat is crucial for your mahogany project. Different finishes offer unique benefits. Consider the following options:
| Topcoat Type | Benefits | Ideal Use |
|---|---|---|
| Polyurethane | Durable, water-resistant, easy to apply | High-traffic areas, furniture |
| Lacquer | Quick-drying, provides a hard finish | Cabinets, detailed projects |
| Oil Finish | Enhances grain, easy to repair | Woodworking projects, decorative pieces |
For a natural look, use an oil finish. For durability, select polyurethane. Lacquer is excellent for quick projects. See our comparison of the best mahogany finishes for cost-per-square-foot and durability details on each option.
Maintenance Tips For Lasting Beauty
- Dust regularly with a soft cloth.
- Avoid direct sunlight to prevent fading.
- Use coasters to protect surfaces from moisture.
- Clean spills promptly to avoid stains.
Reapply the topcoat every few years to maintain the wood’s shine. Always test products on a small area first.
Frequently Asked Questions
What Is Mahogany Wood Grain Filler?
Mahogany wood grain filler is a paste-like product used to fill the open pores in mahogany wood so a topcoat sits flat instead of dimpling over every pore. It comes tinted to match mahogany or clear/natural for mixing with your own stain, and it improves how evenly a stain or finish is absorbed.
How To Apply Mahogany Wood Grain Filler?
Clean and sand the wood first, then spread the filler across the grain with a putty knife or plastic scraper. Let it set 5–15 minutes, wipe off the excess with a burlap rag, let it dry fully, then sand smooth before applying your topcoat.
Can I Stain Over Mahogany Wood Grain Filler?
Yes. Once the filler has dried and been sanded smooth, it will accept stain well, though most fillers resist re-staining after they’ve fully cured — so it’s best to color-match the filler itself first rather than count on the stain to fix a mismatch. Test on a small area first for accuracy.
How Long Does Mahogany Wood Grain Filler Take To Dry?
An oil-based filler like Old Masters sets in 5–15 minutes and dries fully in about 4 hours, but needs 16 hours before a lacquer topcoat goes on. Water-based fillers like GoodFilla or Timbermate dry faster, often within an hour, though temperature and humidity still affect the timeline. Always check the specific product’s instructions before topcoating.
Is Grain Filler Necessary For Mahogany?
No, it’s optional. Mahogany’s pores are smaller than oak’s, so filling is purely an aesthetic choice for a glass-smooth, high-gloss look on tabletops, guitars, or piano-style finishes. Skip it if you prefer a more open-grain, hand-rubbed oil finish.
What’s The Difference Between Grain Filler And Wood Putty?
Wood putty is thick and used to patch holes, gouges, and gaps in a small area. Grain filler is thinner, closer to pancake batter, and spread across the whole surface to fill the wood’s natural pores rather than repair damage. They aren’t interchangeable.
Conclusion
The right mahogany wood grain filler comes down to two choices: pre-tinted and water-based for a no-mix application, or oil-based and mixed 2:1 with stain for full color control on larger surfaces. Either way, respect the set time (5–15 minutes before wiping) and the full cure window before topcoating — that’s what separates a glass-smooth finish from a cloudy one.
Sponsored / affiliate links. As an Amazon Associate I earn from qualifying purchases. I may earn additional commission from eligible campaigns.
 Deuvuo Wood Filler, Wood Putty Filler White - Our Wood Grain Filler Offers a Quick and Lasting Fix for Any Damage or Flaw - Paintable, Stainable, Sandable & Quick Drying - 9.87 Ounce
 Deuvuo Natual Wood Putty, Wood Putty Filler - Our Wood Grain Filler Offers a Quick and Lasting Fix for Any Damage or Flaw - Paintable, Stainable, Sandable & Quick Drying - 9.87 Ounce