How to Chainsaw Carve a Bear: 6-Step Beginner’s Guide
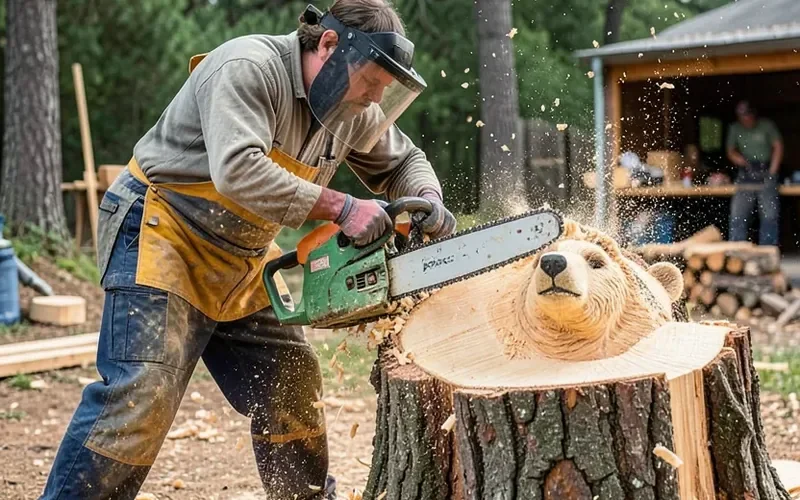
Chainsaw carving a bear is a six-stage process — rough-cutting the silhouette, blocking in the head and paws, then detail work with a smaller bar — that a beginner can finish over a weekend using green pine or basswood. Skip the chainsaw chaps and face shield, though, and a kickback becomes a trip to the ER; skip sealing the piece and it checks (cracks) within weeks. This guide covers all 6 steps, wood picks, and the gear you actually need.
Affiliate disclosure: this post may contain Amazon affiliate links. As an Amazon Associate we earn from qualifying purchases, at no extra cost to you.
What You Need to Chainsaw Carve a Bear
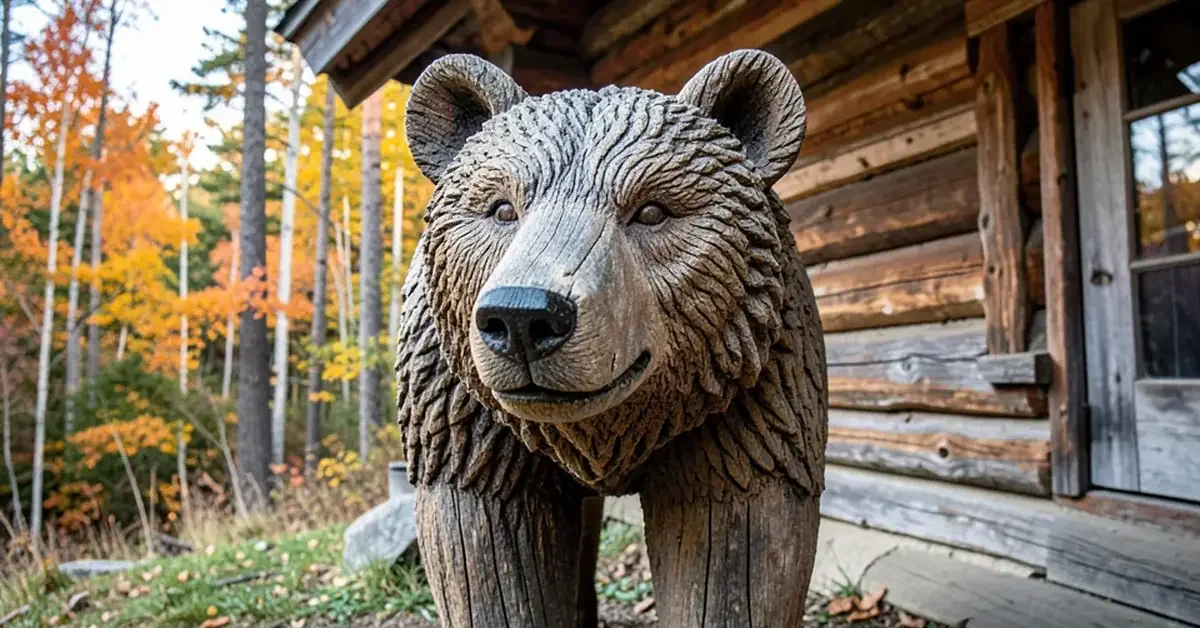
Chainsaw bear carving needs three things beyond a log: a saw set up correctly, real safety gear, and a way to seal the finished piece so it does not crack.
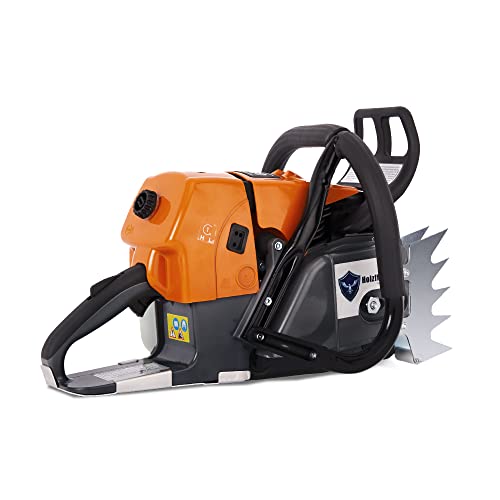
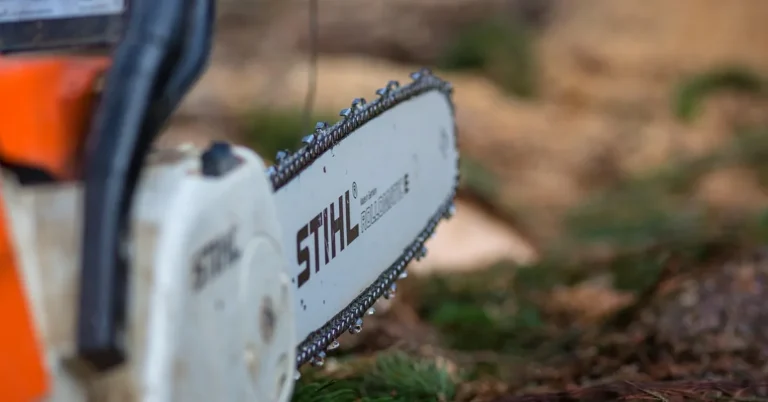
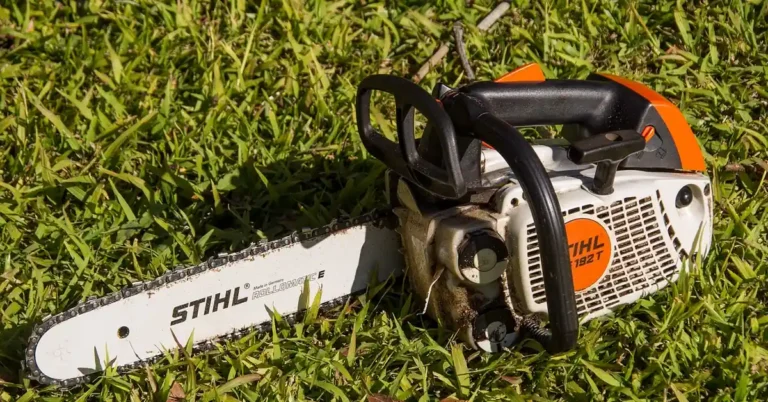
- Chainsaw: A standard gas saw with a 14–16″ bar handles the rough-out. A small carving-specific saw with a narrow-nose “dime-tip” bar (10–12″) makes detail work far easier and safer than trying to do it all with one big saw — a carving-specific gouge attachment can substitute for a second saw on a budget. A cordless model works fine for the detail stage too; see whether battery chainsaws are any good for this kind of short-burst work before buying one.
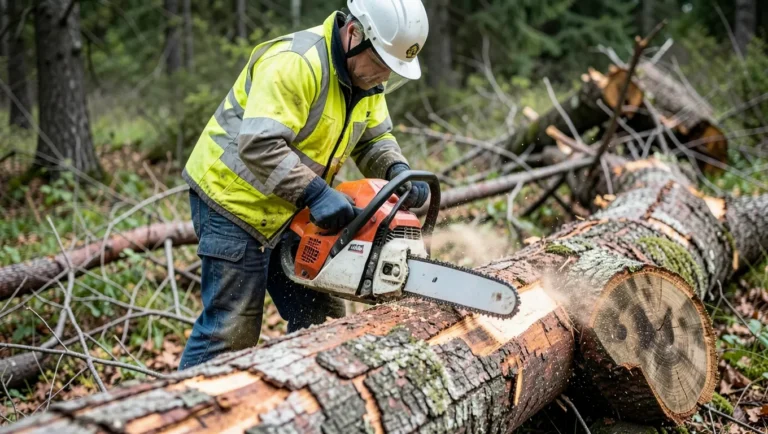
- Chainsaw chaps: Cut-resistant chaps are the single most important safety item — they stop a moving chain before it reaches skin.
- Face shield and ear protection: A mesh or polycarbonate face shield plus earmuffs. Flying chips and kickback are the two most common carving injuries.
- Cut-resistant gloves and steel-toe boots.
- Bar oil and a wood sealer: Standard bar oil for the saw; a penetrating oil, paste wax, or exterior-rated polyurethane for the finished bear to slow cracking as the wood dries.
Best Chainsaw Carving Book Pick
 |
Chainsaw Carving a Bear: A Complete Step-By-Step Guide (Jamie Doeren, Fox Chapel Publishing) 300+ photos and 3 skill-leveled projects — Cub in a Stump, Caricature Bear, Growling Grizzly — walk a first-timer through this exact 6-step sequence.
|
As an Amazon Associate we earn from qualifying purchases.
How to Chainsaw Carve a Bear: The 6-Step Process
Every chainsaw-carved bear, from a simple cub to a full grizzly, follows the same six stages — only the amount of detail work in steps 4–6 changes with skill level.
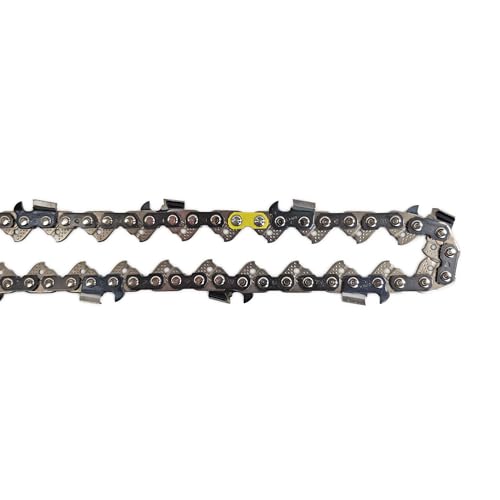
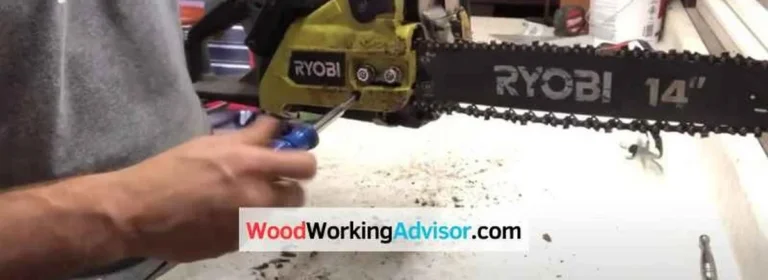
- Check and prep the saw: Sharpen the chain, top off bar oil, and confirm chain tension before the first cut — a dull or loose chain is the leading cause of kickback.
- Secure the log: Clamp or chain the log to a stump, sawhorse, or the ground so it cannot roll; a standing log is more stable to carve than one lying flat.
- Rough out the silhouette: Sketch the bear’s outline on the wood, then use plunge and straight cuts to remove the bulk wood around it, working from the top of the log down.
- Block in the head, ears, and paws: Define the major masses — round head, two ears, four paws — before any detail; carving an ear or paw too thin at this stage is the most common beginner mistake, and it snaps off.
- Carve the detail: Switch to a narrow-nose (dime-tip) bar, or hand chisels and gouges, for the face, fur texture, and claws once the rough form is locked in.
- Sand, sign, and seal: Lightly sand the face, then apply a penetrating oil or exterior sealer within 24–48 hours of finishing — green wood left unsealed is what causes the deep cracks seen in cheap roadside carvings.
Best Wood for Chainsaw Carving a Bear
Softer woods cut with less chain drag, which means less kickback risk and more control for a first project — save dense hardwoods like oak until the basic cuts feel automatic.
| Wood | Janka Hardness | Beginner-Friendly? | Best For |
|---|---|---|---|
| Eastern white pine | ~380 lbf | Yes — easiest to cut | First projects, learning basic cuts |
| Basswood | ~410 lbf | Yes | Detail carving, hand-tool finishing |
| Cottonwood | ~430 lbf | Yes, but cracks fastest | Practice pieces, short-term display |
| Red oak | ~1,290 lbf | No — hard on chain and control | Durable outdoor pieces (experienced carvers) |
How to Keep a Chainsaw-Carved Bear From Cracking
Wood checking is the natural splitting that happens as a carved log dries unevenly — the outside dries and shrinks faster than the core, and the log cracks along the grain to relieve that stress. Two things reduce it: drilling a relief hole (5/8″–1″ bit) down through the center of the piece from the base before carving, and sealing exposed end grain — the top of the head, the base — within a day of finishing with penetrating oil, wax, or exterior polyurethane. Neither step eliminates checking on wood carved from a freshly cut (“green”) log entirely; only kiln-dried wood does that. But both slow it enough that a sealed bear stays crack-free through its first season outdoors.

What Does It Cost to Start Chainsaw Carving?
A beginner setup runs roughly $250–$600 if starting from an existing standard chainsaw, or $600–$1,200 building the full kit from scratch. Rough breakdown: a small carving-specific saw with a narrow-nose bar runs $200–$450 new (a 12–14″ homeowner-grade gas saw can substitute at first); chainsaw chaps run $60–$120; a face shield and ear muff combo runs $25–$50; cut-resistant gloves run $15–$30; steel-toe boots, if not already owned, run $70–$150; and bar oil plus a can of exterior sealer or penetrating oil adds another $20–$35. The wood itself is often free — tree services and municipal brush sites regularly give away fresh-cut logs, since disposing of them costs money on their end.
Common Chainsaw Carving Mistakes Beginners Make
- Carving ears and paws too thin before the rough shape is locked in — they snap off under the saw’s vibration.
- Doing detail work with the big bar instead of switching to a narrow-nose bar or hand tools, which makes fine cuts harder to control.
- Skipping the relief hole and sealing step, which is the single biggest cause of a finished piece splitting within weeks.
- Not securing the log, which is how kickback turns into a real injury instead of a startled jump.
- Starting on oak or other dense hardwood instead of pine or basswood, which dulls the chain fast and fights control the whole way through.
If a full bear still feels like a big first project, start smaller: simple animal wood carvings and basic tree stump carving ideas use the same rough-out and blocking skills on a smaller scale before committing a full log to a bear.
Frequently Asked Questions
Is chainsaw carving hard to learn?
Not for a first simple shape. Most beginner instruction (including Jamie Doeren’s Chainsaw Carving a Bear) starts students on a small cub or welcome-sign project rather than a full standing bear, since the chainsaw control matters more than artistic skill at first. Expect the first few pieces to look rough — that’s normal, not a sign you need different tools.
What’s the easiest first chainsaw carving project?
A small cub sitting in a tree stump, or a simple welcome sign, rather than a full-size standing bear. Both use fewer cuts and forgive mistakes better, since there’s less wood holding the final shape together.
How long does it take to carve a bear with a chainsaw?
A 2–3 foot bear can usually be rough-cut in 2–4 hours. Detail work — face, fur texture, claws — adds several more hours, so a first attempt commonly takes a full weekend from rough log to sealed, finished piece.
What’s the best wood for a beginner chainsaw carving?
White pine or basswood. Both cut easily with less chain drag than hardwoods, which makes kickback less likely and lets a beginner focus on control instead of fighting the wood. Save oak and other dense hardwoods for after the basic cuts feel automatic.
Why do some searches for chainsaw carving mention “The Good Place”?
That’s a pop-culture coincidence, not a carving term. In Season 4 of the NBC sitcom The Good Place, the Bad Place’s demons keep pitching “bears with chainsaw arms” as a torture idea for a redesigned test — a running joke about how crude their first instincts are. It has nothing to do with real chainsaw carving, but the phrase overlap sends some searches here; chainsaw bear carving itself is a genuine, decades-old woodworking craft.
Conclusion
Chainsaw carving a bear comes down to sequence: secure the log, rough out the silhouette, block in the major shapes, detail last, then seal before the wood dries and cracks. Start with white pine or basswood, wear real chainsaw chaps and a face shield, and resist rushing past the rough-out stage into detail work. Jamie Doeren’s Chainsaw Carving a Bear walks through all three skill levels — cub in a stump, caricature bear, growling grizzly — as a project-by-project reference alongside this guide, and it’s a natural next step once the basic cuts feel automatic to try eagle or other animal carving projects.
Sponsored / affiliate links. As an Amazon Associate I earn from qualifying purchases. I may earn additional commission from eligible campaigns.