Simple Animal Wood Carvings: Easiest Shapes to Start With
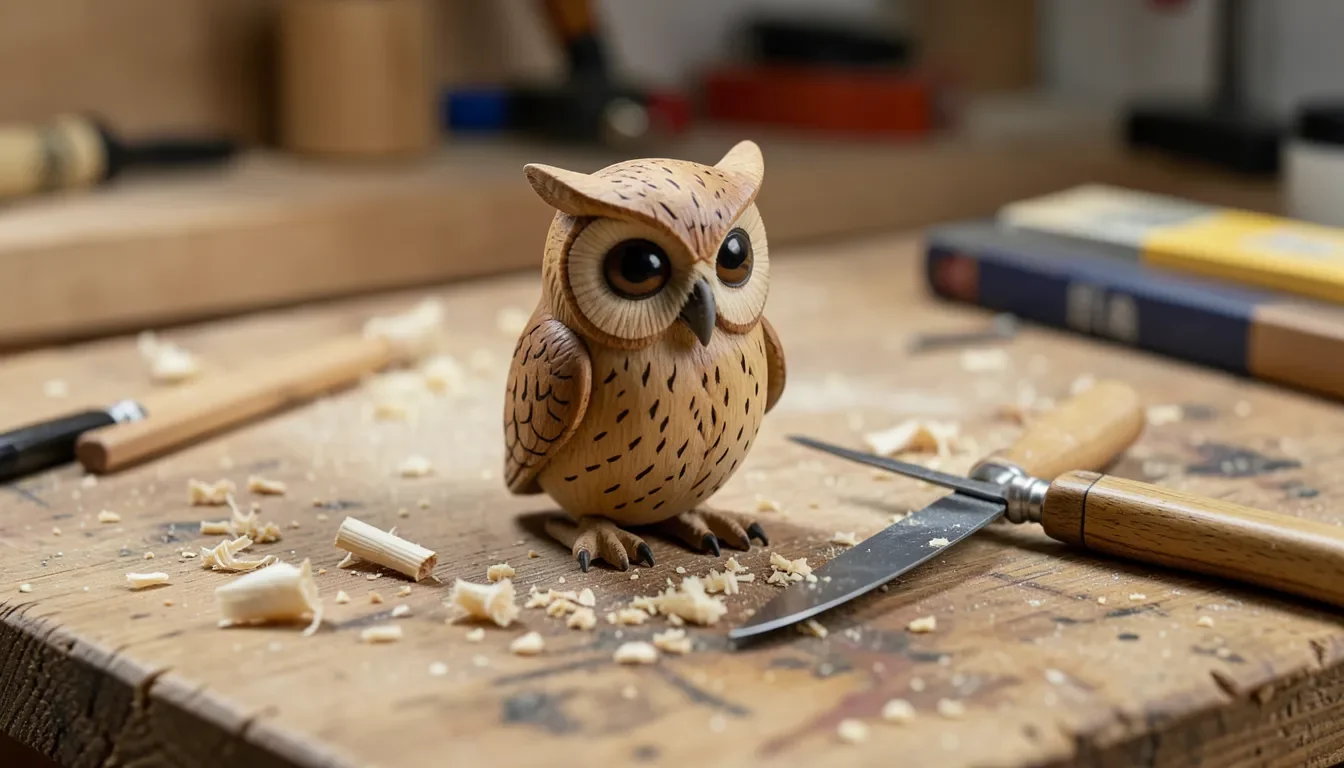
Owls, foxes, and birds are the easiest animals to carve as a beginner — their rounded, simplified body shapes forgive imprecise cuts far better than anything with thin legs, antlers, or outstretched wings. A basswood blank and a single detail knife are enough to finish a first animal carving in an afternoon.
Animal carving is its own sub-skill within whittling: it’s less about technique (the cuts are the same push and pull cuts used on any project) and more about simplifying a complex living shape into a form you can actually carve without splitting the wood. Picking a forgiving subject matters more than picking the “right” knife.
Essential Tools And Materials
A sloyd knife handles the rough shaping and overall silhouette; a smaller detail knife (a shorter, more precise blade) is what actually makes animal carving look intentional, since features like eyes, beaks, and fur texture lines need finer control than a full-size knife gives. You don’t need both to start, but a detail knife is the single upgrade that improves animal carvings the most once basic shapes feel comfortable.
Basswood remains the standard material choice here too — its fine, even grain doesn’t fight you when carving small features like a beak or a tail, unlike a coarser-grained wood that can tear out on thin details.
Best For Animal Detail Work
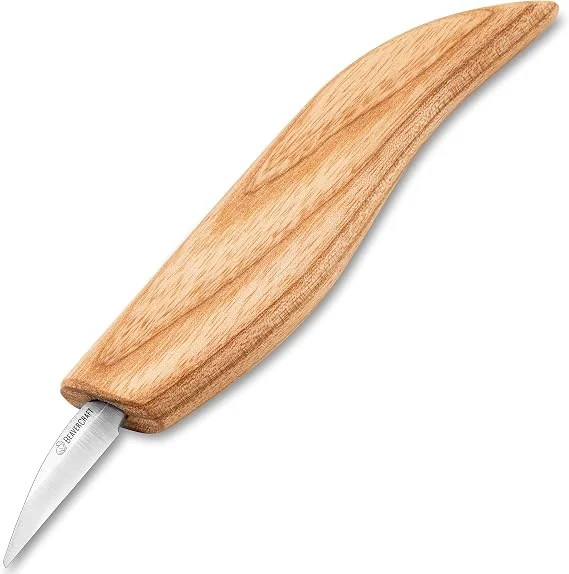 |
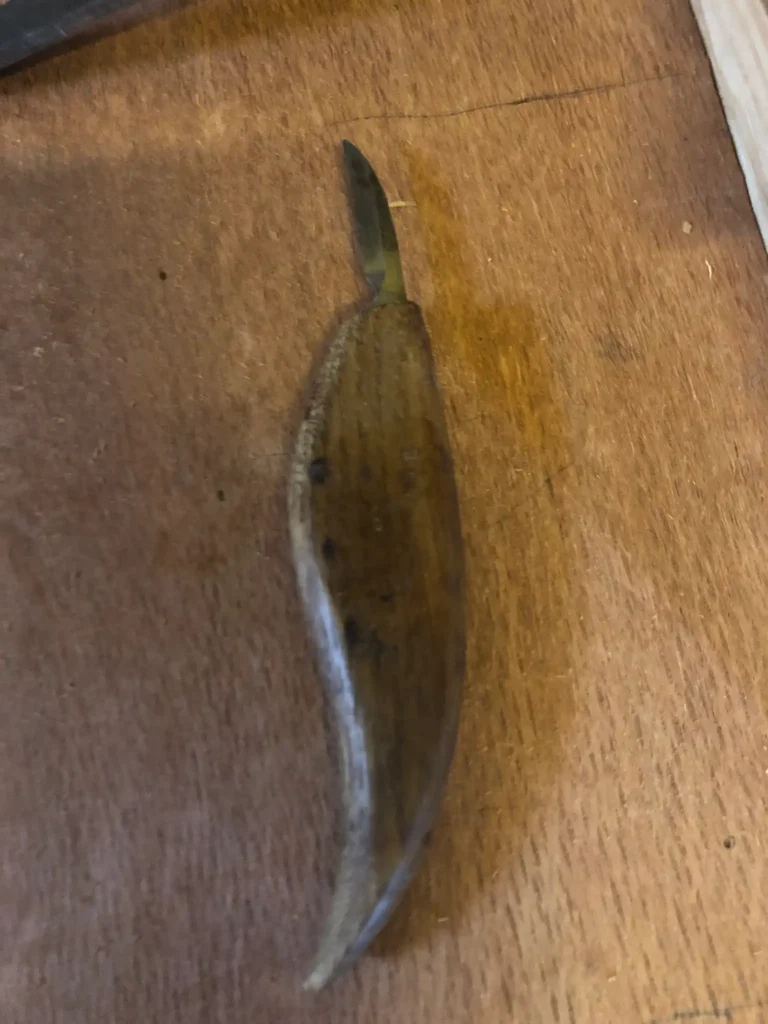
BeaverCraft Wood Carving Detail Knife C15 – $15.99 The short 1.4-inch blade gives the control a full-size sloyd knife can’t for eyes, beaks, and fur lines.
|
Choosing Your Animal Subject
Rounded, compact animals — owls, foxes sitting curled up, songbirds, turtles — are the best first subjects because their real-life anatomy is already close to a simple egg or oval shape. Animals with thin protruding parts (a standing bird’s legs, a deer’s antlers, a cat’s tail held upright) are much harder for a beginner, since those thin sections are exactly where basswood is most likely to snap under carving pressure.
Work from a reference photo rather than trying to carve from memory or imagination — even a rough side-view photo taped next to your workbench keeps proportions honest and prevents the common beginner mistake of an oversized head or undersized body.
Preparing The Wood
Sketch the animal’s side profile directly onto two adjacent faces of a square basswood blank, then rough-cut the outer silhouette on a bandsaw or with careful knife work before starting detail carving. This “blank-out” step removes the bulk of the waste wood quickly and gives you a clear shape to refine rather than carving the whole form freehand from a plain block.
Choose a blank with straight, even grain and no visible knots — a knot in the middle of what will become a delicate area like a beak or ear is a near-guaranteed spot for the wood to chip or split.
Basic Carving Techniques
Work from large shapes to small ones: establish the overall body silhouette first, then round the corners into the body’s actual curves, and only add fine details (eyes, feather lines, fur texture) once the basic form is fully shaped. Carving detail too early is a common mistake — it’s easy to carve a beautiful eye on a body shape you’ll end up removing wood from later anyway.
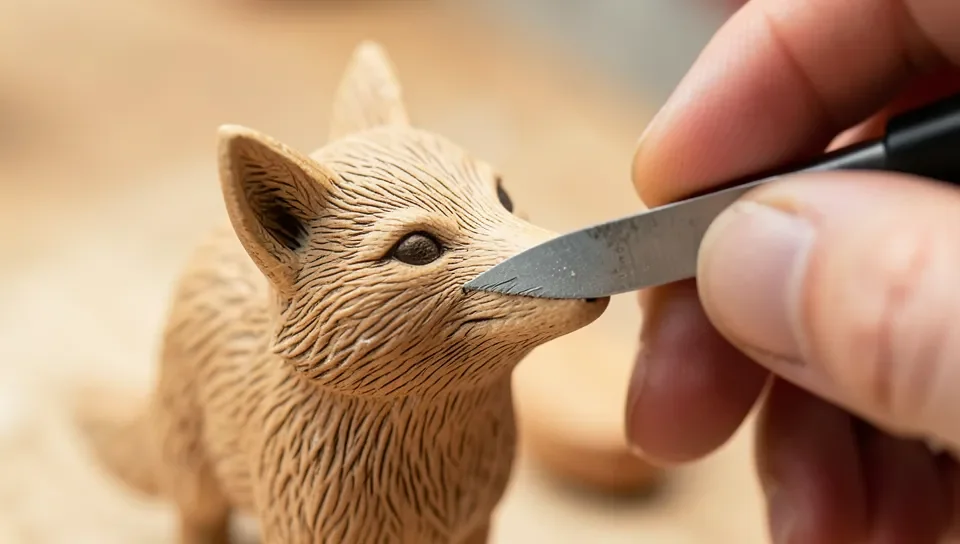
Use the detail knife’s tip for small stop cuts (a short cut that stops a larger cut from running too far, common for defining where a wing meets a body) and its edge for shallow texture lines. Both cuts should be short and controlled rather than long, sweeping strokes, which are much easier to lose control of on small features.
Finishing Touches And Display
Sand lightly with 220-grit paper only where you want a smoother texture (a bird’s smooth head, for instance) and leave carved texture lines (fur, feathers) unsanded, since sanding tends to soften and blur fine detail work. A light coat of finishing oil or wax brings out the grain without hiding the carved texture underneath.
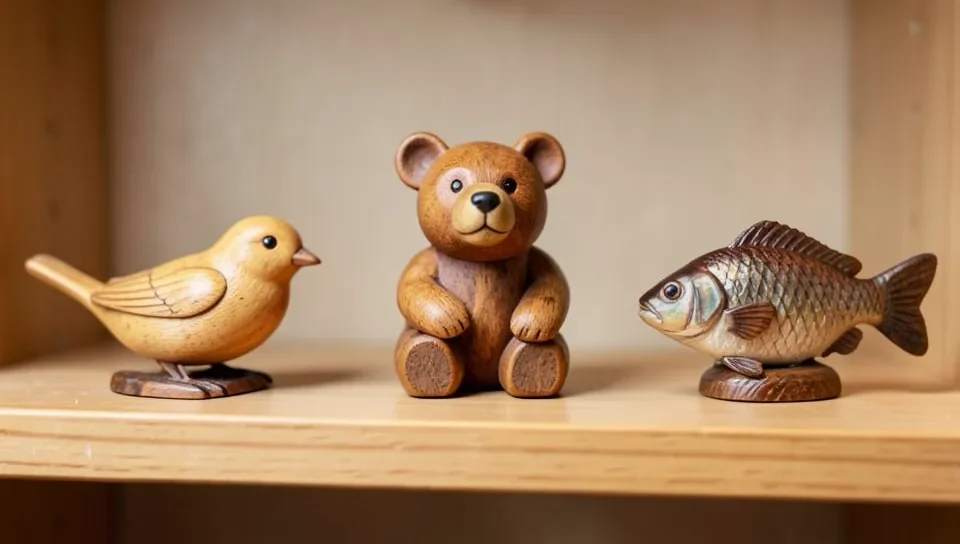
Small animal carvings display well grouped together on a shelf, in a shadow box, or on a simple wood base cut to size — a cluster of 3-5 small pieces generally reads better visually than a single isolated figure.
Tips For Beginners
Start with an owl or a curled-up fox before attempting anything with legs, wings, or antlers — success on a forgiving shape builds the confidence and cut control that a harder subject actually requires. Keep a strop nearby and touch up the blade every 20-30 minutes; a dull blade on small detail work is the single biggest cause of slips on tiny pieces.
Don’t try to carve realistic fur or feather texture on your very first piece — a smooth, stylized surface reads as an intentional design choice, while an attempted-but-uneven texture reads as a mistake. Add texture once basic shape control feels automatic.
Frequently Asked Questions
What Is The Easiest Animal To Carve?
An owl is one of the easiest animals to carve because its round body, flat face, and lack of thin protruding parts (legs, tail, wings) closely match a simple egg shape that basswood carves cleanly.
What Wood Is Best For Carving Small Animals?
Basswood is the best choice for small animal carvings. Its fine, even grain carves cleanly on small details like beaks and ears without the tear-out risk of coarser-grained woods.
Do You Need A Special Knife For Animal Carving?
A standard sloyd knife handles the overall shaping, but a smaller detail knife with a short blade gives noticeably better control for fine features like eyes, beaks, and fur or feather texture lines.
How Do You Carve Fur Or Feather Texture?
Use the tip of a detail knife to make short, shallow, overlapping cuts in the direction the fur or feathers would naturally lie. Practice on scrap wood first, and leave texture off your first few pieces until basic shape control feels comfortable.
Conclusion
Rounded, simplified animals like owls and curled-up foxes give a beginner the best odds of a successful first carving — work from a reference photo, block out the basic shape before adding any detail, and save fur or feather texture for once basic control feels automatic.
A detail knife is the one tool upgrade that actually improves animal carvings once the basic shapes feel comfortable; everything else is patience and reference-photo discipline.
Sponsored / affiliate links. As an Amazon Associate I earn from qualifying purchases. I may earn additional commission from eligible campaigns.