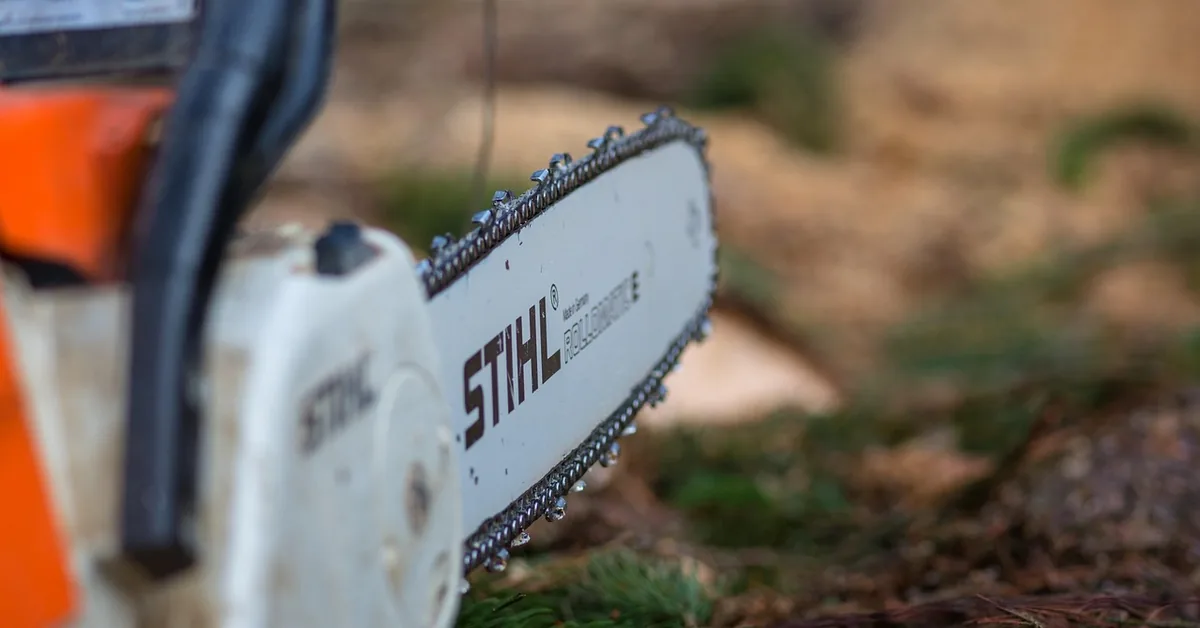
How to Use a Chainsaw Chain Sharpening Jig (Angle Chart Inside)
A chainsaw chain sharpening jig locks the file at a fixed angle for every tooth — typically 25 to 35 degrees, adjusted for the wood you’re cutting and the chain type on your saw. Get that angle wrong, or skip the depth gauges, and the chain cuts crooked, kicks back, or bogs down mid-cut. This guide covers the exact angle for hardwood, softwood, and ripping chains, the right file size for your chain pitch, and the depth gauge routine that keeps every cut straight.
Insert your Affiliate Disclosure reusable block here
Quick Answer
Set your jig to 25° for hardwood, 30° for general/softwood, 20° for frozen wood, and 10-15° for ripping chains. Match the round file to your chain pitch — 5/32″ for 3/8″ LP, 3/16″ for .325″, 7/32″ for standard 3/8″ — and file the depth gauges down every 3-4 sharpenings, keeping them .025″-.030″ below the cutters.
Types of Chainsaw Chain Sharpening Jigs
Best Chainsaw Sharpening Jig Pick
Lumanee Manual Hand-Crank Chainsaw Sharpener Jig
A guided bar-mount jig that locks onto the guide bar without removing the chain and turns with a hand crank — no outlet needed in the field.
- Best for: owners who want consistent angles without buying an electric grinder
- Why we picked it: bar-mounted design matches the jig type this guide recommends for consistency
- Main drawback: removes more metal per pass than a hand file, so chains wear faster over time
Compare more chainsaw sharpening jig options
 Option 1 Budget Hand-Cranked Sharpener Jig Kit
|
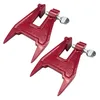 Option 2 Secure Clamping Portable Grinding Fixture
|
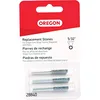 Option 3 Oregon Replacement Sharpening Stone
|
As an Amazon Associate we earn from qualifying purchases.
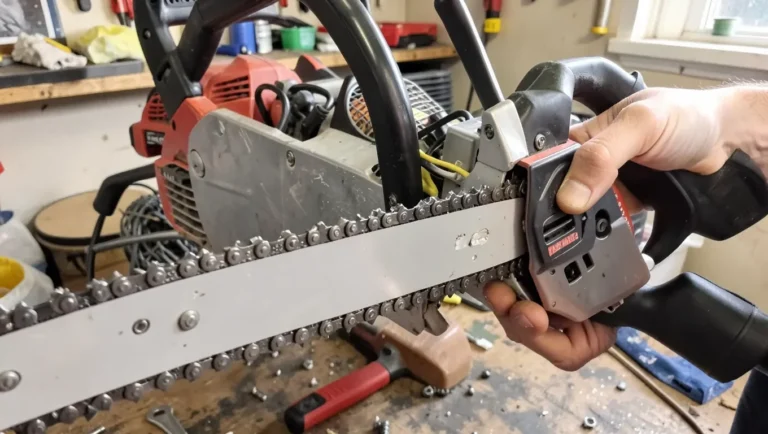
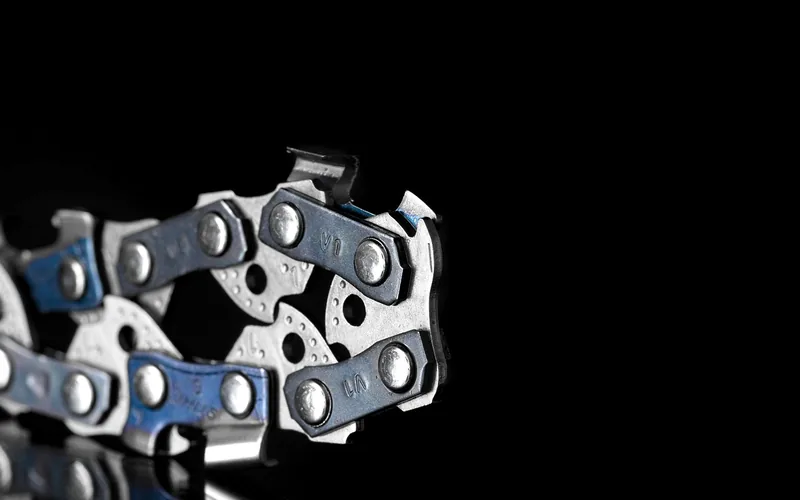
Three jig styles cover most home and farm use. A bar-mounted jig clamps directly onto the guide bar, sets the filing angle on a dial, and presents the file to every cutter at the same angle and height — this is the most consistent manual option and the type most reviewers recommend for regular use.
A hand-crank or bit-style jig clamps onto the bar and turns a small grinding bit against each tooth like a pencil sharpener. It’s fast — often 3-5 seconds per tooth — and doesn’t need electricity, but it removes more metal per pass than a file, so chains wear down faster over their lifespan.
A bench-mounted electric grinder is the fastest and most precise option but costs more and isn’t portable — better suited to a shop that sharpens multiple chains regularly than a single homeowner saw. If you’d rather compare dedicated electric and professional-grade sharpening tools instead of a manual jig, see our guide to professional chainsaw sharpeners.
How to Set Up and Use a Chainsaw Chain Sharpening Jig
The sequence is the same regardless of jig style — only the tool doing the filing changes.
- Clean the chain first: Brush off sawdust and pitch so the jig clamps flush against the bar and every tooth is visible.
- Clamp the jig to the bar: Tighten the mounting knobs until the jig can’t shift sideways — a loose jig is the most common cause of an uneven angle from tooth to tooth.
- Set the filing angle: Dial in 25-35° based on the chart below, matching your wood type and chain style.
- Seat the file or bit against the first tooth: Line it up with the factory-stamped angle line still visible on the top plate, if any remain.
- File in one direction only: Push the file (or turn the crank) away from you in smooth, even strokes — dragging it back over the tooth on the return stroke dulls the file and rounds the edge.
- Count your strokes per tooth: Use the same number of strokes on every tooth (2-3 is typical for light touch-ups) so all cutters end up the same length.
- Move to every other tooth, then flip: Sharpen every second tooth (they face the same direction), then flip the jig or reposition to reach the alternating set.
- Check for a shiny, burr-free edge: A properly sharpened tooth catches light evenly along the top plate with no dull or rounded spots.
Chainsaw Sharpening Angle by Wood Type and Chain (Chart)
Most guides give a single “30 degrees” answer and stop there. The angle that actually cuts best changes with the wood you’re feeding the saw and the chain you’re running:
| Wood / Chain Type | Top Plate Angle | Depth Gauge Height |
|---|---|---|
| Softwood (pine, fir) | ~35° | ~.030″ |
| General purpose / mixed wood | 30° | .025″-.030″ |
| Hardwood (oak, maple) | ~25° | ~.020″ |
| Frozen wood | ~20° | .020″-.025″ |
| Ripping chain (with the grain) | 10-15° | .025″-.030″ |
A steeper angle (closer to 35°) cuts faster in soft, fibrous wood but dulls quickly in hardwood. A shallower angle (25° or less) holds its edge longer in dense hardwood but cuts more slowly. If you don’t know which wood you’ll be cutting most, 30° is the safest middle ground and is what most chain manufacturers stamp on new chains from the factory.
Choosing the Right File Size for Your Chain
The file diameter has to match your chain’s pitch, not just look “about right” — an oversized file rounds off the cutting edge, and an undersized one won’t reach the full depth of the tooth.
| Chain Pitch | Round File Size |
|---|---|
| 3/8″ LP (low profile) | 5/32″ (4.0mm) |
| .325″ | 3/16″ (4.8mm) |
| Standard 3/8″ | 7/32″ (5.5mm) |
Your chain’s pitch is usually stamped on the depth gauge or listed in your chainsaw’s manual. As a rule of thumb, about 1/10th of the file’s diameter should sit visibly above the top plate of the cutter while you’re filing — if the whole file disappears into the tooth, it’s too small. For a closer look at file types and prices by size, see our chainsaw file comparison.
Filing the Depth Gauges (Rakers)
A depth gauge — also called a raker — is the small hump in front of each cutter tooth that controls how deep the tooth bites into the wood. It’s the step most people skip, and it’s the step that causes the most complaints about a chain that “won’t cut straight” even right after sharpening.
As you file the cutters shorter, the depth gauges get relatively taller compared to the teeth, which reduces bite. Every 3-4 sharpenings, lay a depth gauge tool flat across the chain, and file down any raker that sticks up above the tool to .025″-.030″ below the top of the cutter. Round the front corner of the raker after filing so it doesn’t dig in and cause a rough cut.
📊 Properly maintained chainsaws and chains can reduce operating time by up to 20% — Source: U.S. Forest Service equipment maintenance data
Jig vs Freehand Filing: Which Should You Use?
A jig wins on consistency: it locks the same angle and depth for every tooth, which is difficult to replicate freehand even with practice. In our own touch-ups between full sharpenings, a bar-mounted jig adds maybe two extra minutes over a freehand round-file pass — mostly the time it takes to clamp it on and dial in the angle — but every tooth comes out matching, which a rushed freehand pass rarely does.
- Choose a jig if: you sharpen more than a few times a season, want even teeth without years of practice, or are training someone else to maintain the saw.
- Freehand is fine if: you sharpen rarely, already have a steady hand and good results, and are doing quick field touch-ups where speed matters more than perfection.
Common Mistakes to Avoid When Sharpening a Chainsaw Chain
- Ignoring the depth gauges: Filing the cutters without ever touching the rakers is the single most common cause of a chain that cuts slower and slower over its life even though the teeth look sharp.
- Filing in both directions: Dragging the file backward over the tooth rounds the edge and dulls the file faster.
- Mismatched file size: Using a file that doesn’t match your chain’s pitch either rounds the cutting edge or leaves it too shallow.
- Uneven stroke counts: Filing one tooth five times and the next twice leaves teeth of different lengths, which throws off the cut and can make the saw pull to one side.
- Never cleaning the chain before filing: Sawdust and pitch buildup keep the jig from clamping flush, which throws off the angle on every tooth after the first.
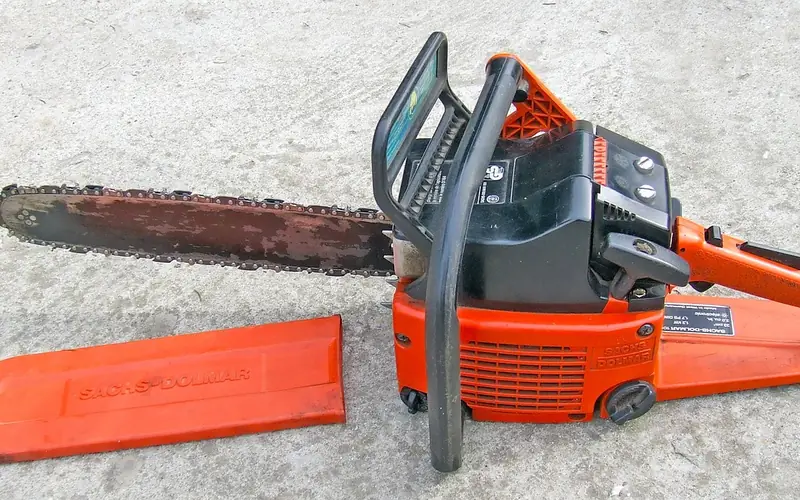
Maintaining Your Sharpening Jig
Wipe metal filings off the jig after every use — they collect in the clamp threads and throw off future angle settings. Check the clamp screws for wear and replace the file or grinding bit once it stops removing metal cleanly (a worn file slides over the tooth instead of biting into it). Store the jig somewhere dry; surface rust on the clamp or guide rails is what usually forces an early replacement, not the tool wearing out from normal use. While the chain is off for sharpening is also a good time to check the bar — see our guide on how to oil a chainsaw bar if you notice the bar groove looking dry.
How Do You Know When a Chainsaw Chain Needs Sharpening?
A dull chain produces fine sawdust instead of chunky wood chips — that’s the clearest sign. Other tells include the saw pulling to one side, needing extra downward pressure to cut, visible smoke from friction even on properly bar-oiled wood, and a rough, torn cut edge instead of a clean one. Any of these mean it’s time to run the jig before the next cut, not after. If you’d rather skip DIY sharpening altogether, check whether Home Depot sharpens chainsaw chains near you.
Frequently Asked Questions
What angle should I sharpen my chainsaw chain at?
Use 25° for hardwood, 30° as a general-purpose default, 35° for soft, fibrous wood, and 20° for frozen wood. Ripping chains, cut with the grain, use a much shallower 10-15° angle. If your factory chain still has the angle line stamped on the cutters, match that first.
What file size do I need for my chainsaw chain?
Match the round file to your chain’s pitch: 5/32″ (4.0mm) for 3/8″ low-profile chains, 3/16″ (4.8mm) for .325″ chains, and 7/32″ (5.5mm) for standard 3/8″ chains. The pitch is usually stamped on the depth gauge or listed in your saw’s manual.
Is a chainsaw sharpening jig better than freehand filing?
Yes, for most users. A jig holds the same angle and depth for every tooth, which is hard to match freehand without years of practice. Freehand filing is fine for rare, quick field touch-ups if you already get consistent results by hand.
How often should I file the depth gauges?
Check and file the depth gauges every 3-4 sharpenings, not every time. Lay a depth gauge tool across the chain and file down any raker that sticks up above it to .025″-.030″ below the top of the cutter, then round the front corner.
Can I use a chainsaw sharpening jig on an electric chainsaw?
Yes. Bar-mounted and hand-crank jigs clamp onto the guide bar itself, not the saw’s motor, so they work the same way on electric, battery, and gas chainsaws as long as the jig is rated for your bar’s width.
How do I know when a chainsaw chain needs sharpening?
Watch for fine sawdust instead of wood chips, the saw pulling to one side, extra pressure needed to cut, visible smoke, and rough or torn cut edges. Any of these signs mean it’s time to sharpen before your next cut.
Conclusion
A chainsaw chain sharpening jig earns its cost the first time it saves you from a chain that pulls to one side. Clamp it flush, match the angle to your wood and chain type, use the correct file size, and don’t skip the depth gauges every few sharpenings — that combination is what keeps a chain cutting straight, not any single step on its own. For more on getting the right chainsaw for the job in the first place, see our guide to choosing the best chainsaw, or check out our broader chainsaw maintenance and buying guides.
Sponsored / affiliate links. As an Amazon Associate I earn from qualifying purchases. I may earn additional commission from eligible campaigns.