Wood Burning Insert Installation Cost: $1,350–$9,800
A wood burning insert installation costs $2,500 to $5,100 for a typical unit-plus-liner job — budget setups run as low as $1,350, while full masonry-to-insert conversions can reach $8,000 or more. Skipping a Level 2 chimney inspection or installing an undersized liner can turn a $2,500 job into a failed-inspection repair bill. This guide breaks down installation cost by tier, what drives the price up or down, and one 2026 tax-credit myth you should stop counting on.
Why a Wood Burning Insert Costs What It Does
Best Wood Insert Safety Pick
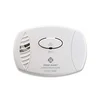
First Alert CO605 Plug-In Carbon Monoxide Detector – $23.99
Code requires CO protection near any new solid-fuel appliance — this is the plug-in alarm with battery backup we point to in the Safety and Compliance step below.
- Best for: the room where your new insert is installed
- Why we picked it: plug-in with 9V battery backup, so it still works during a power outage
- Main drawback: needs a standard outlet within reach of the mounting spot
Compare more wood insert safety & maintenance essentials
 Option 1 GALAFIRE Magnetic Stove Thermometer – $11.99
|
 Option 2 Red Devil Creosote Destroyer (5 lb) – $30.39
|
 Option 3 Red Devil Wall Shield Spacing Kit – $20.70
|
As an Amazon Associate we earn from qualifying purchases.
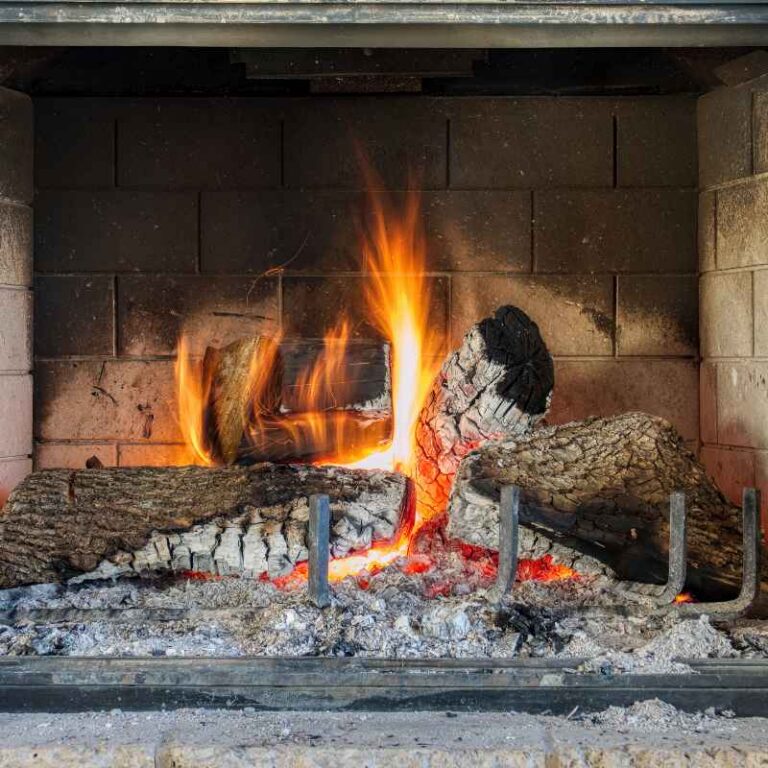
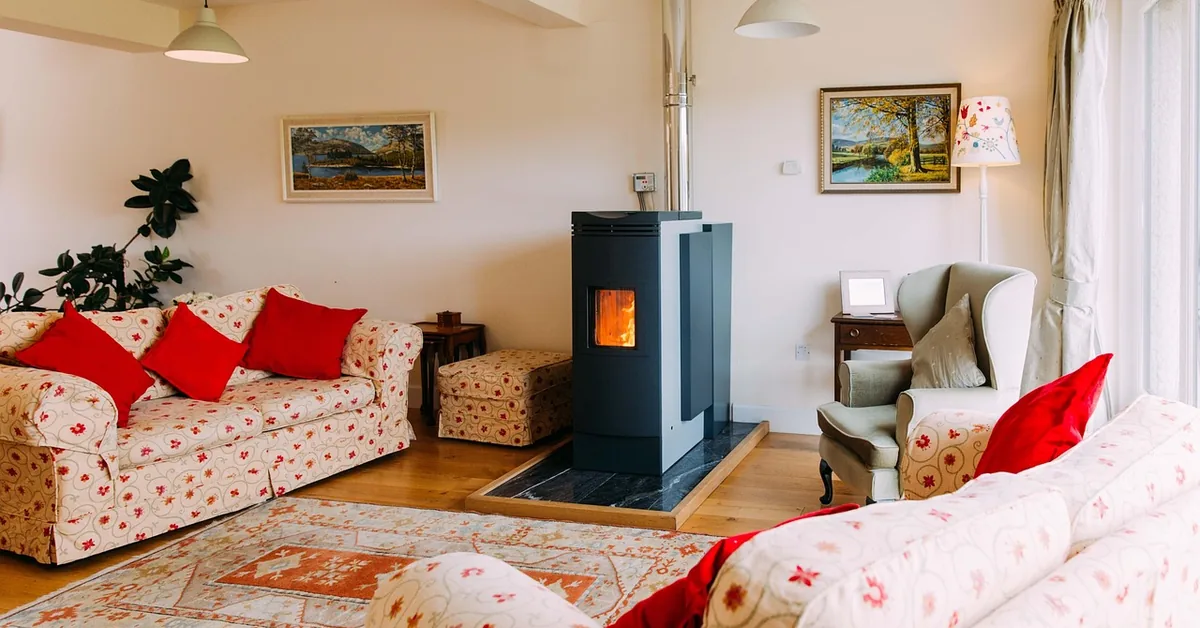
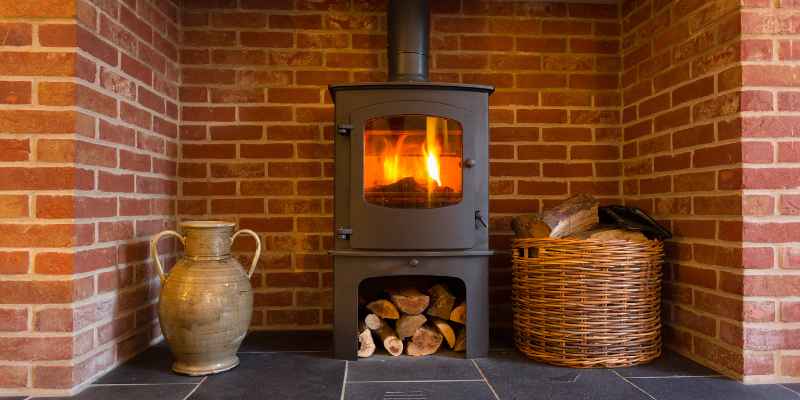
A wood burning insert is a sealed firebox that fits into an existing masonry fireplace opening, closing off the open flue that normally pulls most of your heat straight outside. Because the unit has to be matched to your exact opening and vented with a new liner, the price reflects real parts and labor — not just a “cozy upgrade” markup.
Why Choose a Wood Burning Insert?
An insert earns its cost back through three concrete advantages over an open masonry fireplace:
- Efficiency: EPA-certified inserts burn cleaner and retain far more heat in the room than an open hearth, which loses most of its heat up the chimney.
- Lower heating bills: Homeowners who already burn wood typically see a real drop in their primary heating costs once the insert is in daily use.
- Renewable fuel: Wood is a renewable heating fuel when sourced responsibly, unlike the fossil fuels behind most gas and electric heat.
Assessing Your Fireplace Before You Buy
Before installing a wood burning insert, measure and inspect your existing fireplace. Accurate numbers here prevent an installer trip charge for a unit that doesn’t fit.
Size Matters: Measuring Your Space
Measure the width, height, and depth of the fireplace opening — not the room. Use these three numbers to shortlist inserts that will physically fit before you fall in love with a model online.
| Measurement | Notes |
|---|---|
| Width | Must be greater than the insert’s width, with room for the surround trim. |
| Height | Confirm clearance for the insert body plus the flue collar above it. |
| Depth | Leave enough space for the insert and required rear/side clearance. |
Existing Fireplace Condition
Inspect the firebox and chimney for cracks, excessive creosote buildup, or missing/deteriorated brick before you install anything. Repairing a damaged chimney adds to the total project cost, but skipping the repair risks a failed inspection or a real safety hazard once the insert is running.
Types of Wood Burning Inserts
Design and material both affect price and performance. Here’s how the main options compare.
| Feature | Traditional Inserts | Modern Inserts |
|---|---|---|
| Style | Classic, ornate cast-iron doors | Sleek, minimalist steel or glass-front |
| Efficiency | Lower EPA efficiency ratings | Higher EPA efficiency ratings |
| Ideal for | Rustic or period homes | Contemporary spaces |
Material Considerations
The material of a wood burning insert affects both durability and heat output.
- Cast iron: Excellent heat retention and long service life, at a higher unit cost.
- Steel: Lighter and heats up faster, usually the cheapest option.
- Soapstone: Strong heat retention with a distinct natural look, at a premium price.
Wood Burning Insert Installation Cost Breakdown
Installation cost splits into four line items: the insert itself, the chimney liner, labor, and permits. Here’s what each tier typically includes, based on the going rates HVAC and hearth contractors report nationally.
| Tier | Insert Unit | Liner/Venting | Labor | Permits | Total |
|---|---|---|---|---|---|
| Budget | $600–$900 | $400–$900 | $300–$600 | $50–$150 | $1,350–$2,550 |
| Mid-range | $1,000–$2,000 | $800–$1,800 | $600–$1,000 | $100–$300 | $2,500–$5,100 |
| High-end | $2,000–$4,000+ | $1,500–$3,500 | $900–$1,800 | $200–$500 | $4,600–$9,800+ |
Most homeowners land in the mid-range tier: $2,500 to $5,100 installed. A typical crew of one to two technicians completes a standard insert-and-liner job in 4 to 8 hours. If your project also involves rebuilding a damaged masonry chimney or converting to a zero-clearance factory-built fireplace, expect $8,000 to $18,000 or more — that’s a different scope of work than fitting an insert into a chimney that’s already sound. For general background on the category, see our wood burning solutions hub, and if heat output (not just cost) is your main question, our breakdown of how much of your house a wood burner can actually heat covers real BTU numbers.
Potential Savings
An insert’s savings come from heat retention, not magic — an open masonry fireplace can pull already-heated room air up the chimney faster than it delivers warmth back into the room.
Reduced Heating Bills
Homeowners who heat primarily with wood typically see their heating bill drop once an efficient insert replaces an open fireplace, since less usable heat escapes up the flue. The size of the drop depends on how much of your home the insert actually heats — see the BTU breakdown linked above for realistic expectations by home size.
Long-Term ROI
- Lower heating bills shorten the payback period on the installation cost.
- An efficient insert can be a selling point for buyers who want a working, code-compliant heat source.
- Check current state and utility rebates before you buy — the federal 25C credit is gone, but local programs vary.
Pre-Installation Essentials
Installing a wood burning insert requires planning before the unit ever arrives. Inspections, permits, and picking the right installer all affect both cost and safety.
Inspections and Permits
- Check your local building codes before buying an insert — requirements vary by jurisdiction.
- Schedule a Level 2 chimney inspection, which checks for structural issues a visual look can miss.
- Pull the required permits; skipping this step is what voids many insurance claims after a chimney fire.
A chimney inspection assesses structural integrity and flags blockages or damage before the liner goes in. Permits exist to confirm the finished installation meets fire-safety code, not just to collect a fee.
Choosing the Right Installer
- Check for NFI (National Fireplace Institute) certification or an equivalent local license.
- Read recent reviews specifically about insert installs, not just general HVAC work.
- Ask directly about their experience sizing chimney liners for inserts.
- Get a written, itemized quote so you can compare against the cost tiers above.
The Installation Process
Here’s the general sequence a licensed installer follows, so you know what to expect during the 4 to 8 hours the job typically takes.
Step-by-Step Guide
- Choose the right insert: Select a model sized to the measurements you took of your fireplace opening, with a heat output matched to the room you’re heating.
- Gather your tools: You’ll need a drill, a level, a chisel, a tape measure, and safety goggles before you start.
- Prepare the fireplace: Clean out the firebox completely and remove any debris, old ash, or damaged brick.
- Measure the insert against the opening: Double-check height, width, and depth so the unit fits snugly with the clearances your local code requires.
- Install the chimney liner: Run a properly sized stainless steel liner the full height of the chimney — this is the step a licensed installer or inspector should verify.
- Set the insert in place: Slide the insert into the fireplace opening and use a level to confirm it sits flush and even.
- Seal the gaps: Use fireproof mortar or high-temperature caulk to seal any gap between the insert and the masonry opening.
- Test the insert: Light a small test fire and watch for smoke leaking around the seams before you consider the job finished.
Safety and Compliance
Compliance protects your home, your insurance claim, and your family. At minimum:
- Confirm the finished install against your local building codes before your first fire.
- Use only certified, code-listed products — not a generic stove board substitute.
- Maintain the manufacturer-specified clearance from combustible walls and framing.
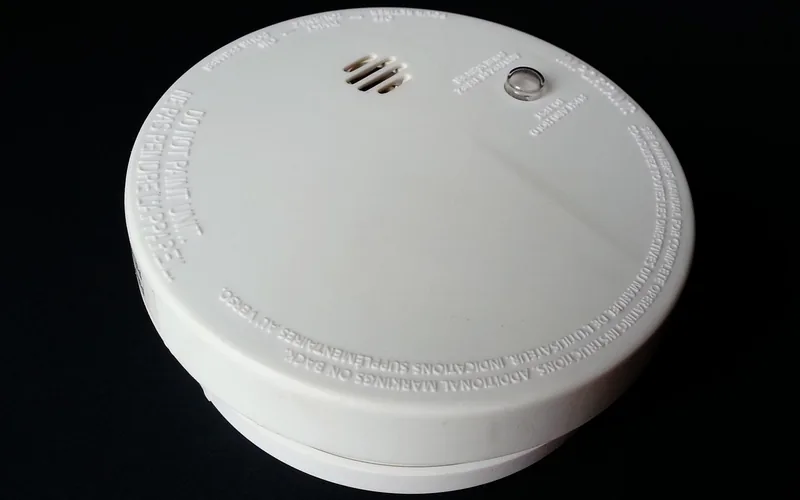
- Install a carbon monoxide detector in the room, since any solid-fuel appliance can backdraft CO under the wrong conditions.
Post-Installation Tips
Proper maintenance and burning technique protect the investment you just made and keep the unit running at its rated efficiency.
Maintenance for Longevity
- Clean the insert: Remove ash and debris weekly during heating season.
- Check the flue: Inspect for creosote buildup or blockages monthly.
- Seal gaps promptly: A cracked seal lets efficiency — and heat — leak out.
- Book an annual inspection: A professional sweep catches what a homeowner check can miss.
Burning Tips for Efficiency
- Use seasoned wood: Wood that hasn’t fully dried and seasoned burns dirtier and produces far more creosote.
- Maintain a hot fire: A hot, well-established fire produces less visible smoke than a smoldering one — our guide on why some firewood smokes more than others explains the moisture connection.
- Don’t overload the firebox: Cramming in too much wood starves the fire of air and drops efficiency.
- Keep vents open: Proper airflow is what keeps combustion — and efficiency — on target.
“In our shop, the number one insert-installation mistake we see is undersizing the liner to save a little upfront — it’s the fastest way to fail a Level 2 inspection and end up paying for the liner twice.” — Our team
Environmental Impact
Wood heat has a real environmental footprint, and an EPA-certified insert burns meaningfully cleaner than an open fireplace or an older, uncertified stove.
Sustainable Wood Sources
- Certified wood: Look for wood certified by the Forest Stewardship Council.
- Local sourcing: Buying from local suppliers cuts the transportation emissions tied to your fuel.
- Reclaimed wood: Using reclaimed or fallen wood reduces both waste and new cutting.
Emission Considerations
| Type of Emission | Impact |
|---|---|
| Particulate matter | Affects local air quality and respiratory health. |
| Carbon dioxide | Contributes to greenhouse gas totals, though wood is considered part of the shorter carbon cycle. |
| Volatile organic compounds | Can contribute to indoor air pollution if the unit isn’t drafting properly. |
To minimize emissions: burn only dry, seasoned wood, maintain the insert on schedule, and use the burning techniques above. An EPA-certified insert run correctly produces a fraction of the particulate output of an old, uncertified stove or an open fireplace.
Frequently Asked Questions
How much does it cost to install a wood burning insert?
Most wood burning insert installations cost $2,500 to $5,100 for the unit, chimney liner, and labor combined. Budget jobs in a straightforward masonry fireplace can run as low as $1,350, while a full masonry-to-insert conversion with new venting can reach $8,000 to $9,800 or more. Always get two or three local quotes, since liner length and chimney condition swing the price the most.
Is a wood-burning insert worth it?
Yes, for most homeowners with a drafty existing fireplace. An insert reclaims heat that an open masonry fireplace normally sends straight up the flue, which is why homeowners typically see lower heating bills the first winter. It’s most worth it if you already burn wood regularly and your fireplace is rarely used because it’s inefficient — the payback is slower if you’d otherwise heat with cheap natural gas.
How much does it cost to install a pellet stove insert?
A pellet stove insert typically costs $1,500 to $4,000 installed, including the unit and venting. Pellet inserts need electricity to run their auger and blower, so factor in an accessible outlet near the hearth — a cost wood inserts don’t have since they run without power.
Can I install my own wood-burning insert?
You can handle the demolition and prep work yourself, but most local codes require a licensed installer or a permitted inspection for the chimney liner and clearance-to-combustibles work, since an undersized liner or missing clearance is a leading cause of chimney fires. DIY installs that skip inspection also void most manufacturer warranties and homeowner’s insurance claims tied to the appliance.
Does a wood burning insert need a chimney liner?
Yes, virtually always. NFPA 211 requires a properly sized stainless steel liner running the full height of the chimney when an insert is installed into an existing masonry fireplace, because the insert’s smaller flue collar can’t safely vent through an oversized, unlined masonry flue. Skipping the liner is one of the fastest ways to fail a Level 2 chimney inspection.
Is the wood stove tax credit still available in 2026?
No. The federal 25C credit that covered 30% of a wood or pellet insert’s cost (up to $2,000 per year) expired December 31, 2025, and does not apply to installations completed in 2026. Check with your state energy office or local utility, since several states still run their own wood-heat rebate programs separate from the expired federal credit.
Conclusion
A wood burning insert typically costs $2,500 to $5,100 installed, with budget jobs as low as $1,350 and full conversions running $8,000 or more. Get a Level 2 chimney inspection and a written, itemized quote before you commit, since liner condition and length — not the insert itself — usually decide which end of that range you land on.
Sponsored / affiliate links. As an Amazon Associate I earn from qualifying purchases. I may earn additional commission from eligible campaigns.