DIY Garage Shoe Storage: 5 Builds by Cost and Skill Level
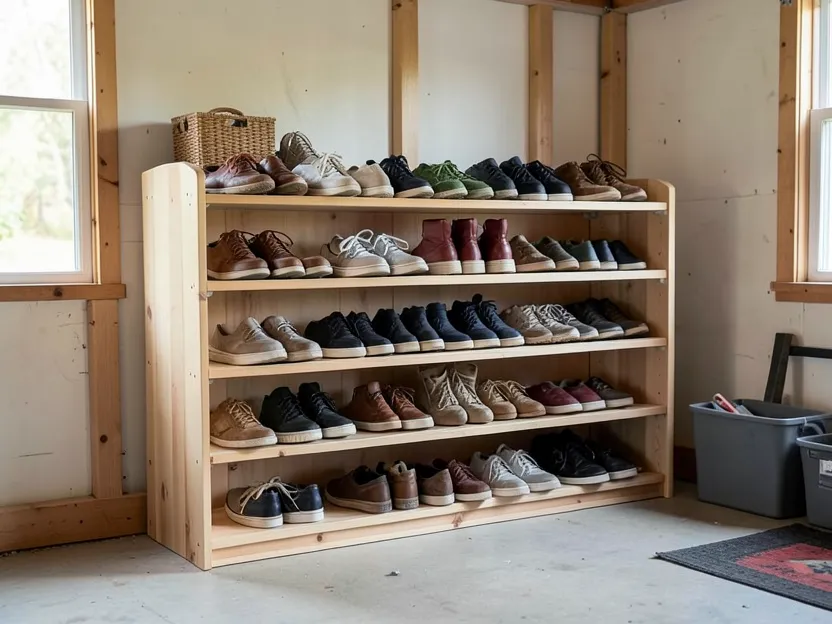
The right DIY garage shoe storage build depends less on how much floor space you have and more on what tools you already own. A wall-mounted shelf or pegboard needs almost nothing beyond a drill and a level. A pocket-hole storage bench needs a jig and a free weekend. A pallet rack sits in between, needing a pry bar, sandpaper, and patience instead of specialized tools.
Matching the build to your actual tool box — not the other way around — is what keeps a garage shoe project from stalling half-finished. Here’s how the main options compare.
Benefits Of DIY Garage Shoe Storage
Build the Storage Bench Version
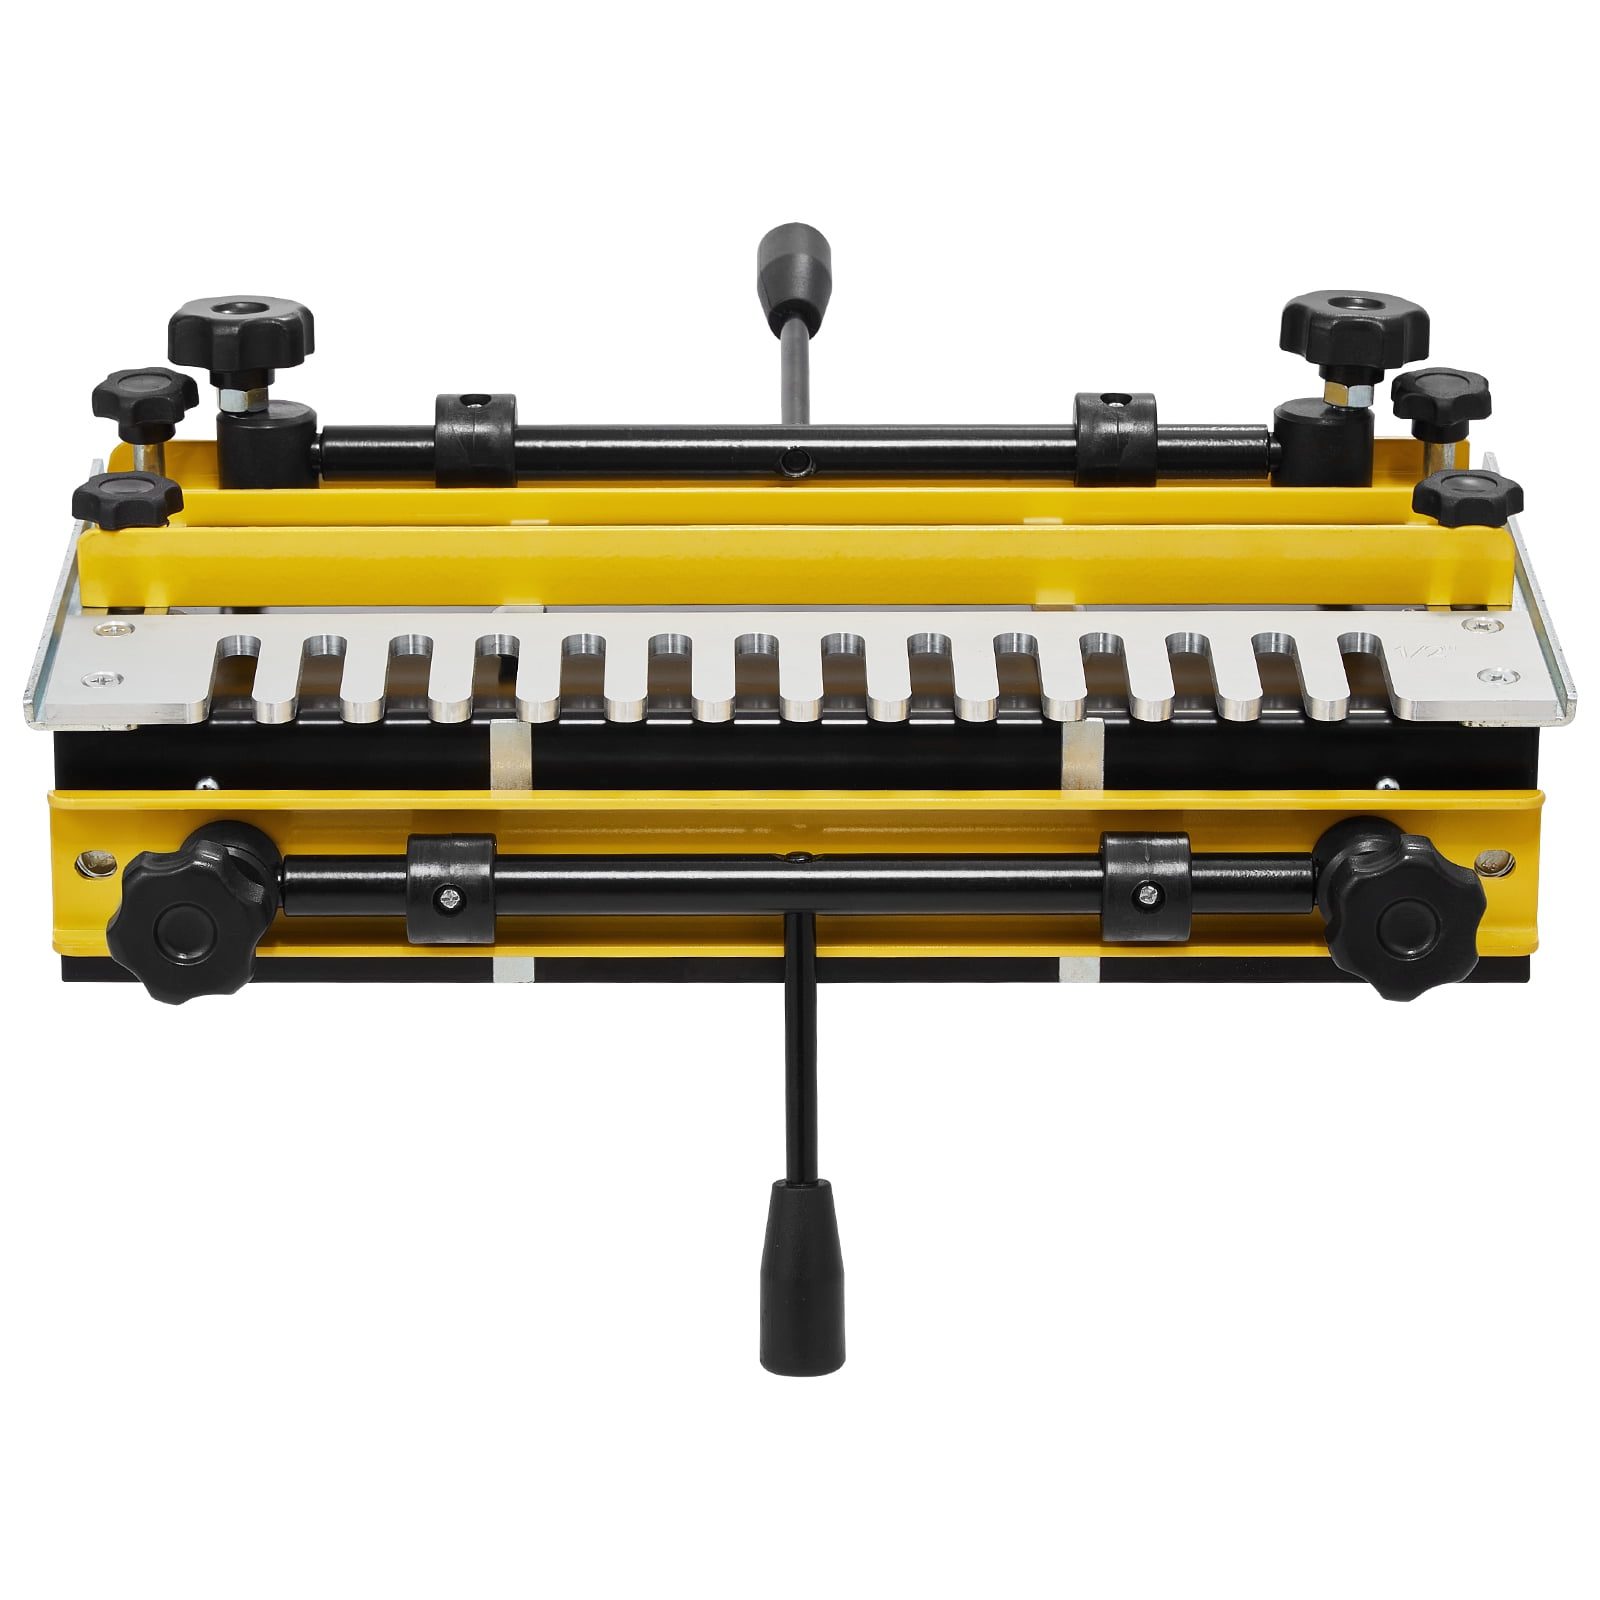 |
Kreg K5 Pocket-Hole Jig – $129 For the storage-bench build: hidden, strong joints without visible screws.
|
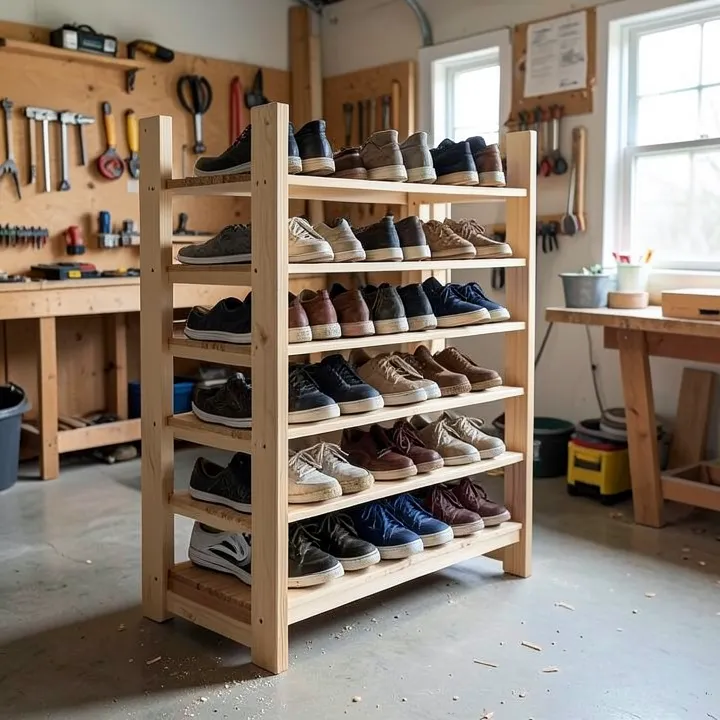
A pile of shoes by the garage door is more than a tripping hazard — loose sneakers and boots hold onto grit, road salt, and moisture that transfers straight to concrete, and over a winter that can leave a permanent stain or a faint mildew smell in the corner where they pile up. Getting shoes up off the floor, even a few inches onto a slatted shelf, lets air circulate underneath and dries them out between wears instead of trapping moisture against the slab.
Building the storage yourself instead of buying a plastic rack also means it can actually fit the space, rather than the other way around. A garage corner with an odd stud spacing, a sloped floor, or limited depth next to a car door swing is exactly the kind of spot a store-bought rack doesn’t handle well, but a custom wall shelf or bench sized to the inch does.
Assessing Your Storage Needs
Start by actually counting what needs to fit, split by type rather than just a total: tall winter boots need roughly 12-14 inches of vertical clearance per shelf, while sneakers and sandals stack fine at 7-8 inches. That difference matters because building every shelf at boot height wastes space you’d otherwise use for two shelves of sneakers, and it’s the single most common mistake in a first DIY shoe rack.
Measure the actual wall or floor footprint you’re working with — width, height, and how far the unit can project before it interferes with a car door or a walkway — and note whether the spot ever gets wet from a leaky roof, melting snow tracked in, or a garage door seal that lets rain blow in. A storage location that gets damp needs a slatted or open-wire design rather than solid shelving, so air can move around the shoes instead of trapping condensation against them.
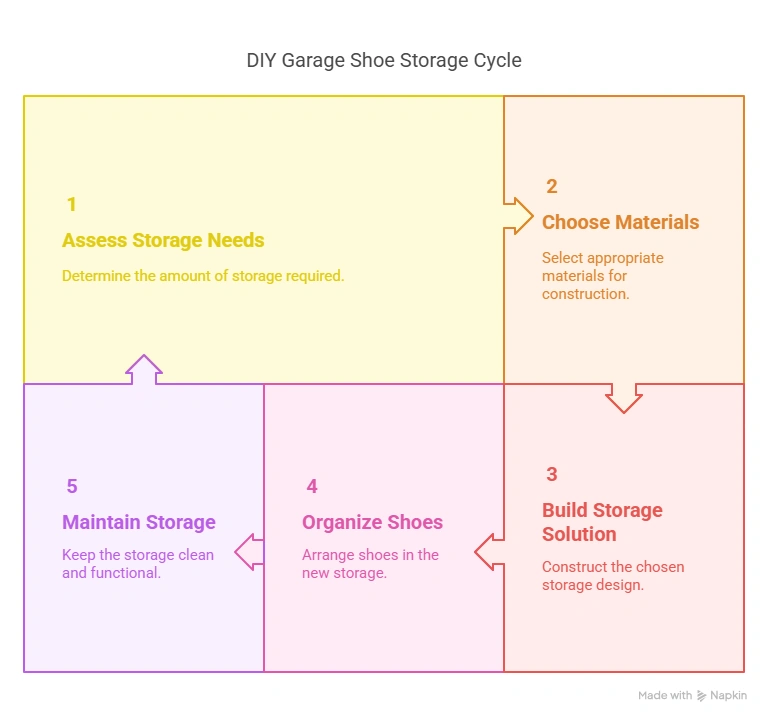
Choosing The Right Materials
For anything wall-mounted, 3/4″ plywood or 1x lumber (pine, poplar, or construction-grade fir) is plenty strong for shoe loads and cheap enough that mistakes don’t sting — a single 4×8 sheet of 3/4″ plywood, ripped into shelves, can build a full multi-tier rack for under $40. If the garage is unheated or prone to humidity swings, choose exterior-rated plywood or seal interior-grade lumber with a coat of polyurethane; untreated softwood left in a damp garage corner can start to warp or mildew within a season.
Skip particleboard and MDF for this project specifically — both absorb moisture readily, and a garage floor-level shelf is exactly the environment where that becomes a problem, with sagging or swelling shelves within a year or two. If reclaimed material is the goal, pallet wood works well once de-nailed and sanded (see the pallet-rack notes further down), and it costs essentially nothing beyond your time.
Wall-mounted Shoe Racks
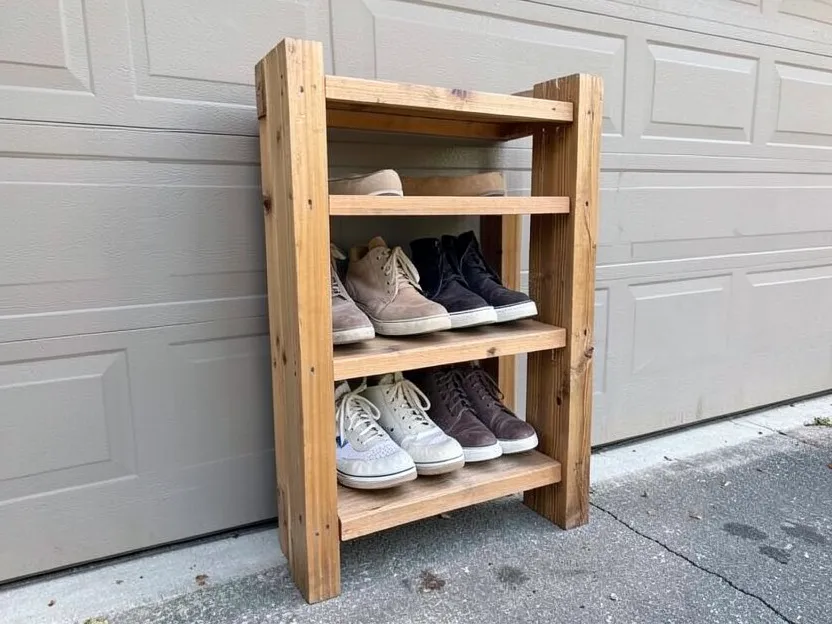
A wall-mounted shoe rack is the fastest build of the bunch: a few 1×6 boards cut to length, mounted as horizontal slats spaced roughly 6-8 inches apart, angled slightly downward (about 5-10 degrees) so shoes tuck in toe-first and stay put. Angling the slats is what separates a rack that actually holds shoes securely from one where sneakers slide back off when the garage door slams.
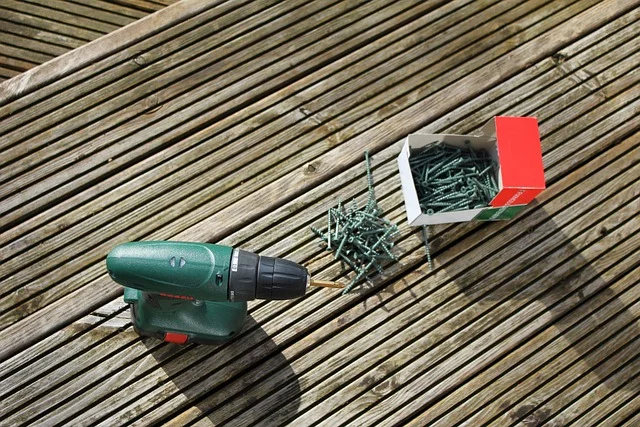
Locate wall studs with a stud finder before drilling — a rack loaded with a dozen pairs of boots is heavier than it looks, and drywall anchors alone won’t hold that weight reliably over time. Mark stud centers (typically 16″ on center in most garages), pre-drill pilot holes to avoid splitting the boards, and use 3″ deck screws driven into the studs rather than the drywall between them. Check the rack is level before adding the final screws, and give it a firm tug test before loading it up.
Using Shelves And Cabinets
Adjustable shelving on a standard shelf-pin or track-and-bracket system lets you reset shelf height as your shoe mix changes with the seasons — winter boots one month, sandals the next — without rebuilding anything. A single 8-foot vertical track with movable brackets can support four or five shelf levels in the same footprint a fixed shelf would use for two.
Whatever the shelf design, the real win is getting shoes off the slab: a shelf even 4 inches up lets air circulate underneath, so shoes actually dry out between wears instead of sitting in trapped moisture, and sweeping or mopping the garage floor no longer means moving a pile of shoes first.
An old kitchen or closet cabinet pulled during a remodel makes a surprisingly good shoe cabinet with almost no modification — pull the doors if you want faster access, or leave them on to keep dust and grime off the shoes entirely, which matters more in a garage than almost anywhere else in the house. A quick coat of paint or a peel-and-stick shelf liner freshens up a dated cabinet in an afternoon.
Closed storage like this earns its keep specifically in a garage: dust, sawdust from other projects, and the fine grit that blows in every time the garage door opens all settle on open shelving, but stay out of a cabinet with doors.
Creative Shoe Storage Ideas
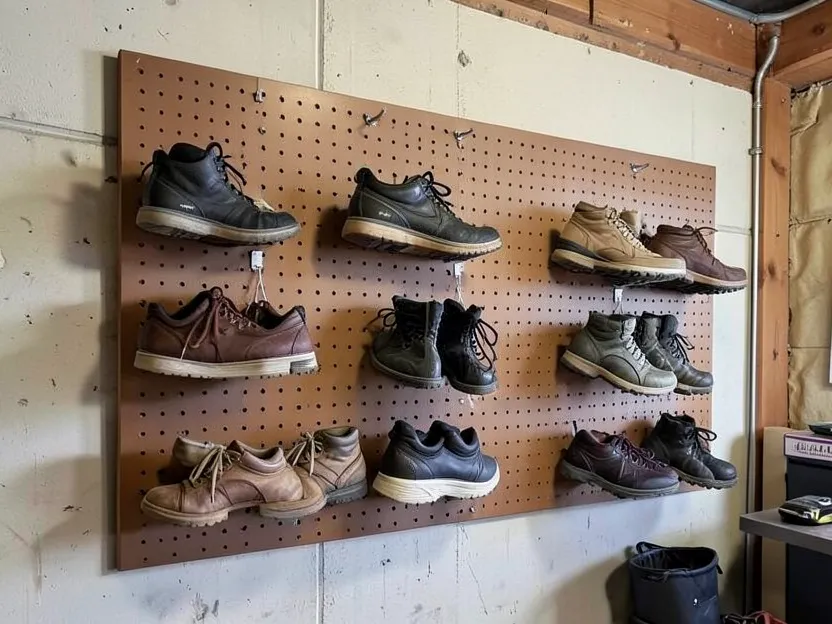
A sheet of pegboard mounted to the wall with 1-1.5″ standoffs turns into flexible shoe storage using standard pegboard hooks spaced to match shoe size — hang each pair by the heel strap or by threading a hook through the back of the shoe, and reposition hooks in seconds as your shoe collection changes. Because pegboard holes are typically on a 1″ grid, hook spacing is easy to standardize once you’ve measured your widest boot.
Over-the-door or wall-hung fabric shoe organizers are the zero-tool option worth mentioning even in a woodworking-focused guide: they cost under $20, install with a couple of screws or an over-door hook, and each pocket holds one pair visibly and off the floor. They’re a reasonable stopgap while a more permanent wood build is in progress, or the right permanent answer for a renter who can’t drill into garage walls.
DIY Shoe Storage Bench
A shoe storage bench does double duty as seating for putting shoes on and off, which is worth the extra build time over a simple shelf. Start with a basic box frame — 3/4″ plywood sides, a bottom, and a seat top sized to about 14-16″ deep by however long the space allows, joined with pocket screws (a Kreg-style jig makes this fast and keeps screws hidden) or simple butt joints reinforced with wood glue and screws if you don’t have a jig.
Square the frame carefully before the glue sets — check diagonal measurements corner to corner; if they match, the box is square — since a bench that’s slightly out of square will have a wobbly or uneven seat no matter how solid the joints are. Sand all edges smooth, especially anywhere a hand or shin will contact the bench regularly, then finish with paint or a wipe-on poly depending on whether the piece will see moisture.
For internal shoe cubbies, rip plywood dividers to the bench’s interior height and space them by shoe width (roughly 4-5″ per slot for adult shoes), securing each divider with glue and a couple of finish nails or pocket screws from the bottom. Angling each cubby slightly downward, the same trick used on wall racks, keeps shoes from sliding forward and blocking the slot next to them.
Add a removable fabric bin or basket to one or two end compartments for small items — gloves, hats, dog leashes — that don’t fit the shoe-slot format, which turns the bench into a real mudroom-style catch-all instead of single-purpose shoe storage.
Maintenance And Upkeep
A garage shoe rack collects dust and tracked-in grit faster than almost anything else in the house, so a quick wipe-down with a damp microfiber cloth every couple of weeks keeps both the rack and the shoes on it cleaner longer. For a rack with any exposed wood joinery, check twice a year that screws haven’t backed out from vibration (a garage door opener running nearby is a common culprit) and re-tighten as needed before a shelf fails under load.
For off-season shoes — sandals in winter, snow boots in summer — clear stackable bins keep them dust-free and let you see contents without opening every box, which matters in a garage where labeling can fade or peel from temperature swings. Keeping off-season pairs in bins rather than on the active rack also frees up prime shelf space for what actually gets worn that week.
Frequently Asked Questions
How Should Shoes Be Stored In A Garage?
Keep shoes off the concrete floor on a slatted shelf, pegboard, or rack so air can circulate and moisture doesn’t get trapped against them. Position storage away from direct sun through a garage window (UV exposure dries out and cracks leather and rubber over time) and away from any spot prone to dampness, and give boots more vertical clearance than sneakers so you’re not wasting shelf height.
How Do You Make Easy Diy Shoe Storage?
The fastest build is a wall-mounted slat rack: a few 1×6 boards angled slightly downward and screwed into wall studs, spaced 6-8 inches apart. It needs only a drill, a level, and a stud finder, and can be finished in under an hour once the studs are located.
What Can I Use Instead Of A Shoe Rack?
An over-the-door fabric organizer, a repurposed cabinet with the doors removed, stackable clear bins, or a section of pegboard with hooks all work as shoe storage without building a dedicated rack. Pegboard is the most flexible of these since hook spacing can be changed anytime.
Is It Better To Store Shoes In Their Boxes Or On A Shoe Rack?
Boxes protect shoes better from dust and garage grit, which matters most for shoes worn rarely, like dress shoes or off-season boots. An open rack is faster to grab from and better for shoes worn daily, since airflow around them helps them dry out between wears — most garages end up using both, boxes for the rotation and a rack for daily pairs.
Conclusion
The best garage shoe storage build is the one that matches your tools, your space, and how many pairs actually need a home — a wall-mounted slat rack for a weekend afternoon and a drill, a storage bench for a project that doubles as seating, or a pallet rack for near-zero material cost. Whichever build you choose, getting shoes up off the concrete is the single change that does the most work, keeping moisture, grit, and clutter off the floor.
Measure first, match the shelf height to boots versus sneakers rather than building everything the same size, and pick a material — plywood, solid lumber, or reclaimed pallet wood — that can handle whatever moisture your garage actually sees. Get those basics right and the storage will outlast several rounds of shoe-collection changes.
Sponsored / affiliate links. As an Amazon Associate I earn from qualifying purchases. I may earn additional commission from eligible campaigns.