DIY Wood Console Table: Build Plan and Material Guide
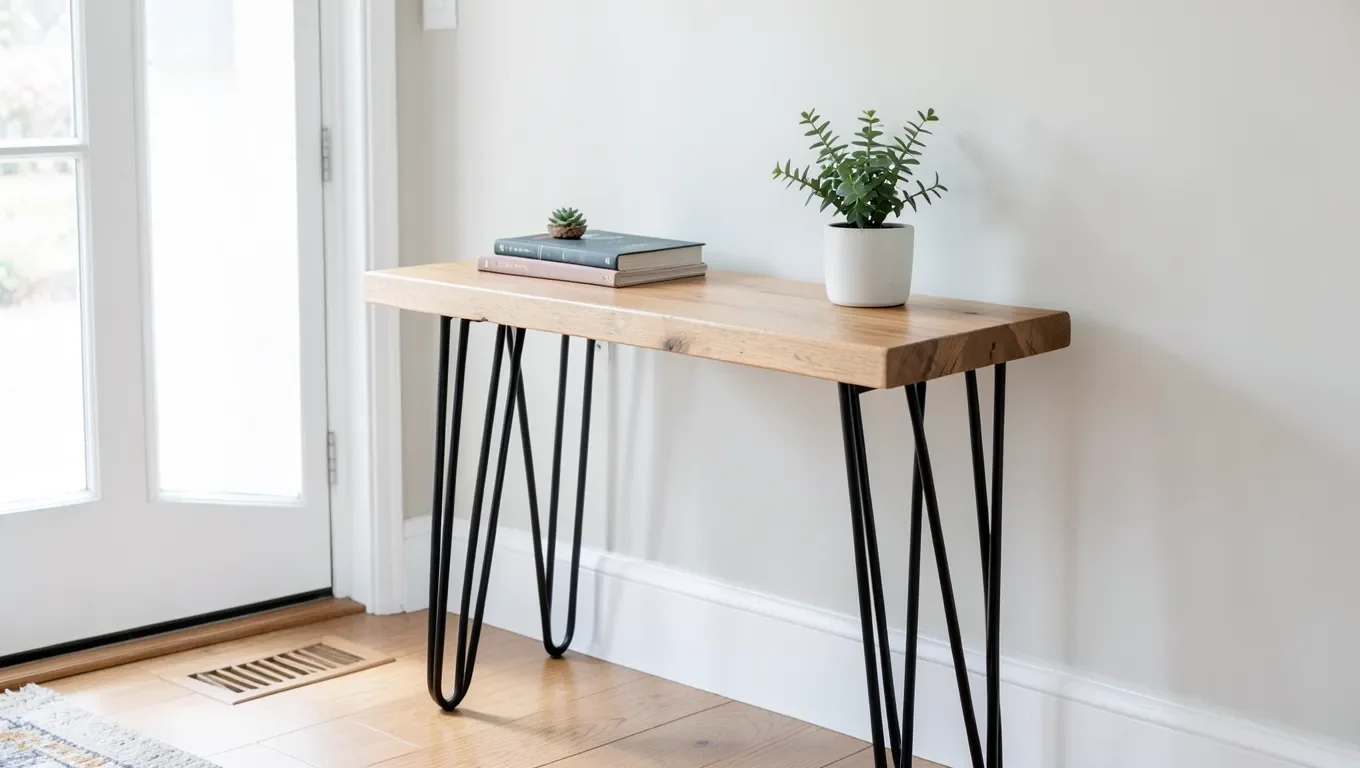
A standard DIY console table build is 48″ long, 14″ deep, and 30″ tall – a tabletop, a simple apron frame, and four legs. With a full cut list, pocket-hole joinery, and hairpin or turned legs, this is a realistic first furniture build even without advanced joinery skills.
Below is the complete material list, cut dimensions, and build order for that exact table, plus how to adjust the sizing for a different space.
Materials and Cut List for a 48″ Console Table
Skip Turning Your Own Legs
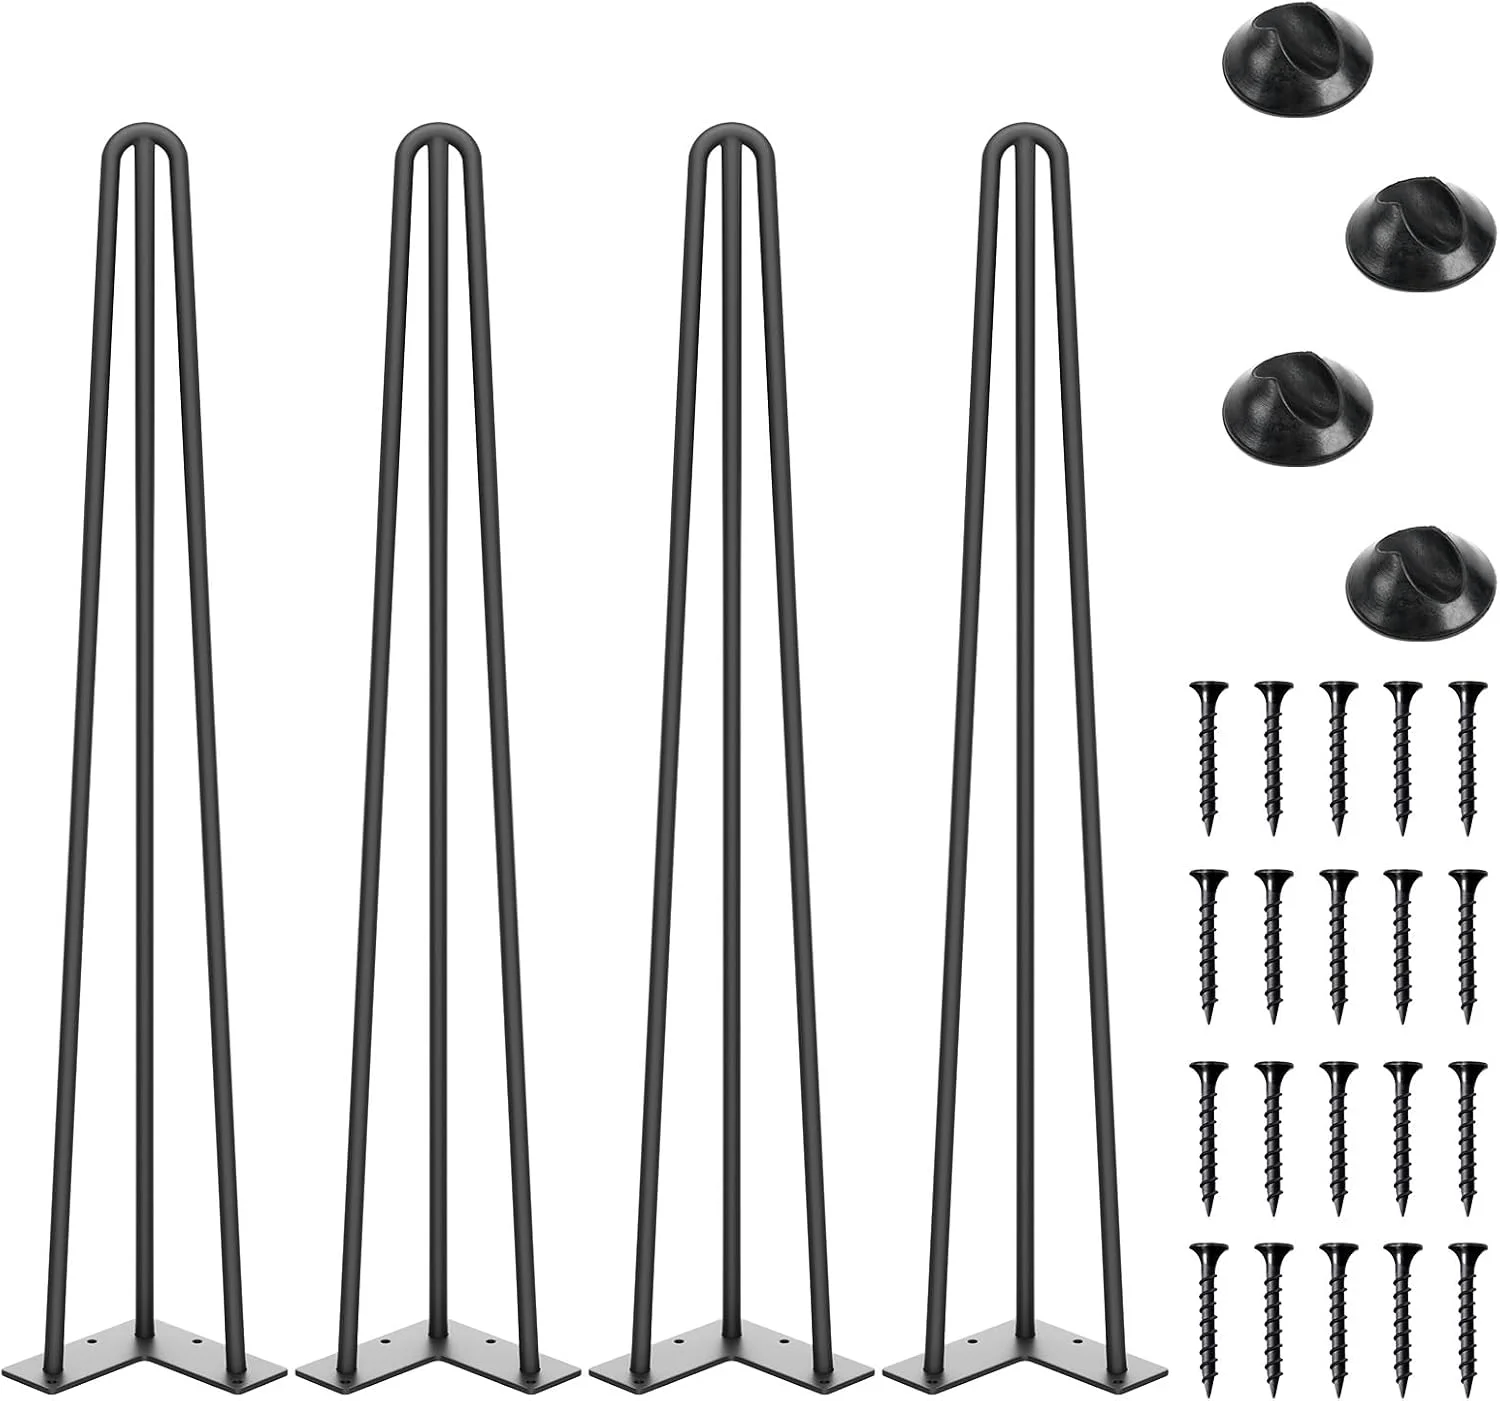 |
SMARTSTANDARD 28″ Hairpin Table Legs, Set of 4 The exact height used in the cut list above – 3-rod steel legs rated for 800 lbs across a set of four, with mounting plates and screws included.
|
This cut list builds a 48″ long by 14″ deep by 30″ tall table with a solid tabletop, a recessed apron frame, and hairpin legs.
| Part | Quantity | Dimensions |
|---|---|---|
| Tabletop | 1 | 48″ x 14″ x 3/4″ (edge-glued 1x boards or a single plywood panel) |
| Long apron (front & back) | 2 | 44″ x 3″ x 3/4″ |
| Short apron (sides) | 2 | 10″ x 3″ x 3/4″ |
| Hairpin legs | 4 | 28″ tall (finished table height ~30″ with tabletop thickness) |
The apron frame sits 2 inches in from each edge of the tabletop, which is why the long apron pieces (44″) are 4 inches shorter than the tabletop’s 48″ length, and the short aprons (10″) are 4 inches shorter than the 14″ depth. From a materials standpoint, one 8-foot 1×12 covers the tabletop and one 10-foot 1×4 covers all four apron pieces, with some waste to spare.
Choosing the Right Wood
Pine is the easiest and cheapest option for a first build – it’s soft, cuts and sands quickly, and takes stain well, though it dents more easily than harder species. Oak and maple cost more and are noticeably harder to cut and sand by hand, but they resist dents and hold up better under daily use. Poplar sits in between: harder than pine, still relatively easy to work, and a common choice under paint since its color variation doesn’t matter once coated.
For the tabletop specifically, look for boards with straight, tight grain and minimal cupping – sight down the length of each board at the store before buying, since a warped board is much harder to fix after the table is assembled than before.
Hairpin, Turned, or Tapered: Choosing a Leg Style
Hairpin legs, like the ones in the cut list above, are the fastest route to a finished table: they bolt straight onto the apron frame with no lathe work or leg-to-apron joinery beyond driving screws into a mounting plate. They read as mid-century or industrial, which won’t suit every room.
Turned wood legs (bought pre-made or turned on a lathe) give a more traditional look and typically attach with a leg mounting plate or a threaded hanger bolt driven into a pre-drilled hole in the apron corner. Tapered square legs, cut on a table saw, are the most work but the most flexible on style – they can be shaped and finished to match almost any design, from farmhouse to mid-century, since you’re not limited to whatever a hardware manufacturer offers.
For a first build, hairpin or pre-made turned legs remove one of the more failure-prone steps (getting four legs to match exactly), which is worth the tradeoff even if it means less flexibility on the finished look.
Step-by-Step Build
- Cut all pieces to the dimensions in the cut list above. If building the tabletop from multiple boards, edge-glue and clamp them together first, then let the glue cure fully before proceeding.
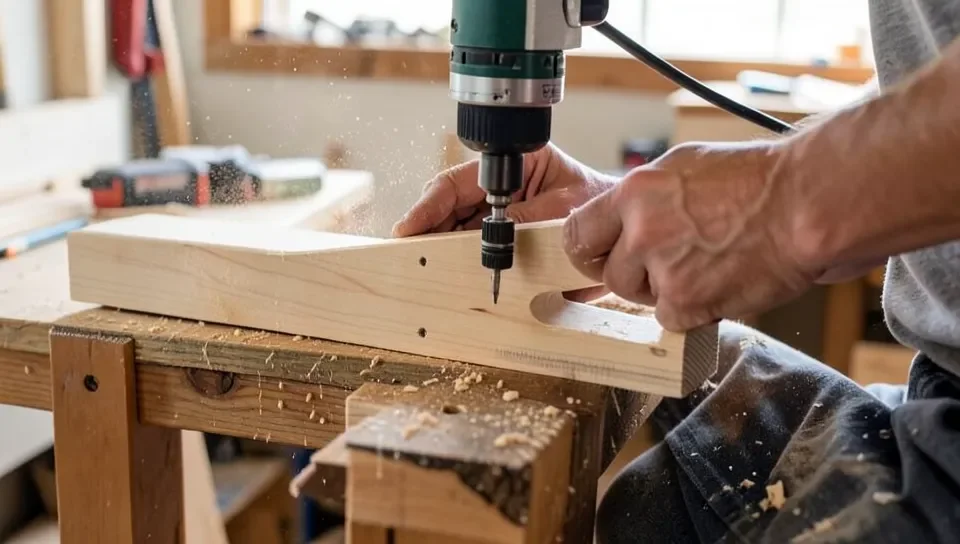
- Drill pocket holes along the inside edges of the two long apron pieces, angled to join into the short apron pieces at each corner.
- Assemble the apron into a rectangle using the pocket-hole screws, checking that the frame is square by measuring both diagonals – they should match within about 1/8 inch.
- Center the apron frame on the underside of the tabletop, 2 inches in from each edge, and attach it with pocket screws driven up into the tabletop (avoid screwing all the way through).
- Attach a hairpin leg’s mounting plate to the underside of each corner of the apron frame using the screws included with the legs.
- Sand the entire table with progressively finer sandpaper (120, then 180, then 220 grit), finishing in the direction of the grain.
Finishing the Table
Wipe off all sanding dust with a tack cloth or damp rag before applying any finish. If staining, apply with the grain, let it sit for the time listed on the can, then wipe off the excess – a lighter wipe leaves a lighter color if you’re testing on scrap first. Once the stain is fully dry, apply 2-3 thin coats of polyurethane or a wipe-on oil finish, lightly sanding with fine-grit paper between coats for a smoother final surface.
Styling Your Console Table
A console table works in more spots than its name suggests: an entryway for a first impression, behind a sofa to break up an open floor plan, in a hallway for extra surface space, or as a slim TV stand in a smaller room. Style it with a tray to corral small items, a lamp or two for height variation, and one or two vertical elements like a mirror or framed art above it to keep the eye moving upward instead of flat across the tabletop.
Maintenance and Care
Dust with a soft, dry cloth regularly, and wipe up spills right away rather than letting moisture sit on the finish. Skip harsh chemical cleaners, which can dull or strip a polyurethane or oil finish over time – a barely damp cloth is enough for most cleaning. Use felt pads under any decor placed directly on the surface to prevent scratches, and keep the table out of direct sunlight if possible, since UV exposure gradually fades stained wood.
Frequently Asked Questions
How do I start building a wood console table?
Start with a cut list sized to your space, then cut the tabletop and apron pieces to those dimensions. Assemble the apron frame with pocket screws, attach it to the underside of the tabletop, then add the legs before sanding and finishing.
What tools do I need for a DIY wood console table?
A saw for cutting boards to length, a pocket-hole jig and drill for the apron joints, a tape measure, clamps to hold pieces during glue-up, and sandpaper for finishing. Wood glue adds extra strength at the joints but isn’t strictly required with pocket screws.
Can I resize this console table plan?
Yes. Keep the apron pieces 4 inches shorter than your target tabletop length and depth, and choose a leg height that gets you to your desired total table height once the tabletop thickness is added. A longer or deeper tabletop may need a center support brace in the apron frame to prevent sagging.
What type of wood is best for a console table?
Pine is the easiest and most budget-friendly choice for a first build. Oak or maple cost more and take more effort to work with hand tools, but resist dents and everyday wear better over time.
Conclusion
A console table is a manageable first furniture build precisely because the joinery is simple: a tabletop, a basic apron frame, and legs you can either build or buy. Follow the cut list above as a starting point, adjust the dimensions to fit your space, and you’ll have a table sized and built specifically for where it’s going – not just whatever happened to fit at the store.
Sponsored / affiliate links. As an Amazon Associate I earn from qualifying purchases. I may earn additional commission from eligible campaigns.