DIY Wooden Shoe Rack: Cut List, Board Feet, and Build Plan
This DIY wooden shoe rack is 31-1/2 inches wide, 11-1/4 inches deep, and 16 inches tall, with three slatted shelves that hold about nine pairs. It is built from three 8-foot 1x4s, one 4-foot 1×12, and one 4-foot 1×2, about 12.7 board feet of pine bought and 10.6 board feet actually used.
Most shoe rack plans give you a picture and a materials list with no dimensions. This one gives you every cut, the board-foot math behind the shopping list, and the screw positions, so you can build it from one trip to the lumber aisle.
DIY Wooden Shoe Rack Size, Capacity, and Materials at a Glance
Best Drill Pick for This Build
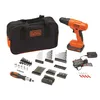 |
BLACK+DECKER 20V MAX Cordless Drill Driver Kit, 100 pc. ($59.99) This build needs 40 pilot holes and 40 screws driven into pine, which is exactly the job a small 20V drill with a clutch handles well. Drill each pilot hole, then drive the screw until the head sits flush.
|
As an Amazon Associate we earn from qualifying purchases.
The design is deliberately plain: two solid side panels, three shelves made of three slats each, and one hidden brace. The slat gaps let dirt and grit fall through instead of piling on the shelf, and every part comes off a standard 1x board with no ripping on a table saw.
| Spec | Dimension | Why |
|---|---|---|
| Overall size | 31-1/2 in W x 11-1/4 in D x 16 in H | 30 in of slat plus two 3/4 in side panels |
| Shelf surface heights | 4 in, 10 in, 16 in from the floor | Top shelf sits flush with the top of the sides |
| Clearance above each lower shelf | 5-1/4 in | 6 in shelf spacing minus 3/4 in slat thickness |
| Shelf depth | 11-1/4 in | Full width of a 1×12 side panel |
| Slat gaps | 3/8 in | Three 3-1/2 in slats plus two 3/8 in gaps fill 11-1/4 in exactly |
| Capacity (estimate) | About 3 pairs per shelf, 9 total | Assumes roughly 10 in of shelf width per adult pair |
The capacity line is an estimate, not a measurement: it assumes about 10 inches of width per pair of adult sneakers, so measure your own widest pair before you commit to 30 inches. The 5-1/4 inch clearance suits sneakers, flats, and sandals. It will not fit boots, and the variations section below shows how to adapt it.
Cut List and Board-Foot Math
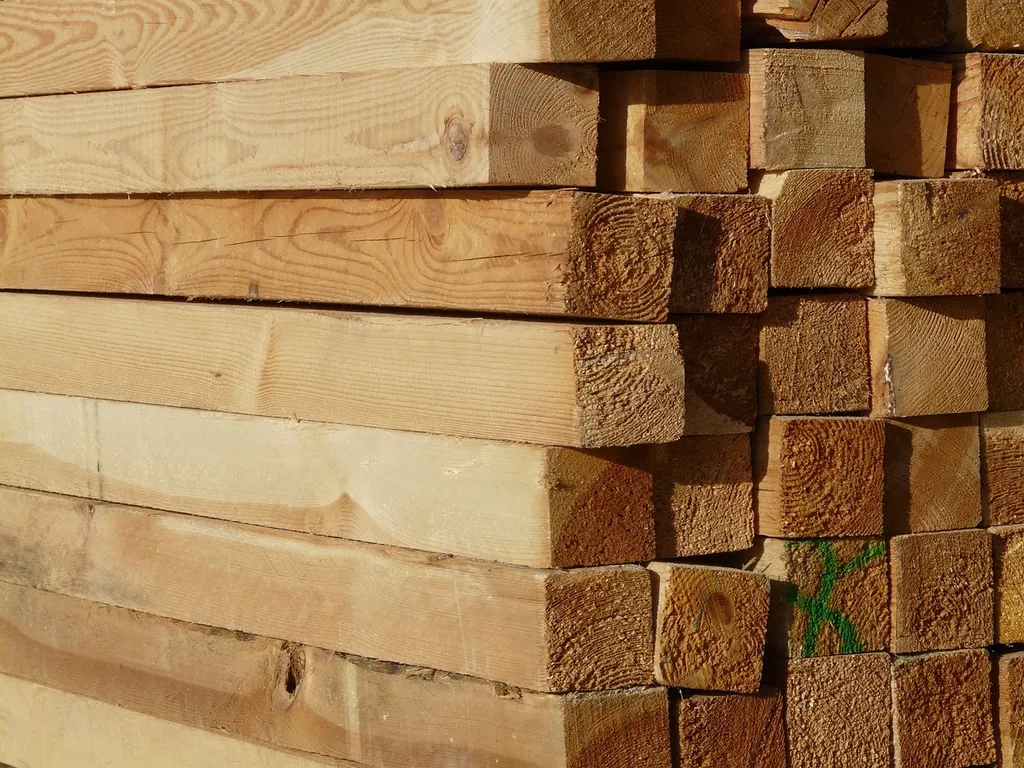
Lumber is sold by its nominal size, and nominal is not the real size. A 1×4 measures 3/4 inch by 3-1/2 inches and a 1×12 measures 3/4 inch by 11-1/4 inches (see this nominal versus actual lumber chart). That is the most common reason a homemade plan does not fit: dimensions drawn with a full 1 inch board come out wrong by 1/4 inch per part. Every number below uses the real sizes.
| Part | Qty | Board | Cut size (actual) | Note |
|---|---|---|---|---|
| Side panel | 2 | 1×12 | 3/4 x 11-1/4 x 16 in | Square both ends; the bottom end sits on the floor |
| Shelf slat | 9 | 1×4 | 3/4 x 3-1/2 x 30 in | Three per shelf; cut all nine from three 8 ft boards |
| Back brace | 1 | 1×2 | 3/4 x 1-1/2 x 30 in | Stops the rack from racking side to side |
Each 8-foot 1×4 is 96 inches long, and three 30-inch slats use 90 inches of it, which leaves 6 inches for two saw kerfs and a square-up cut. Three boards give you exactly nine slats with no offcut worth keeping.
Board-foot math
A board foot is 1 inch thick, 12 inches wide, and 12 inches long, or 144 cubic inches. For boards sold in nominal sizes, you calculate it with the nominal dimensions: thickness times width times length in feet, divided by 12 (the board foot definition from Wood-Mizer explains the convention). Here is the whole project:
| Part | Total length used | Calculation (nominal) | Board feet |
|---|---|---|---|
| Sides, 1×12 | 2 x 16 in = 2.67 ft | 1 x 12 x 2.67 / 12 | 2.67 |
| Slats, 1×4 | 9 x 30 in = 22.5 ft | 1 x 4 x 22.5 / 12 | 7.50 |
| Brace, 1×2 | 30 in = 2.5 ft | 1 x 2 x 2.5 / 12 | 0.42 |
| Used | 10.58 |
What you actually buy is a little more, because boards come in fixed lengths:
| Buy | Calculation | Board feet |
|---|---|---|
| 3 x 1×4, 8 ft | 3 x (1 x 4 x 8 / 12) | 8.00 |
| 1 x 1×12, 4 ft | 1 x 12 x 4 / 12 | 4.00 |
| 1 x 1×2, 4 ft | 1 x 2 x 4 / 12 | 0.67 |
| Bought | 12.67 |
The difference, 12.67 minus 10.58, is 2.09 board feet of offcut, or about 16 percent of what you buy. That is a normal waste factor for a small project cut from standard lengths. If your store only stocks 6-foot 1×12 and 1×2, buy those instead: the project still works, you just end up with a longer offcut, and the bought total rises to 14.67 board feet.
Tools and Hardware
- Saw: a miter saw, circular saw with a speed square, or a handsaw and miter box; the 12 cuts need to be square.
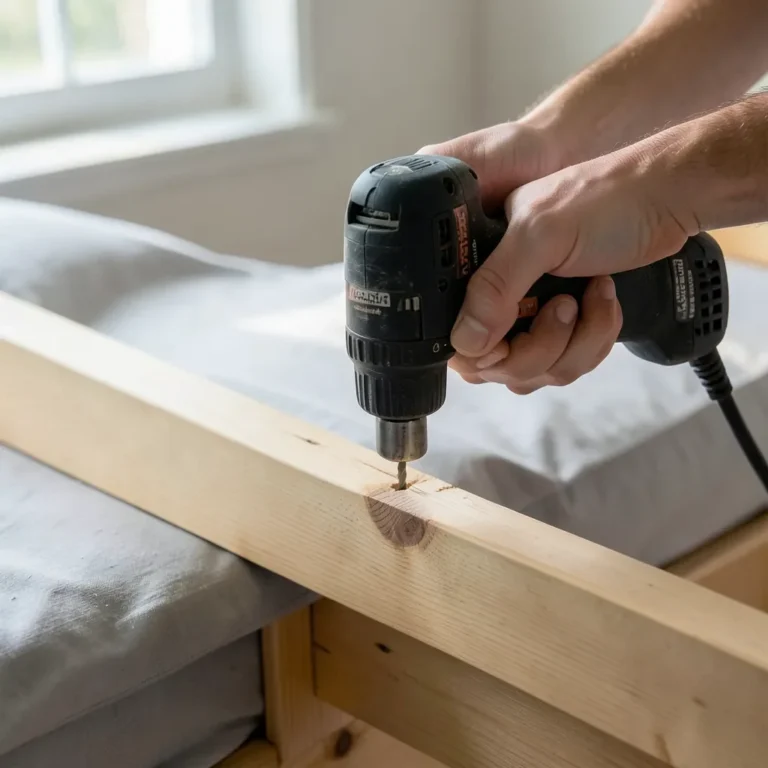
- Drill and bits: a 1/8 inch bit for pilot holes and a countersink bit so screw heads sit flush.
- Screws: 40 pieces of #8 x 2 inch wood screws (36 for the slats, 4 for the brace).
- Marking and measuring: tape measure, pencil, and a speed square or combination square.
- Spacer: a 3/8 inch scrap, such as a 3/8 inch plywood strip, to hold the slat gaps.
- Sanding and finishing: 120 and 180 grit sandpaper, plus your stain or clear coat.
If you build another piece after this one, the same drill and bit set will cover it. A pocket-hole jig is an alternative way to join slat ends to the sides, but plain screws through the side panels are simpler, stay hidden once you plug them or paint over them, and need nothing extra.
Step-by-Step Build
1. Cut and sand the parts
Cut the two sides from the 1×12 at 16 inches, the nine slats from the three 1x4s at 30 inches, and the brace from the 1×2 at 30 inches. Cut all nine slats to one length using a stop block or by clamping the first slat to the rest as a pattern, because a shelf with slats that differ by 1/8 inch looks sloppy. Sand every part with 120 grit and then 180 grit before assembly, since the inside faces are hard to reach afterward.
2. Mark the shelf positions on the side panels
Lay the two sides next to each other, bottom ends aligned. Draw a pencil line for the underside of each shelf at 3-1/4 inches, 9-1/4 inches, and 15-1/4 inches from the bottom end. Because each slat is 3/4 inch thick, that places the top of the shelves at 4, 10, and 16 inches. Carry the lines across both panels with the square so the shelves come out level, and mark the front edge of each panel so you do not flip one around.
3. Mark the screw positions
Each slat end gets two screws, set in 7/8 inch from each long edge of the slat. Measured from the front edge of the side panel, the screw positions are:
| Slat | Slat spans (from front edge) | Screw positions (from front edge) |
|---|---|---|
| Front slat | 0 to 3-1/2 in | 7/8 in and 2-5/8 in |
| Middle slat | 3-7/8 to 7-3/8 in | 4-3/4 in and 6-1/2 in |
| Back slat | 7-3/4 to 11-1/4 in | 8-5/8 in and 10-3/8 in |
Mark these points 3/8 inch above each underside line, so the screw runs through the middle of the slat thickness. Drill 1/8 inch pilot holes through the side panel only, then countersink each hole just enough for the head to sit flush.
4. Assemble the first side and the bottom shelf
Stand one side panel on its edge. Hold the front slat of the bottom shelf against the pencil line, flush with the front edge, and drive the two screws. Add the middle and back slats, using the 3/8 inch spacer between slats. Drilling the pilot hole slightly into each slat end as well keeps the pine from splitting; end grain splits more easily than face grain.
5. Attach the second side
Stand the second panel on the loose ends of the bottom shelf slats, line up its pencil marks, and fasten it the same way. Check the bottom shelf with a square: if the panels lean, slide the slats until they sit at 90 degrees before the screws go in all the way. Then add the middle and top shelves one slat at a time, working front to back.
6. Add the back brace
Place the 1×2 brace between the sides, directly under the back slat of the top shelf and flush with the rear edges, so it sits between 13-3/4 and 15-1/4 inches from the floor. Pre-drill and drive two screws through each side into the ends of the brace. Without it, a slatted frame held only by end-grain screws can rack sideways over time as shoes are pulled on and off.
Finishing a Pine Shoe Rack
Softwood like pine can blotch when stained, so either apply a pre-stain wood conditioner first or use a gel stain, which sits on the surface. Wipe off the excess, let it dry, and finish with polyurethane. Shoe racks take wet boots, grit, and scuffs, so a durable clear coat matters more than the stain color. Sand lightly with 220 grit between coats, and follow the recoat time printed on your can instead of guessing.
Paint is a good choice for this build because it hides pine knots and the countersunk screws. Prime the bare wood first, and paint the slat edges, which are the parts that take the most scuffs.
Adjusting the Plan: Width, Height, and Boots
The dimensions above change cleanly if you change two numbers: the slat length and the shelf spacing. Overall width is the slat length plus 1-1/2 inches for the two side panels. The slat count stays at nine for three shelves, so the board feet scale with the slat length:
| Slat length | Overall width | Pairs per shelf (est.) | Board feet used |
|---|---|---|---|
| 20 in | 21-1/2 in | 2 | 7.94 |
| 30 in | 31-1/2 in | 3 | 10.58 |
| 40 in | 41-1/2 in | 4 | 13.23 |
I would not go much past 36 inches of unsupported slat without adding a center divider. That is a judgment call, not an engineering limit, since pine 3/4 inch thick will flex under a row of heavy boots.
For boots: drop the middle shelf. With only the 4 inch and 16 inch shelves, the opening above the lower shelf is 11-1/4 inches, which fits many ankle boots (measure yours). That cuts the slat count from nine to six and the 1×4 requirement from 7.5 to 5.0 board feet. For taller boots, use a longer side panel and rework the shelf heights with the same 3/4 inch slat thickness.
If you want a different format, we have other builds for other spaces: a DIY shoe holder with five storage builds, a wall-mounted shoe hanger, shoe cubbies, and a shoe closet for small spaces. For a closet or entryway overview, see DIY shoe organizer ideas, and for a workshop, garage shoe storage.
Want another sheet-goods build? Our how to make a plywood box guide has a full cut list and sheet-yield math for a 24 x 14 x 12 inch box.
Frequently Asked Questions
What size should a DIY wooden shoe rack be?
A practical size is 31-1/2 inches wide, 11-1/4 inches deep, and 16 inches tall with three shelves. That fits about nine pairs of adult shoes, assuming roughly 10 inches of shelf width per pair. Change the slat length to change the width.
How much wood do I need for a 3-shelf shoe rack?
About 10.6 board feet of pine are used, and you buy about 12.7 board feet: three 8-foot 1x4s for the slats, one 4-foot 1×12 for the sides, and one 4-foot 1×2 for the brace.
What wood is best for a shoe rack?
Pine is the easiest and cheapest choice and works well with a clear coat or paint. Oak and maple are harder and dent less, but cost more and need careful pilot holes. Any of them works with the same dimensions.
How far apart should shoe rack shelves be?
Six inches from shelf top to shelf top leaves 5-1/4 inches of clearance with 3/4 inch slats, which suits sneakers, flats, and sandals. For ankle boots, remove the middle shelf to get an 11-1/4 inch opening.
How many pairs of shoes fit on a 30 inch shelf?
About three pairs of adult sneakers, based on an assumed 10 inches of width per pair. Measure your widest pair and divide, since sizes vary.
Building this shoe rack takes one afternoon and about 12.7 board feet of pine. Cut accurately, pre-drill every screw, and finish the wood.
Sponsored / affiliate links. As an Amazon Associate I earn from qualifying purchases. I may earn additional commission from eligible campaigns.