DIY Pedalboard Wood: Size, Cut List and Build Steps
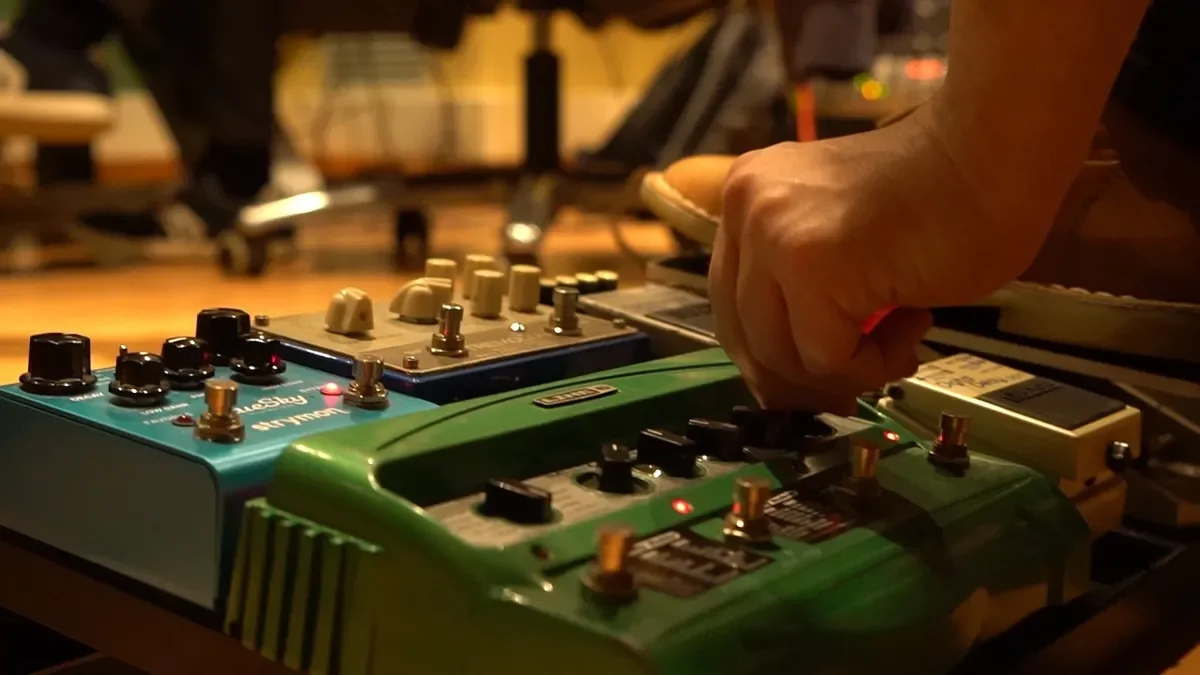
A pedalboard is a shallow plywood tray sized to your pedals, with room underneath for a power supply and cables. A 24 x 12 inch deck built from 1/2 inch Baltic birch plywood and 1×3 rails holds six to eight compact pedals and costs less than most store-bought boards.
Most guides jump straight to cutting. The step that actually decides whether the board works is sizing, so this guide starts with the math: how many inches your pedals really need, what wood to buy, a full cut list, and how to fasten pedals so they survive a gig. Everything below is basic shop work, and a drill, a saw, and sandpaper are enough.
Size the Board Around Your Pedals
Best Pedal Mounting Fastener
 |
3M Dual Lock Reclosable Fastener SJ3560 (Clear, 1 in x 10 ft), $19.00 The mushroom-head fastener that holds pedals to a finished wooden deck, and one roll covers a full board with tape to spare.
|
Lay your pedals out on the floor in the order of your signal chain, then measure the block they form. A standard compact pedal in the Boss style is about 2.9 inches wide and 5.1 inches deep, while mini pedals run closer to 1.5 to 2.5 inches wide. Those numbers are the floor. Add 3/4 inch between pedals for knob and cable clearance, and 1 inch of margin around the outside edge.
Side-mounted jacks are the detail people miss. If your pedals have input and output jacks on the sides, right-angle plugs need roughly 1.5 inches of gap between neighbors, or a straight plug will jam against the next pedal. This sizing table uses compact pedals and the 3/4 inch gap rule, with deck width and depth rounded up.
| Layout | Pedals (compact size) | Width math | Deck size |
|---|---|---|---|
| One row | 4 | 4 x 2.9 + 3 x 0.75 + 2 = 15.9 in | 16 x 8 in |
| One row | 6 | 6 x 2.9 + 5 x 0.75 + 2 = 23.2 in | 24 x 8 in |
| Two rows | 8 (4 per row) | 4 x 2.9 + 3 x 0.75 + 2 = 15.9 in wide; 2 x 5.1 + 0.75 + 2 = 12.95 in deep | 16 x 13 in |
| Two rows | 12 (6 per row) | 6 x 2.9 + 5 x 0.75 + 2 = 23.2 in wide; 12.95 in deep | 24 x 13 in |
Add the power supply to the calculation before you cut. Most pedals run on 9V DC with a center-negative plug, but current draw varies, so add up the milliamp rating printed on each pedal and pick a supply with isolated outputs that covers the total with some headroom. Digital pedals tend to draw more than simple analog stompboxes. A brick-style supply mounted under the deck saves top space, but it is thicker than many people expect, which is why the rails below are 1×3 stock and not 1×2.
Choose the Right Wood
Baltic birch plywood is the best deck material for most builds. The plies run in alternating directions, so a 1/2 inch sheet stays flat where a solid pine board of the same width tends to cup as humidity changes. That reverses the old advice that plywood is the material likely to warp. Solid boards are the ones that move, and a warped deck makes pedals rock on their fastener strips.
| Material | Best use | Trade-off |
|---|---|---|
| 1/2 in Baltic birch plywood | Deck (top plate) | Stays flat, stiff, clean edges; costs more than construction plywood |
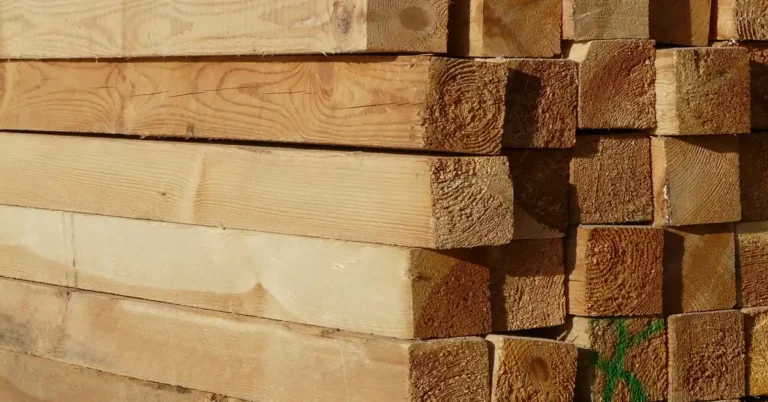
| Pine 1×3 | Rails and frame | Cheap and easy to cut; soft, so it dents if the board is dropped |
| Oak or maple 1×3 | Rails on a board that travels | Harder and heavier; needs pilot holes and a sharp blade |
| MDF | Prototype or budget deck | Flat and cheap; heavy, and it swells if it gets wet |
If you sand MDF or plywood, wear a dust mask rated N95 or better along with safety glasses. MDF is bonded with resin, and the fine dust it makes is something you should not breathe. Hearing protection matters too if you are using a power saw. For glue, standard PVA wood glue is fine for this project, and our wood glue buying guide covers what to look for.
Cut List for a 24 x 12 Inch Board
This design is a flat deck with a rail frame underneath, which gives about 2.5 inches of open space for a power supply, cable loops, and patch cables. A 1×3 board is actually 3/4 inch thick and 2.5 inches wide, and the short rails are shortened by 1.5 inches so they fit between the long rails.
| Part | Material | Qty | Cut size |
|---|---|---|---|
| Deck | 1/2 in Baltic birch plywood | 1 | 24 x 12 in |
| Long rails | 1×3 pine or oak | 2 | 24 in |
| Short rails | 1×3 pine or oak | 2 | 10.5 in (12 minus 1.5) |
| Screws | #8 x 1-1/2 in flat-head wood screws | 18 | Pilot and countersink each |
A circular saw with a straightedge guide or a table saw works for the deck. A hand-held circular saw tears out the top face, so cut with the good face down; on a table saw the blade tears out the bottom, so keep the good face up. Use the same method for the 1×3 rails, then sand every edge lightly to break the sharp corners that would otherwise snag cables and cases.
Assemble the Frame and Deck
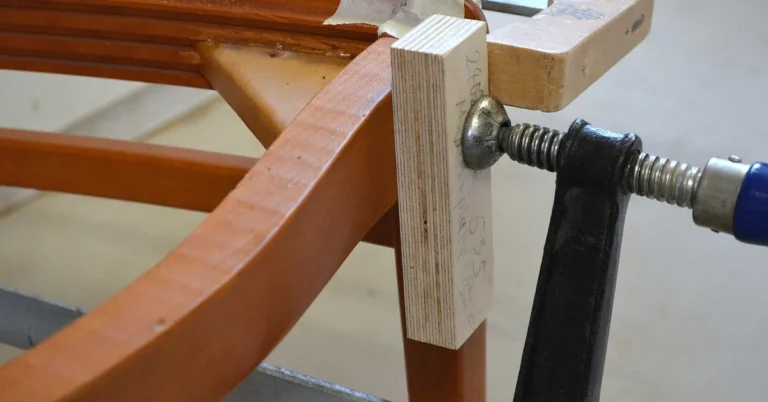
- Glue the short rails between the long rails to form a rectangle, and clamp the corners square. Check the frame by measuring both diagonals, which should match within 1/16 inch.
- Lay the deck on top with the edges flush, and mark screw positions about 4 inches apart along each rail.
- Drill pilot holes through the deck into the rail edges, then countersink so the screw heads sit below the surface. Raised heads are what make pedals wobble.
- Drive the screws with a drill on a low clutch setting, and stop as soon as the head seats. Overdriving can crush the plywood face.
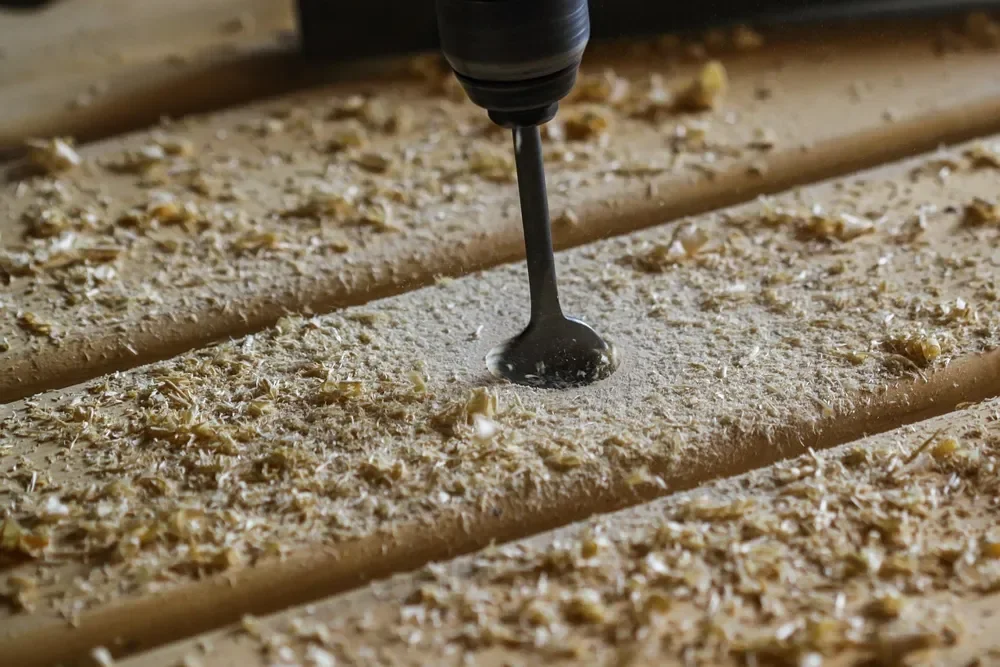
Before you screw the deck down, drill your cable pass-through holes. A 1-1/4 inch hole near the back edge lets patch cables and the power lead drop under the deck instead of running across the top. A flat spade bit or a Forstner bit works, and scrap wood underneath stops the exit side from splintering.
Sand and Finish the Deck
Sand the deck and rails with 120 grit, then 180 grit, always with the grain. Round the outer edges slightly, and wipe off the dust with a barely damp cloth before finishing. Paint gives a clean stage look, while a clear coat lets the birch plies show. If you cannot decide between an oil and a film finish, our Danish oil vs polyurethane comparison lays out the difference in protection and feel.
One detail matters for the next step: adhesive fasteners bond poorly to a finish that has not fully cured. Wax and heavy oil also weaken the bond. Let the top coat cure for as long as the can recommends (oil-based polyurethane commonly needs several days) before you stick any tape on the deck, or the strips can peel.
Mount the Pedals So They Stay Put
Cut strips of the mating fastener to fit each pedal footprint. Clean the deck and the pedal bottoms with isopropyl alcohol, press the adhesive strips onto both surfaces, and then press each pedal into place. Standard fabric hook-and-loop works for light pedals that never travel, but mushroom-head fasteners like 3M Dual Lock lock with an audible click and resist the sideways force of stomping. The SJ3560 version is a 250-stems-per-square-inch product, which is where its grip comes from.
Because that grip is firm, you will need a real pull to pop a pedal off. Plan your order before you press anything down, and leave the pedals you swap often on hook-and-loop strips instead. Cable management is easier now than after the board is full: zip-tie the power supply to the underside rails, run patch cables through the pass-through holes, and leave a small service loop so no plug is pulled tight.
Test the Board Before a Gig
- Connect every pedal and the power supply with the amp off, then turn the amp on last.
- Step on each footswitch to confirm it engages without touching its neighbor.
- Listen for hum or buzz. Noise usually points to a shared power supply output or a cable running next to a power lead, so move the cable before you blame the pedal.
- Lift the board by one end. If anything shifts, re-seat the fastener strip now.
Every few months, check for loose screws, worn cable ends, and dust under the deck. Wipe the wood with a dry cloth and skip water, which can lift the plywood face and the finish.
Frequently Asked Questions
What materials do I need for a DIY pedalboard?
A 24 x 12 inch piece of 1/2 inch Baltic birch plywood for the deck, four pieces of 1×3 lumber for the rails, eighteen #8 wood screws, wood glue, sandpaper, a finish, and a pedal-mounting fastener such as Dual Lock or hook-and-loop tape.
How big should a DIY pedalboard be?
Measure your pedals in signal-chain order, add about 3/4 inch between them and 1 inch around the outside. Six compact pedals in one row need about a 24 x 8 inch deck, and eight pedals in two rows fit a 16 x 13 inch deck.
What is the best wood for a pedalboard?
Baltic birch plywood is the best deck material because it stays flat and stiff. Use pine or oak 1×3 for the rails, and pick oak or maple if the board will travel to gigs.
How do I secure pedals to a wooden pedalboard?
Apply adhesive-backed Dual Lock or hook-and-loop strips to the pedal bottoms and the deck, after cleaning both with isopropyl alcohol and letting the finish cure fully. Dual Lock grips harder, so plan your layout before pressing pedals down.
Conclusion
A good DIY pedalboard comes down to three decisions: size it from real pedal measurements, use plywood for the deck, and give the underside enough room for power and cables. Build the frame square, let the finish cure, and fasten the pedals last. The result is a board that fits your rig exactly.
Sponsored / affiliate links. As an Amazon Associate I earn from qualifying purchases. I may earn additional commission from eligible campaigns.