Fence Gate Sagging: Causes and How to Fix It
Fence gate sagging usually comes from hinge failure, post movement, or frame racking; start with the cause that matches the sag, because a new latch or stronger hinge rarely fixes a moving post or a twisted frame. If you guess, the gate will drag, bind, and keep loosening until the post or frame starts to split. This guide shows how to read the sag pattern and choose the repair that fits wood and metal gates.
What you’ll need


- 4-foot level
- Tape measure
- Phillips and flathead screwdrivers
- Drill/driver with matching bits
- Long structural screws or through-bolts
- Replacement gate hinges if the old ones are bent or worn
- Anti-sag cable turnbuckle kit for a pull-up correction
- Wood brace or brace kit for timber gates
- Shims, if the hinge maker specifies them
- Exterior-rated lag screws, washers, and nuts
- Safety gloves and eye protection
- Boards to support the post while you repair it
Sag diagnostic matrix
| What you see | Likely cause | Quick test | Fix | When to replace the post |
|---|---|---|---|---|
| Hinge-side gap changes, top corner drops, gate rubs near the hinges | Loose, worn, undersized, or bent hinges; stripped fasteners | Lift the latch corner by hand. If the gate rises and the hinges flex or shift, the hardware is the weak point. | Tighten fasteners, move to fresh wood with through-bolts or long structural screws, and correct the top hinge first if it needs a shim or replacement. | Replace the post if it rocks, leans, or shows rot at ground level. |
| Latch-corner drag, frame looks diamond-shaped, latch no longer meets cleanly | Out-of-square gate frame | Measure corner to corner diagonals. If the two readings differ, the frame is racked. | Square the frame before final latch adjustment. Add a diagonal brace or an anti-sag cable turnbuckle kit. | Replace the post if the gate still drops after the frame is squared and the post checks unstable. |
| Whole gate shifts, post leans, or the gate opens and closes differently after wind or frost | Rocking hinge post, shallow footing, soil movement, or frost heave | Push the post in both directions. Any visible movement means the support has failed. | Reset the post before any hinge or latch work. | Replace it when probing shows rot, the footing is failing, or the lean returns after reset. |
Why is your gate sagging?
The order matters: check the hinge post first, then the frame, then the hinges and fasteners. Good Neighbor recommends that order, and it matches the most common failure pattern. A sagging gate has one of three causes, while Elite Fence identifies four primary reasons a gate begins to sag.
Check the hinge post first
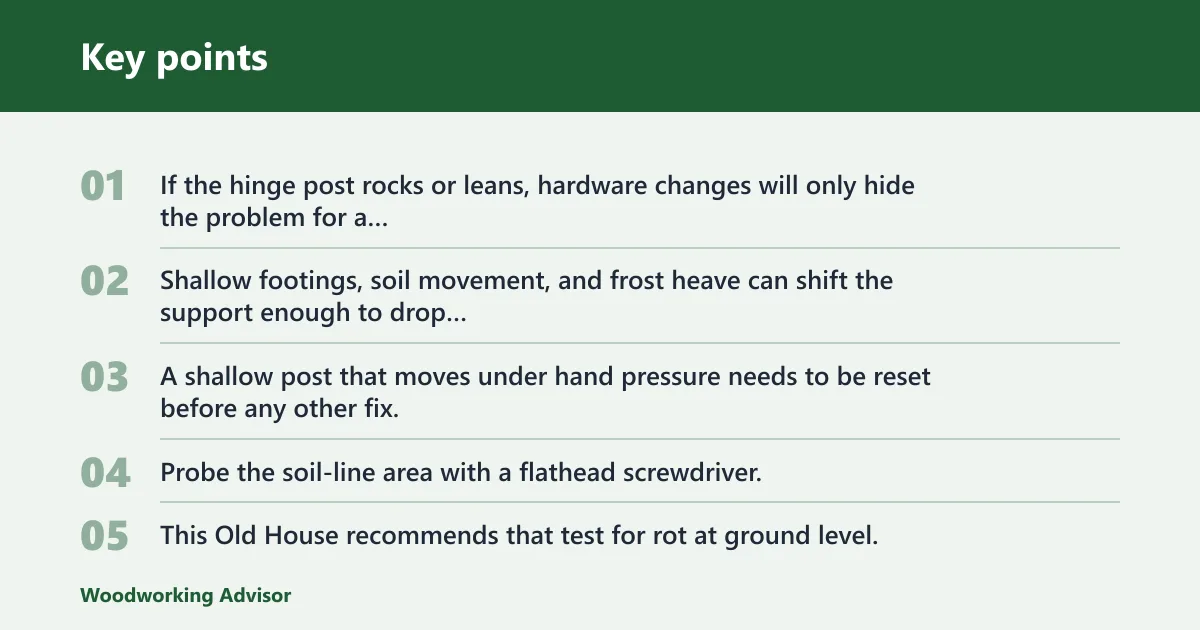
If the hinge post rocks or leans, hardware changes will only hide the problem for a short time. Shallow footings, soil movement, and frost heave can shift the support enough to drop the latch corner. A shallow post that moves under hand pressure needs to be reset before any other fix.
Probe the soil-line area with a flathead screwdriver. This Old House recommends that test for rot at ground level, and soft wood there usually means the post has lost strength where it matters most. Support the post with boards while you repair it.
Measure the frame diagonals
Use diagonal measurements to check square. This Old House says the difference between the diagonal measurements shows the needed adjustment. If the frame is out of square, a latch adjustment will not hold and a cable kit will only pull against a twisted frame.
Say your 6-foot wood gate closes, but the bottom latch corner drags on the post. If the diagonals do not match, the frame is racked, even if the hinges look fine. That calls for squaring the frame before any latch work.
Inspect the hinges and fasteners
Loose, worn, undersized, or bent hinges can cause a gate to sag on their own. Recheck the top hinge first, because it often makes the first correction. If screw holes have stripped out, switch to through-bolts or long structural screws that reach fresh wood.
Waterson recommends shimming the top hinge to correct sagging. Its shims come in thicknesses from .040 to .060 inches, and the listed shim dimensions are 3.543 by 0.177 inches. Use a shim only when the post is sound and the hinge is the problem.
Decide whether the post must be reset
If the hinge post moves, reset it before anything else. Frost heave can misalign a gate post in winter, and soil movement can do the same after heavy rain or drought. A post that keeps moving will undo hinge work, cable tension, and latch adjustments.
How do you fix a sagging gate?
Start with the least invasive fix that matches the failure pattern. Tighten and resecure the hinges if the post is stable. Square the frame if the diagonals do not match. Add an anti-sag cable turnbuckle kit or a wood brace only after the post checks solid and the frame is ready for correction.
Tighten and resecure the hinges
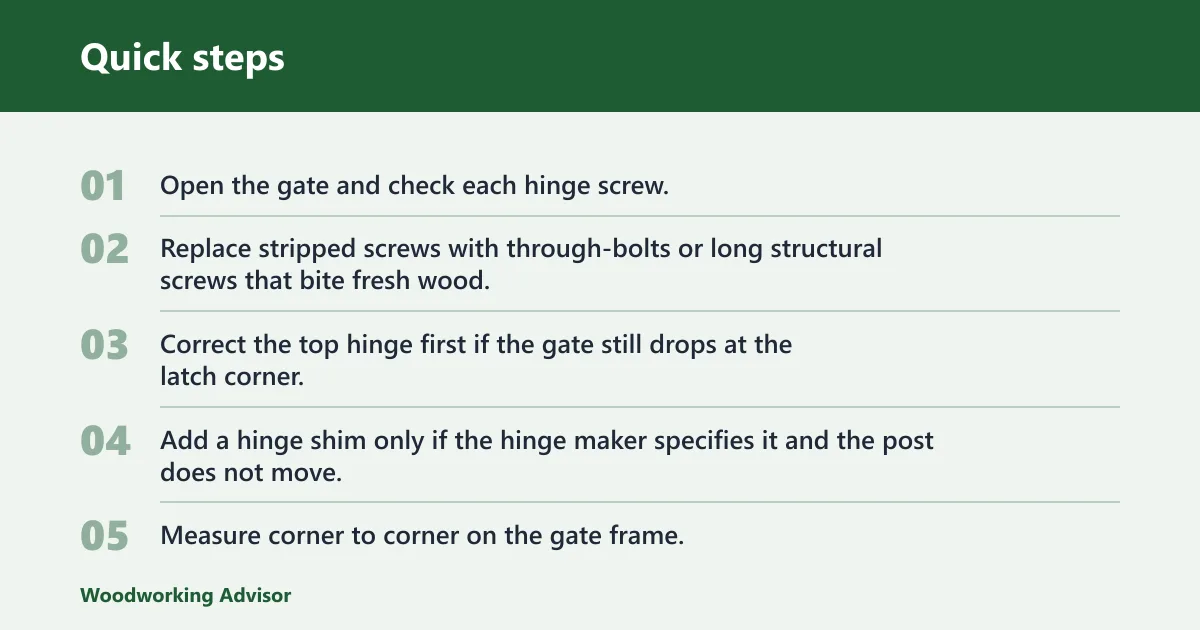
- Open the gate and check each hinge screw.
- Replace stripped screws with through-bolts or long structural screws that bite fresh wood.
- Correct the top hinge first if the gate still drops at the latch corner.
- Add a hinge shim only if the hinge maker specifies it and the post does not move.
Square the gate frame
- Measure corner to corner on the gate frame.
- Compare both diagonals and note the longer side.
- Pull the frame into square before you touch the latch.
- Add diagonal bracing if the frame keeps racking.
If the gate is metal, a cable kit is often the cleaner option. If it is wood, a diagonal wood brace works well when installed in compression from the bottom hinge corner to the top latch corner. Direction matters. A brace installed the wrong way can make the sag worse.
Install an anti-sag cable turnbuckle kit or wood brace
- For a cable kit, mount the cable from the top hinge corner to the bottom latch corner.
- Tighten the turnbuckle so the cable pulls the gate into square.
- For a wood brace, install the brace from the bottom hinge corner to the top latch corner in compression.
- Recheck the diagonals after each adjustment.
Anti-sag cable turnbuckle kits work by pulling, not pushing. That is why the cable runs from the top hinge corner to the bottom latch corner. The tension lifts the latch side and resists future drop. A brace does the same job in timber, but with compression instead of tension.
Reset the latch and strike plate
- Close the gate only after it hangs level and square.
- Mark the latch position again.
- Move the strike plate so the latch meets without forcing the gate sideways.
- Test the swing twice before tightening the final screws.
When should you replace the post?
Replace the post when hardware fixes will not hold, when the post rocks after reset, or when rot at ground level weakens the support. A leaning post can translate into visible latch-side drop that no hinge shim can fully cancel. If the support is moving, the gate will keep sagging.
Rot at ground level
Probe the wood at the soil line with a screwdriver. If the blade sinks easily or the surface crumbles, the post has likely decayed where load and moisture meet. That is the point where hinge repairs usually fail, because the hardware is still anchored to weak wood.
Lean from frost heave or soil movement
In climates with frost depth issues, shallow posts can lift and tilt over winter. Soil movement can do the same without freezing. If the lean is visible and returns after you reset the post, replacement is the safer long-term fix than repeated hinge work.
When hardware fixes will not hold
Suppose the gate still drops after you tighten the hinges, square the frame, and tension the cable. That usually means the support is still shifting. Reset or replace the post before spending more time on latch alignment, because the latch will drift out of line again.
Common mistakes
- Adjusting the latch before the gate hangs level. Fix the hang first, then set the strike plate.
- Adding an anti-sag kit to a loose post. A cable cannot cure a moving support.
- Using hinge shims on rotten wood. Shims cannot restore strength at the soil line.
- Installing a wood brace in the wrong direction. It must work in compression from bottom hinge corner to top latch corner.
- Replacing hardware without measuring the diagonals. A racked frame keeps the latch side low.
- Leaving stripped screw holes in place. Move to through-bolts or long structural screws that reach fresh wood.
Prevention checklist
- Check the hinge post for rocking before each season change.
- Inspect the soil line for rot with a screwdriver probe.
- Tighten loose hinge fasteners before they wallow out.
- Recheck the frame diagonals after high winds or freeze-thaw cycles.
- Watch for frost heave in winter and soil movement after long wet periods.
- Touch up damaged coatings so water does not sit on hardware or cut ends.
Sponsored / affiliate links. As an Amazon Associate I earn from qualifying purchases. I may earn additional commission from eligible campaigns.