
Wood Phone Stand: How to Build One
Set the cradle from your actual phone case first. A 20-degree lean off square is a solid starting point, but the slot width, lip position, and base length should come from the case thickness and charging plug you plan to use. If the fit is wrong, the phone will tip, slide, or block charging. This guide sizes the stand first, then cuts and assembles it from scrap wood.
What you’ll need
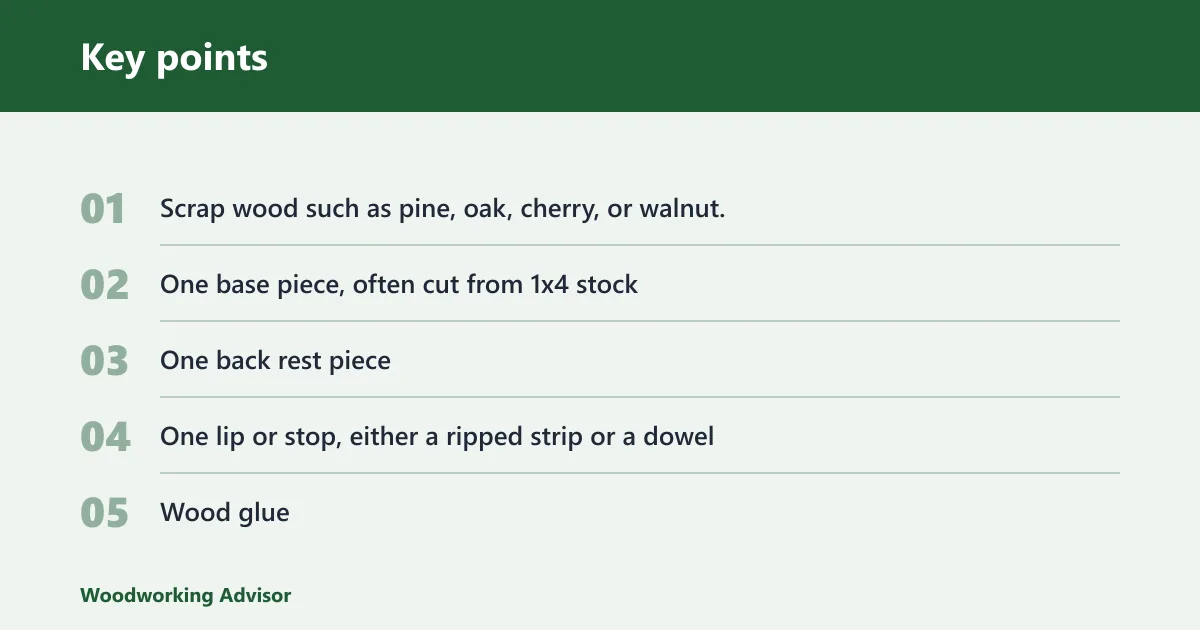


- Scrap wood such as pine, oak, cherry, or walnut; offcuts are fine and can keep the build near-free
- One base piece, often cut from 1×4 stock
- One back rest piece
- One lip or stop, either a ripped strip or a dowel
- Wood glue
- Clamps or a couple of nails, if you want extra hold during assembly
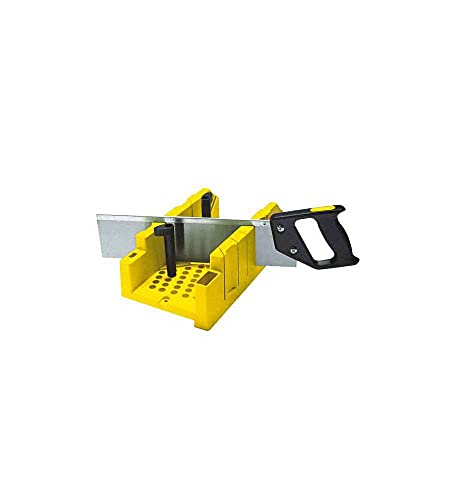
- Miter saw or hand saw; a mitre box helps with hand tools
- Measuring tape or rule
- Square and pencil
- Sandpaper in 120, 180, and 220 grits
- Finish such as paint, stain, polyurethane, or a wipe-on finish; a finish like polycrylic is commonly used for wear protection
- Safety glasses
Phone stand sizing checklist
Measure the phone with the case on, not the bare phone. The slot must clear the thickest point, including the case seam and any camera bump that changes the footprint. For a cased phone, add extra clearance beyond the body thickness so the fit is not pinched after glue-up.
| What you measure | What to use for the stand | Why it matters |
|---|---|---|
| Phone thickness with case on | Slot width slightly wider than the thickest point | Prevents binding at the case seam |
| Case thickness at the thickest point | Allow extra clearance for fit | Rugged cases usually need more room |
| Cable plug width | Leave room beside the slot or open the front lip | Keeps charging cables from hitting wood |
| Viewing use | About 20 degrees off square for general use; steeper for video | Changes how upright the phone sits |
| Base length | About 5 inches or 130 mm in a beginner plan | Gives the stand enough footprint to stay steady |
For a quick planning rule, a beginner build often uses about 2 to 3 mm of clearance beyond the thickest measured point. Suppose your phone with case measures about 13 mm thick at the widest point. A slot around 15 to 16 mm wide is a better starting point than a bare-phone size.
What angle should you use?
Start around 20 degrees off square for a general desktop stand. That lean usually reads well on a desk, nightstand, or kitchen counter. If the phone is mainly for video, a steeper lean can help the screen face you more directly. For bedside charging, keep the stance a little more upright so the cable does not fight the lip.
Match the lean to the use case
A desk stand, a cooking counter stand, and a video-call stand do not need the same geometry. A desk setup often works best when the screen is easy to glance at. A kitchen stand needs room for the charging plug and a footprint that resists bumps. A video stand can lean steeper because the goal is screen visibility.
Use 20 degrees as a starting point
A beginner design uses about a 20-degree lean, and that is a practical baseline for scrap wood. It gives you a stand that is upright enough for reading and charging without making the phone feel unstable. If you are unsure, cut the first layout with this angle and adjust only after a dry fit.
Adjust for video in a side view or bedside charging
Video in a side view often works better with a steeper back rest, while bedside charging may need a shallower angle and a more open front. Picture a phone in a thick case with a USB-C plug already attached. If the plug hits the lip, shift the stop forward or widen the opening before glue-up.
How do you build the stand?
Cut the base, back rest, and lip to the dimensions you planned. A miter saw or hand saw is enough for square and angled cuts, and a mitre box helps if you are cutting by hand. Use wood glue as the main assembly method, then clamp or pin the parts until the glue sets. Dry time matters before you load the stand with a phone.
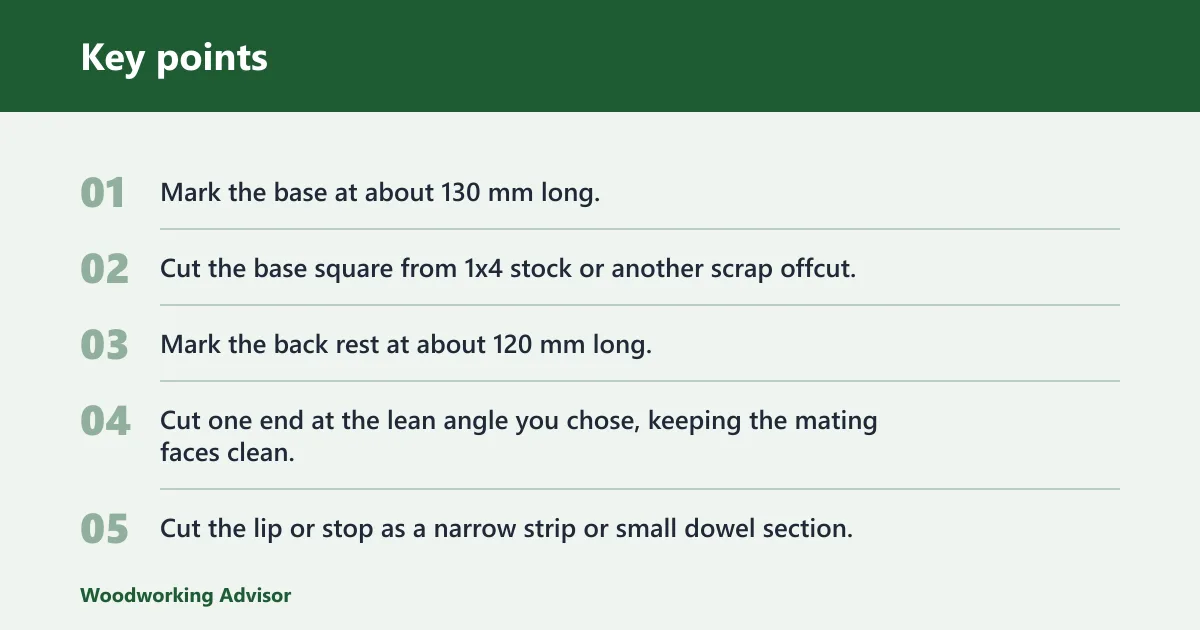
- Mark the base at about 130 mm long.
- Cut the base square from 1×4 stock or another scrap offcut.
- Mark the back rest at about 120 mm long.
- Cut one end at the lean angle you chose, keeping the mating faces clean.
- Cut the lip or stop as a narrow strip or small dowel section.
- Dry-fit the pieces and confirm the phone sits at the intended angle.
- Glue the back rest to the base, then add the lip or stop in front of the cradle.
- Clamp the assembly and let it dry before placing a phone on it.
- Sand all exposed edges with 120, then 180, then 220 grit.
- Apply a finish suited to a small desktop item.
The back rest can use an angled end and a forward lip, or it can rely on a slot if your layout calls for one. For cased phones, the lip placement matters because a thick shell pushes the phone forward. Keep the opening clear where the cable enters, especially if you want to charge while the phone is standing up.
Scrap wood keeps the project cheap, and in many cases free. One plan uses one offcut of 1×4 pine, and another scrap-wood build uses both imperial and metric PDF plans. That is useful if you are matching dimensions from a note card or a metric phone case measurement.
How do you fit it to your phone?
Test the slot before glue-up. If the cradle is too tight, widen it by the smallest practical amount and check again. If the phone is cased, do not size from the naked body; use the thickest point on the installed case, plus clearance. For a charging setup, make sure the plug can enter without bending against wood.
Check the slot before final assembly
Slide the cased phone into the dry-fit cradle and check for pinch points. A loose test fit with no plug attached is not enough if you plan to charge the device. A common first-timer mistake is checking only the phone body, then discovering the case lip or cable housing will not clear the stop.
Widen the slot for rugged cases
Rugged cases are the most likely fit problem because they add bulk at the corners and camera cutout. If the stand is just barely snug, increase the opening in 1 mm steps and recheck after each cut. That small increment is easier to control than taking off too much at once.
Leave room for a charging cable
Suppose the phone uses a chunky USB-C plug and the stand is meant for nightstand charging. A narrow lip can block the connector even when the slot width is correct. Move the stop forward or open the front of the cradle so the cable reaches the port without forcing the phone out of position.
Common mistakes
Most fit problems come from sizing the stand to the phone body, not the case, or from ignoring the charging plug. Tip issues usually come from a base that is too short or a back rest that leans too far forward for the intended use. Surface problems come from skipping sanding before finish.
| Problem | Likely cause | What to change next |
|---|---|---|
| Slot too tight | Measured the bare phone or left out case thickness | Open the slot by 1 mm and recheck with the case on |
| Stand tips forward | Base is too short or lean is too steep for the load | Lengthen the base or reduce the lean angle |
| Phone sits at the wrong angle | Back rest angle does not match the use case | Reset the layout to about 20 degrees off square, or steeper for video |
| Charging cable will not fit | Lip is too close to the port | Move the stop or open the front of the cradle |
| Rough edges or fuzzy finish | Skipped sanding between coats or used too coarse a grit first | Sand through 120, 180, and 220 grit before finishing |
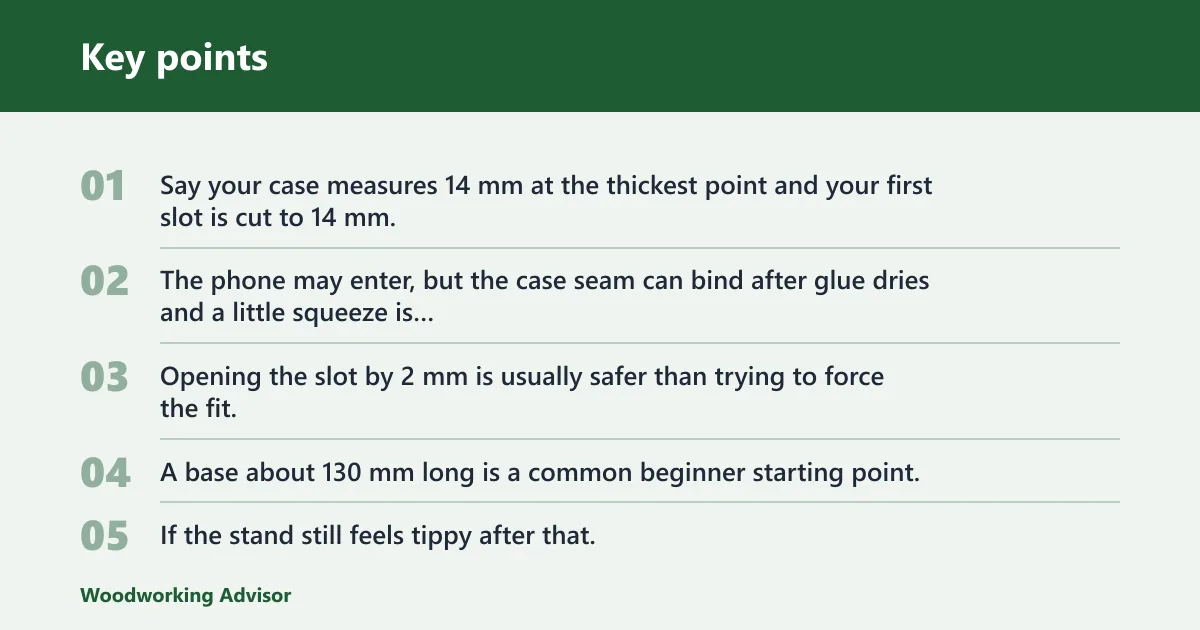
Say your case measures 14 mm at the thickest point and your first slot is cut to 14 mm. The phone may enter, but the case seam can bind after glue dries and a little squeeze is added by the finish. Opening the slot by 2 mm is usually safer than trying to force the fit.
If that does not work, check the base next. A base about 130 mm long is a common beginner starting point, but a wider or heavier phone may need more footprint to stay steady. If the stand still feels tippy after that, reduce the lean a few degrees and try the dry fit again.
Prevention: mark the case thickness, cable width, and lean angle on the stock before any cut. That avoids rebuilding the cradle after glue-up.
How do you finish a wooden phone stand so it lasts?
Sand the stand smooth before any finish goes on. A finish helps a small desktop item resist wear, and a polycrylic-type finish is a common protection choice for this kind of project.
Choose a finish for daily handling
Paint, stain, polyurethane, or a wipe-on finish can all work on a phone stand. Pick the one that fits the look you want and the wood species you used. Pine takes finish differently than oak, cherry, or walnut, so test on an offcut if color matching matters.
Add a simple edge detail if you want one
A router is optional for a decorative chamfer, but it is not required. A light chamfer or softened edge makes the stand feel less sharp in hand. Skip the detail if you want the fastest path from scrap to finished stand.
Frequently asked questions
How do you build a wooden phone stand?
Cut a base, a back rest, and a lip from scrap wood, then glue the parts together after a dry fit. Start with a 20-degree lean, size the slot to the case thickness, and leave room for the charging plug. Sand and finish once the glue is fully dry.
How do you make a phone stand from scrap wood?
Use leftover pine, oak, cherry, or walnut, and keep the layout simple. A single offcut can be enough for a small stand. Measure the phone with its case on, mark the parts directly on the scrap, then cut and assemble with glue.
What angle should a wooden phone stand lean at?
About 20 degrees off square is a common starting point for a beginner build. If the stand is mainly for video in a side view, a steeper lean can work better. For bedside charging, stay a little more upright so the cable path stays open.
How wide should the slot be for a cased phone?
Size it slightly wider than the thickest point of the case, not the bare phone. A beginner guide often allows 2 to 3 mm of clearance. If the case is rugged or the plug body is bulky, test fit and open the slot in 1 mm steps.
What wood is best for a DIY wooden phone stand?
Pine, oak, cherry, and walnut all work well, and scrap offcuts are acceptable. Pine is easy to find and cut. Oak, cherry, and walnut give a nicer look if you already have leftovers on hand, but the geometry matters more than the species.
What tools do I need to make a wood phone stand?
A miter saw or hand saw is enough for the cuts, and a mitre box helps with hand tools. Add a measuring rule, pencil, square, glue, clamps, and sandpaper. A router is optional if you want a decorative chamfer, not for the basic build.
Sponsored / affiliate links. As an Amazon Associate I earn from qualifying purchases. I may earn additional commission from eligible campaigns.