Wood Reindeer Lawn Decorations: Plywood Build, Size and Wind Guide
A flat plywood reindeer tips over in roughly a 23 mph gust, and making it bigger does not fix that. Weight and wind load both scale with the figure’s area, so the tipping speed stays about the same at any size. Only the mount changes the answer.
This guide is a build plan for plywood reindeer cut from a single 4 x 8 sheet: how big to make them, how to lay them out, how to cut clean curves, how to join separate antlers, and how to mount them so they survive a windy December night. If you would rather start from the general rules on wood choice and sealing, read our guide to wooden outdoor Xmas decorations first.
What You Need to Build a Wood Reindeer Lawn Decoration
Best Jig Saw for Plywood Cutouts
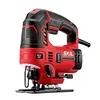 |
SKIL 6 Amp Corded Jig Saw (JS314901) – $44.10 A corded jig saw with speed control and tool-free blade changes, which is all a one-sheet plywood reindeer needs.
|
Everything below fits one weekend and one sheet of plywood. The jig saw is the only power tool that really matters, because reindeer are almost all curves.
- Plywood: one 4 x 8 sheet of 3/4 in exterior-rated plywood (the stamp will say Exterior or Exposure 1). Interior plywood uses glue that is not meant to stay wet.
- Cutting: a jig saw with a fine-tooth wood blade, a drill with a 1/2 in bit for starting inside cuts, clamps, and clear packing tape for the cut line.
- Joining: waterproof wood glue (see is wood glue waterproof once fully cured) and exterior-rated coated or stainless screws.
- Mounting: two 1 x 2 stakes or a rear brace, cut from the offcuts or from ground-contact rated stock if the stake goes into the soil.
- Finish: exterior primer and exterior paint. Our comparison of the best wood primer and undercoat covers what to buy.
Pick the Size and Lay It Out on the Sheet
Size decides how many reindeer you get per sheet and how hard the wind pushes on each one. The table treats each figure as a square box, assumes a reindeer silhouette fills about 55 percent of that box, and uses a simple grid layout with no clever nesting, so you can usually squeeze out a little more. Weight assumes roughly 2.1 lb per sq ft for 3/4 in plywood. Wind force uses a 40 mph gust and a flat-plate drag factor of 1.2.
| Figure box | Per 4 x 8 sheet | Solid area | Approx. weight | Wind push at 40 mph |
|---|---|---|---|---|
| 24 x 24 in | 8 | 2.2 sq ft | 5 lb | 11 lb |
| 30 x 30 in | 3 | 3.4 sq ft | 7 lb | 17 lb |
| 36 x 36 in | 2 | 5.0 sq ft | 10 lb | 24 lb |
| 48 x 48 in | 2 | 8.8 sq ft | 18 lb | 43 lb |
These are engineering estimates, not measurements from a built figure, so use them for comparing sizes rather than as guarantees. The pattern is clear, though: a 36 in reindeer weighs about 10 lb and takes roughly 24 lb of push in a 40 mph gust. That is a lot of sail on very little weight.
For a front lawn, 30 to 36 in tall reads well from the street and still leaves a strip of the sheet for antlers and braces. Go smaller than 24 in and the legs get too thin for plywood to survive being handled. If you want small tabletop figures instead, our reindeer scroll saw pattern is a better fit.
Draw the Reindeer With the Grid Method
Print or sketch a reindeer profile on letter paper, draw a grid of 1 in squares over it, then draw a matching grid on the plywood with 3 in squares (3x scale, so an 8 in sketch becomes 24 in). Copy the outline square by square. For ready-made outlines, see free plywood cutout patterns.
- Keep the narrowest point at least 3 in wide. Legs and neck are where 3/4 in plywood snaps if the figure gets knocked. This is a design rule of thumb, not a tested figure.
- Make the legs slightly splayed instead of straight down. A wider footprint helps against tipping, as the math below shows.
- Cut antlers as separate pieces. A thin antler tine in the main panel is the first thing to break, and separate pieces let you use offcuts and swap a broken one.
- Run the grain along the legs when the layout allows it, so the long face veneers support the thinnest parts.
Cut It Out Cleanly With a Jig Saw
A jig saw blade cuts on the upstroke, so it tears the top face of the plywood. Lay the good face down, then put clear packing tape over the pencil line on the back face to help hold the veneer. Clamp the sheet so the part you are cutting hangs off the edge of the bench. Our woodworking jig saw guide covers blade types in more detail, and plywood cut to size helps if you want the store to break down the full sheet first.
- Rough-cut each figure out of the sheet in a straight-line box first, so you are handling 3 x 3 ft pieces, not a 4 x 8 sheet.
- Drill a 1/2 in hole inside any enclosed area (the gap between legs, for instance) to start the blade.
- Cut the tight curves first, the antler slots and neck, then the long outside edges.
- Use a low orbital setting and let the blade do the work. Forcing the saw makes the blade wander and leaves angled edges.
- Sand the cut edges with 80 grit, then 120 grit, and ease every sharp corner. Rounded edges hold paint far better than sharp ones.
Antlers, Legs and Assembly
Cut a 3/4 in wide slot about 2 in deep into the top of the head and a matching tab on the base of each antler, then glue and screw from the back through the head. Use waterproof glue on every joint and pre-drill the screw holes so the plywood does not split at the edge. Countersink and fill the screw heads before painting.
If you are building a standing figure with four legs, cut a second, identical body panel and join the two with cross-braces so the reindeer is a shallow box rather than a single flat panel. A single flat panel has a footprint only 3/4 in deep, and that is what makes it tip.
Stand It Up: Why Mounting Matters More Than Size
Start with the tipping math. Wind pressure in pounds per square foot is about 0.00256 times the wind speed in mph, squared. A flat figure is pushed at its centre of area while its weight resists at the edge of its footprint. With the assumptions used here (a footprint about 40 percent as wide as the figure, and a centre of area at half its height), the tipping wind is about 23 mph, and it does not depend on size.
| Wind speed | Pressure | Push on a 5 sq ft reindeer | Unstaked 3/4 in figure |
|---|---|---|---|
| 20 mph | 1.0 psf | 6 lb | Stays up, barely |
| 30 mph | 2.3 psf | 14 lb | Tips over |
| 40 mph | 4.1 psf | 25 lb | Tips over |
| 50 mph | 6.4 psf | 38 lb | Tips over |
That is why an unstaked reindeer lies face down after the first breezy night. Here is how the common mounts compare.
| Mount | How it works | Best for | Weak point |
|---|---|---|---|
| Two ground stakes | Two 1 x 2 stakes screwed to the back of the legs and driven 12 in or more into the soil | Most lawns and 30 to 48 in figures | Frozen or rocky ground, and wood stakes rot at the soil line unless ground-contact rated |
| Rear kickstand brace | A hinged or fixed rear leg forms a triangle with the body | Porches, patios and driveways where you cannot drive stakes | Still needs a weight or a strap in gusts |
| Sandbag or paver hold-down | Weight on a wide base plate behind the legs | Hard surfaces | Bulky and easy to see |
| Double-panel box body | Two panels braced apart to widen the footprint | Free-standing figures on soft ground | More cutting and about twice the plywood |
For most lawns, two stakes plus a wider footprint is the practical answer. Sink the stakes at least 12 in, or deeper in loose soil, and screw them to the legs from the back so the screws stay hidden.
Seal, Prime and Paint
Plywood edges drink water far faster than the faces, so seal every cut edge and screw hole first. The full order of operations, seal then prime then paint, is spelled out in our outdoor decorations guide. If you are choosing between plywood and solid lumber, does cedar wood rot explains how rot-resistant species compare. Let each coat dry fully, and paint both faces and the back so the panel does not cup.
Lights and Placement
- Nose and antler lights: battery-powered outdoor LED strings avoid cords across the lawn. Before you fix any light to the wood, read can you hot glue Christmas lights.
- Grouping: a buck and a doe of different heights look better than identical figures, and grouping them lets the stakes share a common line.
- Spacing: keep figures a few feet from the street edge and driveway so a fallen one is not in the roadway.
Build or Buy?
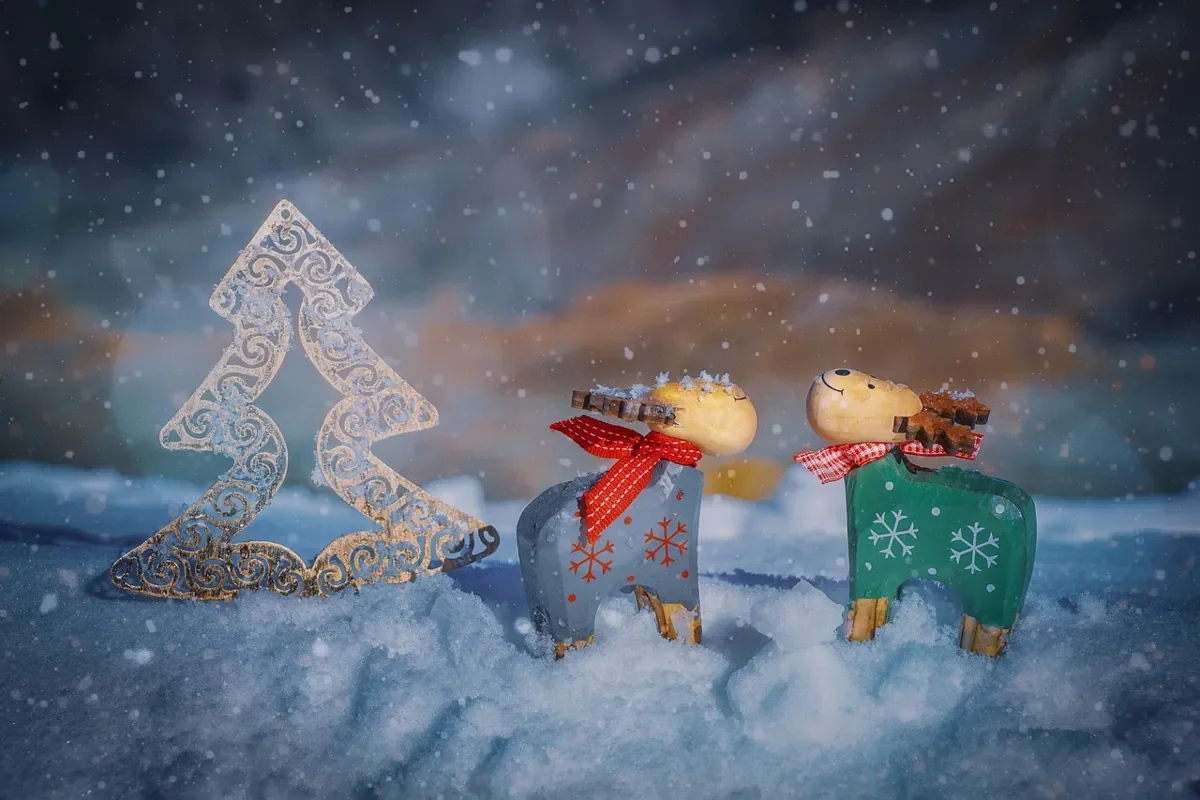
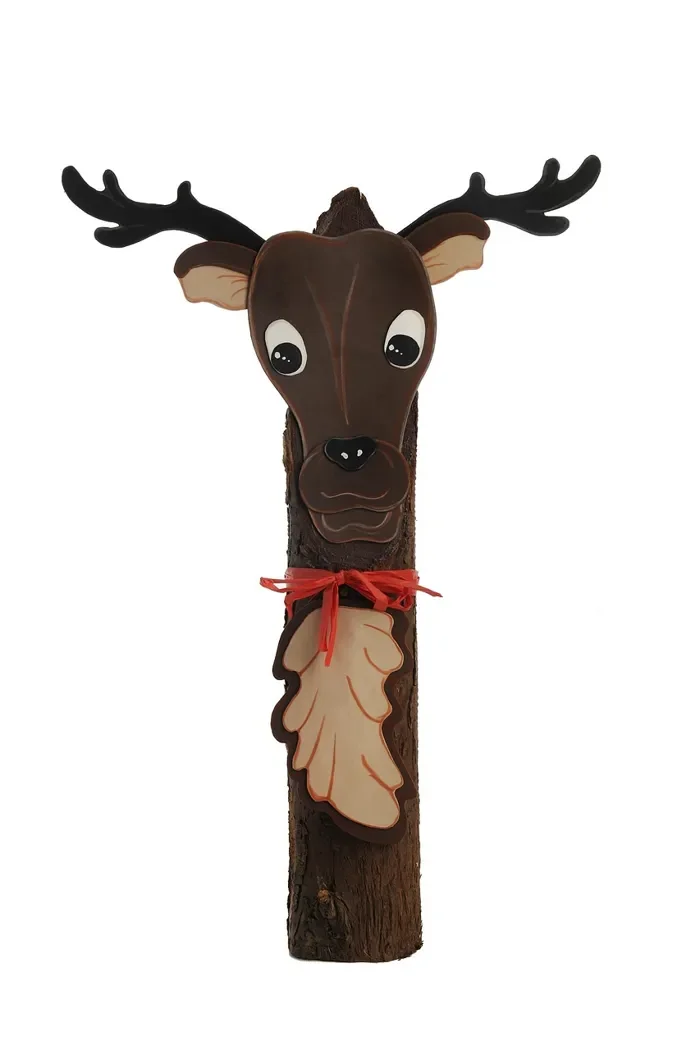
A two-piece set of 22.6 in wood reindeer is listed on Amazon at $49.99 as of 2026-09-30, or about $25 per figure, and the listing describes the pieces as usable indoors or outdoors. A full sheet of plywood plus finish costs more up front but yields two 36 in reindeer with material left for antlers and stakes. Price a sheet at your local yard, since plywood prices vary widely by region and grade. Building wins on size and on control over the mount. Buying wins when you only want one small figure and no tools.
Want a companion figure? Our snowman wood decorations page covers a similar approach for stacked shapes.
Frequently Asked Questions
What plywood should I use for wood reindeer lawn decorations?
Use 3/4 in exterior-rated plywood, stamped Exterior or Exposure 1. Interior plywood uses glue that is not intended for prolonged wetting and can delaminate outdoors.
How do I keep a wood reindeer from blowing over?
Stake it. With typical assumptions an unstaked flat 3/4 in figure tips at around 23 mph, regardless of size. Two stakes driven at least 12 in into the ground, or a wider double-panel body, raise that considerably.
How big should a wood reindeer lawn decoration be?
For a front lawn, 30 to 36 in tall reads well from the street and lets you cut two figures from one 4 x 8 sheet. Under 24 in, the legs and antlers get too thin for plywood.
How do I stop plywood from splintering when I cut the shape?
Put the good face down, since a jig saw blade cuts upward, cover the cut line with clear packing tape, use a fine-tooth blade, and let the saw cut at its own pace.
Conclusion
A plywood reindeer is an easy first jig saw project, and the part that decides whether it lasts is the mount, not the paint. Cut it from exterior plywood, seal the edges, and stake it firmly into the ground.
Sponsored / affiliate links. As an Amazon Associate I earn from qualifying purchases. I may earn additional commission from eligible campaigns.