How to Carve Wooden Gnomes
To carve a wooden gnome, start with a straight-grained blank about 2 to 3 times taller than its widest section, then rough in the hat, nose, beard, and body before refining details. Bad grain choice, weak proportions, or cutting too deep can split the blank or leave a lopsided figure. This guide covers wood selection, tool choices, step-by-step carving, proportion rules, grain direction, and the three failure points that matter most.
What you need first
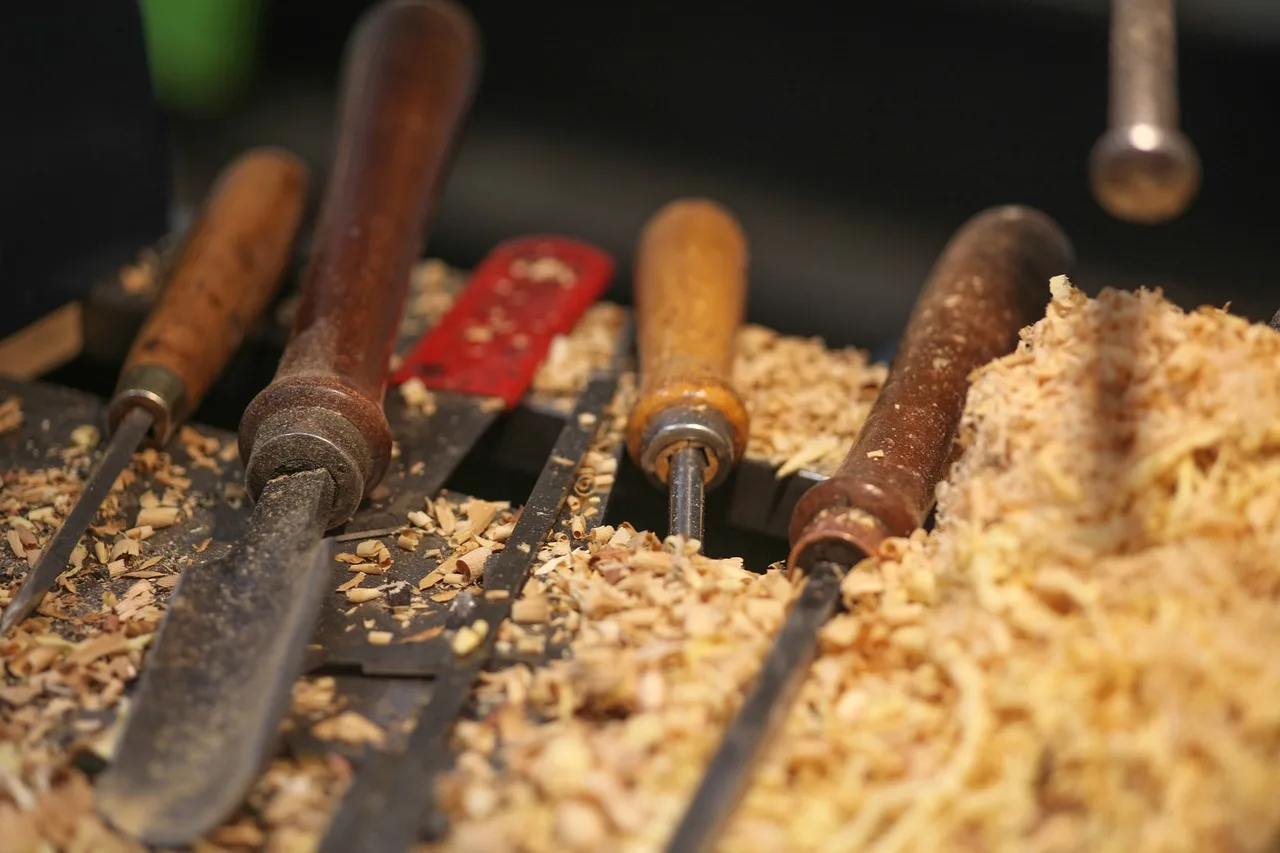


Begin with a simple block shape, a clear sketch, and a short tool list. For a beginner gnome, a 6 in tall blank is a practical starting point, with enough material left for a hat, nose, and beard without forcing thin walls too early.
Which wood is best for a wooden gnome?
Basswood is the safest beginner choice for detailed carving because it cuts cleanly, stays predictable under a knife, and accepts fine work without much resistance. Pine and cedar can also be used for gnome carving, but they need more caution because grain changes, knots, and brittleness can complicate clean cuts.
Basswood for clean detail
Basswood is the best first choice when you want a crisp hat brim, rounded nose, and clean beard texture. Its even grain gives you more control with a knife, gouge, or V-tool, so you can focus on shape instead of fighting the wood.
Pine and cedar with grain cautions
Pine and cedar are softwoods and can be shaped for gnome carving, but they are less forgiving than basswood. Pine often has grain variation and knots. Cedar has a fine grain, but it can still split or chip if you cut across brittle areas or force a thin detail too soon.
When to avoid knots and runout
Avoid knots near the face, nose, or hat brim. Also avoid pronounced grain runout where the grain line leaves one side of the blank and exits another, because that area can tear under the knife. If you see a knot in the path of a thin feature, move the pattern or choose another blank.
Wooden gnome worksheet
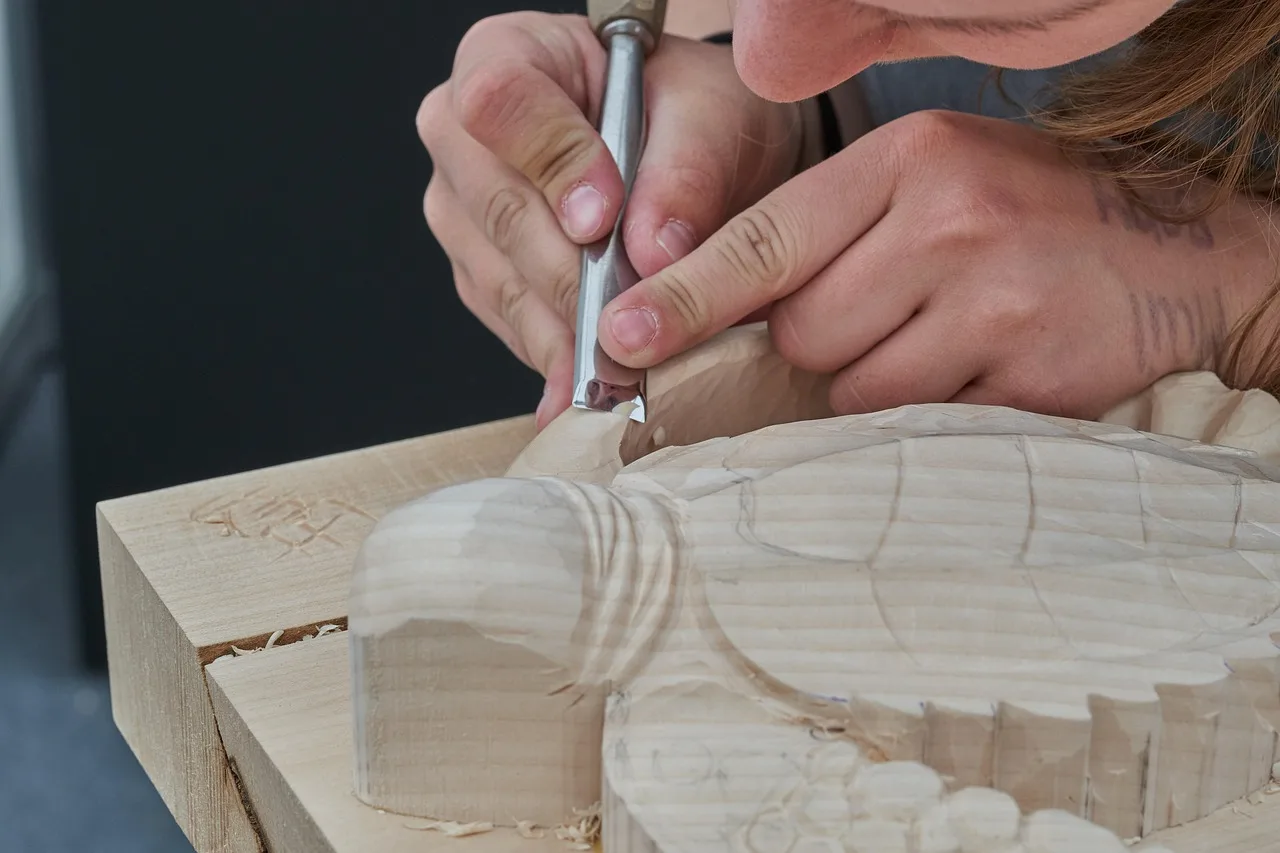
Use this worksheet before the first cut. It gives you a proportion plan, a tool checklist, and a stage-by-stage failure check so you can pause before the blank gets too thin. The proportions below fit a 6 in starter blank and can be scaled up later.
| Item | Beginner value | What to watch |
|---|---|---|
| Blank height | 6 in | Start with a straight-grained block |
| Blank width | 2 in | Enough room for hat and beard |
| Blank depth | 2 in | Keeps the figure stable while carving |
| Hat height | 2 in | Leave extra thickness at the brim |
| Face and beard zone | 2.5 in | Place the nose near the upper third of that zone |
| Beard length | 2 to 2.25 in | Keep the lower point broad enough to resist splitting |
| Nose size | 3/8 in to 1/2 in | Round, not pointed, to reduce breakage |
Tool checklist
- Knife: primary shaping tool for controlled cuts
- Gouges: curved chisels for concave and convex surfaces
- Chisels: for straight lines, excess removal, and flat surfaces
- V-tool: for fine lines and beard texture
- Sandpaper and files: for smoothing and detail cleanup
Failure-point checklist by carving stage
- Layout: grain line runs straight through the longest features
- Roughing: no thin shoulders or necking down too early
- Hat shaping: brim stays thick enough to resist snapping
- Face and beard: nose does not undercut the beard attachment
- Finishing: no sanding through a sharp edge or crisp texture
How do you carve a wooden gnome step by step?
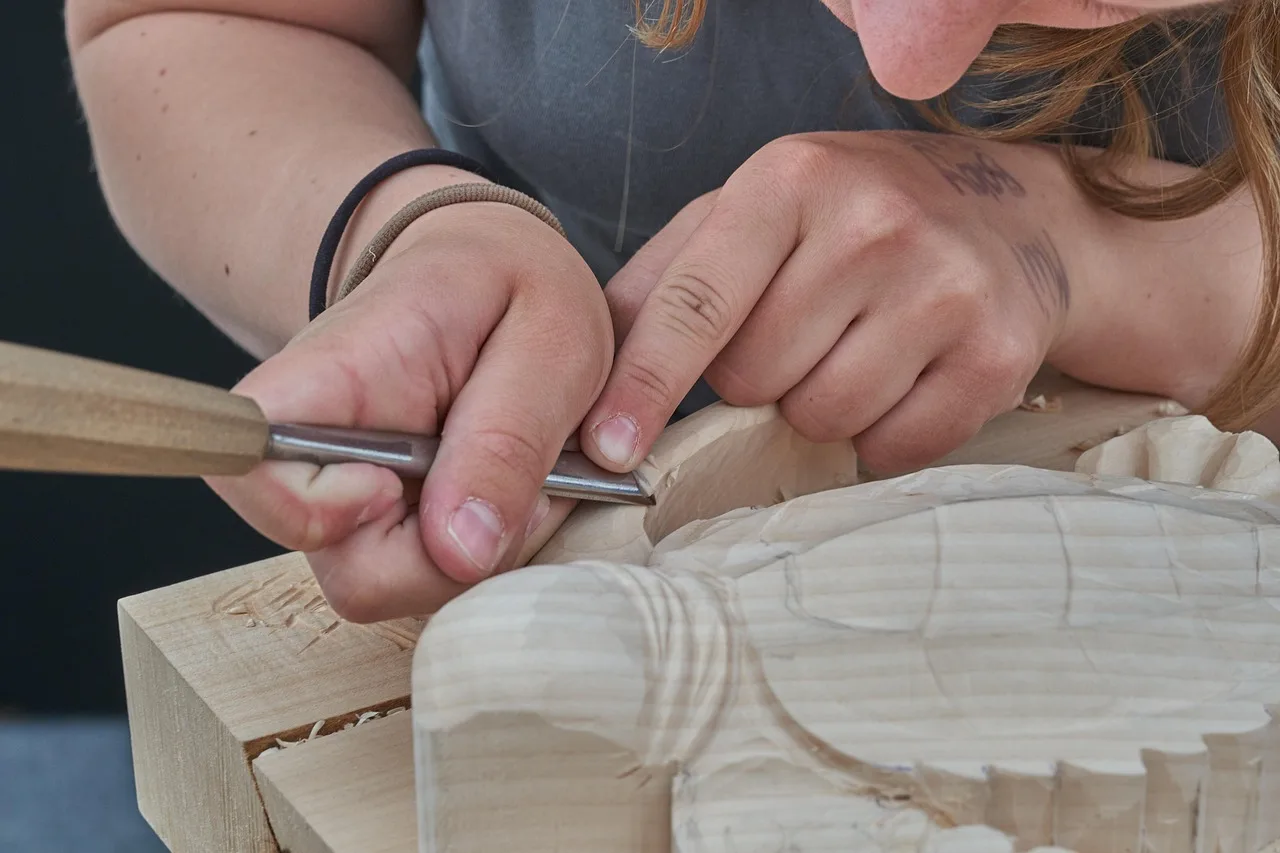
Draw the body, hat, and beard on every visible face, then remove wood in stages. Shape the blank first, then the hat, then the face and beard. A block-carving approach gives you more control than freehand whittling, especially on a 6 in figure with thin details.
- Draw centerlines on the blank and mark the hat, face, beard, and body on every side.
- Clamp the blank securely and remove the outside corners with the knife or chisel.
- Block in the hat and body with broad cuts, leaving extra thickness at the brim and beard base.
- Round the head area and set the nose position before cutting any deep detail.
- Use gouges to shape the hat dome and body curves, cutting with the grain where possible.
- Add the beard texture with the V-tool after the main mass is stable.
- Sand from 120 grit to 180 grit, then finish with 220 grit where the surface allows it.
- Apply finish in thin coats and recheck edges after each coat.
Step 1: Sketch the outline
Use a pencil and a simple pattern to place the hat peak, nose, beard bottom, and body width. Keep the nose high enough to sit partly under the hat brim. A sketch prevents a lopsided gnome and helps you leave enough wood around the beard.
Step 2: Rough out the blank
Trim the square blank into a basic tapered figure. Work from large shapes to smaller ones. If the blank is 6 in tall, do not cut the waist or beard too thin at this stage. That extra wood protects the project during the later detail cuts.
Step 3: Shape the hat and body
Use chisels for straight reductions and gouges for the curved hat form. The hat should taper gradually rather than stop abruptly at the brim. A common first-timer mistake is cutting the brim too thin while trying to make it look sharp. Leave material for the final sanding.
Step 4: Add the face and beard
Set the nose with a small rounded cut, then shape the cheeks under the brim. Use the V-tool for beard lines, and keep each cut shallow enough to preserve the base of the beard. Picture a 6 in gnome with a 3/8 in nose: that nose should read clearly without forcing a deep undercut.
Step 5: Sand and finish
If a corner needs leveling, go back to the coarser grit first, then return to the finer one. For indoor display, a light coat of wax or clear oil is usually enough. For outdoor display, use a weather-rated exterior finish and limit direct exposure to rain and standing moisture.
How do you carve a gnome face and beard?
Carve the face by placing the nose first, then opening the cheeks and beard around it. The V-tool is the main detail tool for beard lines, while gouges shape the rounded cheek and hat transitions. Keep the face shallow and the beard base thick so the figure does not split.
Mark the nose, cheeks, and brim line
Mark the hat brim before any facial detail. Then place the nose under that brim and sketch the cheek arcs around it. This order matters because the brim defines the visible face, and moving it later can ruin the proportions or leave the nose too low.
Use the V-tool for beard texture
Run the V-tool in short, controlled strokes from the chin area downward to suggest beard strands. The tool is also called a veining tool or parting tool, and it is useful for fine lines and decorative elements. Keep the cuts shallow; the goal is texture, not deep grooves.
Avoid thin weak edges around the face
Do not carve the beard so thin that it flexes near the base. If the beard tapers too sharply, it can split during sanding or finishing. Use a gouge to round the underside before adding texture, which gives the V-tool a stronger surface to work on.
What usually goes wrong?
The three most common failures are cutting across bad grain, making thin weak areas too early, and overcutting the beard or hat brim. Slow down at those points. Read the grain before each cut, and keep the brim and beard thicker than the final shape until the last pass.
Reading grain before each cut
Check whether the grain slopes into or away from your cut line. Cut with the grain whenever possible. If a cut feels rough or starts lifting fibers, stop and change direction. That small adjustment usually prevents tear-out and keeps the surface cleaner for sanding.
Preventing splits at the hat brim
The hat brim is a stress point because it bridges thin and thick sections. Leave it thicker than the finished look until the end. If the brim is still about 3/16 in thick after roughing out, that is a workable starting point. That is safer than trying to make it knife-thin before the figure is fully shaped.
Stopping before the beard gets too thin
Do not chase a sharp silhouette at the bottom of the beard too early. Keep the lower edge broad, then refine it after the body and face are stable. If you remove too much there, the beard can split while you sand or apply finish.
How long does it take to make one?
Time depends on skill level, design complexity, gnome size, and available working time. Beginners may need several sessions to finish a gnome carving. A simple 6 in figure can fit into short carving blocks, while a more detailed version with deeper beard texture takes longer.
Time by skill level
A beginner often spreads the work across two or more sessions because roughing, shaping, and finishing are easier to control that way. A simpler design with a block body and basic beard will go faster than one with layered trim, a bent hat, or a detailed face.
Time by carving style
Whittling is the fastest style for a small gnome, but it gives less control over broad curves. Block-carving is the most practical beginner choice for a standing figure. Relief-style details work well for the face and beard texture if you want a flatter decorative gnome panel.
Simple cost breakdown for a beginner project
A reasonable beginner budget usually comes from three parts: wood blank, basic tools, and finish. Basswood blank cost varies by size and source. A knife, a few gouges, a chisel, a V-tool, sandpaper, and finish can cost more than the wood itself, so start with the minimum set and add tools only when you need them.
Frequently asked questions
What wood is best for carving a wooden gnome?
Basswood is the best beginner choice because it is soft, easy to shape, and suitable for detailed work. Pine and cedar can work too, but check for knots and grain runout before you commit to the pattern, since those areas raise the risk of splits and tear-out.
What tools do I need to carve a gnome out of wood?
Use a carving knife for shaping, gouges for curved surfaces, chisels for straight cuts, and a V-tool for beard texture and fine lines. Add sandpaper, files, sketches, safety goggles, and a cut-resistant glove for the non-knife hand before you start.
How long does it take to whittle a gnome?
The time changes with skill, size, and detail level, and beginners may need several sessions. A small, simple figure can be completed faster than a larger carved gnome with deep beard texture, carved trim, or a more complex hat shape.
What is the easiest way to make a wooden gnome?
The easiest path is a block-carved gnome from basswood with a simple standing shape, a rounded hat, and a short beard. Keep the proportions wide and leave extra material at the brim and beard until the final shaping pass.
Sponsored / affiliate links. As an Amazon Associate I earn from qualifying purchases. I may earn additional commission from eligible campaigns.