How to Season Wooden Spoons: Clean, Oil, Replace
Season wooden spoons by washing them, drying them fully, then rubbing on a thin coat of food-safe conditioning oil. Repeat every few weeks or monthly, and replace the spoon if it is cracked, deeply warped, or splintered. Skip this care, and dry wood can splinter, absorb odors, stain faster, or fail where food-safe use matters. This guide covers cleaning, choosing the right oil, applying it correctly, and deciding when a spoon needs conditioning—or retirement.
When seasoning helps a spoon
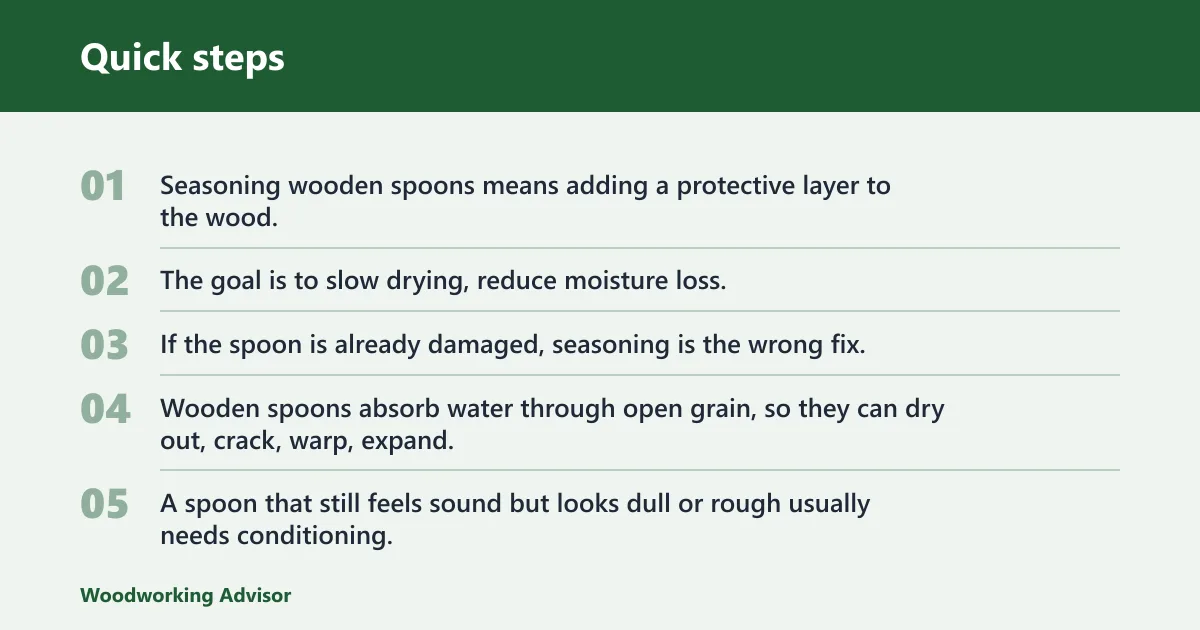


Seasoning wooden spoons means adding a protective layer to the wood. It is not the same as washing or sanitizing. The goal is to slow drying, reduce moisture loss, and help the spoon stay smoother for longer. If the spoon is already damaged, seasoning is the wrong fix.
Wooden spoons absorb water through open grain, so they can dry out, crack, warp, expand, shrink, and hold odors. A spoon that still feels sound but looks dull or rough usually needs conditioning. A spoon that is split, warped, or splintering should be retired instead of treated like a maintenance job.
What seasoning does and does not do
Seasoning helps condition the surface. It does not repair structural damage, remove deep stains, or make a badly worn spoon new again. It also does not replace regular hand washing and full drying after use. Those steps come first, every time.
Do not treat oiling as a substitute for cleaning. A spoon that has residue, odor, or grit needs prep before any oil goes on. If the spoon is clean and dry but looks lifeless, conditioning may help. If it is cracked or warped, stop there.
What you’ll need
- Food-grade mineral oil for routine conditioning
- Coconut oil if you want a food-safe oil option that can be melted gently before use
- 220 to 320 grit sandpaper for light smoothing
- Dish soap and hot water for washing
- Clean towel for drying
- Optional food-grade beeswax for a topcoat after oiling
- Optional white vinegar and water for a brief deodorizing or sanitizing soak, using a 1:4 or 1:5 ratio
Can you season new wooden spoons?
Yes, but not every new spoon needs it right away. A raw, unfinished spoon can be conditioned after washing and full drying. A factory-finished spoon may already have a protective surface, so it may not need oil until it starts to look dry or feel rough. Do not add oil to a spoon that is still damp.
Raw wood versus finished wood
Raw wood usually drinks in oil more readily. Factory-finished spoons vary, so check whether the surface already feels sealed or slick. If water beads slightly and the grain looks even, wait. If the spoon looks thirsty, feels chalky, or catches lint, it is a candidate for conditioning.
Step 1: wash and dry the spoon
Wash the spoon with dish soap and hot water, then rinse quickly and towel dry. Wirecutter recommends unscented dish soap for wooden spoons. Keep the wash brief; long soaking is what causes trouble. The spoon should be fully dry before any oil goes on, or the oil can trap moisture.
- Scrub the spoon with hot water and unscented dish soap.
- Rinse promptly.
- Towel dry both sides, the handle, and the bowl.
- Stand it upright or lay it flat until it is fully dry.
Hunker says spoon wood may need to dry fully for two or three days before oiling. That is a useful guardrail for thick or newly washed spoons. If the wood still feels cool, dark, or slightly heavier than usual, give it more time.
Step 2: smooth rough grain if needed
Use 220 to 320 grit sandpaper only if the spoon feels rough, fuzzy, or splinter-prone. A quick sanding can help the spoon absorb oil. Wipe away all dust before conditioning. Do not sand deeply; you are smoothing the surface, not reshaping the utensil.
How much sanding is enough?
Use light pressure and a few passes with the grain. Focus on rough patches, the bowl edge, and any handle spots that snag a cloth. If sanding reveals cracks, open grain, or loose fibers, the spoon may need replacement instead of more finish work.
Step 3: apply the right oil
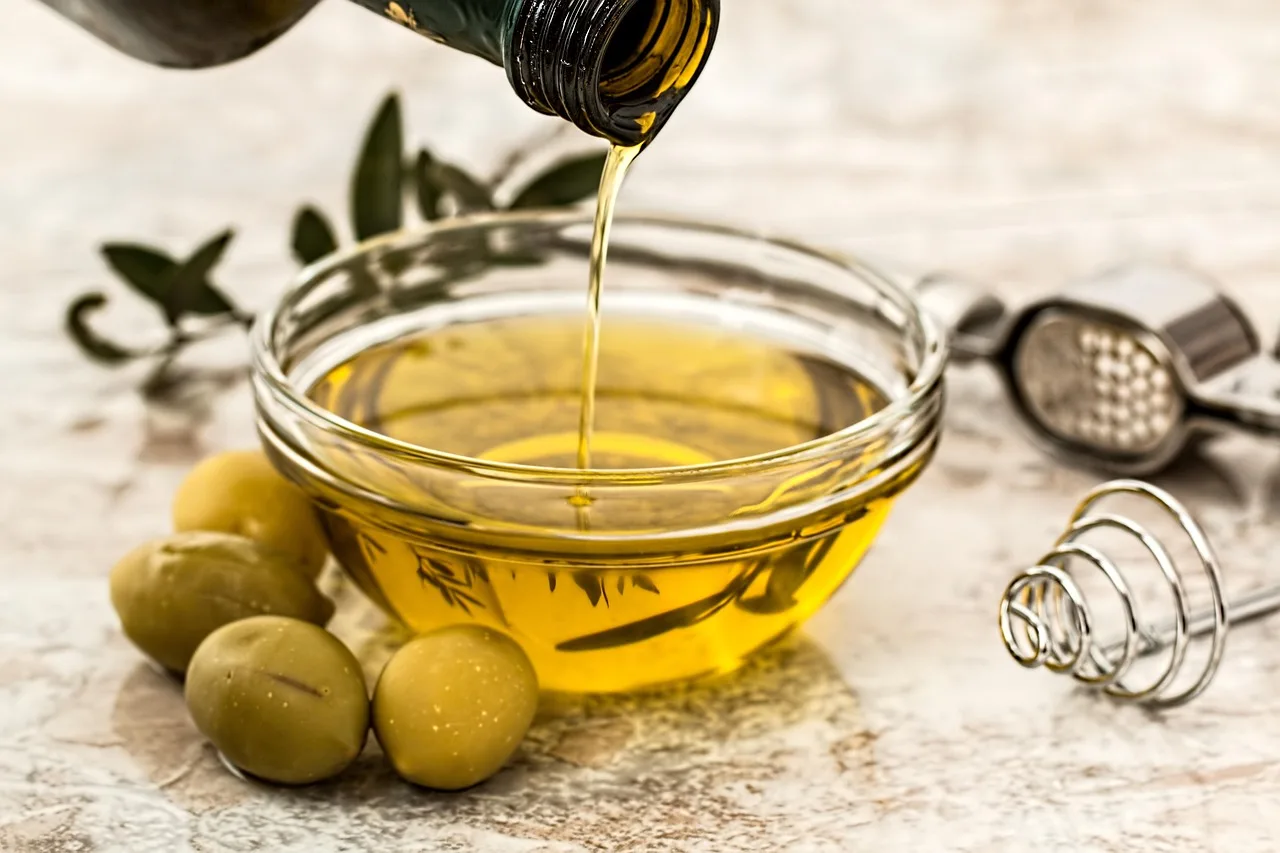
Food-grade mineral oil is the safest routine choice for most wooden spoons. It is neutral-tasting and odorless, and Wirecutter recommends it for conditioning wooden spoons. Apply a thin coat, let it sit overnight, then wipe away any excess. If the spoon still looks dry the next day, repeat with another thin coat.
- Put a small amount of mineral oil on a clean cloth.
- Rub it over all exposed wood.
- Leave the spoon to sit overnight.
- Wipe off any slick residue the next day.
- Add a second thin coat only if the wood still looks dry.
Coconut oil is another food-safe option. Coconut oil can be melted gently before use if it is solid at room temperature. It may still oxidize over time, so it is better as a practical food-safe option than as a universal default. Use the same thin-coat approach and wipe off excess after the overnight rest.
Olive oil is not a good routine choice for wooden spoons. It can go rancid, which makes it a weaker maintenance option than food-grade mineral oil. If routine care is the goal, choose mineral oil first. Use coconut oil only if you accept its oxidation risk and want that option specifically.
Optional beeswax topcoat
After mineral oil has sat overnight, you can add a thin, even layer of food-grade beeswax. This is optional. The wax helps slow moisture loss, but it should not be piled on. A thin coat is enough; heavy wax leaves a greasy feel and attracts debris.
Wooden spoon care decision table
This table helps you choose whether to clean, condition, deodorize, smooth, or replace. Use the spoon’s current condition, not just its age, to decide the next step.
| Spoon condition | Recommended prep step | Oil choice | Soak time | Drying time | Replace instead of season? |
|---|---|---|---|---|---|
| New, raw wood | Wash, towel dry, confirm it is fully dry | Food-grade mineral oil | Overnight | Two or three days if needed before oiling | No, unless it is already cracked or splintered |
| Dry and dull | Wash, dry, then oil | Food-grade mineral oil | Overnight | Until fully dry to the touch | No |
| Lightly rough | Sand with 220 to 320 grit, remove dust | Food-grade mineral oil | Overnight | Until fully dry after sanding and washing | No, unless sanding exposes structural damage |
| Stained | Wash; if stain stays embedded, use light sanding only if the wood is sound | Mineral oil after prep | Overnight | Fully dry before and after oiling | Yes, if stains are paired with softness, cracks, or mold |
| Smelly | Brief vinegar-water soak at 1:4 or 1:5, then wash and dry | Mineral oil after full drying | Short soak only | Fully dry; allow up to two or three days if needed | Yes, if odor remains after proper drying and washing |
| Cracked | Do not season | None | None | None | Yes |
| Warped | Do not season | None | None | None | Yes |
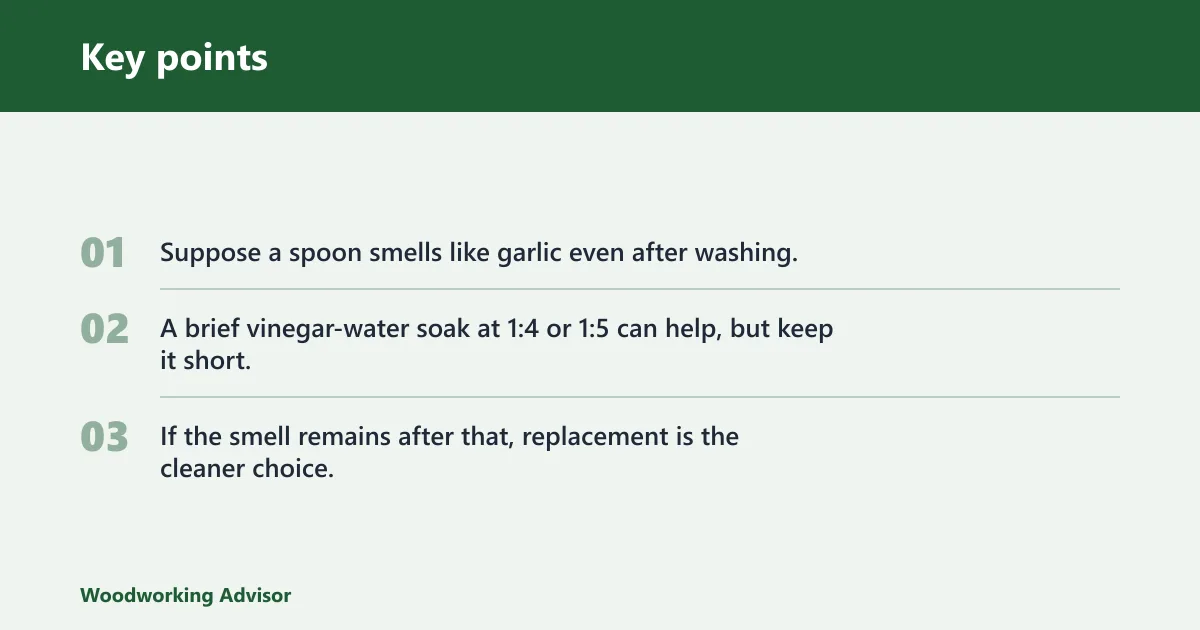
Suppose a spoon smells like garlic even after washing. A brief vinegar-water soak at 1:4 or 1:5 can help, but keep it short, then wash again and dry fully before oiling. If the smell remains after that, replacement is the cleaner choice.
How often should you season wooden spoons?
For routine care, season wooden spoons every few weeks or about monthly if they get regular use. HuffPost quotes an expert recommending monthly oiling. The exact interval depends on dryness, washing frequency, and how fast the spoon starts to look chalky or feel rough.
Signs the spoon needs oil sooner
If the surface looks pale, feels dry, or starts to grab a cloth, it needs conditioning before the next scheduled cycle. If the spoon is heavily used, the interval may shorten. If it still feels smooth and has a healthy look, you can wait.
Common mistakes to avoid
Over-oiling leaves a sticky film. That film collects dust and food residue, and it makes the spoon feel greasy. Wipe off every excess after the overnight rest. If the surface still feels slick the next day, it has too much oil.
Do not store a spoon while it is still damp. Do not leave it soaking in water. Do not put wooden spoons in the dishwasher; they should never go there because the heat and long wet cycle can warp, crack, or splinter them. Hand wash only, then dry fully.
A common first-timer mistake is rubbing oil onto a spoon that still has traces of dish soap and moisture. That traps moisture under the finish. Another is trying to “save” a cracked spoon with more oil. Cracks are a retirement signal, not a conditioning problem.
Frequently asked questions
Do you need to season wooden spoons?
Not always. New factory-finished spoons may not need it right away, and a spoon that still looks smooth and feels stable may only need cleaning. Seasoning is useful when the wood looks dry, rough, or thirsty. Skip it if the spoon is cracked, warped, splintered, or still damp.
What is the best oil for wooden spoons?
Food-grade mineral oil is the best routine choice for most wooden spoons because it is neutral-tasting and odorless. Coconut oil is a workable food-safe option, but it can oxidize over time. Olive oil is a poor routine choice because it can go rancid.
Can you put wooden spoons in the dishwasher?
No. Wooden spoons should never go in the dishwasher. The heat and repeated wetting can warp, crack, or splinter them. Hand wash with dish soap and hot water instead, rinse quickly, and towel dry right away. Then let the spoon finish drying fully before any oil goes on.
What should you do with cracked wooden spoons?
Replace a cracked wooden spoon instead of seasoning it. Cracks, splintering, deep warping, and mold are all reasons to retire a wooden spoon instead of trying to season it. Oil will not repair structural damage. A cracked spoon can hold moisture and residue in the damaged area, which makes it a poor candidate for continued kitchen use.
Sponsored / affiliate links. As an Amazon Associate I earn from qualifying purchases. I may earn additional commission from eligible campaigns.