DIY Wood Ideas: Projects to Try
Woodworking gives you a genuinely wide range of projects to try, from a weekend picture frame to a full outdoor bench, and the right first project depends more on your available tools and time than your skill level. This roundup groups ideas by category – decor, furniture, outdoor, kids’ projects, and seasonal builds – with links to full step-by-step guides for the ones already covered in depth on this site.
Getting Started
Finishes Almost Any Project Below
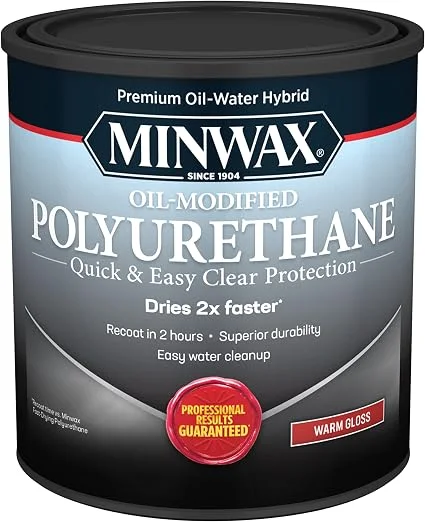 |
Minwax Water-Based Polyurethane, 1 Quart A clear protective topcoat that works on nearly every indoor project in this list – frames, shelves, coasters, toy boxes – dries fast enough to recoat the same day.
|
A basic tool kit covers most of the ideas below: a saw (hand saw or circular saw), a drill/driver, a measuring tape, sandpaper in a couple of grits, wood glue, and safety glasses. Start with a small, low-stakes project before attempting furniture-scale builds – a coaster or picture frame teaches measuring, cutting, and finishing without the cost of ruining a large piece of lumber if something goes wrong.
| Project | Skill Level | Typical Time |
|---|---|---|
| Picture frame / coasters | Beginner | 1-2 hours |
| Floating shelf | Beginner | Half a day (incl. finish drying) |
| Toy box / low bookshelf | Intermediate | 1 weekend |
| Reclaimed-wood table | Intermediate-Advanced | 1-2 weekends |
| Outdoor bench or planter | Intermediate | 1 weekend |
Time estimates assume drying/curing time for glue and finish, which is usually the actual bottleneck rather than the hands-on build time – most of these projects only need a few hours of active work spread across a longer calendar window.
Small Wood Decor Ideas
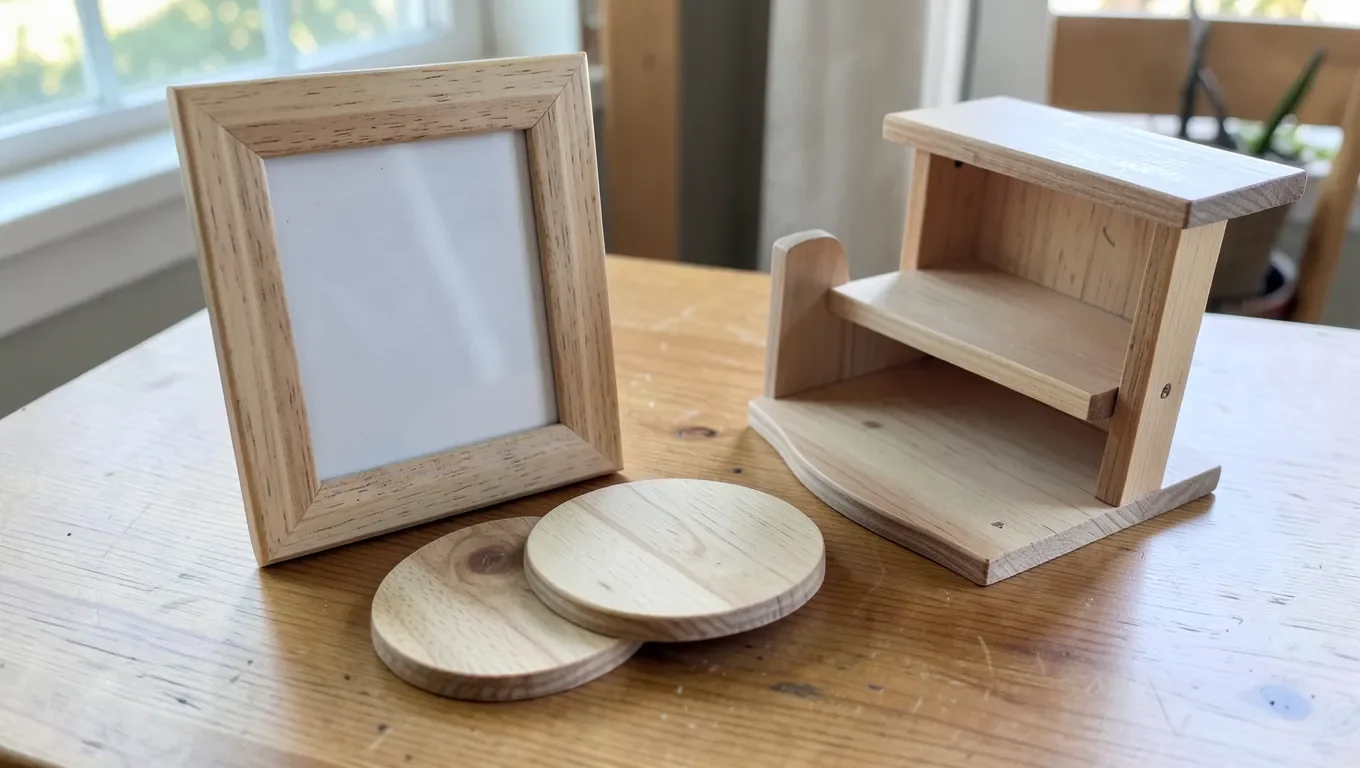
A simple wooden picture frame is one of the fastest true beginner projects – four mitered corners, glue, and a stain or paint finish. The main skill it teaches is a clean 45-degree miter cut; a miter box or miter saw makes this far more forgiving than trying to cut the angle freehand with a straight saw, and even a small gap at the corner shows immediately once the frame is assembled.
Wooden coasters are even quicker: cut circles or squares from scrap, sand the edges smooth, and finish with something food/heat-safe since they’ll sit under hot mugs – a standard interior polyurethane is fine for decor, but a coaster gets set down wet and hot repeatedly, so a harder, more heat-tolerant finish holds up better over time. Both projects make good gifts and use up offcuts from bigger projects instead of buying fresh lumber, and both are a genuinely good way to test a stain color on real project-sized pieces before committing to it on something larger.
Furniture Upgrades
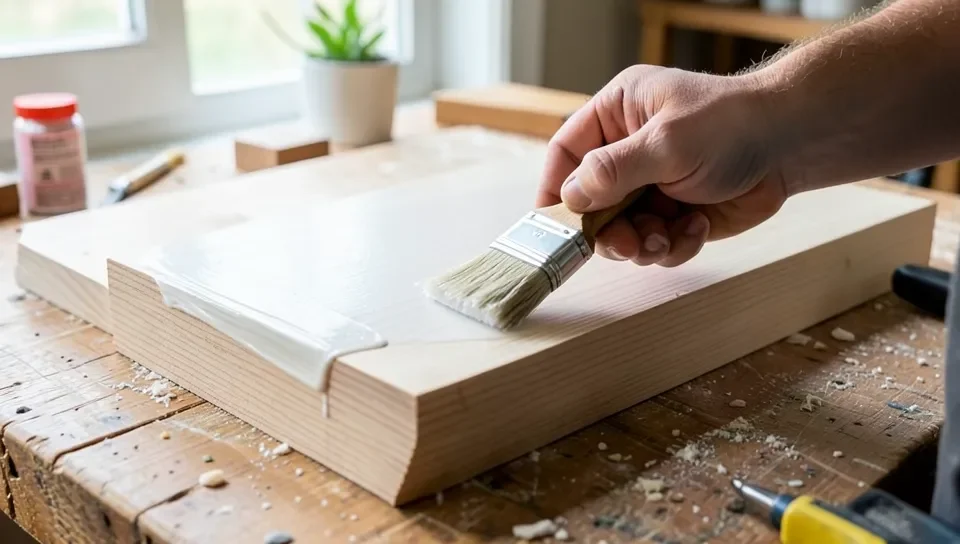
Floating shelves (a board mounted on hidden brackets or a cleat) add storage without the footprint of a bookcase – see our simple wood shelf guide for the full build and wall-mounting steps. A reclaimed-wood table is a bigger step up: source wood from pallets or salvage (check it isn’t chemically treated first), clean and sand it thoroughly, then cut, assemble, and seal – the character of reclaimed lumber is the whole appeal, so resist over-sanding it perfectly smooth.
Outdoor Wood Creations
Garden planters need weather-resistant wood (cedar, redwood, or pressure-treated lumber) since they hold moist soil against the wood constantly – a species that’s fine for indoor furniture will rot fast outdoors. Line the inside with landscape fabric or a plastic liner if you want the planter to last significantly longer, since even weather-resistant wood degrades faster from constant direct soil contact than from rain alone.
Outdoor furniture (benches, side tables) needs the same weather-resistant lumber plus a UV-rated exterior finish, since sun exposure breaks down interior-only finishes within a season or two – a finish rated for interior use will look fine for a few months outdoors and then start chalking, peeling, or losing its color noticeably faster than an exterior-rated product. Space between boards where water can pool (roughly a pencil-width gap on a bench seat, for example) also matters more outdoors than in, since standing water is what actually causes rot, not brief rain exposure on wood that can dry out afterward.
Functional Home Additions
Wall-mounted racks (for coats, mail, tools, or kitchen items) are one of the more forgiving furniture-adjacent builds, since a small dimensional error is much less noticeable than on a piece of freestanding furniture. Size them to the actual items they’ll hold – a mail rack sized generically often ends up either too shallow for packages or awkwardly deep for envelopes. Mount into wall studs wherever possible, and use rated drywall anchors matched to the loaded weight when a stud isn’t available at the spot you need – a rack that’s fine empty can pull straight out of drywall once loaded with coats, tools, or a stack of mail.
A pegboard-style rack is worth considering over a fixed-hook design if the storage needs might change – hooks and small shelves reposition freely on pegboard, which a built-in fixed rack can’t do without rebuilding it.
Kids’ Room Projects
A toy box is a genuinely useful first bigger project – round over sharp edges with a router or sandpaper, and if it has a lid, install a soft-close hinge or a support strut so it can’t slam shut on small fingers; this single detail is the difference between a toy box that’s actually safe around kids and one that technically works but has a real pinch hazard. Skip finger-jointed or overly intricate joinery for a first attempt – simple butt joints reinforced with screws and glue are plenty strong for a toy box’s actual load and much more forgiving to build accurately.
Low bookshelves sized to a child’s reach (rather than adult-height shelving) get used far more than tall shelves kids need help reaching, and a low center of gravity also makes them harder to tip – anchor any tall or top-heavy kids’ furniture to the wall regardless of height, since tip-over incidents are a real and well-documented risk with freestanding furniture in a child’s room.
Seasonal Wood Crafts
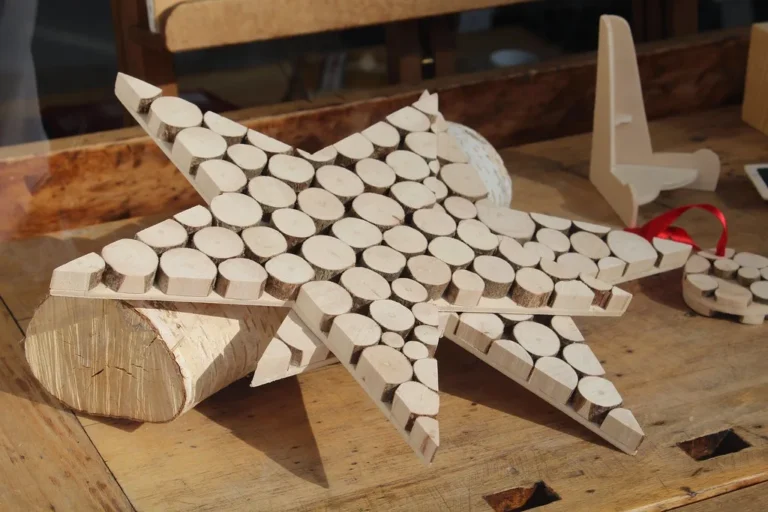
Wooden ornaments, a miniature village display, or a twig wreath are all low-material, low-tool-requirement seasonal projects good for using up small offcuts. Seasonal porch signs (painted wood planks with a stenciled message) are similarly quick and a good project for practicing lettering with a stencil before attempting freehand painted text on a bigger piece.
Finishing Touches
Stain changes color while letting the grain show through; paint fully covers the wood and works better for hiding mismatched offcuts or lower-grade lumber. Whichever you choose, sand first (this is what actually determines how smooth the final finish feels, more than the finish itself), and if painting, a primer coat first helps the topcoat cover evenly and last longer. Always seal the wood after staining – an unsealed stained surface still absorbs moisture and stains from everyday use.
Test any stain or paint color on an offcut of the same wood before committing to the full piece – the same stain looks noticeably different on pine versus oak versus poplar because of how each species’ grain and pore structure absorbs pigment. Once a finish is dry, store the finished piece away from direct sunlight and extreme humidity swings, both of which cause visible cracking, fading, or warping over months even after the piece is fully cured.
Tips for Success
- Wear safety glasses and gloves – splinters and flying debris are the most common minor injuries in beginner projects
- Sketch the project and make a cut list before touching a saw – this catches measurement mistakes on paper instead of in wood
- Measure twice, cut once – the actual old advice, still the single biggest time-saver
- Work in a well-lit area so you can actually see pencil lines and joint gaps
- Unplug power tools when changing blades or bits, not just when storing them
Frequently Asked Questions
What can I make out of wood easily?
You can easily make birdhouses, picture frames, shelves, and cutting boards out of wood. These projects are beginner-friendly and require basic tools.
What is the cheapest wood for DIY projects?
Pine is the cheapest wood for DIY projects. It’s affordable, easy to work with, and widely available.
What DIY wood projects sell?
Popular DIY wood projects that sell include picture frames, cutting boards, planters, shelves, wine racks, and small furniture pieces.
What is the easiest wood to make?
Pine is the easiest wood to work with due to its soft texture and availability. It cuts, glues, and stains well, making it ideal for beginners and DIY projects.
Conclusion
The best starting project is whichever one matches the tools you already have and the time you can realistically dedicate this weekend – not necessarily the most impressive one. Build your skills on small, forgiving projects first, and the furniture-scale builds get much easier once measuring, cutting, and finishing are second nature.
Sponsored / affiliate links. As an Amazon Associate I earn from qualifying purchases. I may earn additional commission from eligible campaigns.