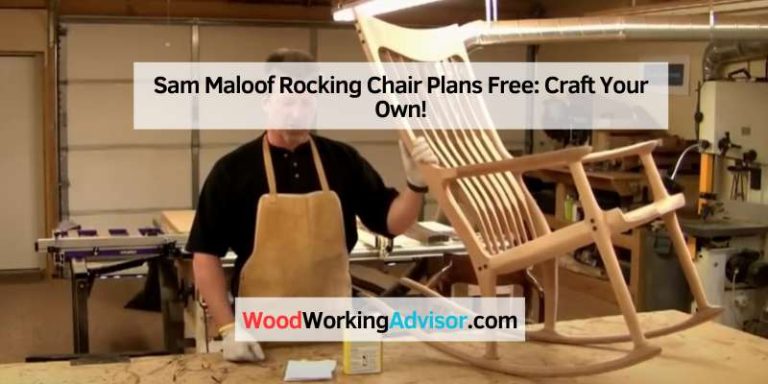
Woodworking Projects & Tips: Skills, Materials & Fixes
Successful woodworking projects come down to three things: choosing the right material, using sound technique, and knowing how to fix problems when they happen. Whether you are building furniture or making a quick repair, this guide covers the core skills, material choices, and common fixes every woodworker needs.
Quick Answer
Good woodworking starts with dry, properly-milled lumber (check moisture and what S4S means), the right joinery and sanding for the job, and knowing how to fix issues like wood rot, warping, and water marks. Match wood and finish to whether the piece lives indoors or outdoors.
Choosing the right material for a project
The material makes or breaks a project. Buy dry, stable lumber — check what moisture level is acceptable in wood and understand what S4S means when buying lumber. For looks, learn which woods look good together, and for outdoor builds, what wood to use for outdoor furniture. Know the difference between engineered boards like particle board and pressboard.
Core skills & techniques
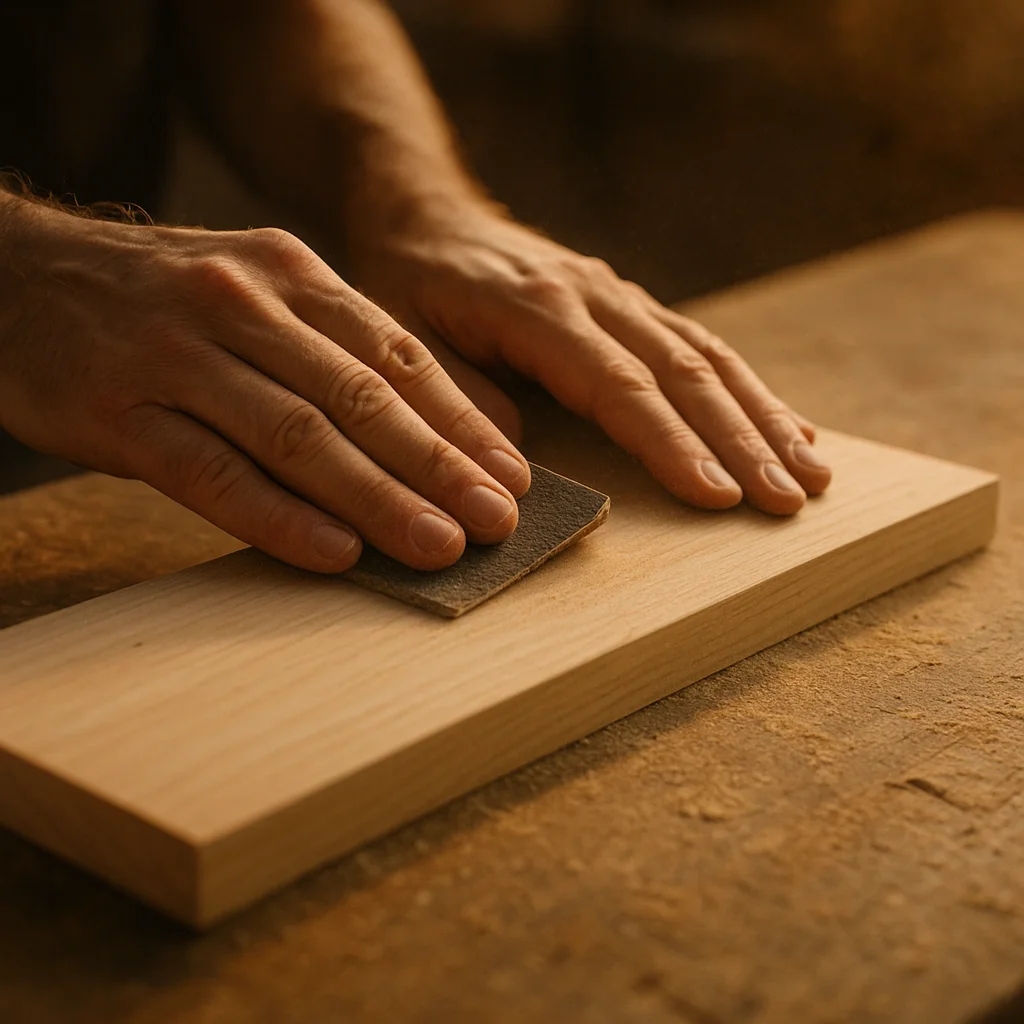
A few fundamentals apply to almost every build. Sanding is one — use the right grit sandpaper for wood and work up through the grits. Cheap panels can still look great; see cheap interior wall paneling ideas. Finish choice matters too — modern hardwax oils like Rubio Monocoat are popular for a natural, durable result.
Fixing common woodworking problems
Every woodworker deals with damage. Learn how to fix wood rot (and rotted wood), straighten a leaning fence post without removing it, restain a weathered deck, and remove water marks from wood furniture.
Safety in the workshop
Work safely: keep a suitable extinguisher on hand — know which fire extinguisher is used for wood, paper, and fabric (Class A) — and keep dust under control.
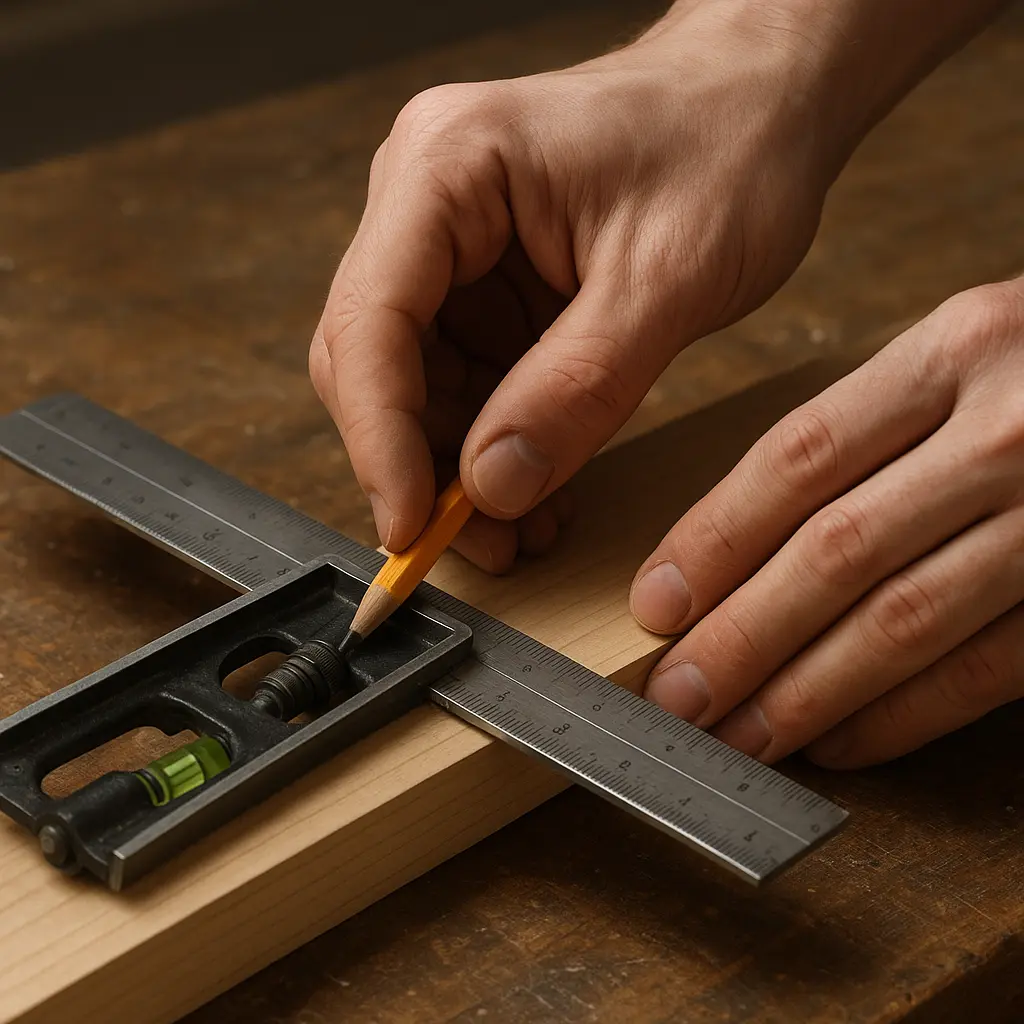
Measuring & marking accurately
Precision starts before the cut. Measure twice, cut once — and always reference from the same edge so small errors do not stack up. Mark with a sharp pencil or, for joinery, a marking knife, which scores a crisp line your saw or chisel can drop into. A combination square and a marking gauge make repeatable, square layout far easier.
Woodworking joinery basics
Joinery is how pieces connect. Beginners can go a long way with a few joints: the butt joint (simplest, reinforced with screws or dowels), the pocket-hole joint (fast and strong with a jig), and the dado (a groove that captures a shelf). Traditional mortise-and-tenon and dovetail joints add strength and craftsmanship as your skills grow.
Understanding wood movement
Wood is hygroscopic — it absorbs and releases moisture, expanding and contracting with humidity. Crucially, wood moves far more across the grain than along it. Ignore this and panels crack or joints split. Design for it: leave expansion gaps on wide panels, let tabletops float, and build with wood acclimated to its final environment.
Setting up your workshop
A good shop makes better work. Prioritize bright, even lighting, solid ventilation and dust collection (fine dust is a real health hazard), and a layout that keeps your most-used tools within reach and clear paths around power tools. Organization is not just tidiness — it is safety.
Key woodworking terms
Kerf is the width of the slot a saw blade removes as it cuts — always cut on the waste side of your line.
Grain direction is the way the wood fibers run; cutting, planing, and sanding with the grain gives clean results, against it causes tear-out.
Wood movement is the seasonal expansion and contraction of wood as humidity changes, greatest across the grain.
Joinery is the techniques used to connect pieces of wood, from simple butt joints to dovetails.
Jig is a shop-made or store-bought guide that holds work or tools to make a cut or hole repeatable and accurate.
Pocket hole is an angled hole drilled with a jig so a screw can join two boards from a hidden position.
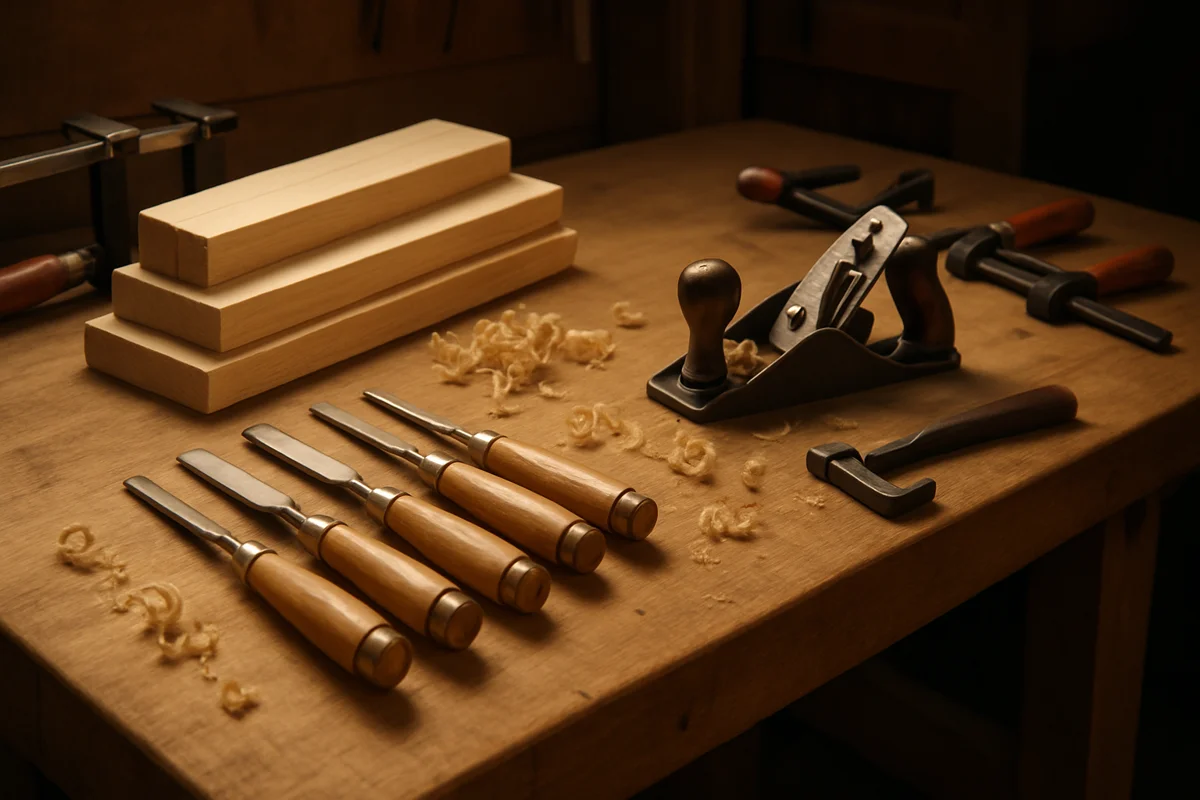
Essential tools for your first projects
You do not need a full workshop to start. A short, quality tool kit covers most beginner builds:
- Measuring & marking: tape measure, combination square, and a sharp pencil or marking knife.
- Cutting: a circular saw (or a handsaw and miter box) for straight and angled cuts.
- Joining: a cordless drill/driver plus a pocket-hole jig for strong, simple joints.
- Holding: a few clamps — you can never have too many.
- Smoothing: a random-orbital sander and a set of sandpaper grits.
- Refining: a couple of sharp chisels and a block plane.
Best beginner woodworking projects
Start with projects that build core skills without expensive wood or complex joinery:
- Cutting board — teaches gluing, flattening, and food-safe finishing.
- Simple wall shelf — practice measuring, square cuts, and mounting.
- Planter box — easy butt joints and outdoor finishing.
- Step stool or bench — introduces stronger joinery and load design.
- Picture frame — miter cuts and clamping practice.
Gluing and clamping basics
Most woodworking joints are held by glue, not fasteners. Apply an even layer of wood glue (PVA) to both faces, rub them together to spread it, then clamp with firm, even pressure until a small bead of squeeze-out appears — that shows full contact. Wipe wet squeeze-out with a damp cloth or let it skin over and pare it off. Use cauls (straight scrap boards) to spread pressure on wide panels, and leave joints clamped for at least 30-60 minutes (full cure 24 hours).
Planning a project: cut lists & materials
A little planning saves wood and frustration. Sketch the piece with dimensions, then write a cut list — every part, its size, and quantity. Add about 15-20% extra material for mistakes, grain matching, and defects. Plan your cuts to keep the grain running the right way (long grain along the length of legs and rails), and dry-fit everything before glue-up so surprises happen before the glue is wet.
Frequently asked questions
What is the easiest woodworking project for beginners?
Simple projects like a cutting board, a small shelf, or a planter box are best for beginners — they use basic cuts, minimal joinery, and inexpensive wood, so mistakes are cheap to fix.
What moisture level should wood be for a project?
Most interior projects need wood at 6–8% moisture content; 9–14% is acceptable for outdoor or construction use. Building with wet wood leads to warping and cracking as it dries.
What does S4S mean in lumber?
S4S means ‘surfaced four sides’ — the board has been planed smooth and square on all four faces, ready to use without additional milling.
How do you fix wood rot?
For minor rot, dig out the soft wood, dry the area, apply a wood hardener, then fill with epoxy wood filler and refinish. Badly rotted structural wood should be cut out and replaced.
What grit sandpaper should I use on wood?
Start with 80–120 grit to remove material and level the surface, then work up to 180–220 grit before finishing. Higher grits (320+) are for between finish coats.
Why does wood crack or warp after a project is built?
Because wood is hygroscopic — it expands and contracts as humidity changes, mostly across the grain. Building with wet wood or not allowing for movement causes cracks, warping, and split joints.
What is the strongest wood joint for beginners?
The pocket-hole joint is the strongest joint beginners can make easily — a pocket-hole jig drills an angled hole so a screw pulls two boards tightly together. For traditional strength, the mortise-and-tenon is best.
What tools do I need to start woodworking?
A basic kit: a tape measure and square, a circular saw or handsaw, a cordless drill with a pocket-hole jig, a few clamps, a random-orbital sander, and a couple of sharp chisels. That covers most beginner projects.
How much extra wood should I buy for a project?
Add about 15-20% over your cut-list total to allow for mistakes, defects, grain matching, and saw kerf. Running short mid-project often means a color or grain mismatch from a new batch.