How to Line Wooden Planter Boxes (Without Trapping Water)
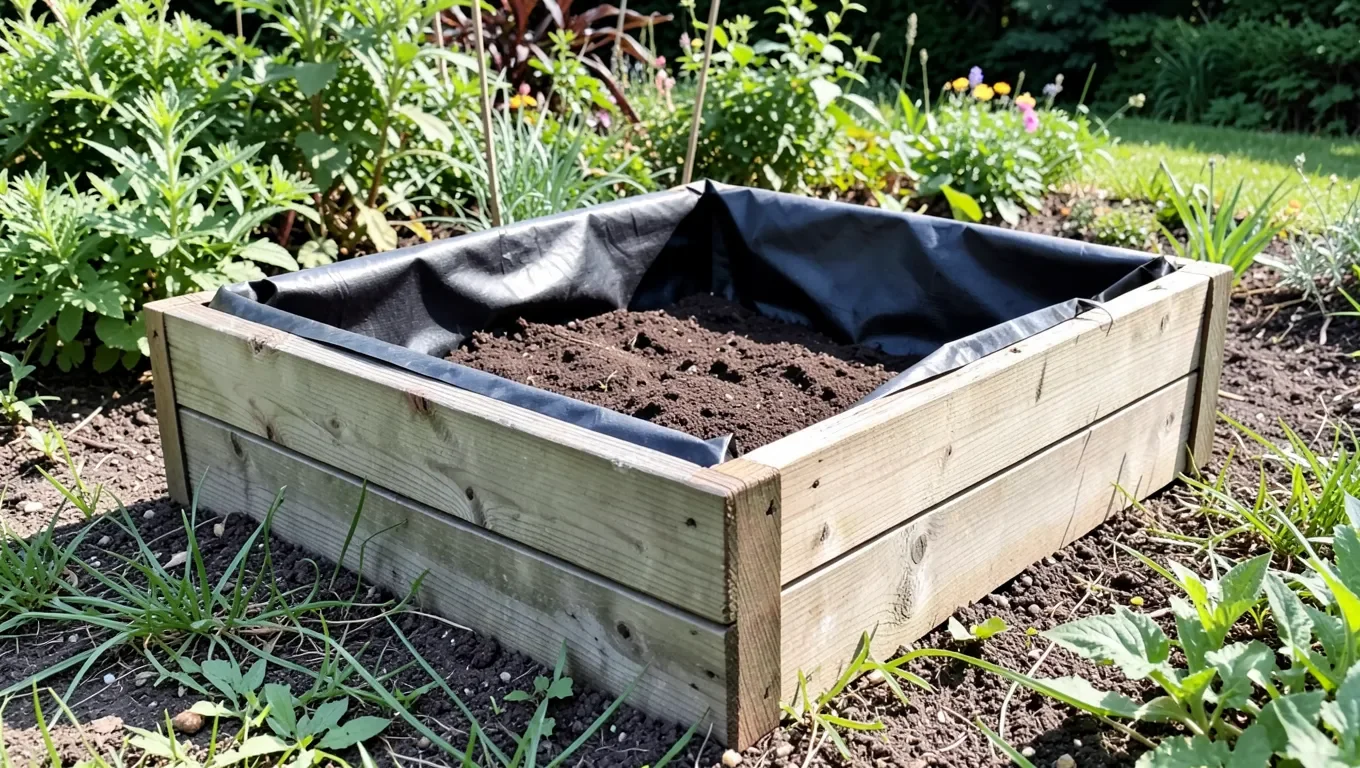
Line a wooden planter box with landscape fabric or heavy plastic sheeting, stapled to the inside walls, with matching holes cut through the liner wherever the box has drainage holes. Lining keeps soil and constant moisture from sitting directly against the wood, which is what actually causes a planter box to rot from the inside out well before the outside boards show any wear.
Lining is a different fix from sealing a planter box with an exterior sealant or oil – both work, and some builders do both together. This guide covers the liner method: what material to use, how to install it without trapping water, and the mistakes that cause a “lined” box to rot anyway.
Do You Need to Line Your Planter Box?
Cut-To-Fit For Any Box Size
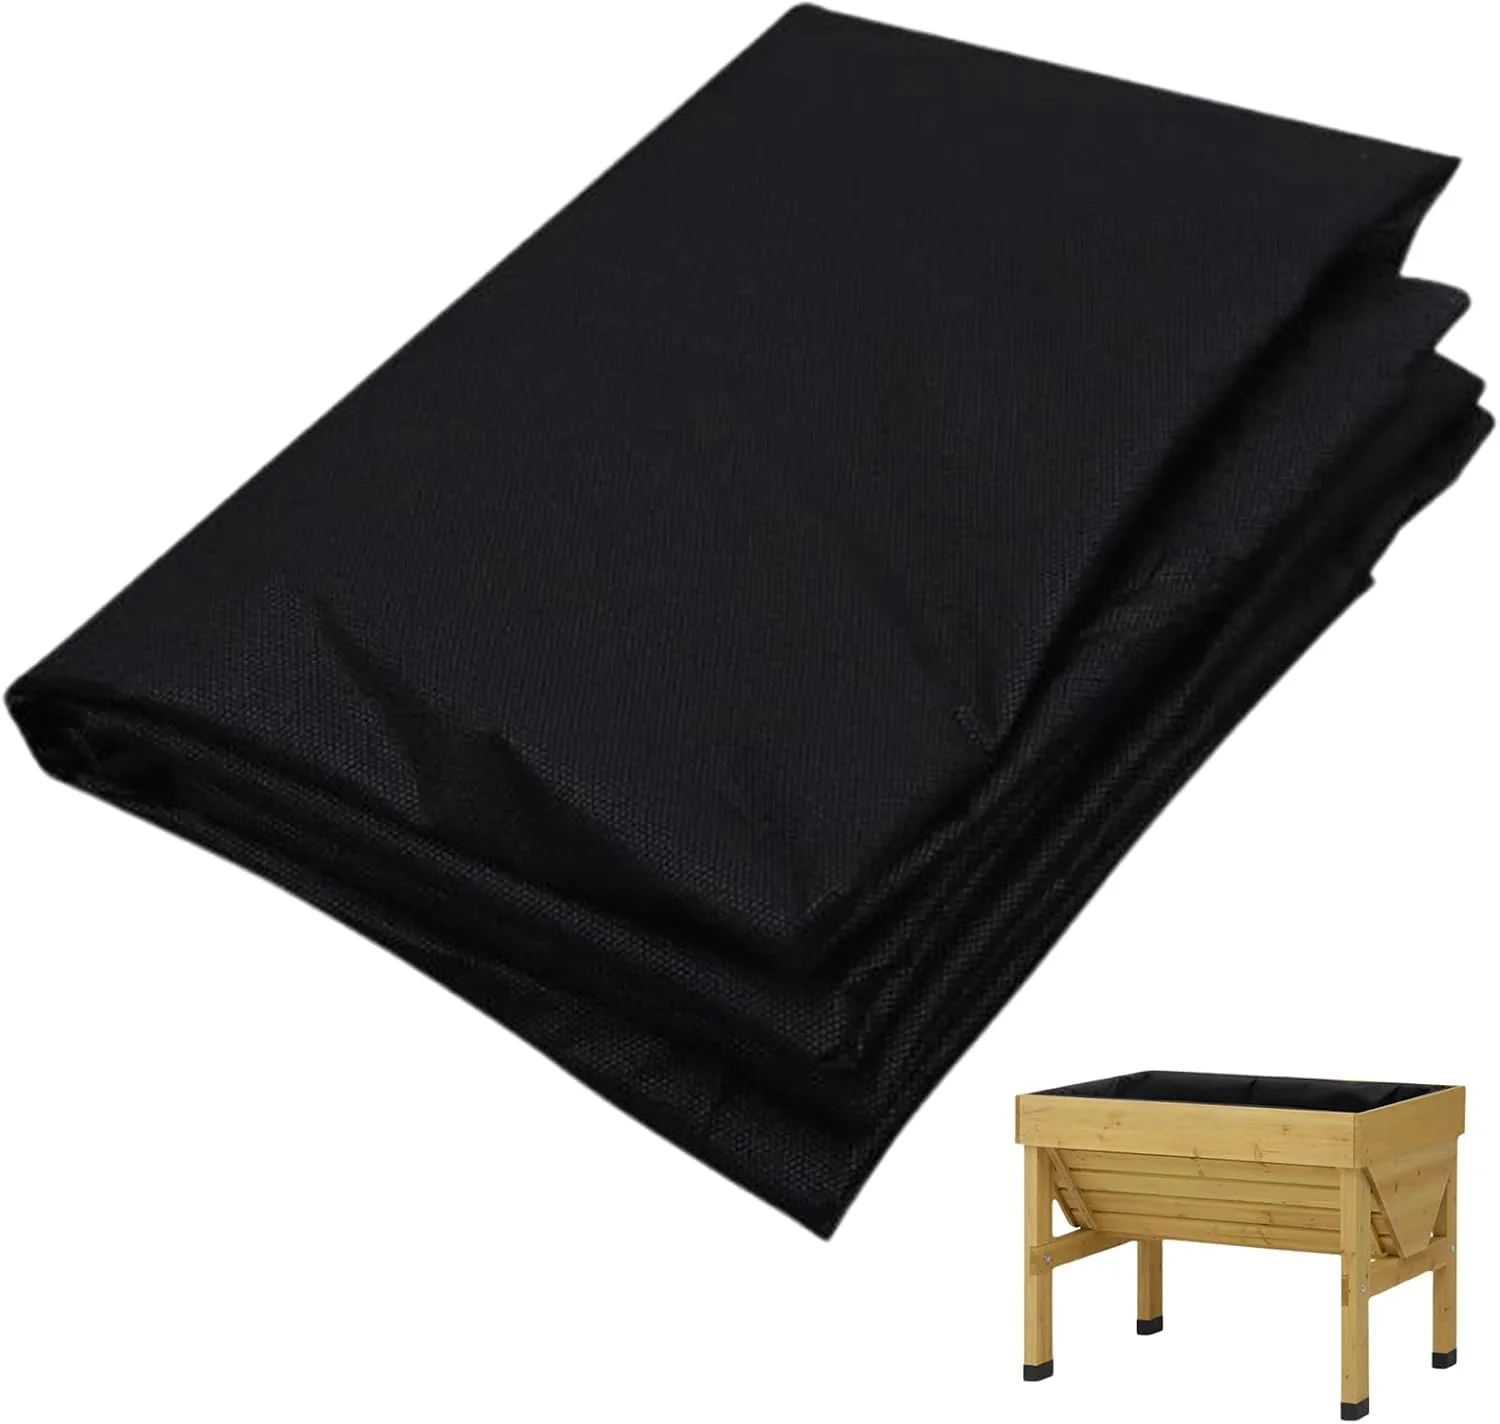 |
Non-Woven Fabric Planter & Raised Bed Liner (63″ x 114″) Breathable landscape fabric that holds soil in while still letting water pass through – a large sheet cuts down to line boxes of nearly any size.
|
Untreated pine and fir boxes benefit the most from a liner, since bare softwood absorbs moisture quickly. Naturally rot-resistant woods like cedar, redwood, and cypress hold up longer without one, but a liner still extends their life and keeps soil from staining the wood’s interior face. If the box is already sealed with an exterior wood sealant or oil on the inside walls, a liner is optional rather than essential – the two methods overlap in what they protect against.
Choosing a Liner Material
Not every liner works the same way, and picking the wrong one is a common source of the “I lined it and it still rotted” complaint.
| Liner Type | Pros | Cons |
|---|---|---|
| Landscape/garden fabric | Water-permeable, cheap, easy to cut | Less durable, degrades faster in constant sun |
| Heavy plastic sheeting | Fully waterproof, cheap, widely available | Must be perforated for drainage or it traps water against roots |
| Rubber pond liner | Very durable, resists punctures | Costs more, heavier to work with |
Landscape fabric is the easiest default for most builds: it’s water-permeable on its own, so there’s less risk of trapping moisture even if you don’t perforate it perfectly. Solid plastic sheeting protects the wood completely but only works safely if you deliberately cut drainage openings that line up with the box’s own drainage holes – skip that step and the box becomes a bucket instead of a planter.
Step-by-Step: Lining a Wooden Planter Box
- Measure the inside length, width, and depth of the box, and add a few extra inches to each dimension so the liner can run up and over the top edge.
- Cut the liner to size with scissors or a utility knife, leaving that extra margin on all sides.
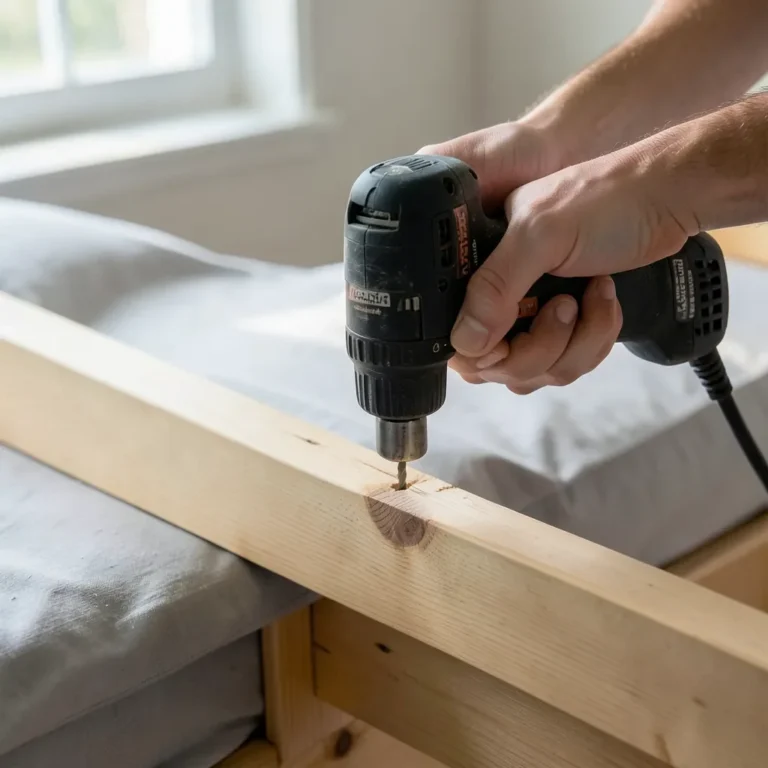
- Drill drainage holes in the bottom of the box first, if it doesn’t already have them – space them about 2 inches apart.
- Press the liner into the box, smoothing it into the corners rather than leaving loose folds where water can pool.
- Staple the liner to the inside top edge every few inches to hold it in place while you work.
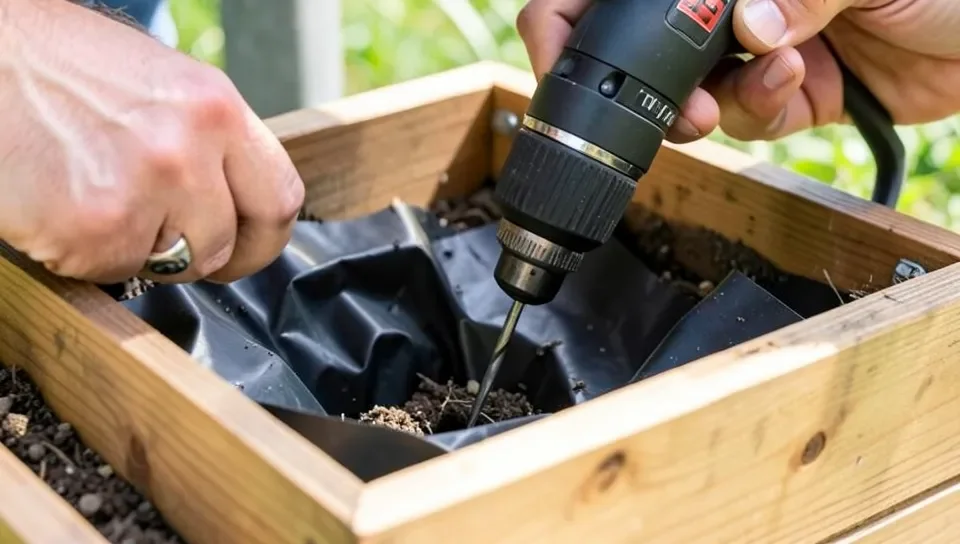
- Cut or poke a hole through the liner directly over every drainage hole in the box – this step is easy to skip and is the single most common reason a lined box waterlogs.
- Trim any excess liner hanging over the top edge, or fold it under the rim for a cleaner look.
Getting Drainage Right
A planter box needs drainage holes in the wood itself, and just as importantly, matching openings through whatever liner covers those holes. Add a 1-2 inch layer of gravel or coarse pebbles over the liner at the bottom before adding soil – this keeps the drainage holes from clogging with dirt and gives excess water somewhere to go before it reaches the roots.
If you’re using solid plastic sheeting rather than fabric, this step isn’t optional. Fabric liners are forgiving because water can pass through the material itself even if a drainage hole gets partially blocked; solid plastic has no such backup, so an unperforated liner over drainage holes will hold water against the roots no matter how well the box itself was built.
Common Mistakes to Avoid
- Solid liner with no drainage cutouts – the single biggest cause of root rot in a “properly lined” box.
- Stretching the liner too tight – it can tear at the staples as the soil settles and adds weight; leave a little slack in the corners.
- Skipping the gravel layer – without it, fine soil can work its way into and clog small drainage openings over time.
- Using a liner that’s too thin for the box size – a large or deep box puts more pressure on the liner from settled, wet soil; go with a heavier-gauge fabric or plastic for anything over about 18 inches deep.
How Long Does a Liner Actually Last?
Expect a landscape fabric liner to hold up for 2-4 growing seasons in full sun before it starts to thin and tear, since UV exposure breaks down the fibers over time. Heavy plastic sheeting typically lasts a bit longer, closer to 3-5 seasons, but becomes brittle at the fold lines eventually and can crack along the staple line. A rubber pond liner is the outlier – it regularly lasts 10 years or more, which is why it’s worth the extra cost on a large or hard-to-access planter you don’t want to re-line every few years.
None of these numbers hold if the box sits somewhere that collects standing water, so keeping the drainage path clear (the gravel layer above) does more for a liner’s lifespan than the material choice itself.
Maintaining a Lined Planter Box
Check the liner once or twice a growing season, especially after repotting or refreshing the soil. Look along the staple line for tears or places where the fabric has pulled loose, and confirm the drainage cutouts haven’t clogged with compacted soil or roots. A liner that’s degrading or torn is easy to replace before it fails – much easier than dealing with a box that’s already started to rot from a hidden leak.
Frequently Asked Questions
What materials do I need to line wooden planter boxes?
You’ll need a liner material (landscape fabric, plastic sheeting, or a pond liner), a staple gun or nails to secure it, scissors or a utility knife to cut it to size, and gravel for a drainage layer at the bottom.
How do I install a liner in a wooden planter box?
Cut the liner a few inches larger than the box’s interior dimensions, press it into the corners, staple it to the top inside edge, then cut a hole through the liner over every drainage hole in the box before adding gravel and soil.
Can I use plastic to line my wooden planter box?
Yes, but plastic sheeting must have holes cut through it that line up with the box’s drainage holes. Unlike fabric, solid plastic won’t let any water pass through on its own, so a missed drainage cutout will trap water against the roots.
Why should I line my wooden planter box?
A liner keeps soil and standing moisture from sitting directly against the wood, which is what causes most planter boxes to rot from the inside before the exterior shows any damage. It’s especially worthwhile for untreated softwoods like pine and fir.
Conclusion
A liner is one of the cheapest ways to add years to a wooden planter box, but only if the drainage still works once it’s installed. Match every hole in the box with an opening in the liner, add a gravel layer, and check it once a season – that’s the entire difference between a liner that protects the wood and one that quietly rots it from underneath the soil.
Sponsored / affiliate links. As an Amazon Associate I earn from qualifying purchases. I may earn additional commission from eligible campaigns.