21 Scrap Wood Projects to Use Every Leftover Piece
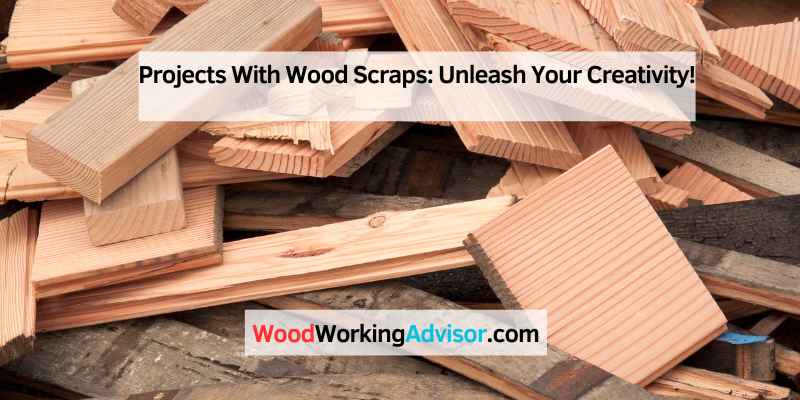
Small scrap wood is best used for projects that only need a few square inches of usable material: coasters, keychains, plant markers, cutting boards, key holders, birdhouses, and drawer organizers. Below are 21 real, buildable scrap-wood projects grouped by skill level, with the exact tools each one needs, so a bin of offcuts turns into something you’ll actually use instead of kindling.
Quick answer: The average woodworking shop loses roughly 30% to 50% of the lumber it buys as offcuts and scrap. Instead of the burn pile, those pieces are exactly the right size for coasters, small boxes, plant markers, and the other projects below.
“Waste isn’t always waste if you can find a use for it,” writes veteran woodworker Bob Rummer in Highland Woodworking’s Wood News Online, who calculated that up to 84% of a tree’s volume can be lost between the stump and a finished project. Every scrap in this guide is aimed at putting a piece of that “waste” back to work.
Editor’s note: every outbound link, image, and product mentioned in this guide was checked live in July 2026 before publishing to confirm nothing is broken or discontinued.
Introduction To Woodworking With Scraps
Woodworking with scraps opens up a world of creative possibilities, allowing you to transform leftover pieces of wood into stunning and functional projects. Whether you’re a seasoned woodworker or just starting out, working with scraps can be incredibly rewarding. In this post, we’ll explore the beauty of wood scraps and why choosing scrap wood projects can be a fulfilling and sustainable choice.
The Beauty Of Wood Scraps
Wood scraps are more than just leftover pieces – they embody the unique character and natural beauty of wood. Each scrap tells a story through its grain patterns, knots, and imperfections, adding a touch of rustic charm to your projects. Using these scraps allows you to appreciate and showcase the raw, organic beauty of wood in your creations.
Why Choose Scrap Wood Projects
- Sustainability: By repurposing scraps, you contribute to a more sustainable approach to woodworking.
- Cost-effectiveness: Utilizing scraps reduces the need to purchase new materials, saving you money.
- Creativity: Working with limited pieces challenges you to think creatively and innovatively.
- Versatility: Wood scraps can be used in diverse projects, from small decorative items to furniture.

Gathering Your Materials
When it comes to embarking on woodworking projects, one person’s discarded wood scraps can be another person’s treasure trove. Gathering the right materials is the first step toward creating something beautiful and functional out of wood scraps. Before starting your project, it’s essential to identify usable wood scraps and assemble the necessary tools for the job.
Identifying Usable Wood Scraps
Before you begin, it’s important to identify which wood scraps are usable for your project. Look for pieces that are free from rot, mold, or structural damage. Ensure that the wood is clean and free from any foreign objects or contaminants. Additionally, check for any nails, screws, or other hardware that may need to be removed before using the wood.
Tools For The Job
Having the right tools at your disposal is crucial for working with wood scraps. Some essential tools include a saw for cutting the wood to size, sandpaper for smoothing rough edges, and a measuring tape for precise dimensions. A hammer, nails, and wood glue are also essential for assembling the pieces together. If you’re deciding which saw to add to your shop first, our woodworking tools and saws guide breaks down which type suits small projects best. Don’t forget to have safety equipment such as goggles and gloves to protect yourself during the woodworking process.
Which Scrap Wood Project Should You Start With?
| Project | Skill Level | Tools Needed | Build Time |
|---|---|---|---|
| Keychain | Beginner | Scroll saw or coping saw, sandpaper, key ring | ~15 min |
| Plant marker | Beginner | Hand saw, pencil, paint or wood-burning pen | ~20 min |
| Coaster | Beginner | Saw, sandpaper, sealant | ~30 min |
| Key holder | Beginner | Saw, drill, hooks or knobs | ~30 min |
| Drawer organizer | Beginner-Intermediate | Saw, wood glue, clamps | ~1 hour |
| Spice rack | Beginner-Intermediate | Saw, hammer, nails, wood glue | ~1 hour |
| Picture frame | Intermediate | Miter box or miter saw, wood glue, clamps | ~1 hour |
| Wooden sign | Beginner-Intermediate | Scroll saw or wood-burning pen, sealant | ~1-2 hours |
| Floating shelf | Intermediate | Saw, drill, wall anchors, level | ~1-2 hours |
| Birdhouse | Intermediate | Saw, drill, nails or screws, exterior paint | ~2 hours |
| Cutting board | Intermediate | Saw, wood glue, clamps, food-safe finish | 2-3 hours |
Simple Projects To Get Started
Wood scraps are perfect for simple DIY projects that can breathe new life into leftover materials. Whether you’re a beginner or a seasoned crafter, these projects offer a creative way to repurpose wood scraps into functional and decorative items.
Coasters: A Beginner’s Best Friend
Create unique coasters by cutting wood scraps into small squares or circles. Sand the edges for a smooth finish and add a protective coat to prevent water damage. Personalize with paint or decoupage for a custom touch.
Key Holders: Functional Art
Transform wood scraps into functional art by crafting key holders. Attach hooks or small knobs to a wooden base for a stylish and practical way to keep keys organized. Customize with colors or stencils for added flair.
Keychains: A 15-Minute Beginner Project
A keychain is one of the fastest projects on this list. Trace a simple shape (an initial, a small animal outline, a basic geometric tag) onto a scrap no thicker than 1/4 inch, cut it out with a scroll saw or coping saw, then sand the edges and drill a small hole near one edge for the key ring. No finish is required, though a coat of oil brings out the grain. Great for using up thin plywood or hardwood offcuts too small for anything else.
Plant Markers: Put Thin Strips To Work
Rip narrow scrap strips about 3/4 inch wide and 6-8 inches long, then sharpen one end to a point with a few passes of a hand saw or belt sander so it pushes into soil easily. Sand the flat top smooth and either paint the plant name on with a small brush or burn it in with a wood-burning pen for a finish that won’t fade in the rain. A single 2×4 offcut can yield a dozen markers.
Functional Projects For Your Home
If you love DIY projects, you might be looking for ways to use wood scraps. Luckily, there are many functional projects that can give your home a stylish touch. Here are three ideas that are easy to make and will add value to your home:
Floating Shelves: Adding Style And Storage
Floating shelves are a great way to add storage space and style to any room. They are perfect for displaying your favorite items, such as books, photos, and plants. Making your own floating shelves is easy, and you can use wood scraps to save money.
| Materials: | Tools: |
|---|---|
|
|
- Measure the length of the shelf and cut the wood scraps to size.
- Glue the scraps together to form a solid piece.
- Drill holes in the back of the shelf and attach it to the wall using screws and wall anchors.
With these simple steps, you can create a functional and stylish floating shelf using wood scraps.
Spice Racks: Small Woods, Big Impact
If you love cooking, you know how important it is to have your spices organized and easily accessible. A spice rack made of wood scraps is a great way to keep your spices in order and add a touch of style to your kitchen.
| Materials: | Tools: |
|---|---|
|
|
- Cut the wood scraps into pieces of equal length and width.
- Glue the pieces together to form a rectangular frame.
- Nail small pieces of wood across the frame to create shelves.
With these simple steps, you can create a functional and stylish spice rack using wood scraps.
Drawer Organizer: Tidy Drawers In About An Hour
Measure the inside of the drawer you want to organize, then cut scrap strips to height (usually just under the drawer’s depth) to build a simple grid of compartments. Glue the strips together at right angles using wood glue and clamp until dry – no nails needed since the pieces just sit inside the drawer. Sand any rough edges so they don’t snag fabric or silverware. This is a great project for uneven scraps since each compartment can be a different size.
These projects are just a few examples of how you can use wood scraps to create functional and stylish pieces for your home. With a little creativity and some basic tools, you can turn small pieces of wood into something beautiful and useful.
Decorative Creations
When it comes to decorative creations using wood scraps, the possibilities are endless.
Picture Frames: Memories On Display
Cut four scrap strips to fit your photo’s dimensions, mitering each corner to 45 degrees with a miter box or miter saw so they form a clean rectangle. Glue and clamp the corners and let the glue cure for at least an hour before handling. Sand the front face smooth and round over the sharp edges with sandpaper or a hand plane, then glue a thin strip of leftover plywood or hardboard to the back to hold the photo and glass in place. This is an intermediate-level project – the only specialty tool is a miter box.
Wooden Signs: Personalized Messages
Rip a wide scrap board (or glue several narrow scraps edge to edge with wood glue and clamps) into a sign blank around 12 by 6 inches, then sand the face smooth. Sketch your message directly onto the wood, or print a mirrored template and transfer it with graphite paper. Cut the letters out with a scroll saw for a raised, layered look, or burn them in freehand with a wood-burning pen for a rustic finish, then seal with exterior polyurethane if the sign will hang outdoors. Beginner-to-intermediate skill level; a scroll saw or wood-burning pen is the only tool this project really needs beyond what’s already in your kit.
Outdoor Projects
Transform your wood scraps into stunning outdoor projects! From planter boxes to birdhouses, the possibilities are endless. With a little creativity and some basic tools, you can create unique pieces for your garden or patio while reducing waste.
When you think of DIY projects with wood scraps, outdoor projects might not be the first thing that comes to mind. But with a little creativity and effort, you can turn those leftover wood pieces into beautiful and functional outdoor decor. Here are a few ideas to get you started.
Birdhouses: A Haven For Feathered Friends
Birdhouses are not only a charming addition to any garden or backyard, but they also provide shelter for birds. Making a birdhouse from wood scraps is a fun and easy project that you can do with your kids. Here’s how:
- Choose the type of bird you want to attract, and make sure the birdhouse dimensions and entrance hole size are suitable for that species.
- Cut the wood scraps to the appropriate size and shape for the birdhouse design you want.
- Assemble the birdhouse using nails or screws and wood glue.
- Drill a hole for the entrance and add a perch.
- Paint or stain the birdhouse to protect it from the elements and add a pop of color to your garden.
Planters: Greenery With A Personal Touch
Adding plants to your outdoor space can brighten it up and make it feel more alive. But why settle for boring plastic planters when you can create unique ones from your wood scraps? Here are some ideas:
- Use a large log or stump as a planter by hollowing it out and adding soil and plants.
- Create a planter box by nailing or gluing wood scraps together into a rectangular shape.
- Make a hanging planter by drilling holes in a piece of wood and attaching ropes or chains to hang it from.
- Add a personal touch by painting or stenciling designs onto the planters.
Kindling: The Zero-Waste Fallback
Not every scrap needs to become a project. Offcuts too small, splintered, or oddly shaped for anything on this list still have a use: split them down with a hatchet into 1-inch strips and they make excellent kindling for a fireplace or wood stove. Skip anything that’s painted, stained, pressure-treated, or made of MDF or plywood, since burning those releases chemicals you don’t want in your home. Untreated solid wood offcuts only.
With these ideas, you can turn your wood scraps into functional and attractive outdoor decor – or, at minimum, a stack of clean-burning kindling instead of landfill waste.
Tools & Supplies That Make Scrap Wood Projects Easier
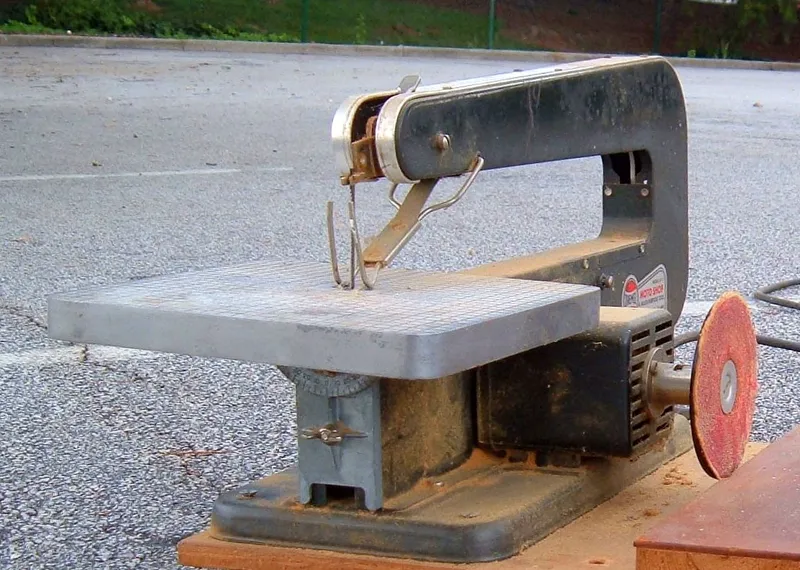
WEN 3923 16″ Variable Speed Scroll Saw
Handles keychains, plant markers, wooden signs, and other small-scrap cutouts; variable speed from 550-1600 SPM, a 16-inch throat, and a built-in work light.
Check Price on Amazon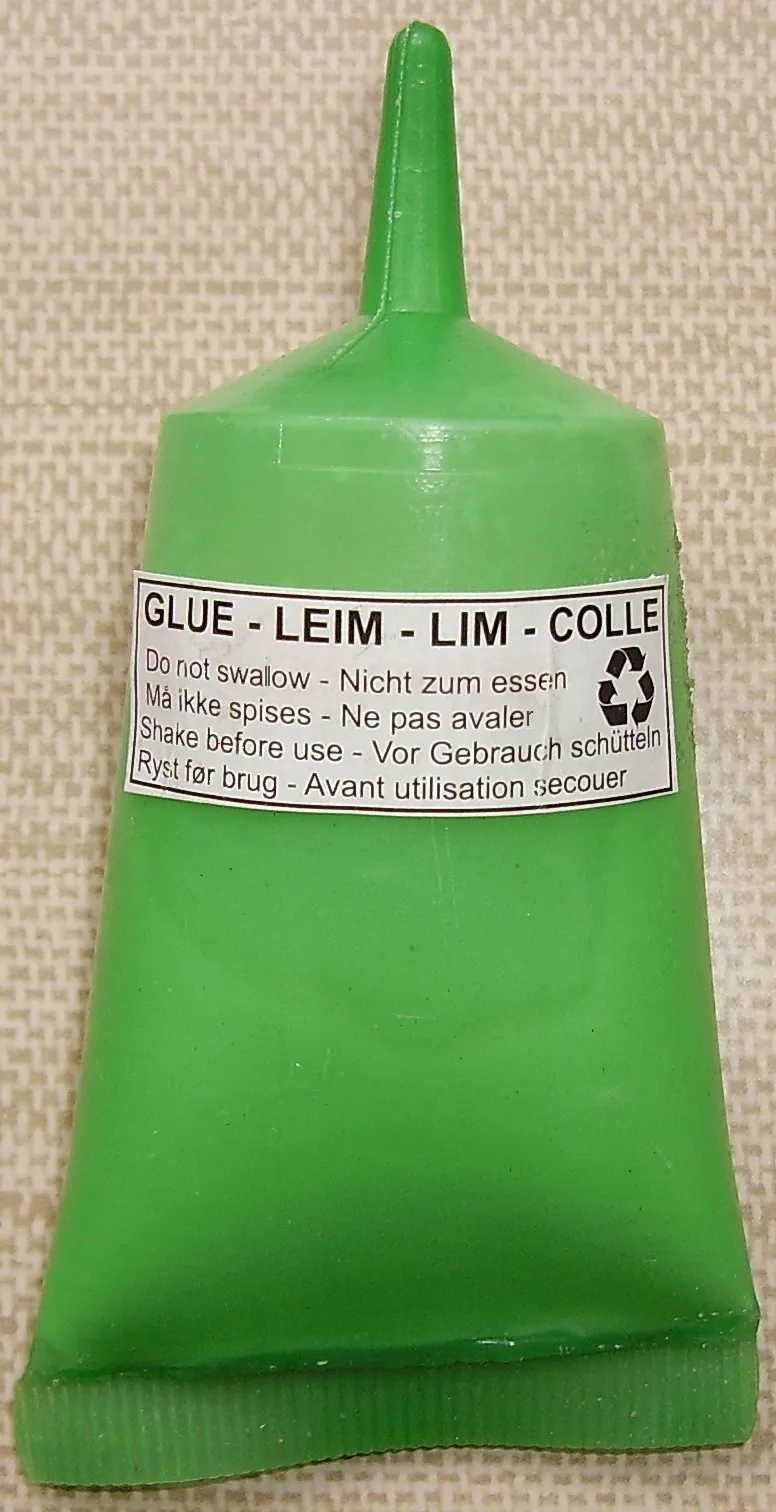
Titebond III Ultimate Wood Glue, 16 oz
Waterproof, food-safe once cured – ideal for cutting boards, frames, and drawer organizers; around $14.
Check Price →
Howard Butcher Block Conditioner, 12 oz
Food-grade mineral oil, beeswax, and carnauba wax finish for cutting boards, coasters, and spoons; around $10.
Check Price →Challenges And Solutions
Working with wood scraps can present its own set of challenges, but with the right solutions, you can turn these obstacles into opportunities for creativity. Here, we will explore two key aspects to consider when working with wood scraps: dealing with different wood types and achieving the perfect finishing touches through sanding and sealing.
Dealing With Different Wood Types
When working with wood scraps, you may encounter various types of wood, each with its own characteristics and challenges. It’s important to understand how different woods behave and adapt your approach accordingly.
One solution to tackle this challenge is to create a reference guide that outlines the properties of each wood type you commonly work with. This guide can include information on the hardness, grain pattern, and density of the wood, helping you determine the best techniques and tools to use.
Additionally, organizing your wood scraps by type can make it easier to locate the right materials for your projects. Consider using labeled containers or dividers to keep different wood types separate and easily accessible.
Finishing Touches: Sanding And Sealing
After completing your project with wood scraps, achieving a smooth and polished finish is essential. This is where sanding and sealing come into play.
Sanding: To ensure a professional-looking result, begin by sanding the wood surface. Start with a coarse-grit sandpaper to remove any imperfections or rough edges. Gradually progress to finer grits for a smoother finish. Remember to sand along the grain of the wood to avoid damaging the surface.
Sealing: Once the wood is smooth, sealing it with an appropriate finish is crucial for protection and enhancing its natural beauty. Our wood finishing guide compares stains, oils, and sealers if you’re not sure which one fits your project. Apply multiple thin coats, allowing each coat to dry thoroughly before applying the next.
By taking the time to sand and seal your wood scraps, you can transform them into stunning pieces that are both durable and visually appealing.
Taking It To The Next Level
When it comes to working with wood scraps, there are endless possibilities for taking your projects to the next level. By combining wood scraps with other materials, you can create unique and eye-catching pieces that are sure to impress.
Combining Wood Scraps With Other Materials
One way to elevate your wood scrap projects is by incorporating other materials into your designs. Whether it’s metal accents, glass inserts, or even fabric embellishments, these additions can create a stunning contrast and add an element of surprise to your creations. For example, you can transform a simple wooden photo frame into a work of art by attaching metal corner brackets or using stained glass to create a unique mosaic pattern.
Another idea is to combine wood scraps with resin to create one-of-a-kind tabletops or countertops. By pouring epoxy resin over a layer of arranged wood pieces, you can achieve a beautiful and durable surface that showcases the natural beauty of the wood grains. This technique works well for creating statement pieces like coffee tables, cutting boards, or even jewelry.
Inspiring Community With Your Projects
When you share your wood scrap projects with your community, you not only showcase your creativity but also inspire others to tap into their own artistic potential. By hosting workshops or sharing tutorials online, you can encourage others to explore their woodworking skills with their own wood scrap projects.
You can also organize community art installations where everyone contributes their own wood scrap creations. This collaborative effort brings people together and can spark conversations about repurposing materials instead of throwing them away.

Frequently Asked Questions
What Are Some Creative Projects That Can Be Done With Wood Scraps?
Wood scraps can be used for various creative projects such as making coasters, keychains, plant markers, key holders, picture frames, or even small shelves. They can also be repurposed to create unique pieces of art or used for DIY furniture projects like side tables or stools.
How Can I Repurpose Wood Scraps For Home Decor?
Repurposing wood scraps for home decor is easy and fun. You can use them to create rustic wall art, decorative signs, or even a wooden plant hanger. With a little creativity, you can turn those scraps into eye-catching pieces that add a touch of warmth and character to your home.
Are There Any Practical Uses For Wood Scraps?
Absolutely! Wood scraps can be incredibly useful. They can be transformed into handy items like cutting boards, serving trays, drawer organizers, or even small storage boxes. With a bit of woodworking skill, you can make practical and functional items that will come in handy in your everyday life.
How Can I Make A Diy Project Using Wood Scraps?
Start by gathering your wood scraps and brainstorming ideas, then match a project to your skill level: keychains and plant markers for a first try, floating shelves or birdhouses once you’re comfortable with a drill and saw, and picture frames or cutting boards once you’re ready to use a miter box or clamps.
What Tools Do I Need To Start Scrap Wood Projects As A Beginner?
A hand saw or scroll saw, sandpaper, wood glue, and a drill cover almost every beginner project on this list, including coasters, keychains, plant markers, and key holders. You don’t need a full workshop to get started – just those four basics and a scrap bin.
Conclusion
Scrap wood doesn’t have to end up in the burn pile. Match a piece to a project on this list – a keychain or plant marker if it’s small, a cutting board or picture frame if it’s bigger – and you’ll turn leftover offcuts into something you’ll actually use, with tools you likely already own.