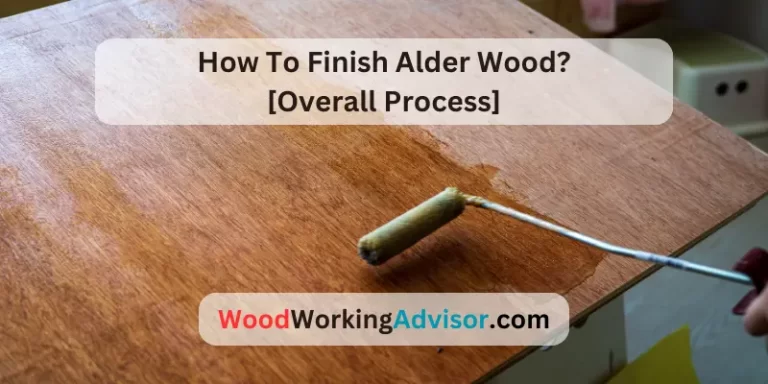
Wood Finishing Guide: Stains, Oils, Sealers & Paints
Wood finishing means applying a protective, often decorative coating to wood. Finishes fall into three groups: penetrating (oils and stains that soak in), film-forming (polyurethane, lacquer, varnish, and shellac that sit on top), and paint. The right one depends on whether you want to show the grain, how much protection you need, and where the piece will live.
Quick Answer
Wood finishing has three main types: penetrating finishes (oils, stains) that soak in and show grain; film finishes (polyurethane, lacquer, varnish, shellac) that form a hard protective layer; and paint, which hides the grain. Most projects use a stain for color plus a clear film finish for protection.

What are the main types of wood finish?
Every wood finish either soaks into the wood or forms a film on the surface. In our own finishing work, choosing between these two is the first decision:
- Penetrating finishes — oils (linseed, tung, Danish) and most wood stains soak into the fibers, enhancing grain with a natural, low-sheen look. Easy to apply and repair, but less surface protection.
- Film-forming finishes — polyurethane, lacquer, varnish, and shellac build a hard protective layer on top. Best durability and water resistance; harder to repair.
- Paint — an opaque film that hides the grain entirely; used when color matters more than the wood look.
Two supporting products round out finishing: sealers (prep/seal the surface, add water resistance) and waxes (a soft, low-protection top layer for sheen).
Prep first: sanding before you finish
Surface prep determines up to 80% of your result — no finish can hide poor sanding. Start with 120-grit to remove imperfections, then step up to 180 and 220-grit, always sanding with the grain, not across it. Vacuum and wipe with a tack cloth to remove all dust before the first coat. On open-grain woods like oak and ash, apply grain filler first for a glass-smooth result. For furniture-specific grit selection by project stage, see our complete furniture sandpaper grade guide.
Wood stains (color)
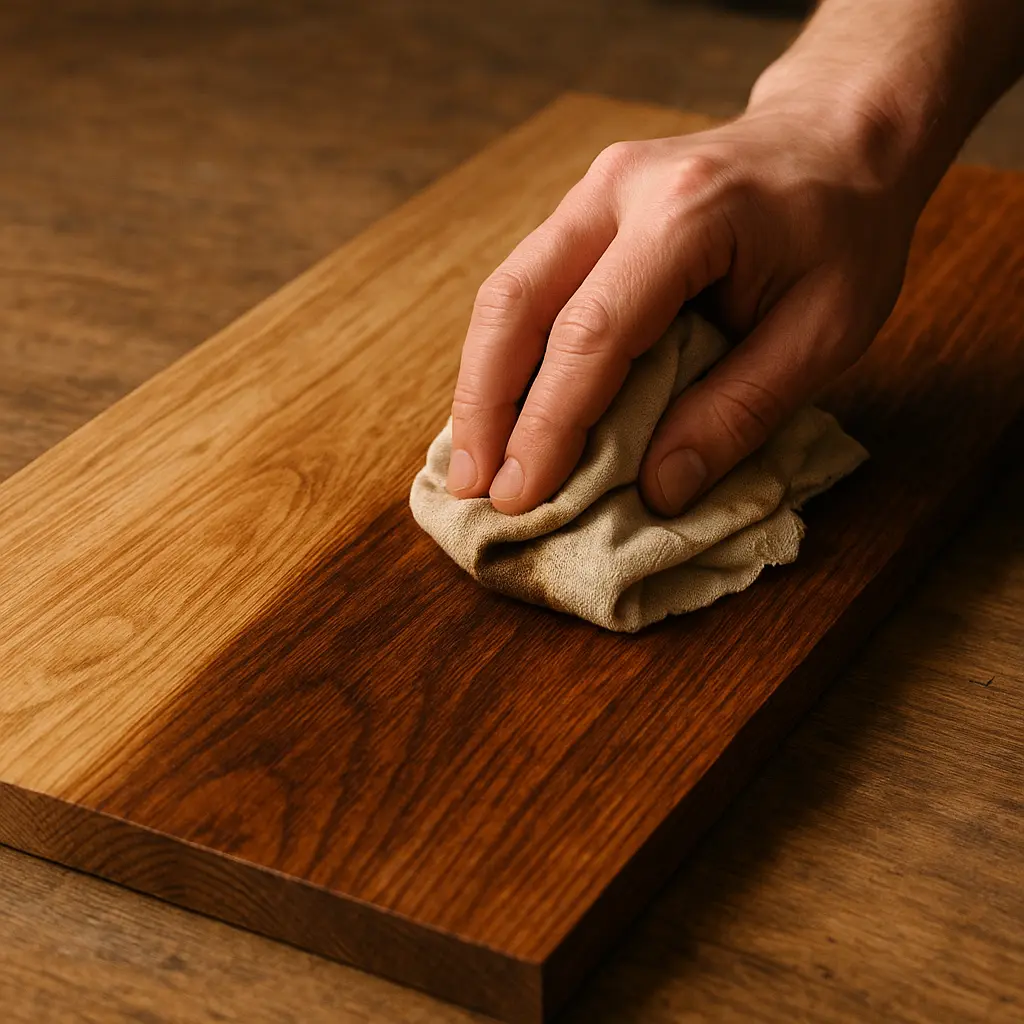
Stain adds color while letting the grain show. Match the brand chart to your wood and test on a scrap first — the same stain looks very different on pine versus oak, and stain typically dries lighter than it looks while wet, so judge the color only once it has fully dried. See the Sherwin-Williams, Minwax, and Behr stain color charts. After staining, always seal the wood to lock in color and add protection.
Stains come in a few types: pigment stains (colored particles that lodge in the grain — the most common), dye stains (transparent, richer color, ideal for figured wood), and gel stains (sit on top, great for blotch-prone or vertical surfaces). On softwoods like pine and maple, brush on a wood conditioner first to prevent blotchy, uneven color.
Penetrating oils
Oils like linseed, tung, and Danish oil soak in for a warm, natural, easily-repaired finish — ideal for furniture and food-adjacent items. Learn how to apply linseed oil correctly (thin coats, wipe off excess, and dispose of oily rags safely).
Film finishes: polyurethane, lacquer, varnish & shellac
Film finishes give the toughest protection. Polyurethane (and water-based polycrylic) is the most popular for floors and tabletops — see how to apply Minwax Polycrylic. Lacquer dries fast and sprays beautifully; varnish handles outdoor/marine use; shellac is a fast, natural sealer. Pick your sheen — matte vs satin — before you start.
Hardwax oils (Osmo & Rubio Monocoat)
Hardwax oils are a modern hybrid — a penetrating oil blended with wax that soaks in yet leaves a thin, durable, natural-matte protective layer. Brands like Osmo Polyx and Rubio Monocoat cure in just one or two coats, are easy to spot-repair, and are food-safe once cured — a favorite for tabletops and floors where you want a natural look with real protection.
Painting wood
Paint hides the grain for a solid color. Prime first for adhesion, then use the right paint for the surface — see what kind of paint to use on wood. Know the difference between primer and paint so you prep correctly. Not every species paints equally well, either — see our best wood for painted furniture breakdown before you pick a board for a painted piece.
Sealers & waterproofing
Sealers block moisture and prep the surface. For outdoor wood, sealing is critical — for example, how to keep wood posts from rotting in the ground relies on proper sealing and end-grain protection.
Waxes
Wax adds a soft, hand-rubbed sheen and light protection, often over another finish. Paste wax is the classic choice — read why Johnson Paste Wax was discontinued and what to use instead.
Wood glue (prep & assembly)
Strong joints come before finishing. Match glue to the job — Gorilla Glue for gap-filling polyurethane bonds, PVA for general woodworking, and know cure times before stressing a joint.
Understanding sheen: matte, satin, semi-gloss & gloss
Sheen is how much light the finish reflects. Gloss is the raw finish; lower sheens are made by adding flatting agents — more added, flatter the look. Matte/flat hides scratches; satin is the popular all-rounder; semi-gloss and gloss are most durable and wipeable but show flaws. See matte vs satin, or our guide to where flat finish paint works on wood furniture.
Oil-based vs water-based finishes
Oil-based is tougher and adds warmth but dries slowly, smells strong, and ambers with age; water-based dries fast, stays clear, and cleans up with water:
| Factor | Oil-based | Water-based |
|---|---|---|
| Durability | Higher (best for floors) | High (great for most) |
| Dry time | Slow (8-24 hrs) | Fast (2-4 hrs) |
| Color | Warm amber, yellows | Clear, stays true |
| Odor / cleanup | Strong; mineral spirits | Low; soap and water |
| Best for | High-wear floors, dark wood | Light wood, indoor |
Food-safe wood finishes
For cutting boards, bowls, and utensils use a food-safe finish: food-grade mineral oil, pure tung oil, walnut oil, a beeswax/oil blend, or shellac. Polyurethane is food-safe only once fully cured (~30 days); most makers prefer a penetrating oil for items that meet knives and food because it is easy to reapply.
Wood finish types compared
| Finish | Protection | Look | Difficulty | Best for |
|---|---|---|---|---|
| Penetrating oil | Low-Medium | Natural | Easy | Furniture, food items |
| Wax | Low | Soft sheen | Easy | Antiques, over finishes |
| Shellac | Medium | Warm, glossy | Medium | Sealing, indoor |
| Lacquer | Medium-High | Any sheen | Hard (spray) | Cabinets, fine work |
| Polyurethane | High | Any sheen | Medium | Floors, tabletops |
| Spar varnish | High (outdoor) | Satin-gloss | Medium | Outdoor, marine |
How to apply a wood finish (step by step)
- Sand & clean: sand to 220 grit with the grain, remove dust with a tack cloth.
- Stain (optional): apply evenly, wait, wipe off excess, let dry.
- First coat: thin, even coat with the grain — brush, wipe, or spray.
- Dry: follow label time (2-4 hrs water-based, 8-24 hrs oil-based).
- Sand between coats: hand-sand 320-grit, wipe clean. Never power-sand.
- Repeat: at least 3 thin coats (4+ for floors), sanding between.
- Cure: let it harden fully before heavy use (up to 30 days for poly).
Common wood finishing mistakes to avoid
- Rushing the sanding — the #1 mistake; poor prep shows in every coat.
- Coats too thick — causes runs and drips; thin coats win.
- Not enough dry time — recoating too soon stays tacky.
- Skipping between-coat sanding — leaves a rough, dust-flecked surface.
- Finishing in dust or cold — ruins the final coat.
Safety: dispose of oily rags properly
⚠️ Rags soaked in oil-based finishes (linseed, tung, Danish oil) can spontaneously combust as they dry. Never ball them in the trash — lay them flat outdoors to dry fully, or seal them in a water-filled metal container before disposal.
Key wood finishing terms
Grain filler is a paste that fills the open pores of woods like oak and ash so a film finish dries glass-smooth.
Wood conditioner is a thin pre-stain sealer that evens out absorption on softwoods to prevent blotchy staining.
Sanding sealer is a fast-drying base coat that seals the wood and sands easily, giving topcoats a smoother foundation.
Flatting agent is the additive that lowers a finish’s sheen — more of it makes matte, less makes gloss.
VOCs is the volatile solvents that evaporate as a finish dries; low-VOC water-based finishes have less odor and are more eco-friendly.
Curing is the full hardening of a finish over days to weeks, distinct from surface drying, which takes only hours.
How do you choose the right wood finish?
Match the finish to the use, the look you want, and the effort you can give:
| Goal | Best finish | Typical use |
|---|---|---|
| Natural look, easy repair | Penetrating oil (linseed, tung, Danish) | Furniture, carvings, food-safe items |
| Maximum durability / water | Polyurethane or spar varnish | Floors, tabletops, outdoor |
| Color + grain visible | Stain + clear topcoat | Most furniture |
| Solid color, hide grain | Primer + paint | Cabinets, trim, painted furniture |
| Fast, sprayable, pro look | Lacquer | Cabinetry, small pieces |
| Soft sheen / touch-up | Wax (often over another finish) | Antiques, low-wear pieces |
Frequently asked questions
What is the most durable wood finish?
For everyday durability, oil-based polyurethane is the toughest common finish for floors and tabletops. For outdoor and marine use, spar varnish resists sun and water best.
Do I need to seal wood after staining?
Yes. Stain adds color but little protection, so seal wood after staining with a clear finish (polyurethane, polycrylic, or varnish) to lock in the color and protect the surface.
What’s the difference between matte and satin finish?
Matte has almost no shine and hides scratches well; satin has a soft, low-gloss sheen that’s more durable and easier to clean. Satin is the most popular all-round choice.
Should I use oil-based or water-based polyurethane?
Oil-based poly is more durable and adds warmth but ambers over time and smells strong; water-based poly dries fast, stays clear, and has low odor. Use oil-based for high-wear floors, water-based for light-colored wood.
How many coats of finish should I apply?
Most finishes need 2–3 thin coats, sanding lightly between them. Thin coats level better and are far more durable than one thick coat.
What’s the difference between drying and curing a finish?
Drying means the surface is touch-dry (hours); curing means it has fully hardened through (days to weeks). Wait for a full cure before heavy use — polyurethane can take about 30 days.
Do you have to sand between coats of finish?
Yes, lightly. A quick hand-sand with 320-grit between coats removes dust nibs and helps the next coat bond. Wipe off the dust before recoating, and never power-sand between coats.