How Do You Cut Laminate Countertop? (Blade & No-Chip Method)
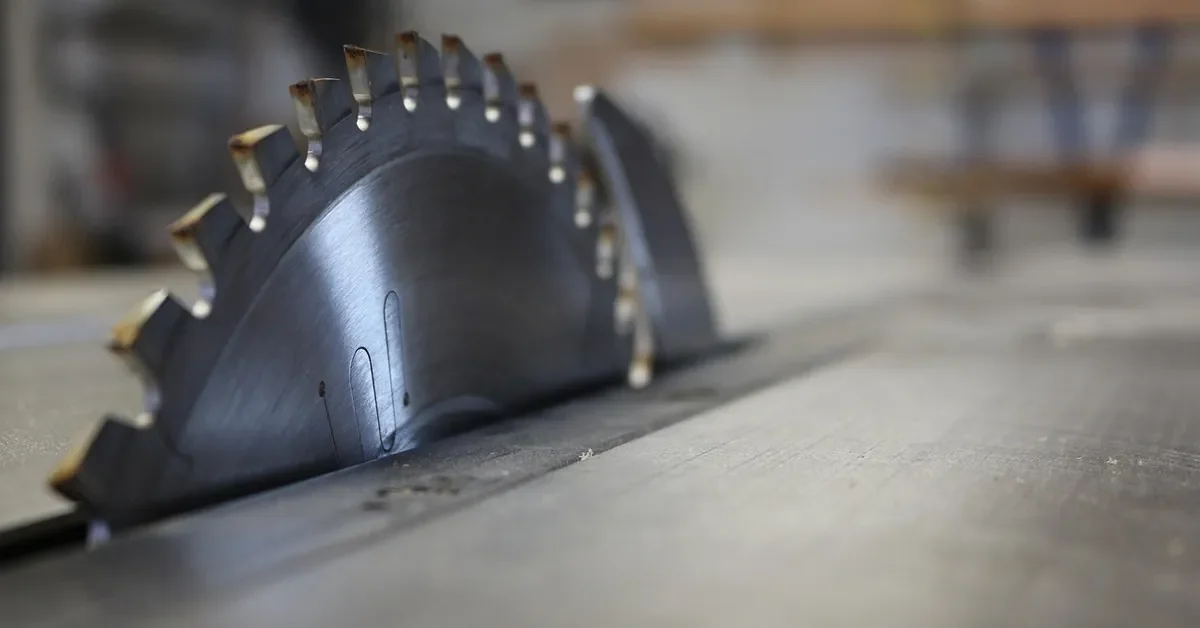
Cutting a laminate countertop cleanly takes a 60- to 80-tooth carbide blade, the laminate face-down, and a scored cutline – skip the scoring step and the brittle surface can chip.
A chipped edge exposes the brown substrate underneath and can’t be sanded out, so a rushed cut usually means buying a new countertop. This guide covers circular saw, jigsaw, and router methods, the right blade for each, and how to cut sink openings without cracking the edge.
Quick Step Overview: How to Cut a Laminate Countertop
Best Laminate Blade Pick | |
 |
IVY Classic 36340 7-1/4" 60-Tooth Laminate & Melamine Blade
|
As an Amazon Associate we earn from qualifying purchases. | |
- Measure and tape the line: Mark the cutline with a pencil and straightedge, then run painter’s tape over the line on both sides.
- Score the surface: Score the laminate about 1/16 inch outside the cutline with a fresh utility knife blade so the saw can’t tear the face.
- Set the right blade and orientation: Fit a 60- to 80-tooth carbide blade. Cut laminate-side down with a circular saw or jigsaw, laminate-side up with a table saw.
- Back up the cutline: Clamp a scrap backer board under the cut so the blade has something to bite into instead of blowing out the underside.
- Cut in one steady pass: Guide the saw along a straightedge at a slow, constant feed rate – stopping mid-cut is what causes chipped starts and stops.
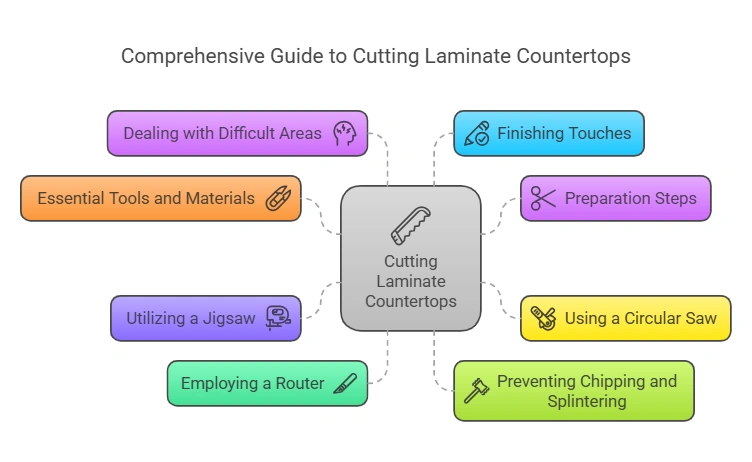
Understanding The Essential Tools And Materials
You need a circular saw for long cuts, a jigsaw for corners and cutouts, a trim router for edges, clamps, a straightedge, masking tape, and a fresh utility knife blade. Each saw cuts in a different direction relative to the blade, and that direction decides which face of the laminate should point up.
Circular Saw vs. Jigsaw vs. Router vs. Table Saw
| Tool | Best use | Blade or bit | Decor face |
|---|---|---|---|
| Circular saw | Long straight cuts, trimming to length | 60-80 tooth carbide, triple-chip grind | Down |
| Jigsaw, standard blade | Sink cutouts, curves, inside corners | Fine laminate blade, about 10-20 TPI | Down |
| Jigsaw, reverse-tooth blade | Same cuts when the face must stay up | Reverse-tooth (down-cut) blade | Up |
| Table saw | Loose countertop or sheet stock before install | 60-80 tooth carbide, zero-clearance insert | Up |
| Trim router | Finishing edges after the top is installed | Carbide flush-trim bit | Up |
The rule behind the table: the face the teeth exit through is the face that chips. Saw teeth that rise out of the top of the work chip the top, so you flip the countertop to put the decor face down. If you are unsure, check the arrow on the blade or the way the saw spins before you commit to the cut.
Safety Equipment
- Safety glasses, because laminate and particleboard chips fly sideways.
- Hearing protection for the circular saw and router.
- A dust mask or respirator, since the particleboard core throws fine dust.
Key Preparation Steps
Preparation decides whether the cut chips, so spend your time here rather than on the saw pass.
- Measure and mark: Mark the cutline with a pencil and a straightedge or drywall square, and double-check the measurement before taping.
- Support the top: Lay the countertop on sawhorses over a sacrificial sheet of plywood, and clamp it so it cannot shift. Formica notes that plywood makes a good cutting surface and that cement does not.
- Tape the line: Run masking tape over the face along the cutline and let it extend past the edges where the saw starts, as Formica recommends.
- Ventilate: Open a window or run a fan, because the cut throws particleboard dust.
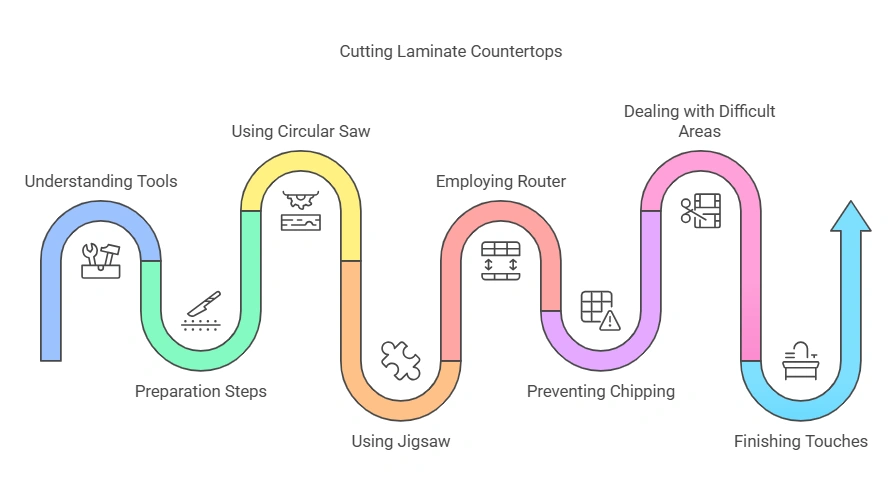
Using A Circular Saw
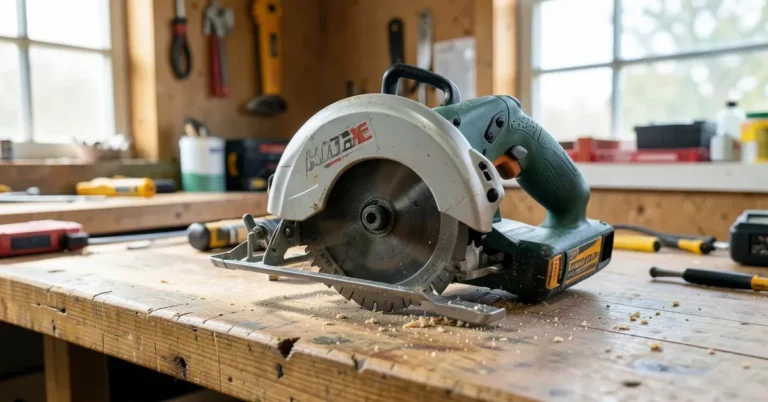
A circular saw is the best tool for straight cuts and trimming a countertop to length. See the full circular saw guide hub for blade and setup tips.
Adjusting The Blade Depth
Set the blade so the teeth clear the underside of the countertop by about 1/4 inch. A deeper setting exposes more blade and increases kickback risk, and a shallower one drags the teeth against the underside. Unplug the saw or remove the battery before touching the depth lever.
Aligning The Saw Guide
Measure the distance from the blade to the edge of the saw’s base plate, then clamp a straightedge that far from the cutline so the saw rides against it. Check that the straightedge is parallel to the line along its full length before cutting.
Making The Cut
- Flip the countertop so the decor face is down and re-mark the cutline on the back.
- Start the saw before the blade touches the work, then advance at a slow, even feed rate; Formica recommends a lower-than-average feed rate for thicker sheets.
- Let the blade do the work and keep the base plate flat on the board.
- Support the offcut so it does not break off and tear the edge at the end of the cut.
- Inspect the edge, then ease it with a sanding block rather than a power sander.
What Tooth Count Blade Cuts Laminate Without Chipping?
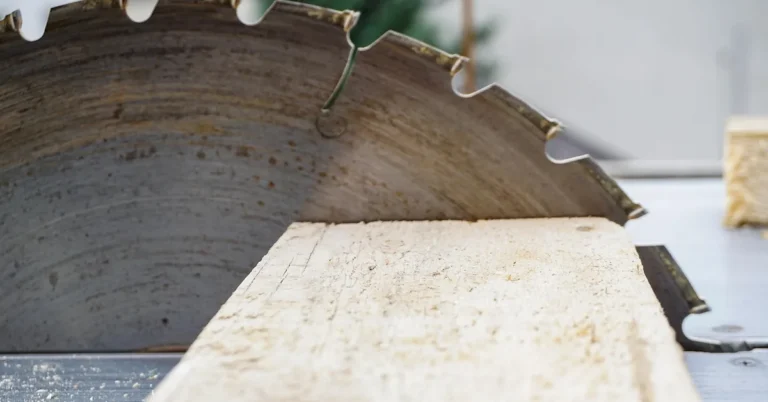
A fine-tooth carbide blade with 60 to 80 teeth, ideally in a triple-chip grind (TCG), cuts laminate with the least chipping. The alternating chamfered and flat teeth shear the brittle surface instead of tearing it, while a 24- to 40-tooth framing blade removes big bites and tends to chip the edge. Our pick in the box above is a 60-tooth laminate-specific TCG blade.
📊 Formica Group advises cutting laminate with the decor face down on a circular saw, because the saw teeth exit through the top face – Source: Formica Group, how to cut laminate
Utilizing A Jigsaw
A jigsaw handles what a circular saw cannot: inside corners, curves and sink openings. Fine Homebuilding contributor Mike Guertin uses a circular saw for the long cuts and a jigsaw to finish the corners. For a dedicated walkthrough, see our guide to cutting laminate countertop with a jigsaw.
Selecting The Appropriate Blade
- Fine teeth: choose a fine-tooth carbide-grade blade made for laminate, roughly 10 to 20 teeth per inch.
- Mind the direction: a standard blade cuts on the upstroke, so keep the laminate face down; a reverse-tooth blade cuts downward and lets you keep the face up.
- Fresh blade: a dull blade grabs and chips the laminate, so start the job with a new one.
Guiding The Jigsaw
Clamp the countertop, tape the line, and keep the shoe flat on the surface. Use a slow speed setting, let the blade cut without pushing, and clamp a straightedge for any straight run. Start from a drilled hole or from the edge of the board, never plunge the blade into the face.
At tight corners, drill a hole at each corner and cut toward it, or make relief cuts into the waste side so the blade does not bind. Slow down on curves, and practice the cut on a scrap of laminate first.
Employing A Router
A router does not make the primary cut. It trims the edge flush after the countertop is cut roughly to size or installed, and it cuts the edge profile.
Choosing The Right Bit
- Flush-trim bit: a carbide bit with a bearing that rides the edge, used to trim laminate flush with the substrate, per Formica.
- Straight bit: for cutting a slot or a rough opening with a guide.
- Bevel or bullnose bit: for a finished decorative edge.
Setting The Depth
Test the setup on a scrap of laminate first. Set the bit so the bearing rides the substrate edge and the cutter just clears the laminate, then adjust in small steps rather than one deep cut.
Creating A Clean Edge
Keep the top face up, move slowly, and never stop mid-edge. Formica advises doing this step slowly with the sheet face up to avoid chipping the top. Finish by easing the edge with a fine file or a sanding block.
Preventing Chipping And Splintering
Chipping comes from three things: teeth that are too coarse, an unsupported cut, and an exit face that points at the decor surface. Fix all three and the cut comes out clean.
Using Tape Or Masking
Put masking tape over the cutline on the face and let it overhang the edges. The tape holds the surface layer down against the saw teeth. Press it flat with a rag so there are no gaps.
Cutting In Reverse
“Cutting in reverse” means flipping the countertop so the decor face is down when you use a circular saw or standard jigsaw blade. Transfer the cutline to the back with a square before you flip it, and measure from the same reference edge.
Adding Support
Clamp a scrap backer board directly under the cutline so the exit side has support. An unsupported underside is the most common cause of blowout. Support the offcut as well so it does not snap away at the end of the cut.
Score the Cutline First (Pro Scoring Technique)
Before the blade touches the laminate, score the cutline about 1/16 inch outside the pencil mark with a fresh utility knife blade. This pre-cuts the brittle top layer so the saw removes material instead of tearing it. Scoring supplements the tape and the fine-tooth blade; it does not replace them. Note that Formica advises against cutting the sheet through with a utility knife, so score only and let the saw make the actual cut.
“I use a utility knife with a new blade to score the laminate about 1/16 in. outside the cutline.”
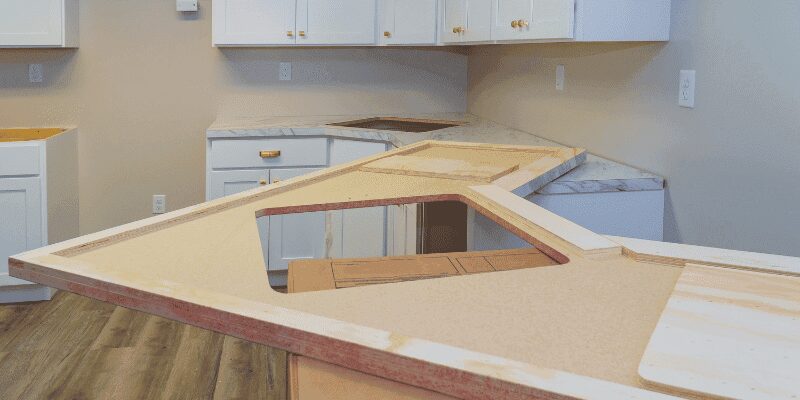
Dealing With Difficult Areas
Sink and faucet openings are where most countertops crack, because the corners concentrate stress. Our dedicated guide to cutting a countertop for a sink covers the full sink process.
Cutting Around Sink Openings
- Trace from the template: use the sink manufacturer template, and mark the cutout on the top face.
- Drill the corners: drill a hole at each corner inside the waste area so you can turn the jigsaw blade without forcing a sharp corner.
- Cut with a jigsaw: use a fine laminate blade with tape on the line, and support the cutout so it does not drop and tear the edge.
- Smooth the edge: file or sand lightly, then seal the exposed substrate before the sink goes in.
Creating Holes For Faucets
Check the faucet instructions for the hole diameter, then drill with a hole saw sized to match. Tape the mark first, drill from the face with a slow speed, and stop when the pilot bit breaks through so you can finish from the back and avoid a ragged exit.
Trimming Edges For Perfect Fit
To fit a countertop against a wall, scribe the cutline to the wall profile and trim with a jigsaw, then finish with a router and flush-trim bit. If you work with a prefinished top, see our guides on cutting a Formica countertop without chipping and an IKEA laminate countertop.
Finishing Touches For A Professional Look
Sanding The Edges
Smooth the edge with a hard, flat sanding block or a fine mill file. Formica recommends a block with 320-grit paper, and a block keeps the edge flat where a power sander would round it. Wipe the dust off afterward.
Applying Edge Banding
Where the cut leaves a raw substrate edge, cover it with matching laminate edge banding or iron-on banding. Apply it to a clean, dust-free edge, press it down with a roller or a block, and trim the overhang flush with a file or a flush-trim tool.
Sealing And Protecting The Cut Edge
Raw particleboard swells when it gets wet, so seal exposed edges, especially around the sink and the cooktop, with a bead of silicone or a laminate edge sealer. Let it cure fully before the countertop sees water.
Laminate Countertop Cutting: FAQ
What is the best tool to cut laminate countertops?
A circular saw fitted with a 60- to 80-tooth carbide blade is the best all-round tool for straight cuts and trimming to length. Add a jigsaw for sink cutouts and corners, and a trim router with a flush-trim bit to finish edges after the top is installed.
What’s the best way to cut a laminate countertop?
Tape the cutline, score it about 1/16 inch outside the pencil mark, clamp a straightedge, and cut in one steady pass with a fine-tooth carbide blade. Keep the laminate face down on a circular saw so the teeth exit through the hidden underside.
How do you cut laminate worktops without chipping?
Use a 60- to 80-tooth blade, put masking tape over the cutline, score the surface first, and support the cut with a sacrificial board underneath. Run the saw at a slow, constant feed rate and orient the decor face so the teeth exit through the back, not the visible surface.
Can you cut a laminate countertop after installation?
Yes, but only with tools that suit an installed top. Use a jigsaw or a trim router with a flush-trim bit, keep the face up, tape the cutline, and cut slowly. A circular saw is a poor choice on an installed top because you cannot flip the countertop to cut face down.
Can you cut a laminate countertop with a table saw?
Yes. A table saw gives the most accurate cut on loose countertop or sheet stock before installation. Fit a 60- to 80-tooth carbide blade, keep the laminate face up because the teeth cut downward at the front of the blade, tape the cutline, and use a zero-clearance insert to support the edge.
Do you cut laminate face-up or face-down?
It depends on the tool. A circular saw and a standard jigsaw blade cut upward through the material, so run the laminate face down. A table saw, a reverse-tooth jigsaw blade and a flush-trim router bit cut downward at the surface, so keep the laminate face up for those.
Conclusion
Clean laminate cuts come down to a fine-tooth blade, a taped and scored line, solid support, and the right face pointing the right way for your saw. Take your time on the prep and the saw pass goes quickly.
If you are working with a flat-pack top, see how to cut an IKEA laminate countertop for the same method on that product.
Sponsored / affiliate links. As an Amazon Associate I earn from qualifying purchases. I may earn additional commission from eligible campaigns.