How Long Does Wood Glue Take to Dry? The Real Timeline
For most common wood glues, clamp the joint for 30 to 60 minutes and then leave it undisturbed for a full 24 hours before putting any real stress on it. The joint will feel solid well before that, but the full day is what lets the glue reach its actual maximum strength.
“Is it dry yet?” is the question that gets more woodworking joints ruined than almost anything else, because a glue-up that feels solid to the touch after an hour is nowhere near its full strength yet. Below is exactly what’s happening during those waiting periods, what changes the timeline, and a clamping mistake that catches even experienced woodworkers off guard.
Three Stages Hiding Behind the Word “Drying”
Best Waterproof Wood Glue
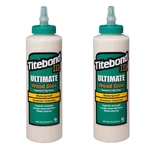 |
Titebond III Ultimate Wood Glue – Check Current Price An ANSI/HPVA Type I waterproof PVA glue that follows the same 30-60 minute clamp / 24-hour cure timeline covered in this guide.
|
“Drying” actually covers three distinct phases, and confusing them is exactly why projects get rushed.
1. Open Time
This is your working window — the time between applying glue and having the pieces joined and clamped. For standard yellow or white PVA glue, that’s typically 5-10 minutes. Wait past it and the glue starts skinning over, which prevents a strong bond from forming at all.
2. Clamping Time (Initial Set)
This is how long the joint needs to stay under clamp pressure — usually 30 to 60 minutes for a typical project. By the end of it, the glue has set enough to hold the pieces together unassisted, though it’s still far short of full strength.
3. Curing Time (Full Strength)
Curing is the stage everyone underestimates. It’s the full time needed for remaining moisture to evaporate and the adhesive’s chemical bonds to finish forming completely, and for nearly every common wood glue that’s 24 hours. A cured PVA joint is frequently stronger than the surrounding wood itself — but only once that full day has passed, not at the one-hour mark when it merely feels solid.
What Actually Changes Your Drying Time
Several variables can stretch or shrink these windows well beyond the numbers on the bottle.
Glue Type
This is the single biggest factor, since different adhesive chemistries cure through entirely different mechanisms. PVA glues cure as water evaporates (Titebond times by glue type are on that page); polyurethane glues cure through a moisture-triggered chemical reaction and actually expand as they set; epoxies cure through a two-part chemical reaction with no evaporation involved at all. The comparison table further down covers the practical differences.
Temperature and Humidity
Most wood glue is formulated to cure at room temperature, around 70°F (21°C). Colder conditions slow the chemical reaction significantly, and below roughly 50°F (10°C) most PVA glues won’t form a proper bond at all, no matter how long you wait. High humidity works against you differently — since PVA cures primarily by evaporation, damp air simply slows that evaporation down, stretching out both clamp and cure time.
Wood Species
Porous species like pine or poplar pull moisture out of the glue line quickly, which speeds up the initial set. Dense, oily hardwoods like teak or rosewood absorb far less, so the glue sits wetter for longer and typically needs extended clamp time — and with genuinely oily woods, a solvent wipe-down of the glue surface first improves adhesion more than extra clamp time would.
Glue Layer Thickness
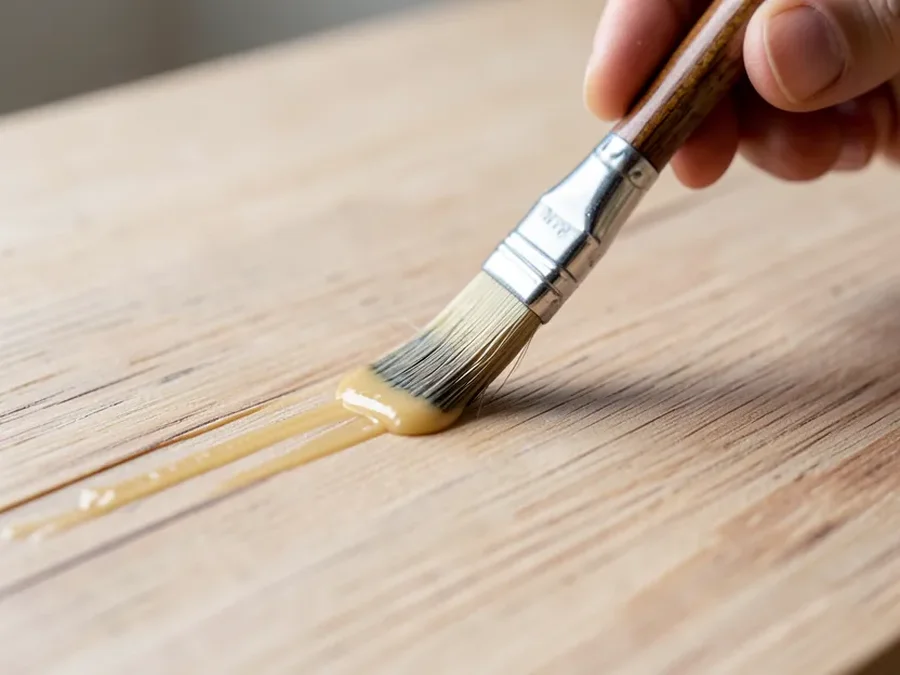
More glue is not a stronger joint — it’s a slower-drying, weaker one. A thick layer traps moisture in its middle where it can’t evaporate, extending cure time and leaving a soft, under-cured core even after the surface feels hard. The goal is a thin, uniform, semi-translucent film, not visible white puddling.
A Quick Guide to Common Wood Glues
Always check the specific product’s label, since formulations vary between brands, but these are the typical ranges you’ll encounter:
| Glue Type | Clamping Time | Full Cure Time | Best For |
|---|---|---|---|
| PVA (Titebond, Elmer’s) | 30-60 minutes | 24 hours | General indoor furniture and joinery |
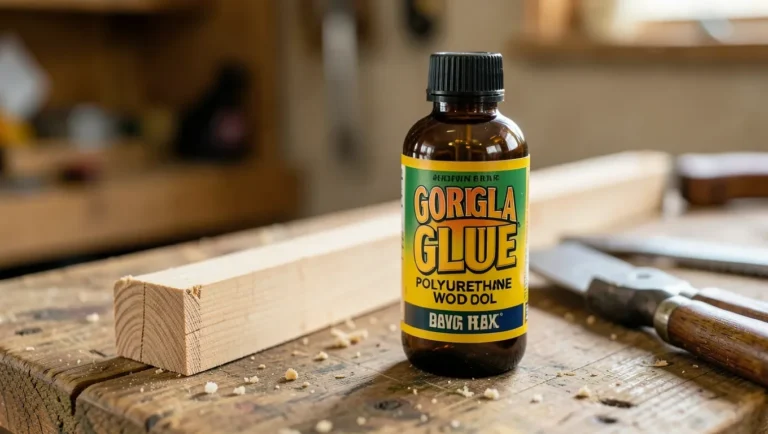
| Polyurethane (Gorilla Glue) | 1-2 hours | 24 hours | Outdoor projects, bonding dissimilar materials |
| Epoxy (2-part) | 30 minutes to 12 hours | 24-72 hours | Gap-filling, structural repairs |
| Cyanoacrylate (super glue) | Seconds to 2 minutes | 24 hours | Small repairs, jigs, temporary holds |
| Hide glue | 1-2 hours | 24 hours | Antique restoration, instrument making (reversible) |
The Clamp-Pressure Mistake Most People Get Backwards
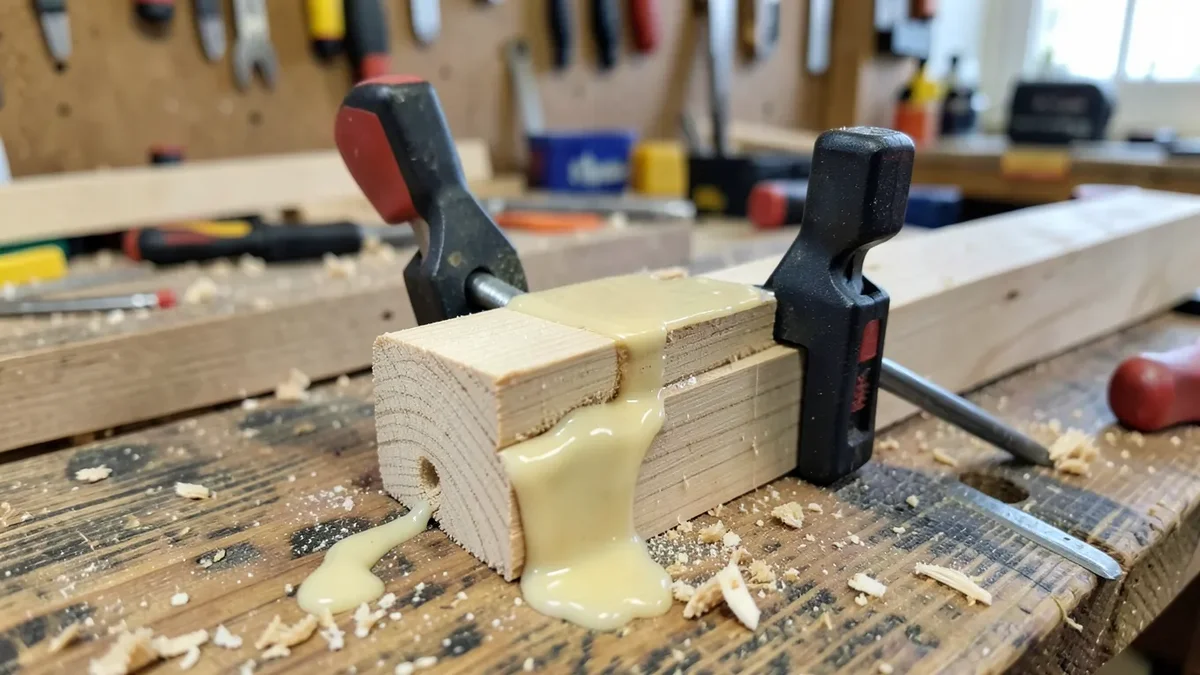
Most guides warn about too little clamp pressure leaving a weak, gappy joint — true, but the opposite mistake is just as common among people who’ve read that warning and overcorrected. Cranking clamps down as hard as possible can squeeze nearly all the glue back out of the joint, a condition furniture makers call “glue starvation.” What’s left in the joint is a glue film too thin to fill the wood’s microscopic surface irregularities, and the result is a joint that looks perfectly clamped but tests weaker than one with normal, moderate pressure.
The fix is the squeeze-out itself: a thin, continuous bead along the entire seam is the sign of correct pressure. No squeeze-out at all usually means too little glue or too little pressure; a heavy, dripping run means either too much glue or clamps torqued down far past what the joint needs.
The Proven Method, Step by Step
Step 1: Prepare the Surfaces
Surfaces need to be clean, dry, and well-fitted before glue ever touches them. Wipe away dust, oil, or old finish, and do a dry-fit assembly first — glue is a binder, not a gap filler, so any misalignment needs fixing before glue-up, not after.
Step 2: Apply a Thin, Even Layer
Spread a small bead into a thin, even film across the entire joint surface with a brush, silicone spreader, or your finger. You’re aiming for a semi-translucent coating, not a visibly thick, opaque layer.
Step 3: Clamp With Moderate, Even Pressure
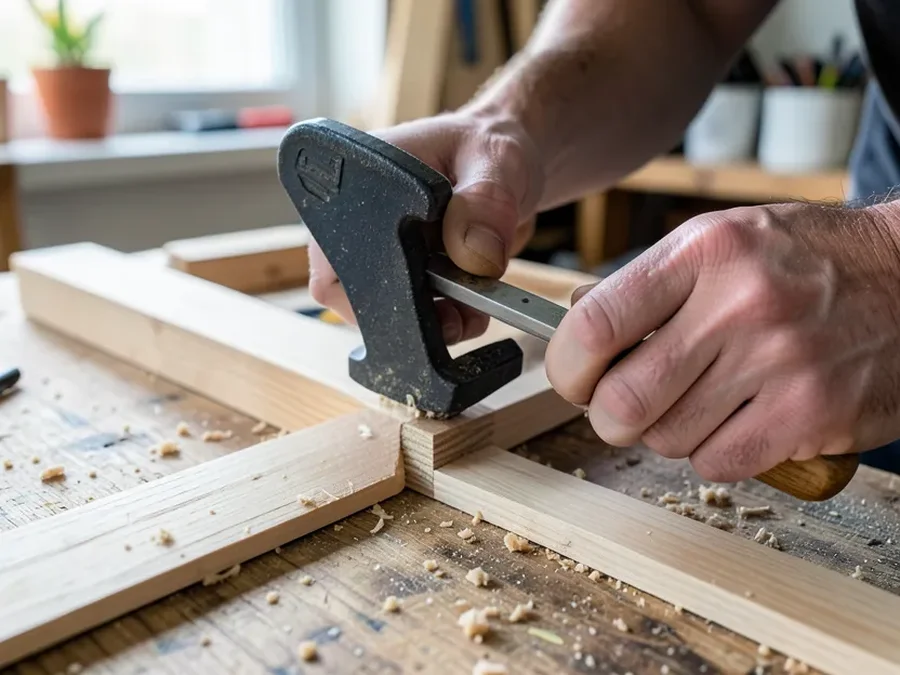
Slide the joined pieces slightly to spread the glue evenly, then clamp. Watch for that thin, continuous squeeze-out bead as your signal that pressure is correct — not maximum tightness, which risks the glue-starvation problem above.
Step 4: Wipe the Squeeze-Out While Wet
A barely-damp cloth removes squeeze-out easily right now; the same glue turns into a scraping and sanding job once it’s fully cured. Handle this step immediately after clamping, not as an afterthought.
Step 5: Wait — the Actual Hard Part
Leave clamps on for 30-60 minutes minimum (longer for larger joints or cooler shop temperatures), then let the piece sit completely undisturbed for a full 24 hours before sanding, finishing, or loading any real stress onto the joint. There’s no reliable shortcut here — the chemistry needs the time it needs.
For a deeper technical dive into adhesive chemistry, the USDA Forest Products Laboratory publishes detailed reference material used across the professional woodworking industry.
Adjusting for Your Workshop Conditions
| Workshop Condition | Effect | What to Do |
|---|---|---|
| High humidity (over 70%) | Significantly extends clamp and cure time | Extend cure time to 36-48 hours; use a dehumidifier if available |
| Below 50°F (10°C) | PVA glue won’t cure properly, leaving a weak, chalky bond | Bring wood and glue to room temperature before starting |
| Above 90°F (32°C) | Shortens open time; glue skins over fast | Work in smaller sections, keep glue out of direct sun |
| Direct sun or drafts | Uneven drying across the joint, weakening the bond | Keep curing projects away from windows, vents, and doorways |
Frequently Asked Questions
Can I make wood glue dry faster?
Gentle airflow from a fan and a slightly warmer room can help, but skip the heat gun or hair dryer — forcing the surface to dry fast traps moisture underneath and weakens the bond. Patience beats any shortcut here.
What happens if I don’t clamp the wood?
Without clamp pressure, the pieces won’t achieve full surface contact and the glue won’t get forced into the wood fibers properly. The result is a joint with gaps and inconsistent contact that fails far more easily than a properly clamped one.
How can I tell if the wood glue is fully cured?
There’s no visual cue — the glue looks and feels hard long before it’s actually cured. The reliable approach is simply waiting the full 24 hours, after which the chemical bonding process is complete and the joint has reached its designed strength.
What’s the best wood glue for outdoor projects?
Look for a glue rated ANSI/HPVA Type I waterproof, such as Titebond III, or a polyurethane glue like Gorilla Glue. Both are formulated to withstand moisture and temperature swings without the bond breaking down over time.
Is old wood glue still good to use?
Most wood glues have a one- to two-year shelf life. If the glue has thickened, turned lumpy, or developed a stringy, cottage-cheese-like texture, it’s past its useful life and won’t form a strong bond — discard it rather than risk a weak joint.
Conclusion: Patience Beats Every Shortcut
The mechanics here aren’t complicated: clean, well-fitted surfaces, a thin even layer of glue, moderate clamp pressure that produces a controlled squeeze-out, and then 30-60 minutes clamped followed by a full 24 hours before you trust the joint with real stress.
Skip any of those steps — especially the final wait — and you’re trading a durable joint for one that merely looks finished. Give it the full cure time and the glue line will often outlast the wood around it.
Sponsored / affiliate links. As an Amazon Associate I earn from qualifying purchases. I may earn additional commission from eligible campaigns.